How to Create SVG to 3D Extrusions in TinkerCAD
Unlock the power of TinkerCAD by turning your 2D SVG designs into captivating 3D extrusions. This guide simplifies the process, making 3D modeling accessible for everyone.

Turn Your 2D Designs into 3D Magic: The TinkerCAD SVG Extrusion Secret!
You know that feeling, right? When a customer comes to you with a sketch on a napkin, or maybe they just ping you a WhatsApp image of their company logo, and they go, "Bhaiya, can you 3D print this for me? Like, make it a keychain, or a cool desk sign?" And for a second, your heart does that little flutter of panic because you're thinking, "Ugh, a 3D model from that? This is gonna be hours in Blender, isn't it?" Well, my friend, let me tell you, I used to dread those requests too. But then I discovered the absolute magic of turning simple 2D SVG files into gorgeous 3D extrusions, and honestly, TinkerCAD made it ridiculously easy. It’s a game-changer for my little business, ArtOpia Collections, and it can be for yours too!
Look, the thing is, not everyone needs or can afford a fully custom-sculpted 3D model. Sometimes, all you need is a flat shape, pulled up into 3D. Think about custom keychains for corporate events, personalized name tags for kids' school bags, unique signage for small businesses, or even little decorative elements for a craft project. The possibilities are endless, and the profit margins? Pretty sweet for the effort involved, trust me. I’ve made keychains for as little as ₹50 and gone up to ₹200 for a more intricate, multi-part design, all based on this simple technique.
What's an SVG and Why Do We Care?
Before we dive into TinkerCAD, let's quickly talk about what an SVG is. It stands for Scalable Vector Graphics. Basically, it's an image format that uses mathematical paths rather than pixels. Why is this important? Because it means you can scale an SVG design to any size – from a tiny stamp to a massive billboard – without it ever getting pixelated or blurry. It stays crisp, always. And for 3D printing, especially for extruding, that crispness is gold. It gives you clean edges, smooth curves, and generally makes your life a lot easier.
You might be thinking, "But I only have a JPG or a PNG!" Don't worry, my friend. While a native SVG is always best, there are plenty of free online converters (just Google "PNG to SVG converter") that do a decent job for simpler designs. For anything more complex or if you need perfect results, I personally recommend using a dedicated vector graphics program like Inkscape (which is free!) or Adobe Illustrator. These tools let you trace bitmap images into vectors, giving you much more control. I spend a good chunk of my initial design time just getting the SVG absolutely perfect, because a clean SVG means a clean 3D print.
Why TinkerCAD for this Magic?
Now, why TinkerCAD? Honestly, it's because it’s free, it’s browser-based, and it’s ridiculously user-friendly. You don't need a super powerful computer, you don't need to install anything, and the interface is intuitive enough that even someone who's never touched 3D software can pick it up in an hour or two. I've used Blender for really complex stuff, and SolidWorks for precision engineering, but for quick, effective SVG extrusions, TinkerCAD is my go-to. It just gets the job done, fast, and without the headache.
Let's Get Extruding: Your Step-by-Step Guide!
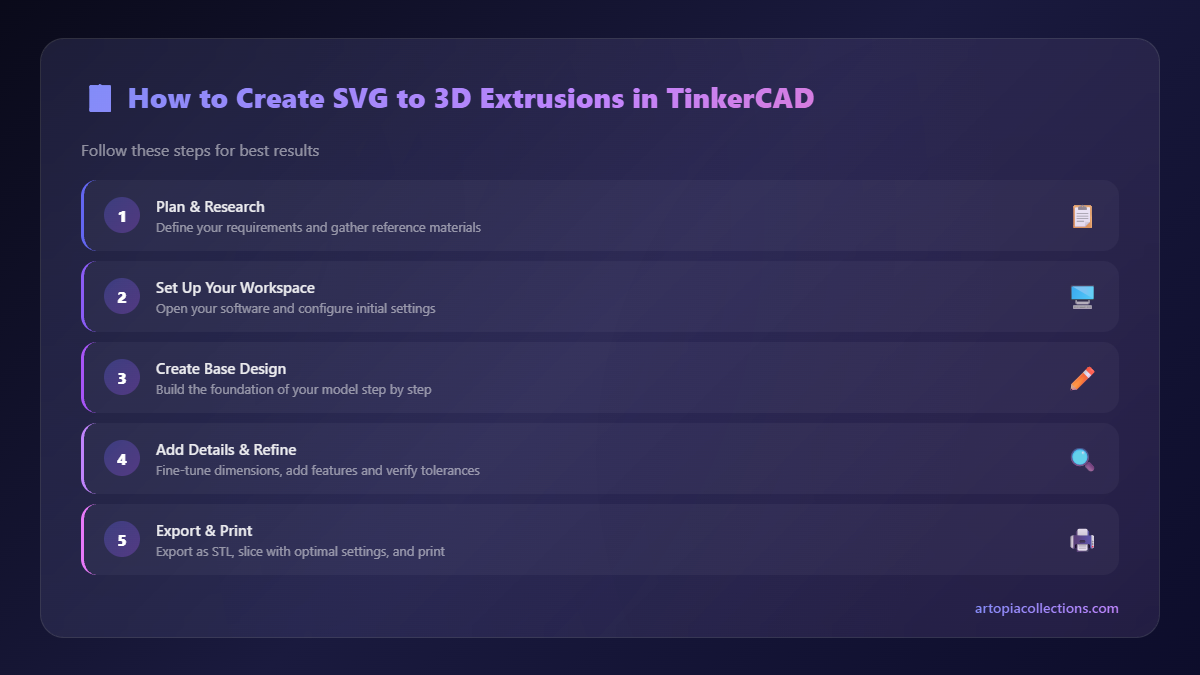
Alright, enough talk! Let's get down to brass tacks. Here's how you turn that flat SVG into a glorious 3D object ready for your printer.
Step 1: Prep Your SVG – The Most Important Part!
This step is absolutely critical, and if you skip it, you'll be pulling your hair out later. TinkerCAD is great, but it's also a bit finicky with SVGs that aren't perfectly clean.
- Keep it Simple: TinkerCAD has a polygon limit for imported SVGs (around 20,000 vertices). Complex, highly detailed designs with lots of tiny elements can crash the import. Try to simplify your design as much as possible without losing its essence.
- No Open Paths: All shapes in your SVG should be closed paths. Think of it like drawing with a pencil – if you lift your pencil before joining the start and end of a line, it's an open path. TinkerCAD needs solid, enclosed shapes to extrude them properly.
- Combine Shapes: If you have overlapping shapes that you want to be a single extruded object, use a "union" or "combine" function in your vector software (like Path > Union in Inkscape) to merge them into one cohesive shape.
- Remove Unnecessary Stuff: Get rid of any hidden layers, stray points, or text that hasn't been converted to paths. Text needs to be "outlined" or "converted to paths" in your vector editor before exporting.
Once your SVG is clean and simple, save it. I usually export directly from Inkscape or Illustrator. Just make sure it's saved as an .svg file, plain and simple.
Step 2: Hop into TinkerCAD!
Go to TinkerCAD.com and either log in or create a free account. Once you're in, click "Create new design" to start a fresh canvas.
Step 3: Import Your Beautiful SVG
On the right-hand side of your TinkerCAD workspace, you'll see a panel with basic shapes. Scroll down a bit, and you'll find the "Import" button. Click it.
A new window will pop up. Click "Choose File" and navigate to where you saved your clean SVG file. Before you hit "Import" again, take a quick look at the options:
- Scale: This is important. TinkerCAD might try to import your SVG at a massive size. I usually leave it at 100% and then scale it down on the workplane, but sometimes if it’s truly gigantic, I'll set it to 10% or 1% here.
- Height: This is your initial extrusion height. You can always change it later, but for a simple logo, something like 5mm or 10mm is a good starting point.
Once you’re happy, click "Import."
Step 4: Behold! Your 2D Has Become 3D!
Your SVG will now appear on the workplane, extruded into a 3D shape! Pretty cool, right? It might be huge, it might be small, but it's there. You can use the white squares on the corners to scale it down (hold Shift to maintain proportions!) or the white square in the middle top to adjust its height (its extrusion).
Here’s a little trick I use: If you’ve got text or a complex logo, sometimes it imports with weird artifacts or parts that are too thin. Don’t panic. Select the object, and in the Inspector window (the panel that pops up when you select an object), you can adjust its dimensions more precisely. Also, if it's imported as multiple unconnected parts (which happens sometimes with complex logos), you can often select them all and click the "Group" button (the square and circle icon at the top) to make them one solid object.
Step 5: Adding Depth and Detail (Making it Print-Ready!)
Now, let’s make it useful. For a keychain, you’ll want a hole. For a sign, maybe a base. TinkerCAD makes this super easy.
- Adding a Hole: Drag a "Cylinder" or "Box" shape onto the workplane. In its properties, change it from "Solid" to "Hole." Position this "hole" shape where you want the actual hole to be in your design. Select both your extruded SVG and the "hole" shape, then click the "Group" button. Voila! The hole shape will cut through your SVG. This is how I make the loop for custom keychains, usually a 3-4mm diameter cylinder hole.
- Creating a Base: Want to make a desk sign? Drag a "Box" shape onto the workplane. Scale it to be a bit wider and longer than your SVG extrusion, and make it perhaps 2-3mm tall. This will be your base. Now, lift your SVG extrusion slightly (using the black cone on top) and position it on top of your base. Select both, and group them. You now have a custom sign!
- Adding More Shapes: You can drag any of TinkerCAD's basic shapes – spheres, cones, pyramids – and combine them with your SVG extrusion. Just place them, adjust them, and group them! This is how I create those cool layered designs.
Play around with the height of your extrusion. For keychains, I usually go with 3-5mm. For desk signs, maybe 8-15mm for a bit more presence. Remember, the taller it is, the more filament it uses, and the longer it takes to print.
Speaking of filament, I mostly use PLA for these kinds of projects. It's affordable, easy to print, and comes in a zillion colours! My go-to is usually a good quality eSUN or OSO PLA. You can find some decent deals on Amazon, like this PLA filament here. Prices usually range from ₹1000 to ₹2000 per kg spool, depending on the brand and colour.
Step 6: Export for 3D Printing
Once you're completely happy with your 3D creation, it's time to export it as an STL file, which is the standard format for 3D printing. Click the "Export" button in the top right corner of TinkerCAD. Select ".STL" from the options. TinkerCAD will then download the STL file to your computer.
Printing Your Masterpiece: A Few Quick Tips
You’ve got your STL, now what? Open it up in your favourite slicer software (Cura, PrusaSlicer, Simplify3D – whatever you use!). Here are some quick pointers:
- Layer Height: For keychains and signs, I usually go with 0.2mm layer height. It's a good balance of speed and detail. If you want super fine details, go lower (0.12mm), but be prepared for longer print times.
- Infill: For most decorative items like these, 10-20% infill is perfectly fine. They don't need to be structural.
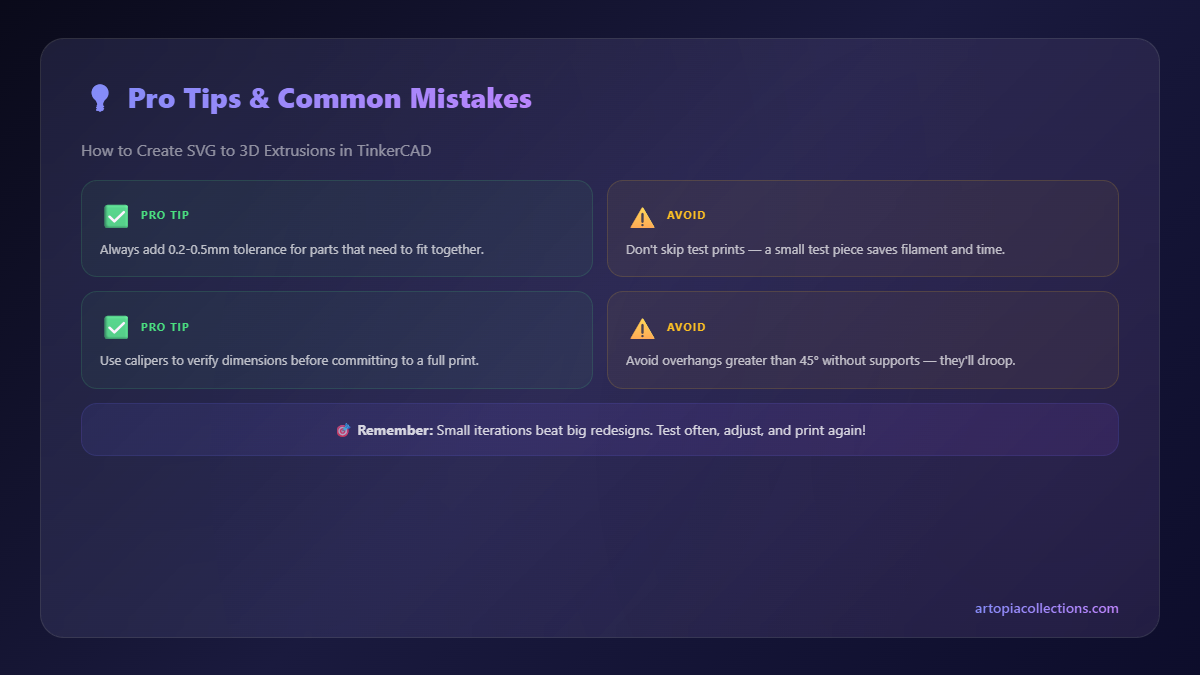
- Supports: For simple extrusions, you usually won't need supports, especially if the base is flat. If you've added overhangs or complex shapes, enable supports only where necessary.
- Adhesion: Make sure your print bed is clean and level! This is probably the biggest cause of failed prints. A little glue stick or hairspray can go a long way in ensuring good first-layer adhesion, especially here in India where dust can be a menace.
- Printer: I mostly use my trusty Creality Ender 3 V2 for these kinds of jobs. It's a workhorse and super reliable. If you're looking to get into 3D printing, it's an amazing starter printer and won't break the bank, usually retailing for around ₹15,000-₹20,000. You can check out models like the Creality Ender 3 V2 on Amazon.
And that's it! Load your sliced G-code onto your printer, hit print, and watch your 2D design come to life in 3D!
My Business & Your Potential!
Honestly, this SVG extrusion technique has been a huge boost for ArtOpia Collections. It allows me to take a client's logo, a custom phrase, or even a simple drawing, and quickly turn it into a tangible product. The turnaround time is fast, which customers love, and the cost of production is low, which I love! It’s perfect for personalized gifts, corporate branding, or just creating cool, unique stuff that really stands out. Imagine turning a child's drawing into a fridge magnet – the pure joy on their face is priceless, and people pay good money for that emotional connection.
You can see some of the cool stuff I make over on my website, especially in the products section of ArtOpia Collections. Many of those personalized items start with a simple SVG in TinkerCAD!
Wrapping Up!
So there you have it, folks. Don't let the complexity of 3D modeling intimidate you. With a clean SVG and the power of TinkerCAD, you can whip up awesome 3D extrusions in no time. It's a fantastic skill to have, whether you're just a hobbyist wanting to personalize things around the house, or a budding entrepreneur looking for a quick and easy way to create custom products. Experiment, play around, and don't be afraid to make mistakes – that's how we learn, right? Happy printing!


