How to Design Custom Cookie Cutters in TinkerCAD Step by Step
Unleash your creativity and design bespoke cookie cutters from scratch using TinkerCAD. This comprehensive, step-by-step guide makes 3D design accessible for bakers and crafters alike.

Chalo, let's talk about something truly *magical* in the 3D printing world today: custom cookie cutters. I mean, honestly, who hasn't been scrolling through Instagram, seen some ridiculously cute, ultra-specific cookie design, and thought, "Man, I wish I could make that myself?" Because I sure have, a million times! And guess what? With a little bit of TinkerCAD wizardry and your trusty 3D printer, you absolutely can. It’s not just for bakers anymore; it’s for us makers, the ones who love bringing digital dreams into delicious reality.
Here at Artopia Collections, my little passion project turned business, we get a ton of requests for custom stuff, and cookie cutters are right up there. From birthday parties with specific cartoon themes to wedding favors with monograms, or even just my mom wanting a new shape for her Diwali sweets, these things are always a hit. The thing is, going to the market, you're always stuck with the same old circles, stars, and hearts. And sometimes, you just need a tiny elephant wearing a party hat, you know? That’s where the power of 3D printing truly shines, letting us sculpt sweetness out of thin air, or well, out of filament!
Why Bother with Custom Cookie Cutters, Yaar?
Look, the obvious answer is customization. But let's dig a little deeper, eh? For me, it's about solving problems and sparking joy. Imagine your kid's birthday party. Instead of generic cookies, you've got ones shaped like their favourite superhero's emblem or even their initial! The look on their face? Priceless. For small businesses, like bakeries or home chefs, this is a game-changer. You can brand your cookies, create seasonal specials that literally nobody else has, or even offer personalized gifts to your customers. It sets you apart, makes people remember you. And honestly, it's just plain fun to design something unique.
Plus, the cost-effectiveness is real. Buying specialty cutters from abroad can be expensive, and getting them made locally might be a hassle if you don't know the right people. But if you have a printer, a roll of good quality PLA filament (which, by the way, usually costs me around ₹1800-₹2500 for a 1kg spool from brands like e-SUN or Overture), and a few hours, you're set. You can print dozens of designs for a fraction of the cost, and then reuse your printer for other amazing projects. It's an investment that keeps giving back.
My Go-To: TinkerCAD – Why It's Your Best Friend for This
Now, when it comes to designing, there are a bunch of powerful CAD software out there: Fusion 360, SolidWorks, Blender… the list goes on. But for something as straightforward yet impactful as a cookie cutter, and especially if you're just starting out or want something quick and easy, TinkerCAD is your absolute best bet. Seriously, I personally think it's the most underrated tool for beginners. It's free, it's browser-based (so no heavy downloads!), and it's incredibly intuitive. You're basically dragging and dropping shapes, scaling them, and cutting them out. It’s like playing with digital LEGOs, but you end up with something printable.
Don't be intimidated by "design." TinkerCAD makes it so simple that even someone who thinks they're terrible at tech can pick it up in an afternoon. And that’s what we want, right? Quick wins, minimal frustration, maximum deliciousness.
Before We Dive In: A Few Important "Gyan" (Knowledge) Bits
Before we start clicking away, let's just quickly cover a few crucial points, especially when dealing with food-contact items. This is super important, so pay attention!
- Food Safety First! Always, always use food-safe filament. PLA (Polylactic Acid) is generally considered food-safe, especially virgin PLA. However, the printing process itself can create tiny crevices where bacteria can grow. So, I always recommend:
- Print with 100% infill to reduce internal cavities.
- Wash thoroughly with soap and water after each use.
- Consider a food-grade sealant if you're extra cautious, though for a simple cookie cutter, thorough washing is usually sufficient.
- Print in light colors if possible, as darker pigments sometimes use heavier metals (though this is less of a concern with modern PLA).
- Design Simplicity: For your first few attempts, keep the shapes relatively simple. Intricate details can be tricky to print, and even trickier to get out of the dough without breaking.
- Size Matters: Think about the actual cookie size. Too big, and you'll run out of dough; too small, and the details might not show up well. A good starting point is generally 3-5 inches (7-12 cm) on the longest side.
- The Blade Edge: This is the part that cuts the dough. It needs to be thin enough to cut cleanly but not so thin that it breaks easily. I aim for around 0.8mm to 1mm thickness for the cutting edge.
- The Handle/Lip: This is the part you press down on. It needs to be comfortable and sturdy. Around 3-4mm thickness is usually good here.
Okay, with that out of the way, let’s get our digital hands dirty!
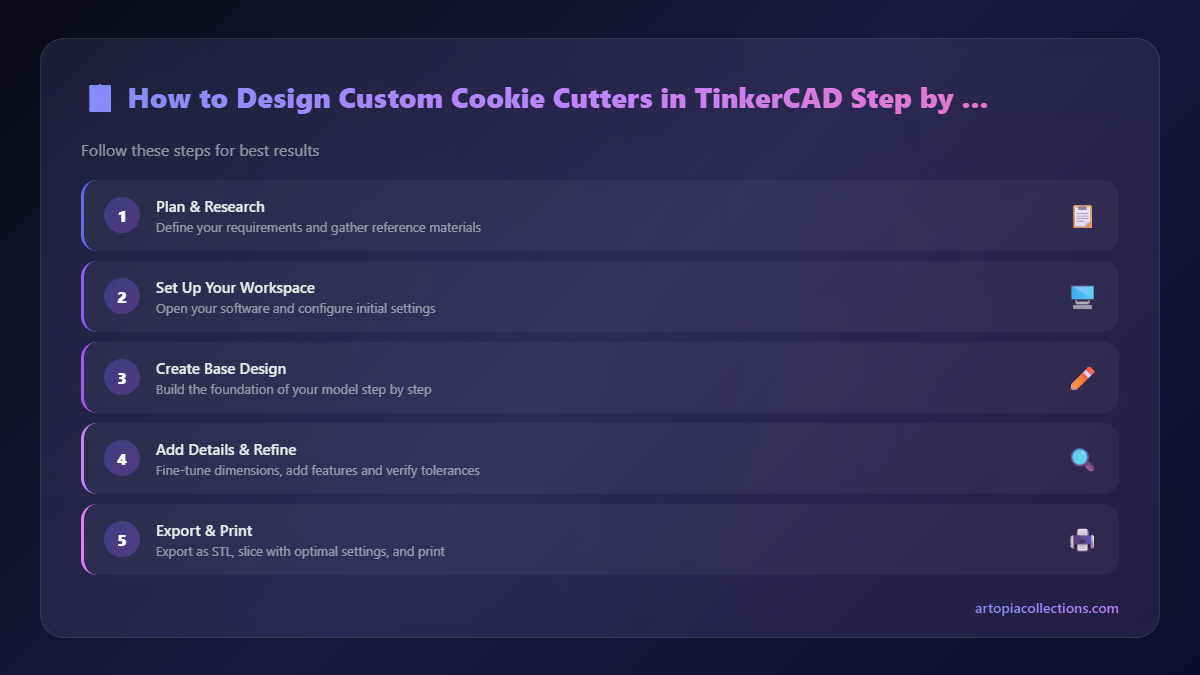
Step-by-Step: Designing Your Custom Cookie Cutter in TinkerCAD
Alright, fire up your browser and head over to TinkerCAD.com. If you don't have an account, it's super easy to create one. Once you're in, click on "Create new design."
1. Importing Your Base Shape (The Easiest Way!)
Honestly, the quickest way to get a complex shape into TinkerCAD is to find an SVG (Scalable Vector Graphic) online. Let’s say you want a specific cartoon character. Search for "[character name] SVG outline." Once you find one you like, download it. Make sure it's a clean, simple outline.
In TinkerCAD, on the right sidebar, click "Import." Choose your SVG file. TinkerCAD will ask you about dimensions; usually, the default settings are fine, but you might need to scale it down if it imports massive. Click "Import."
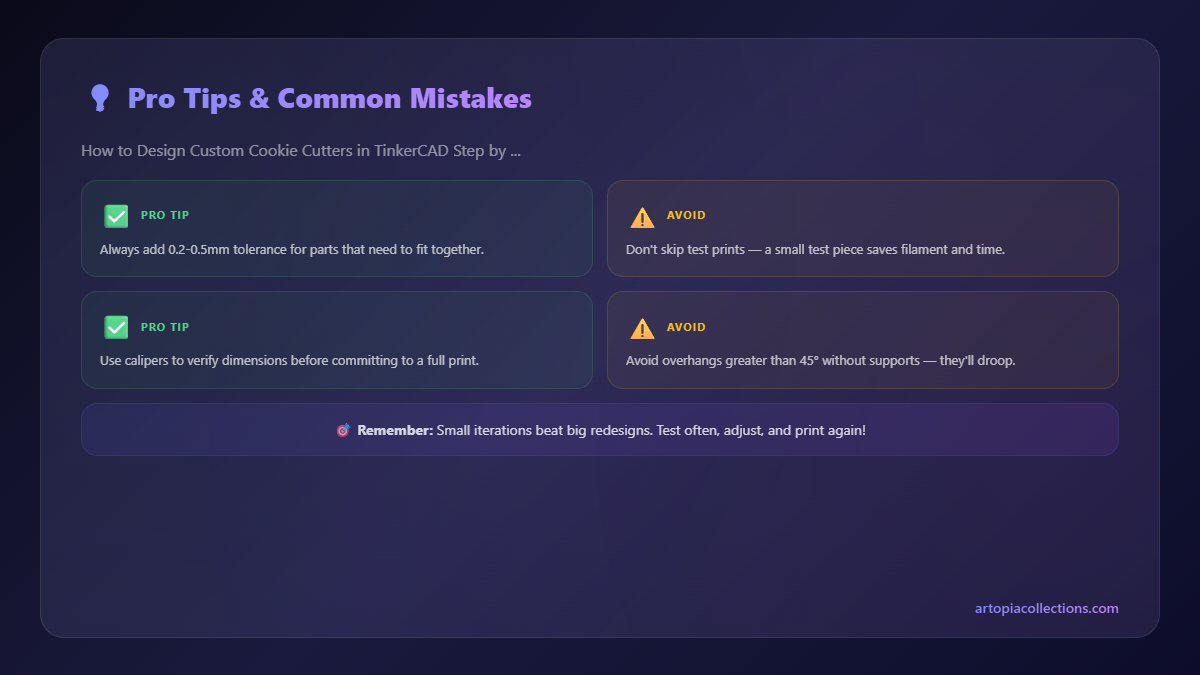
Pro Tip: If you can't find an SVG, or want to draw your own, you can use a free online tool like Inkscape to convert a JPG/PNG into an SVG. Or, for super simple shapes, you can just drag basic shapes from TinkerCAD's "Basic Shapes" menu!
2. Creating the Inner & Outer Walls (The "Offset" Magic)
Now you have your imported shape, probably flat and thin. Let's make it a cutter!
- Scale and Duplicate: Select your imported shape. First, scale it to your desired cookie size using the corner handles. Then, duplicate it (Ctrl+D or Cmd+D). You now have two identical shapes stacked on top of each other.
- Create the Outer Wall: Take one of the shapes. This will be your outer wall. Lift it up to your desired cutter height – usually around 15-20mm (1.5-2 cm) is good for cutting dough cleanly without your knuckles hitting the table. Use the little cone on top to lift it.
- Create the Inner Wall (The Blade): Take the second duplicated shape. We need to make this one slightly smaller than the first to create the cutting edge. Use the "Hole" tool (it's in the Inspector window that pops up when you select a shape). Now, scale this "hole" shape *down* slightly, maybe 1-2mm on each side. The goal is to make it just a bit smaller than the outer shape. This is crucial for the blade thickness.
- Align and Group: Select both shapes. Use the "Align" tool (it looks like two overlapping squares). Click the center alignment dots for both the X and Y axes to perfectly center the smaller hole inside the larger solid shape. Now, with both shapes selected, click "Group" (the icon that looks like a square and a circle merging). Voila! You have your basic cutter outline with a nice thin blade.
See? Not so hard, right?
3. Refining the Cutting Edge and Handle
The "grouped" shape from step 2 is basically your cookie cutter. But we can make it better.
- Adjusting Blade Thickness: If your blade seems too thick or too thin, ungroup your cutter (the opposite of the group button), adjust the size of your inner "hole" shape slightly, and then realign and regroup. Remember, 0.8mm-1mm is ideal for the cutting edge itself.
- Adding a Comfortable Handle/Lip: The top part of your cutter, where you press, needs to be sturdy and comfortable. If your original SVG was too thin, you might find your handle is weak. To reinforce it, ungroup your cutter. Select the *outer* solid shape. Duplicate it again (Ctrl+D). Now, slightly scale this new duplicate *outward* by maybe 1-2mm on each side. Lift it up by about 3-4mm and place it on top of your existing outer wall. Group all three pieces now (the original outer wall, the inner hole, and this new, slightly larger top lip). This creates a comfortable, reinforced handle.
4. Checking Dimensions and Exporting
Always double-check your dimensions! Use the "Ruler" tool (on the right sidebar) to measure your cutter's length, width, and height. Make sure it's the size you want. You can always scale the whole thing up or down if needed.
Once you're happy, it's time to get it ready for your printer! Click the "Export" button (top right corner). Select ".STL" for 3D Print. Save the file somewhere you'll remember.
You've just designed your first custom cookie cutter, my friend! Pat yourself on the back.
Slicing & Printing Time! (The Fun Part)
Now that you have your STL file, you need to "slice" it. This means converting the 3D model into instructions your 3D printer can understand. I personally use Ultimaker Cura for most of my prints, but PrusaSlicer or even Creality Slicer are also fantastic options. They're all free to download.
Here are my go-to settings for cookie cutters:
- Filament: As mentioned, PLA is my choice. You can find good quality PLA from brands like e-SUN, Esun, Eryone, or Creality on Amazon.in.
- Layer Height: 0.2mm is usually perfect. It gives a good balance of detail and print speed.
- Infill: 100%. This is crucial for structural integrity and food safety. It makes the cutter solid, leaving no internal gaps for bacteria.
- Walls/Perimeters: 3-4 walls. This makes the cutter very strong, especially the cutting edge.
- Print Speed: Moderate, around 50-60mm/s. Don't go too fast, especially for thin features.
- Supports: Generally, you won't need supports for most cookie cutter designs, especially if they're well-designed with no extreme overhangs.
- Brim/Skirt: I usually use a skirt for better bed adhesion, just a few lines around the base. A brim might be useful if your base contact area is very small.
Load your sliced G-code file onto your 3D printer. I've been running an Ender 3 V2 Neo for a while now, and it’s a workhorse for projects like this. It's incredibly reliable and relatively affordable, usually costing around ₹18,000-₹22,000. Anycubic Kobra 2 Neo is another fantastic option if you're looking for something slightly faster and with auto-bed leveling. Just make sure your bed is level, and you're good to go!
And then, you just watch the magic happen! The printer slowly, layer by layer, builds your custom creation.
Post-Print & Usage Tips
Once your cutter is done printing, let it cool completely before removing it from the build plate. Give it a thorough wash with warm soapy water. Make sure to get into all the nooks and crannies. Dry it completely.
When you're actually using it with dough, a little trick is to dip the cutter in flour before each cut. This prevents the dough from sticking inside, especially with more intricate designs. And don't forget to press firmly and evenly!
My Journey with Custom Designs & Artopia Collections
Honestly, learning to design custom things like this in TinkerCAD has been a game-changer for my business, Artopia Collections. It started as just me printing things for my own home, little organizers, spare parts, you know. But then friends started asking for custom gifts, then friends of friends, and before I knew it, I was taking orders for personalized items! Cookie cutters are definitely a favorite. People love the idea of having something truly unique for their celebrations.
We've done everything from custom logos for local cafes to intricate designs for wedding favors. And the joy on a customer's face when they see their idea come to life, ready to make delicious treats, is just the best feeling. It’s what keeps me going! If you're curious to see some of the other cool things we print (and maybe get some inspiration for your next project!), definitely check out our Artopia Collections products page. We're always experimenting and adding new stuff.
For custom cookie cutter orders, I usually charge based on complexity and size, starting from around ₹250-₹350 for a simple design and going up from there. It's a fair price for a unique, personalized item that you can't get anywhere else. And it helps keep the filament flowing, you know?
Ready to Bake Your Dreams?
So, there you have it, folks! Designing your own custom cookie cutters in TinkerCAD is not just possible; it's genuinely easy and incredibly rewarding. It opens up a whole new world of creativity, whether you're making cookies for fun, for gifts, or even starting a small baking business. Don't be shy; jump into TinkerCAD, experiment, and don't be afraid to make mistakes. That's how we learn, right?
Go on, give it a try. Your taste buds (and your printer) will thank you!


