How to Scan and Reproduce Intricate Jewelry Details for Lost Wax Casting
Discover the precise techniques for scanning intricate jewelry pieces, capturing every delicate detail. This guide will walk you through reproducing these details perfectly for your lost wax casting projects.
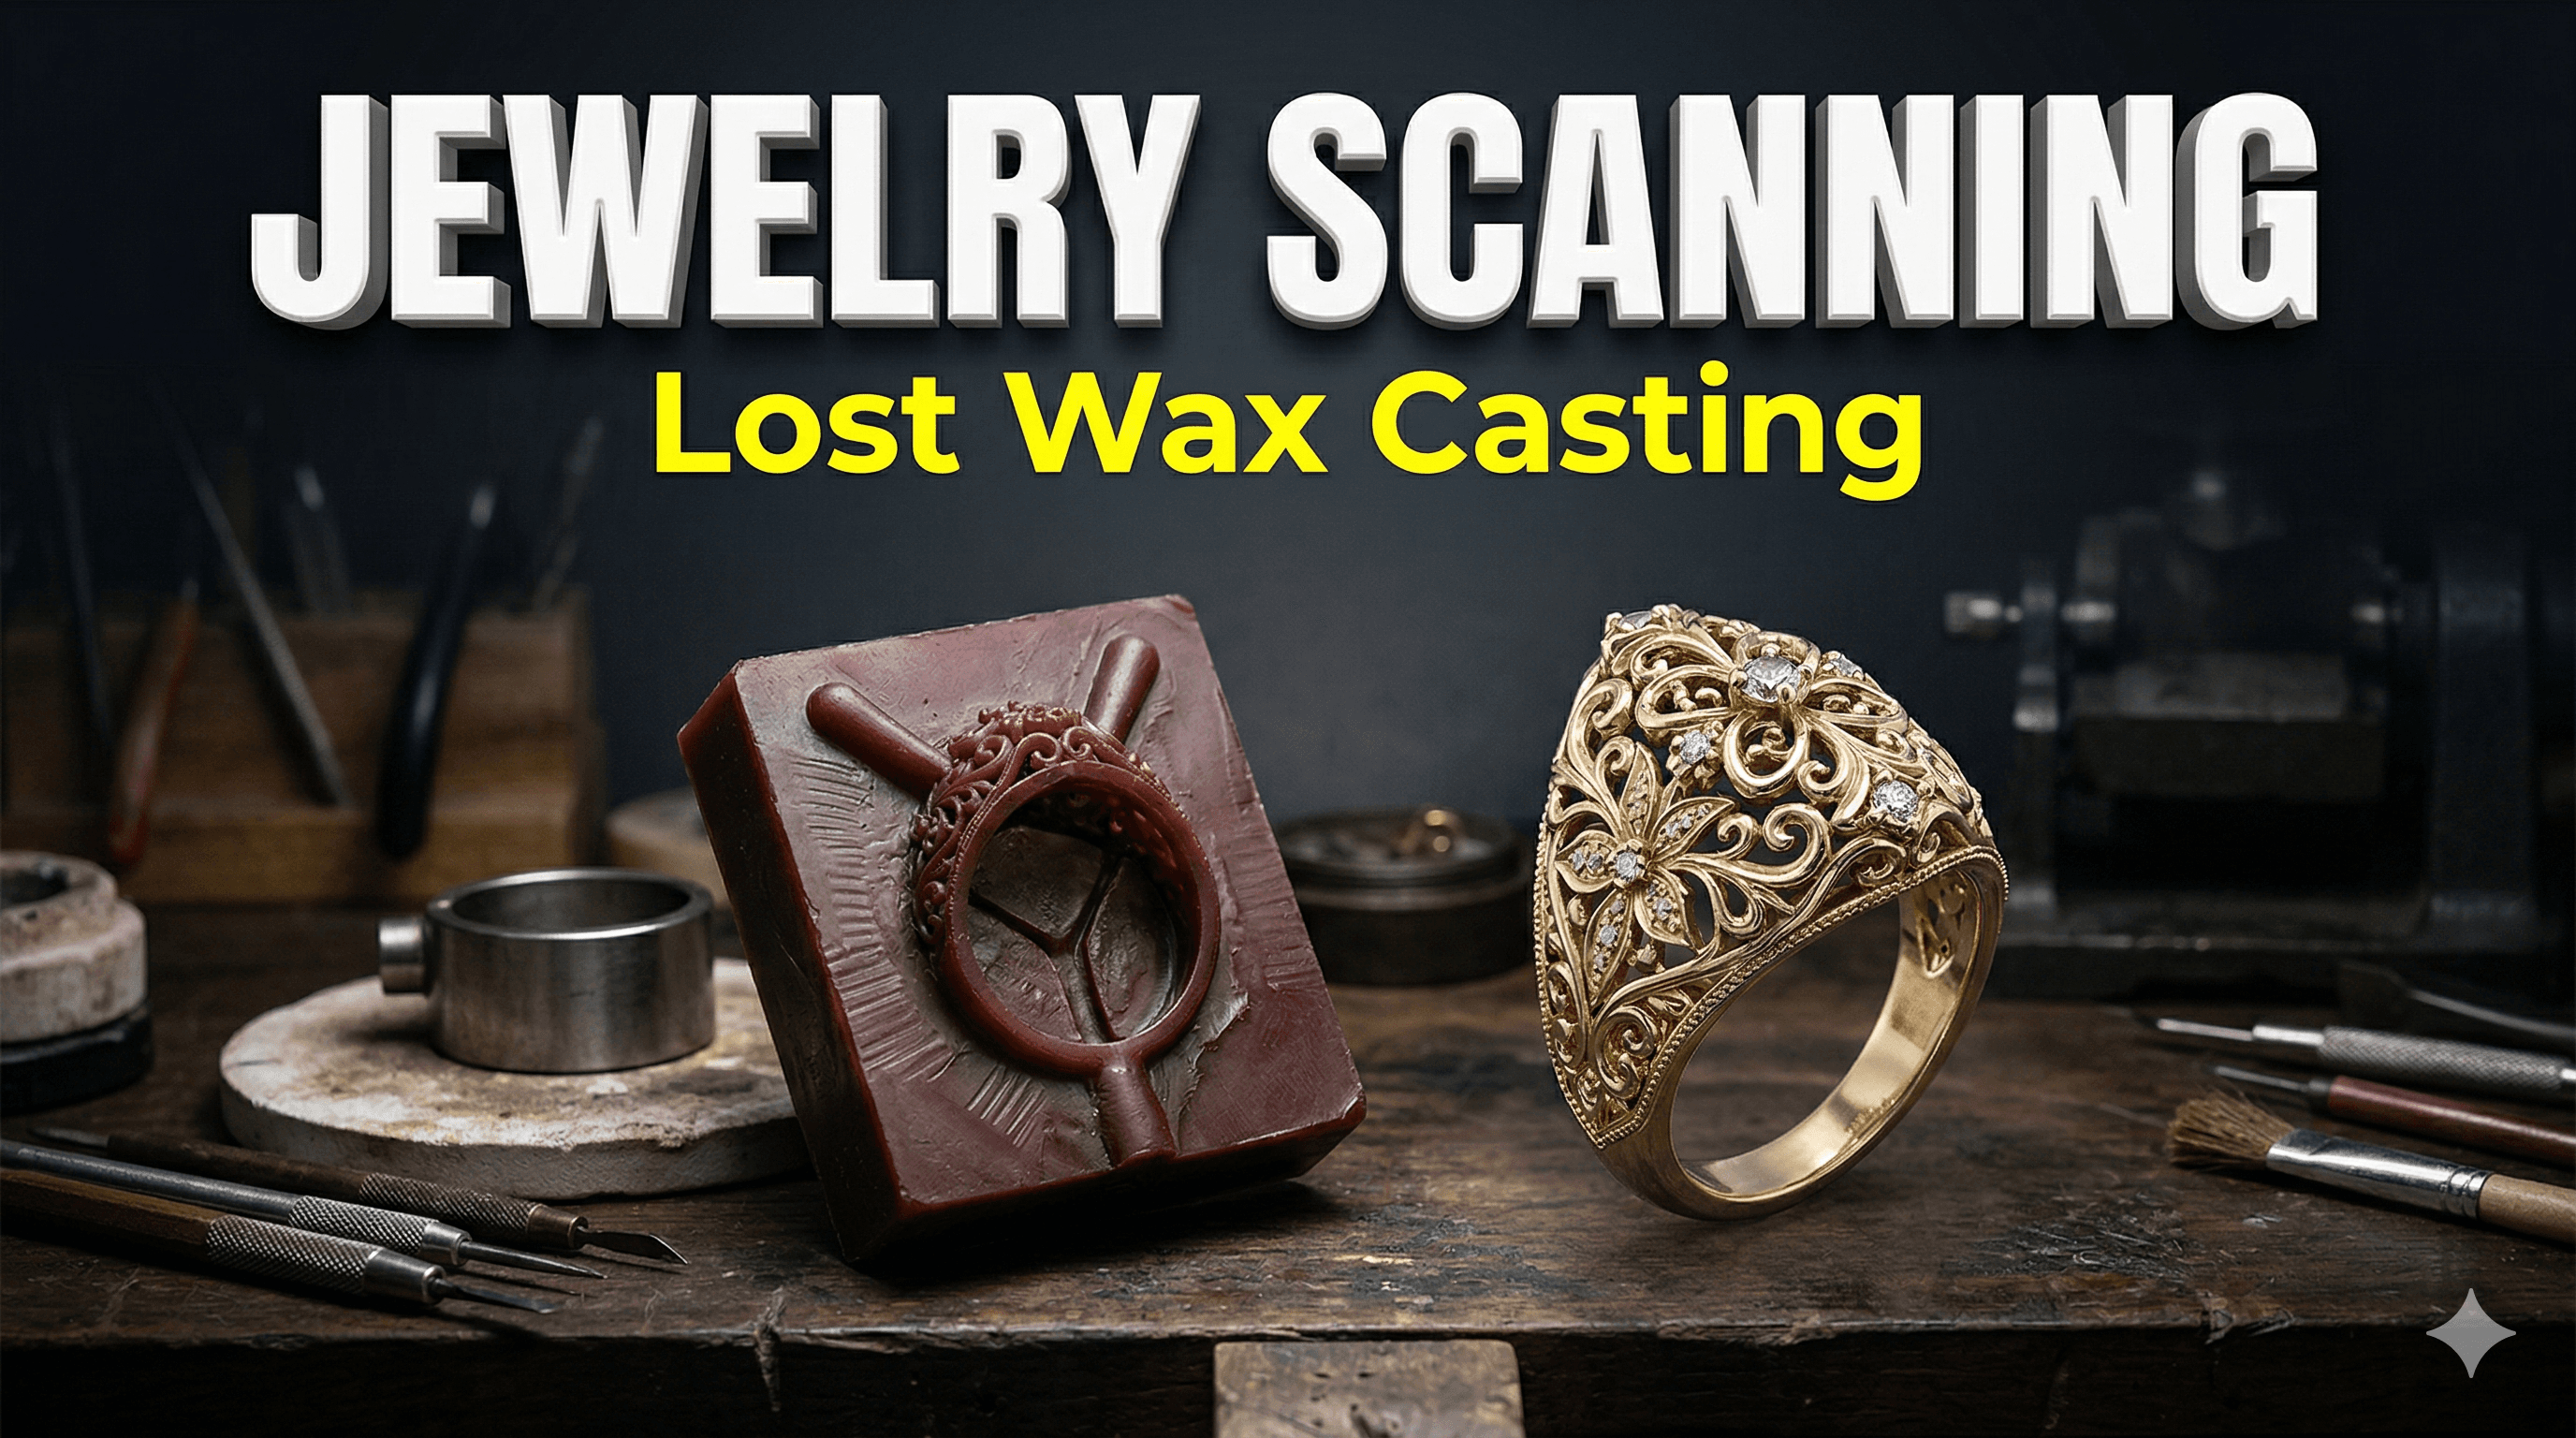
Ever held a treasured piece of jewelry, perhaps an heirloom from your nani or a unique design you fell in love with, and then – *poof* – it’s lost, damaged, or you just desperately wish you had an exact replica? I get it. That gut-wrenching feeling of losing something irreplaceable, especially when it’s got intricate, tiny details that no artisan could ever perfectly recreate by hand. Believe me, I’ve seen enough heartbroken faces come through my workshop here in India with stories of lost pendants or broken earrings to know this pain is real. But what if I told you that we, with our humble 3D printing magic, can bring those intricate designs back to life, ready for the age-old craft of lost wax casting? It's not just possible; it's practically a superpower for jewelers and enthusiasts alike!
Bringing Back the Bling: How 3D Scanning Rescues Intricate Jewelry for Lost Wax Casting
So, you’re here because you probably have an idea of what lost wax casting is, right? Basically, you make a wax model, encase it in a plaster-like material (investment), burn out the wax, and then pour molten metal into the cavity left behind. Simple in concept, but incredibly difficult when you’re trying to carve a perfectly symmetrical, super detailed miniature Ganesh pendant or a delicate filigree ring by hand. Honestly, it takes years, decades even, to master that level of craftsmanship. And even then, replicating an *existing* piece perfectly? Forget about it.
That’s where our modern tech steps in to shake hands with ancient tradition. We’re talking about using 3D scanning to capture every single curve, every delicate line, every tiny engraving of an existing piece, and then 3D printing that exact model in a special castable resin. This printed resin model then becomes your new "wax" pattern for the lost wax process. It’s a game-changer, truly. I personally think this combination is one of the most exciting developments for small-scale jewelers and custom fabrication businesses like mine.
The Challenge: Why Hand-Crafting Can Fall Short for Replication
Look, I have immense respect for traditional jewelers. Their skill is unparalleled. But when a client comes to me with just one earring, and they want the exact match for the other ear, or they have a chipped antique brooch they want restored to its former glory, asking a traditional karigar to hand-carve a mirror image can be incredibly time-consuming and expensive. And, let's be real, the chances of it being 100% identical are slim to none. Even the most skilled hands introduce tiny variations. When you’re talking about jewelry, especially intricate pieces, those tiny variations stand out like a sore thumb. So, the thing is, precision and repeatability are where traditional methods often hit a wall.
Step One: The Magic of 3D Scanning – Capturing Every Detail
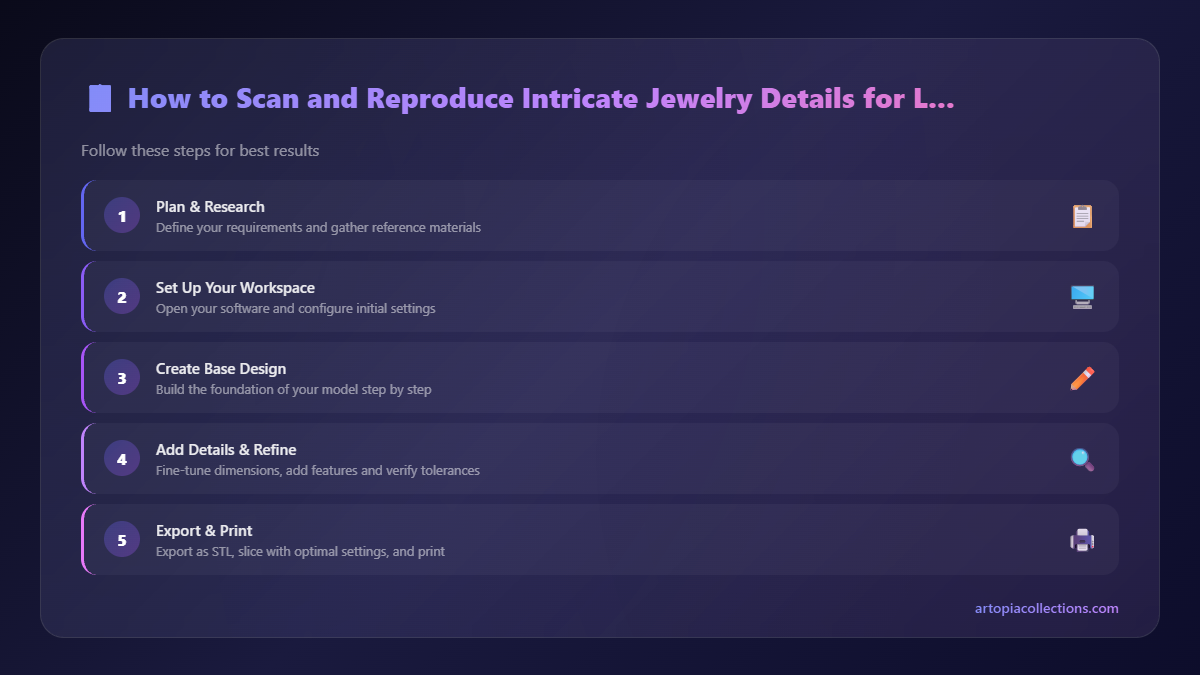
This is where the real fun begins! Scanning an object basically creates a digital, three-dimensional blueprint of it. For intricate jewelry, this step is absolutely critical. We need to capture details sometimes less than a millimeter in size, right?
Choosing Your Scanner (or Scanning Service)
In India, we have a few options, and they range dramatically in price and complexity:
- Photogrammetry (DIY Route): This is basically taking a gazillion photos of your object from every conceivable angle and then stitching them together using software. I've messed around with this quite a bit. It’s super cost-effective if you already have a good DSLR or even a decent smartphone, and software like Meshroom (free) or Agisoft Metashape (paid, around ₹15,000 for a standard license) can do the processing. The catch? Shiny jewelry is a nightmare for photogrammetry. You often need to spray it with a matte powder or developer spray, which might not be ideal for a precious antique. Plus, very fine details can be lost.
- Handheld Structured Light Scanners: Now we're talking serious accuracy for a relatively accessible price. Think models like the Revopoint POP series or some of the entry-level EinScan handhelds. These project a pattern of light onto the object and use cameras to interpret the distortion, creating a super-accurate 3D model. In my experience, for jewelry, something like a Revopoint POP 3 (which can cost anywhere from ₹60,000 to ₹90,000) is a fantastic investment for a small business. They’re great for capturing those super intricate details without needing to coat your precious jewelry in anything. They’re getting faster and more precise with every generation.
- Desktop/Industrial Scanners: These are the big guns, often found in specialized scanning bureaus. They can be incredibly precise, sub-micron level accuracy even, but they come with a hefty price tag – easily upwards of ₹3-4 lakhs, sometimes much, much more. For a small business like mine, it's often more economical to outsource a scan for a really high-end, extremely critical piece if my own gear isn't quite cutting it. A good quality scan of a small, intricate piece of jewelry might cost you anywhere from ₹1,000 to ₹3,000 from a service provider in major cities like Bangalore or Delhi.
The Scanning Process: Tips from My Workshop
Regardless of the scanner, here are a few things I've learned the hard way:
- Preparation is Key: For shiny objects, even with structured light scanners, sometimes a quick, light dust of talcum powder or specialized scanning spray can help. But be super careful with antiques! You don't want to damage them. If it's a very dark object, lighting is everything.
- Steady Hands and Good Lighting: If you're using a handheld scanner, keep your hands steady, and ensure even, consistent lighting. Shadows can create data dropouts.
- Multiple Angles: You *must* capture every nook and cranny. Rotate the object, flip it, scan it from top, bottom, and all sides. Sometimes I'll mount a ring on a small piece of clay or Blu Tack just to get a good hold on it for scanning.
- Software Magic: Once scanned, you'll have a point cloud or a mesh. Most scanners come with their own software to clean up the mesh, remove noise, and fill small holes. But often, I'll export it to something like MeshMixer (free) or Blender (also free and powerful) for more advanced cleanup, sculpting, and ensuring the mesh is "water-tight" for 3D printing. This is basically fixing any gaps or errors so the printer knows exactly what to print.
After all this, you'll have a perfectly accurate 3D model, usually in an STL or OBJ format, sitting on your computer. This digital twin is what we'll bring to life.
Step Two: 3D Printing the Master for Lost Wax Casting
Now, this is where the magic really happens for jewelers. We're not just printing any old plastic here. We're printing a special type of resin that is designed to burn out cleanly without leaving any ash or residue, which is absolutely crucial for lost wax casting.
The Right Printer for Jewelry: Resin is King!
While I love my FDM printers (like my trusty Creality Ender 3 V3 KE, which is fantastic for functional prototypes and larger prints, typically around ₹25,000 from places like Amazon.in – check out PLA filament for it here if you're curious!), they simply don't have the resolution needed for intricate jewelry. The layer lines are too visible, and tiny details just disappear. For jewelry, we absolutely need a resin 3D printer.
These are usually SLA (Stereolithography), DLP (Digital Light Processing), or LCD (Liquid Crystal Display) printers. They cure liquid resin layer by layer using a UV light source. The resolution on these machines is incredible, often down to 20-50 microns per layer, which is perfect for jewelry details. In India, popular and affordable options include:
- Anycubic Photon series: Models like the Anycubic Photon Mono X2 or Photon Mono 2 are fantastic workhorses. You can get a good one for around ₹30,000 - ₹40,000.
- Elegoo Mars series: Similar price and performance to the Anycubics.
- Phrozen Mini series: Also excellent, known for their precision.
You can find many of these on Amazon.in. For example, a popular choice like the Anycubic Photon Mono 2 can be found here: Anycubic Photon Mono 2 on Amazon.in.
The Star of the Show: Castable Resin
This isn't just any resin. Castable resin is specifically formulated to burn out completely in a kiln, leaving behind no ash, which can contaminate your molten metal and ruin a cast. There are several great brands available in India now:
- BlueCast: A premium option, excellent for intricate details and clean burnout. A 500g bottle can range from ₹6,000 to ₹8,000.
- Siraya Tech Cast: Another highly regarded option, I've had great results with this one too. Similar price range.
- Anycubic Castable Resin: More budget-friendly, good for less critical pieces or practicing. Around ₹4,000 - ₹5,000 for 500g.
These resins require specific burnout schedules, which are different from traditional jeweler's wax. It's crucial to follow the resin manufacturer's guidelines to avoid issues like thermal expansion damage to the investment or incomplete burnout. You can search for various castable resins here: Castable resin on Amazon.in.
The Printing Process: More Than Just Hitting Print
- Slicing Software: Once you have your 3D model (the STL file from your scan), you load it into slicing software like Chitubox or Lychee Slicer. These programs convert your 3D model into printable layers.
- Orientation is Everything: For jewelry, orienting your model correctly on the build plate is crucial. You want to minimize supports on critical aesthetic surfaces and ensure strength during printing. Often, tilting it at an angle works best.
- Supports, Supports, Supports: These tiny structures hold your model to the build plate and support overhangs during printing. For delicate jewelry, getting support placement right is an art form. Too many, and you scar the model when removing them; too few, and your print fails. I usually go for light auto-supports, then manually add or tweak them in critical areas.
- Printing and Post-Processing: Once printed, the resin model needs to be washed in IPA (Isopropyl Alcohol) to remove uncured resin, and then UV cured to fully harden. Sometimes, a bit of light sanding or careful trimming with a hobby knife is needed to remove support nubs.
The Final Step: Lost Wax Casting with Your Resin Master
Now you have a resin pattern that is an exact replica of your original, intricate jewelry piece. This is where it plugs seamlessly into the traditional lost wax casting process:
- Spruing: Attach a wax or resin sprue (a channel for molten metal) to your resin pattern.
- Investing: Place your sprued pattern into a flask and pour investment material (a special plaster) around it.
- Burnout Cycle: This is where it differs from traditional wax. You place the flask in a kiln and follow the specific temperature ramp-up and hold times recommended by your castable resin manufacturer. This ensures the resin burns out completely without leaving any residue, creating a perfect mold cavity. This is super important; a bad burnout means a failed cast!
- Casting: Once the burnout is complete and the mold is at the correct temperature, molten metal (gold, silver, brass, etc.) is poured or injected into the cavity.
- De-vesting and Finishing: Break open the flask, retrieve your cast metal piece, clean it, and then finish it like any traditionally cast jewelry piece – cutting off sprues, polishing, setting stones, whatever your design requires!
My Business & Your Possibilities: Artopia Collections
Honestly, this workflow has been a game-changer for my small business, Artopia Collections. It allows me to take on intricate custom orders that would have been impossible just a few years ago. I can help clients:
- Recreate Lost Heirlooms: If you have one earring, I can scan it, mirror it digitally, and print a pair.
- Restore Damaged Pieces: Scan the good parts, rebuild the damaged sections digitally, and cast a perfect replacement.
- Produce Bespoke Designs: Designers can create incredibly complex geometries in CAD, and I can bring them to life with this method.
- Mass Produce Small Batches: Once you have a perfect resin master, you can print dozens of them, saving countless hours of manual carving for small production runs.
It's all about blending the best of both worlds – the precision and speed of digital fabrication with the timeless beauty of traditional metal casting. If you're looking for unique, intricate pieces or need some custom fabrication done, do check out some of my creations and services over at Artopia Collections. We’re always experimenting with new ways to push the boundaries!
A Few Final Words of Advice
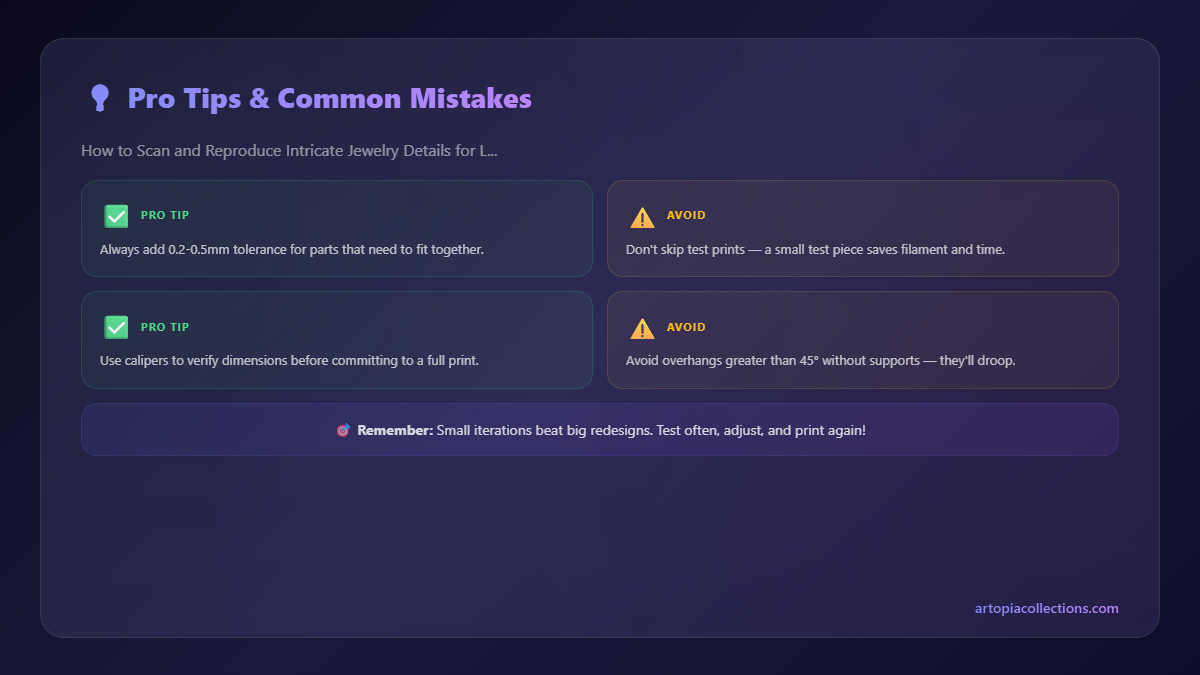
This isn't a "set it and forget it" process. It requires patience, iteration, and a willingness to learn. You'll have failed prints, failed casts, and moments where you want to pull your hair out. But when you finally hold that perfectly cast metal piece, knowing you resurrected a lost design or brought a complex vision to life, it’s an incredibly rewarding feeling. Don't be afraid to experiment with different resins, print settings, and burnout schedules. The more you practice, the better your results will be.
So, go forth and scan! Bring those beautiful, intricate jewelry details back from the brink. The future of jewelry making is here, and it's a beautiful blend of old and new.