How to Build a Custom Lack Enclosure for Your 3D Printer
Transform inexpensive IKEA Lack tables into a functional enclosure for your 3D printer. This guide provides all the steps to protect your prints and reduce noise.

Okay, let's be honest for a second. We've all been there. You're printing that super critical, 20-hour print for a client (or for yourself, no judgment!), and suddenly your cat decides to rub against the printer, sending a tremor through your perfectly laid layers. Or maybe you're wrestling with a particularly stubborn spool of ABS, trying to get it to stick without warping into a Picasso-esque nightmare, all while the smell of molten plastic fills your workshop – and, let's face it, probably your living room too. Sound familiar? That, my friends, is exactly why you need a good enclosure for your 3D printer. And today, I'm going to walk you through building one of the most popular, cost-effective, and frankly, coolest options out there: the IKEA Lack enclosure.
I remember when I first started my little 3D printing business, Artopia Collections, right here in India. My trusty Ender 3 Pro (an absolute workhorse, by the way!) was sitting on an open table, gathering dust like it was nobody's business. Every now and then, a sudden draft would mess with my prints, especially when I dared to try something other than PLA. The noise, the dust, the temperature fluctuations – it was all part of the "charm," I guess. But charm doesn't cut it when you're trying to deliver quality, consistent prints. That's when I stumbled upon the magic of the Lack enclosure, and honestly, it changed my printing game overnight. It's not just a box; it's a dedicated climate-controlled chamber that elevates your prints, protects your machine, and frankly, makes your setup look a hundred times more professional.
Why a Lack Enclosure, You Ask?
The thing is, you could build an enclosure out of anything, right? Plywood, aluminium profiles, even cardboard if you're feeling adventurous (please don't, for safety's sake!). But the IKEA Lack table, a humble ₹499 piece of furniture, is practically purpose-built for this. It's lightweight, surprisingly sturdy for its price, readily available in most major Indian cities with an IKEA, and incredibly modular. People have been stacking these things, drilling into them, and transforming them into printer enclosures for years, and there's a good reason why it's become the go-to solution. It's affordable, looks decent, and provides a perfect framework to build upon. Plus, you get that satisfying DIY feeling without needing a full woodworking shop.
In my experience, especially with materials like ABS, ASA, or even some tricky PETG variants, maintaining a stable ambient temperature around your print is absolutely critical to prevent warping and improve layer adhesion. A good enclosure traps heat, keeping the printing area toasty and consistent. It also cuts down on noise significantly, which is a huge bonus if your printer is in a shared space. And let's not forget the dust – oh, the dust! An enclosure keeps your printer and, crucially, your delicate filament spools, clean and protected from all the environmental nasties floating around. Plus, it just looks neat and tidy, which is a big deal when clients come by or you're trying to snap some pics for your social media.
What You'll Need: The Shopping List (Indian Edition!)
Alright, let's get down to brass tacks. Here's a comprehensive list of what you'll need. I'll even try to give you some ballpark figures in INR, based on my local hardware store runs in Pune.
The Core Structure:
- IKEA Lack Tables (x2 or x3): Depending on your printer's height and whether you want an integrated filament spool holder on top, you'll need two or three tables. I'd recommend three if you have a taller printer like a Prusa MK3S or want extra space. Each table costs around ₹499. So, budget ₹1000-₹1500.
The Walls & Doors:
- Acrylic Sheets (approx. 2-3mm thick): This is for your doors and side panels. You'll need four pieces – one for the front door, one for the back, and two for the sides. The exact dimensions depend on your Lack table design, but generally, you're looking at roughly 45x45cm for the front/back and 45x30cm for the sides. I usually get mine cut to size at a local plastic fabricator. For good quality acrylic, expect to pay around ₹200-₹300 per square foot, so for four pieces, budget anywhere from ₹1500-₹2500, depending on size and thickness. You could also use polycarbonate for better impact resistance, but it's usually more expensive.
Hardware & Fasteners:
- Hinges (x2-4): Small, flush hinges are perfect for the doors. I usually use two per door. ₹20-₹50 each, so budget ₹100-₹200.
- Magnets (x2-4): Neodymium magnets are great for keeping the doors securely shut. You can either embed them or just superglue them on. ₹50-₹100 for a pack of small ones.
- Screws: Assorted small wood screws (for hinges) and possibly some M3 or M4 bolts/nuts for mounting accessories. ₹50-₹100.
- Cable Glands (optional): For a neat and secure way to route cables in and out. ₹30-₹50 each.
Tools You'll Need:
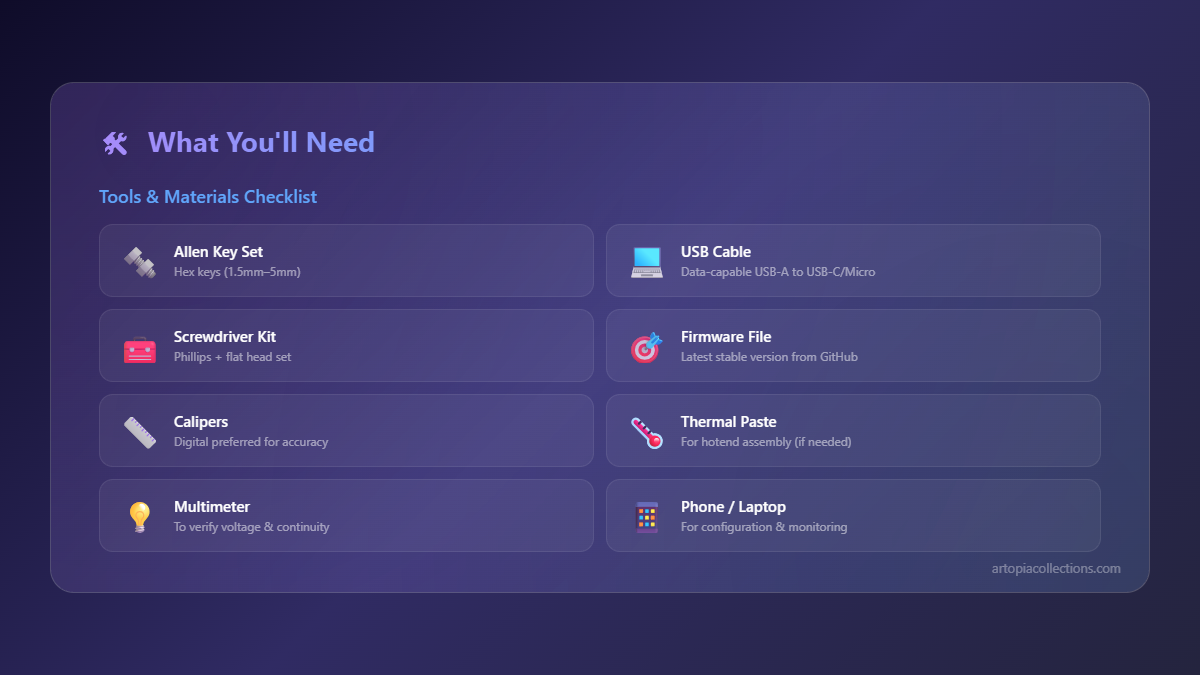
- Drill and Drill Bits: Essential for mounting hinges, cutting holes for cables, and adding accessories.
- Measuring Tape and Marker: For accurate measurements. Don't eyeball it, trust me!
- Screwdriver Set: Phillips and flathead.
- Utility Knife/Box Cutter: For scoring and snapping acrylic (if you're brave enough to cut it yourself, otherwise let the pros do it).
- Sandpaper/Files: To smooth out any rough edges on your cut acrylic or drilled holes.
- Optional: A jig saw or Dremel if you plan to cut larger openings in the Lack table (e.g., for a fan).
Optional but Highly Recommended Upgrades:
- LED Strips: Trust me, lighting up your enclosure makes a huge difference, not just for visibility but also for aesthetics. A basic USB-powered strip with adhesive backing will cost around ₹200-₹500.
- Exhaust Fan & Filter: If you're printing ABS or other smelly filaments, a small 12V DC fan (like an 80mm or 120mm PC fan) is a lifesaver. You'll need a suitable power adapter for it. Fan: ₹150-₹300. Activated carbon filter material: ₹100-₹200.
- Temperature Sensor/Controller: To monitor and potentially regulate the internal temperature. A simple digital thermometer is around ₹100-₹200.
- Fire Safety: This is a big one. A small, automatic fire extinguisher ball (like an Elide Fire Ball) inside the enclosure is a smart, albeit pricier, safety measure. They usually cost around ₹1500-₹2500, but honestly, it's worth it for peace of mind. Or at the very least, have a fire extinguisher nearby!
- Filament Dry Box: I personally keep my active filament roll inside a sealed dry box, often mounted on top of the enclosure, with desiccant. You can 3D print one or buy a ready-made one.
- 3D Printed Parts: Ah, the best part! You can 3D print custom hinge mounts, fan mounts, cable clips, spool holders, tool holders, and so much more! This is where your printer really earns its keep.
The Build Process: Let's Get Our Hands Dirty!
Okay, you've got your materials. Let's make some sawdust (or acrylic dust, rather)!
Step 1: Assemble the Lack Tables
This is the easiest part. Just follow IKEA's instructions. If you're doing a two-table stack, assemble one as-is, then stack the second on top using screws or custom 3D printed connectors to join the legs for stability. For a three-table stack, you'll basically be making a double-decker sandwich. The hollow core of the Lack table makes it super easy to drill into for mounting later.
Step 2: Measure, Measure, MEASURE, then Cut Acrylic
This is where patience is key. You need to measure the internal dimensions of your Lack table openings where the acrylic sheets will sit. Remember, you want a snug fit but not so tight that expansion causes cracking. I usually measure the opening, then subtract 2-3mm from both width and height to give myself a little wiggle room. Take your measurements to a local plastic fabricator and have them cut the acrylic for you. They have the right tools, and you'll get clean, straight cuts. Trying to cut large acrylic sheets with a utility knife can be frustrating, and the results are often less than perfect. Trust me, I've tried. If you absolutely have to cut it yourself, score it deeply multiple times with a utility knife against a straight edge, then place it over a hard edge and snap it. Wear gloves and eye protection!
Step 3: Attach the Doors
I usually opt for a front-opening door. Mark the positions for your hinges on the Lack table leg and the edge of your acrylic sheet. Pre-drill small pilot holes – this is crucial for the acrylic to prevent splitting. Attach the hinges using small wood screws. Do the same for your magnets on the opposite side to hold the door closed. Sometimes I print little magnet holders that screw into the Lack leg and hold the magnet more securely. You can do the same for the back panel if you want it removable for maintenance or to be a second door.
Step 4: The Side Panels and Cable Management
For the side panels, you can either hinge them open like the front door, or simply secure them in place permanently with some small L-brackets or 3D printed clips. I personally like one fixed side and one that's easily removable if I ever need more access. For cable routing, pick a discreet spot – usually the back or side – and drill a hole large enough for your printer's power cable and USB cable. A cable gland here makes it look really professional and prevents chaffing. Or you can print a simple cover with a slot.
Step 5: Fan and Filter Integration (if desired)
If you're adding an exhaust fan, you'll need to cut an opening in one of the Lack table panels, usually the top or back. This can be tricky with a utility knife due to the hollow core, so a Dremel or jigsaw comes in handy here. Measure your fan, trace its outline, and carefully cut. I recommend printing a fan grill and a filter holder (for activated carbon) to sandwich the fan and make it look clean. Mount the fan so it draws air *out* of the enclosure, creating negative pressure and pulling in fresh, filtered air from elsewhere (often a small vent at the bottom or just around the door seals). Power it with a separate 12V adapter or, if you're feeling adventurous, tap into your printer's PSU (be very careful if you do this!). You can find a good 12V adapter for around ₹200-₹400 on Amazon.in, or at any electronics shop.
Speaking of power, it's always a good idea to have a separate power strip inside or right next to your enclosure for your printer, fan, and lights. Something like this Philips Spike Guard would be perfect for managing all your plugs safely.
Step 6: Lighting Up Your World
This is my favorite aesthetic touch. LED strips usually have an adhesive backing. Just peel and stick them to the inside top frame of your enclosure. Route the cable out through one of your cable openings. A simple USB-powered strip is super convenient. Trust me, seeing your print clearly as it progresses is incredibly satisfying!
Step 7: Filament Spool Holder and Dry Box Integration
Many people print a filament spool holder that mounts inside the enclosure or on top. I prefer an external dry box mounted on the top Lack table, with a PTFE tube feeding the filament directly into the printer. This keeps the filament dry and reduces stress on the extruder, especially with hygroscopic filaments like Nylon or PETG. You can find excellent designs for dry box adapters on Thingiverse or Printables. A good PTFE tube (Bowden tubing) can be bought from a local printer parts supplier or online for around ₹100-₹200 per meter.
Step 8: Safety First!
This isn't optional, friends. 3D printers involve heat and electricity. While rare, fires can happen. If you can afford it, get that small automatic fire extinguisher ball. If not, at least have a proper fire extinguisher nearby and consider a smoke detector inside or directly above the enclosure. Also, ensure all your wiring is neat and secure, and don't overload electrical circuits. Use good quality filaments from reputable brands like eSUN, Overture, Skypie, or X3D, which generally adhere to safety standards.
My Personal Experience and Why It's Worth It
Honestly, building my Lack enclosure was one of the best upgrades I made for my business. Before, trying to print a large ASA part was a gamble – warping was almost guaranteed. Now, with the stable internal temperature, I can print those difficult materials with confidence. The noise reduction is also a blessing, especially since my workshop is near my living area. And the dust! My printer stays so much cleaner now, reducing maintenance and extending its lifespan. I've seen a noticeable improvement in print quality and consistency, which directly translates to happier clients and better products for Artopia Collections.
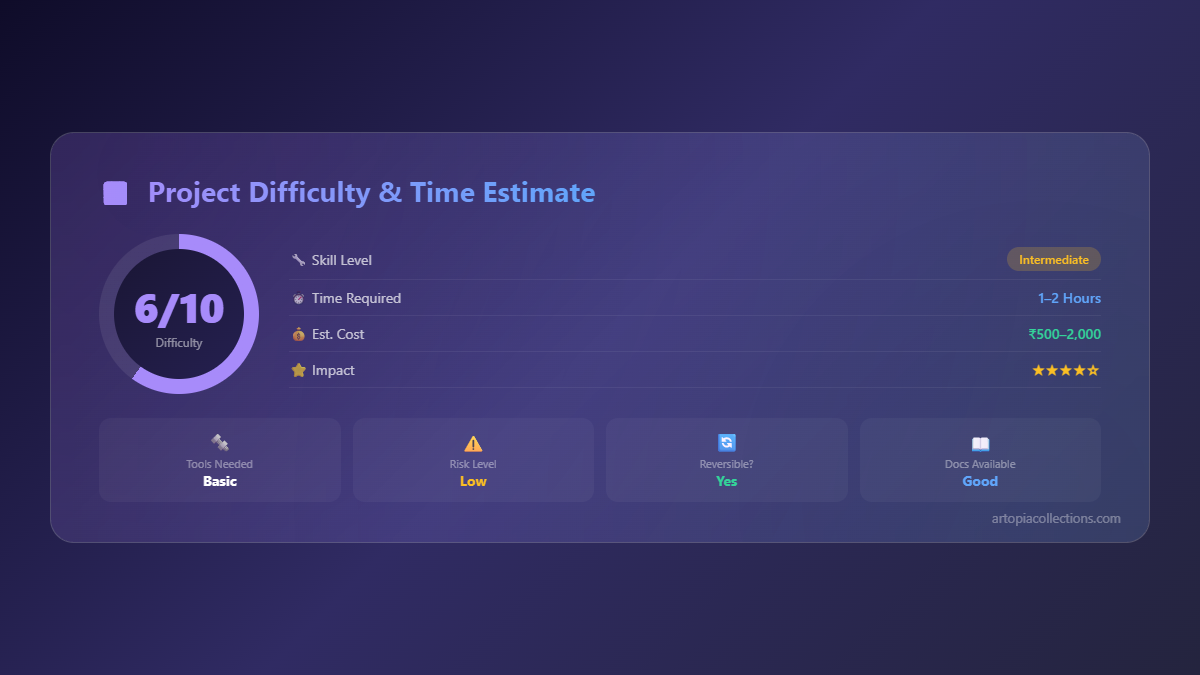
The total cost, including the Lack tables, acrylic, and all the bits and bobs, came out to around ₹3500-₹5000 for a really decent setup, not including the optional fire safety ball. That's a small investment for the huge benefits it brings. It's truly a game-changer for anyone serious about 3D printing, whether it's for hobby or business.
So, if you've been on the fence about building an enclosure, take the plunge! It's a fun, rewarding project that will pay dividends in print quality, printer longevity, and your overall sanity. Happy printing, everyone! And do share your Lack enclosure builds with me – I love seeing how creative people get!


