How to Calibrate E-Steps and Flow Rate for Perfect Extrusion
Achieving perfect 3D prints starts with accurate material extrusion. This guide walks you through calibrating E-steps and flow rate to ensure consistent, high-quality results every time.

Ever pull a print off your build plate, look at it, and just⦠sigh? You know the feeling, right? Those flimsy walls, inconsistent layers, or maybe your parts just don't quite fit together as they should. Itâs like your printer has a mind of its own, spitting out plastic that's either too much, too little, or just plain wonky. Trust me, I've been there countless times with my own setup here in India, scratching my head, wondering what went wrong. For a long time, I blamed the filament, the weather, even the stars!
But then I discovered the secret sauce, the true game-changer that transformed my prints from "meh" to "wow": calibrating your E-steps and your Flow Rate. Seriously, folks, this isn't some black magic or advanced engineering degree stuff. This is foundational, essential, and honestly, once you do it, you'll wonder how you ever printed without it. It's the difference between guessing and knowing, and itâs especially crucial when you're running a small business like ArtOpia Collections, where every single print needs to be spot-on.
So, grab a chai, settle in, because today, we're diving deep into making your printer extrude plastic like a dream. No more under-extrusion, no more elephant's foot, just perfect, dimensionally accurate prints, every single time. Letâs get started!
Why Calibration is Your Best Friend
Think of your 3D printer's extruder like a chef carefully measuring ingredients. If the chef consistently adds too much or too little flour, the cake (your print) is never going to turn out right, no matter how good the recipe (your model) is. That's basically what E-steps and Flow Rate do: they make sure your printer is pushing out the EXACT right amount of plastic. Without this, you're constantly fighting your machine, tweaking settings in your slicer that are just band-aids over a fundamental issue.
In my experience, especially with more budget-friendly printers like the Creality Ender 3 V2 or even the Anycubic Kobra series, the factory settings are often just a ballpark figure. They get you printing, sure, but they don't get you *perfect* printing. And when you're trying to create intricate designs or functional prototypes, that "ballpark" just isn't good enough. You need precision. This calibration is probably the single most impactful thing you can do for your print quality, even more than getting fancy filaments (though good filament helps too, obviously!).
Part 1: Dialling in Your E-Steps (Extruder Steps per Millimeter)
Alright, let's tackle E-steps first. What are they? Basically, E-steps tell your extruder motor how many "steps" it needs to take to push exactly 1 millimeter of filament through the hotend. Every stepper motor is a little bit different, and even the gearing on your extruder can vary slightly from the factory default. So, calibrating this is about telling your printer's brain the exact mechanical reality of *its* extruder.
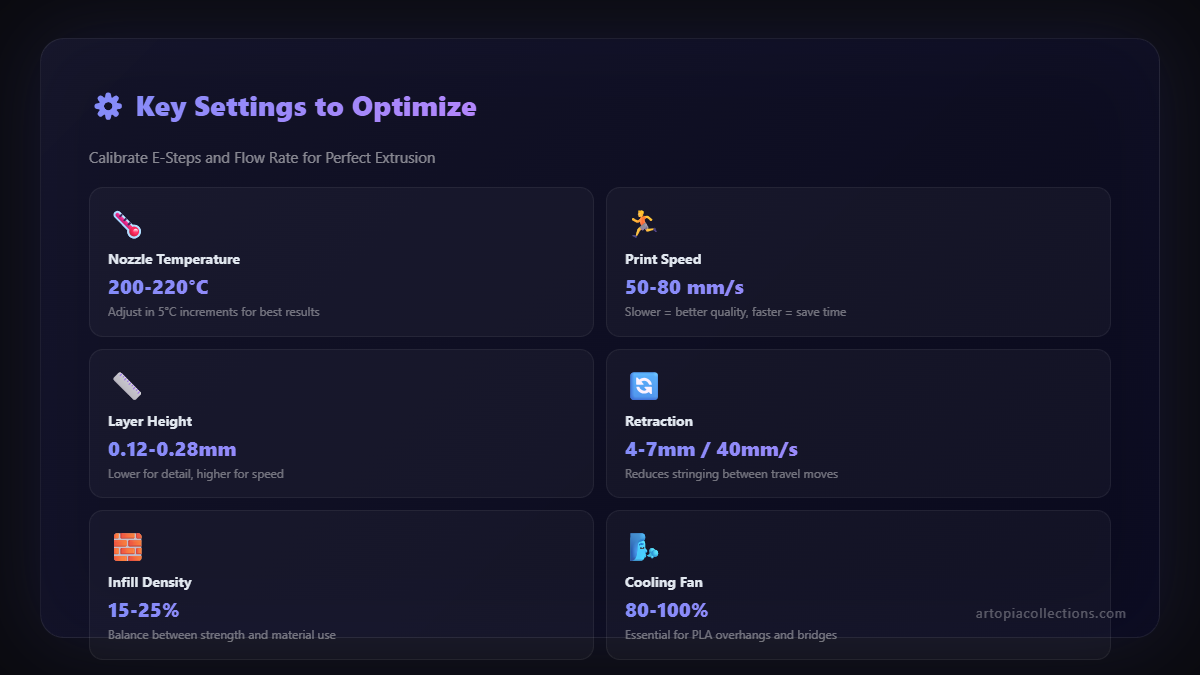
What you'll need:
- A digital caliper. Honestly, if you don't have one, get one. Itâs an essential tool for 3D printing, not just for this. You can find a decent one for about â¹500-â¹1500 online. I use something similar to this digital caliper on Amazon.in.
- A permanent marker.
- Your printer, of course, with filament loaded.
- Access to your printer's terminal (Pronterface, OctoPrint, or even through your printerâs display if it supports sending G-code commands).
The Process (Don't Worry, It's Easy!):
- Heat Up Your Hotend: Important! You need to heat your hotend to printing temperature for your chosen filament (e.g., 200°C for PLA). If it's cold, the extruder motor might skip or not push filament correctly, messing up your measurement.
- Unload Filament (or Cut it): Pull the filament back just enough so it's not in the hotend. Don't worry, we're not actually printing, just moving it through the extruder mechanism itself.
- Mark 120mm: Take your filament and mark a spot exactly 120mm (or 100mm, whatever you prefer, but 120 gives a bit of buffer) from where it enters the extruder. I usually do 120mm because it gives me 20mm of "extra" length to account for the actual extrusion.
- Extrude 100mm: Now, using your printer's control panel or a program like Pronterface (which I personally prefer for its simplicity), command your extruder to extrude 100mm of filament.
- If using Pronterface/OctoPrint, connect to your printer.
- Send the command:
G91(for relative positioning, just in case). - Send the command:
G1 E100 F100(this tells the extruder to extrude 100mm at a relatively slow feed rate of 100mm/minute). - Send the command:
G90(to switch back to absolute positioning).
- Measure What's Left: Once the extruder stops, measure the distance from the extruder's entry point to your mark. Subtract this remaining length from your initial 120mm (or 100mm, if that's what you marked). This gives you the *actual* amount of filament extruded. Let's say you marked 120mm and now 25mm remains. That means your printer extruded 120mm - 25mm = 95mm.
- Calculate Your New E-Steps: This is where the magic happens.
- First, get your current E-steps value. You can usually find this by sending
M503(for Marlin firmware) through your terminal, or looking in your printer's configuration settings. Look for the line starting withM92 E.... Let's say your current E-steps are 93. - The formula is:
(Current E-steps * Expected Extrusion) / Actual Extrusion = New E-steps - Using our example:
(93 * 100) / 95 = 97.89. So, your new E-steps value would be 97.89.
- First, get your current E-steps value. You can usually find this by sending
- Apply and Save: Now you need to tell your printer its new E-steps value.
- Send the command:
M92 E97.89(replace 97.89 with your calculated value). - Send the command:
M500(this saves the new settings to the printer's EEPROM, so it remembers them even after a power cycle).
- Send the command:
- Re-Verify (Optional but Recommended): Go back to step 3 and repeat the process. Mark 120mm, extrude 100mm, measure. You should now be much closer to 20mm remaining. If it's perfect, great! If not, just fine-tune your E-steps value again.
Boom! Your E-steps are calibrated. This is a one-time thing for your printer's hardware, unless you change your extruder, hotend, or motor. It sets the baseline for consistent extrusion.
Part 2: Fine-Tuning with Flow Rate (Filament Specific)
Okay, so your E-steps are spot on. That means your printer is mechanically pushing the right amount of filament. But here's the deal: filament isn't perfectly consistent. The diameter of a 1.75mm PLA roll from e-SUN might actually be 1.73mm, or 1.77mm, or it could vary slightly even within the same spool! And your nozzle? Its 0.4mm opening might be 0.38mm or 0.42mm. This is where Flow Rate (sometimes called Extrusion Multiplier) comes in.
Flow Rate is a percentage adjustment you make in your slicer. It's not about the mechanics of the printer, but about compensating for the actual material and how it flows through *your* specific nozzle. And this is important: **you need to do this for every different type or brand of filament.** A roll of Esun PLA+ from Amazon.in might have a different flow rate than a roll of local PETG, even on the same printer.
What you'll need:
- Your digital caliper (again, see? Indispensable!).
- Your preferred slicing software (Cura, PrusaSlicer, etc.).
- Your printer with the specific filament loaded that you want to calibrate.
The Process (A Bit of Printing Involved!):
- Print a Single-Wall Calibration Cube: This is the easiest way. In your slicer, create a simple cube (e.g., 20x20x20mm). Here are the crucial settings to change:
- Infill: 0%
- Top Layers: 0
- Bottom Layers: As few as possible (1 or 2)
- Walls/Perimeters: 1 (VERY IMPORTANT!)
- Line Width/Extrusion Width: Set this to your nozzle diameter (e.g., 0.4mm).
- Measure the Wall Thickness: Once the cube is printed (and cooled!), grab your digital caliper. Measure the thickness of the single wall in several places (at least 3-5 spots) and take an average. Don't worry if it's not perfectly consistent, just get a good average.
- Calculate Your New Flow Rate:
- Let's say your nozzle is 0.4mm, so your *expected* wall thickness is 0.4mm.
- You measure the actual wall thickness, and it comes out to 0.44mm. This means you're over-extruding.
- Your current Flow Rate in your slicer is probably 100% (or 1.0).
- The formula is:
(Expected Thickness / Actual Thickness) * Current Flow Rate = New Flow Rate - Using our example:
(0.4 / 0.44) * 100% = 90.9%. So, your new flow rate should be around 91%. - If your wall was 0.38mm, then
(0.4 / 0.38) * 100% = 105.2%. You'd need to increase your flow.
- Adjust in Your Slicer: Go into your slicer's settings (usually under "Material" or "Extrusion") and find the "Flow" or "Extrusion Multiplier" setting. Adjust it to your calculated percentage. For example, in Cura, you'd change the "Flow" from 100% to 91%.
- Re-Verify (Definitely Recommended!): Print another single-wall cube with the *new* flow rate setting. Measure again. It should be much closer to your expected wall thickness (0.4mm for a 0.4mm nozzle). You might need to do this a couple of times to really nail it down. I personally like to get it within +/- 0.01mm.
And there you have it! Your Flow Rate is now calibrated for that specific filament. Remember, change filament, calibrate flow. It's a small step that makes a huge difference.
The Synergy: E-Steps and Flow Rate Together
So, why do both? E-steps establish the mechanical accuracy of your extruder. It's like setting the precise gear ratio on a bike. Once that's right, it's right. Flow Rate then fine-tunes the *actual volume* of plastic that comes out, accounting for the unique properties of each filament and nozzle. It's like adjusting the tire pressure for optimal performance on different terrains, even though your bike's gears are already perfect.
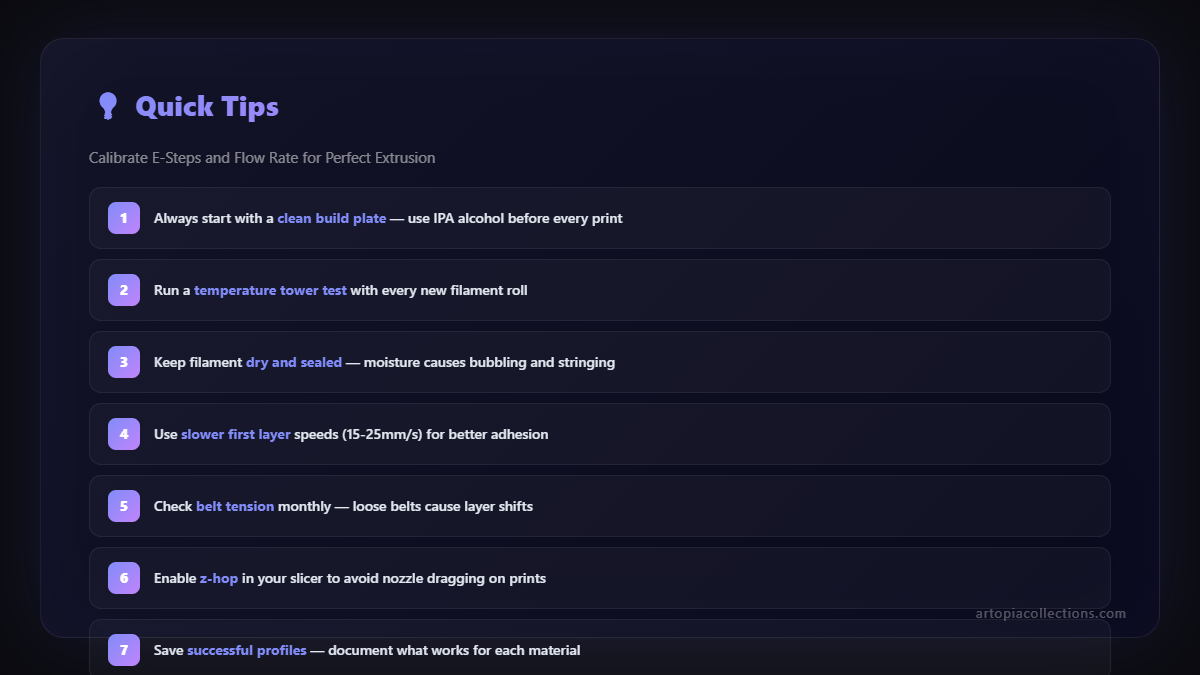
Together, they ensure that when your slicer tells your printer to lay down a line that's 0.4mm wide and 0.2mm high, it actually *does* that. This means better dimensional accuracy for your parts, stronger layer adhesion, and vastly improved aesthetics â no more blobs, stringing, or gaps in your top layers. It's pure bliss when everything just clicks.
Honestly, this calibration is the bedrock of good 3D printing. Itâs the first thing I do with any new printer or when I start using a new filament brand that I haven't tested before. It saves so much time and frustration down the line, believe me. If youâre like me and you enjoy creating cool stuff, you can see some of the designs I work on and print over at ArtOpia Collections. Getting these prints perfect relies heavily on these basic calibration steps.
A Few Last Tips from My Workshop:
- Be Patient: Don't rush these steps. Take accurate measurements.
- Consistency is Key: Use the same measurement tool, the same filament, and the same settings for each step of the calibration.
- Humidity Matters: Especially in places like India, humidity can affect filament. Store your filament properly in dry boxes. Wet filament can lead to inconsistent extrusion even with perfect calibration.
- Nozzle Wear: Over time, brass nozzles wear down, especially with abrasive filaments. This can subtly change your flow rate. If you print a lot, consider replacing nozzles periodically, or upgrading to hardened steel nozzles.
Don't be intimidated by the numbers or the G-code. It looks complex, but it's really just a few simple steps that you'll quickly master. Once you've done this, your printer will be a finely tuned extrusion machine, ready to tackle anything you throw at it. Your prints will look better, your parts will fit better, and youâll spend less time troubleshooting and more time creating. Happy printing, my friends!


