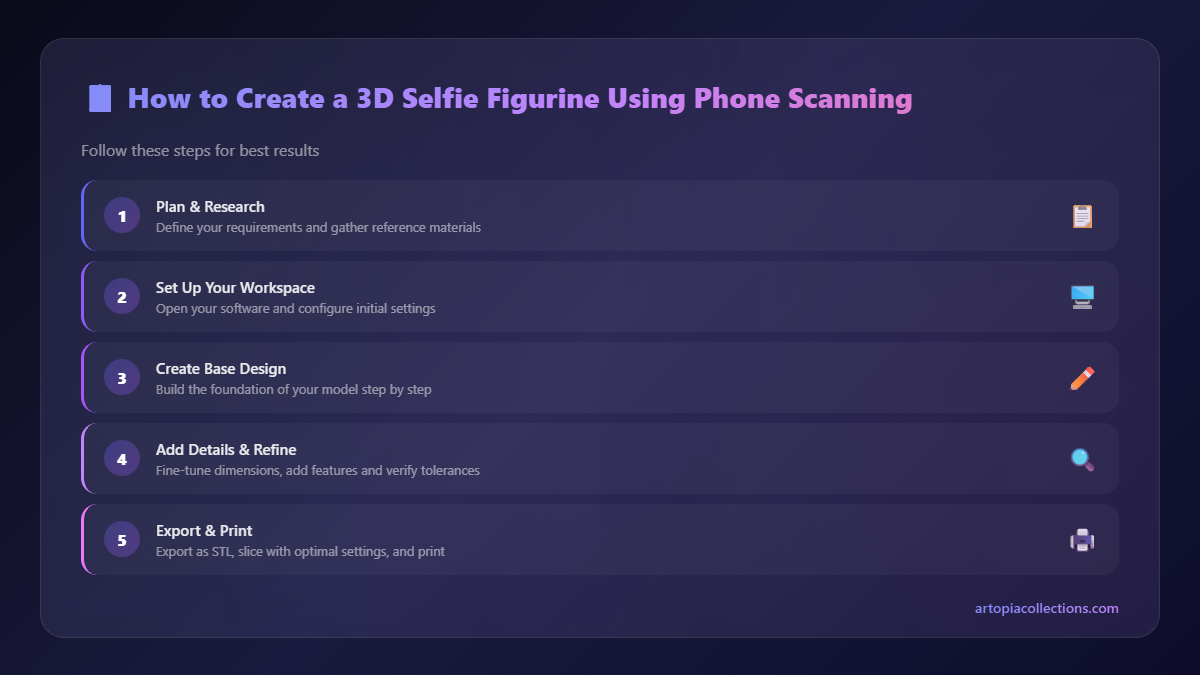
How to Create a 3D Selfie Figurine Using Phone Scanning
Transform yourself into a miniature 3D figurine using just your phone. This guide shows you how to scan yourself and bring your 3D selfie to life.
Artopia Collections Blog Team24 May 202614 min read

Ever Dreamed of Holding Yourself in Your Hand? Make a 3D Selfie, Right From Your Phone!
Listen, you know that feeling when you scroll through old photos on your phone? Those flat, static memories, right? What if I told you that with just your phone, a bit of patience, and a whole lot of creative spirit, you could literally pull those memories into the real world? No, I'm not talking about flat prints. I'm talking about a full-blown, miniature, 3D version of *you*. A 3D selfie figurine, perfect for your desk, a unique gift, or just because, well, it's unbelievably cool. As someone who lives and breathes 3D printing here in India, and runs Artopia Collections, I can tell you, this isn't science fiction anymore. It's totally doable, and it's probably easier than you think!The Magic Behind the Miniature You: Why a 3D Selfie?
So, why bother making a 3D selfie? Honestly, the reasons are as varied as the people I meet. For some, it's a memento of a special occasion – a graduation, an anniversary, or even a pregnancy. Imagine a tiny figurine of yourself from your wedding day! For others, it's about capturing a moment in time, especially kids. They grow up so fast, don't they? A 3D print freezes that adorable phase forever. And for us hobbyists? It's the ultimate personal project. It’s a chance to push the boundaries of what you can create, to bridge the digital and physical worlds in a truly intimate way. I've seen people make figurines of their pets, their partners, even their entire families. It’s personal, it’s heartwarming, and it’s a conversation starter like no other.Forget Those Fancy, Expensive Scanners – Your Phone is the Hero!
Now, before you stop reading, thinking, "Oh, but I need some super expensive, industrial 3D scanner that costs lakhs of rupees," hold on a minute! That's simply not true anymore. Technology has come so far, and honestly, it's mind-blowing. The thing is, many modern smartphones – especially newer iPhones with their LiDAR sensors, but even a good Android phone with photogrammetry apps – are surprisingly capable of capturing enough data to create a printable 3D model. I've personally experimented with a bunch of apps, and the results I get from just a phone are often good enough for a decent figurine, especially when printed at a smaller scale. You don't need a ₹5 lakh scanner; you just need your everyday device and a bit of know-how. And that's exactly what I'm going to share with you today.What You'll Need to Get Started (The Bare Minimum, My Friend)
Alright, let's break down the toolkit for your 3D selfie adventure. It's not much, promise! 1. Your Smartphone: This is your primary weapon. If you have an iPhone 12 Pro (or newer) or an iPad Pro with a LiDAR scanner, you're in for a treat. LiDAR makes scanning incredibly quick and accurate. But don't worry if you don't; good Android phones work too, albeit with a bit more effort on your part to ensure good lighting and steady movement. 2. A Scanning App: * For LiDAR-equipped iPhones/iPads: My go-to is Polycam. It's fantastic, super intuitive, and gives great results. There's a free tier for a few scans, but honestly, the pro subscription (around ₹1000/month or ₹8000/year, last I checked) is worth it if you're serious. Scandy Pro is another great option. * For Android and older iPhones (Photogrammetry): Apps like Kiri Engine (also available on iOS) or Metashape (desktop software, but some apps can process on device/cloud) use photogrammetry, which stitches together hundreds of photos. It takes longer and requires more precision, but the results can be excellent. 3. A Well-Lit Space: This is absolutely crucial. Natural, even lighting is your best friend. Avoid harsh shadows or direct sunlight. A brightly lit room with diffused light is ideal. 4. A Clutter-Free Background: The simpler, the better. A plain wall is perfect. Too many objects confuse the scanning app and introduce noise. 5. A Patient Friend (Optional, But Highly Recommended!): Trust me on this one. Trying to scan yourself is like trying to give yourself a haircut in a mirror – doable, but awkward and often imperfect. A friend can get those tricky angles and ensure a smoother, more complete scan. 6. A Computer with Internet: You'll need this for post-processing the scanned model, converting file formats, and eventually slicing it for your printer. Don't worry, even a basic laptop will do. 7. 3D Modeling Software (Free Options are Great!): Meshmixer, Blender, or even the online tool Tinkercad can be used for cleaning up your scan. We'll talk more about this.Let's Get Scanning! The Step-by-Step for Your Digital Double
Okay, time for the main event! This is where your phone turns into a magic wand.1. Prep Your Subject (That's You!)
* Posing: Choose a pose you can hold *very* still for a few minutes. Standing with your arms slightly away from your body is good; folded arms or hands on hips can create difficult-to-scan areas. Avoid complex, thin elements like loose hair or dangling jewelry if you're a beginner, as they can be tricky for the scanner. * Clothing: Solid, matte colours are generally best. Shiny, reflective, or very dark/black clothing can confuse the scanner. * Stillness: This is key. Tell
2. Prep Your Space
* Lighting: Again, even, diffused light is paramount. If you have softbox lights, great! If not, stand near a large window on an overcast day, or use multiple lamps with diffusers, angled to eliminate harsh shadows. * Background: A plain, light-coloured wall works wonders. Remove any wall hangings, plants, or furniture that might be too close.3. The Scanning Process Itself (Go Slow, Be Steady!)
* Start the App: Open your chosen scanning app (e.g., Polycam). Most apps will guide you through calibration if needed. * Initial Frame: Position yourself (or your friend) in the centre of the frame. * Slow, Steady Circles: This is crucial. Begin scanning from a medium distance (say, 1-1.5 meters away). Start circling your subject *very slowly and steadily*. Think of it like a slow-motion orbit around a planet. * Multiple Passes: * Mid-level pass: Go around your subject at waist/chest height, capturing a full 360-degree view. Overlap your scanning path significantly. * Lower pass: Slowly move down, circling again at knee/feet level, making sure to capture the base where the feet touch the ground (this helps later with stability). * Upper pass: Go up, circling at head/shoulder level, getting the top of the head. * Get Those Tricky Bits: Pay special attention to areas like under the arms, between the legs, and behind the ears. These are common "missed spots" that lead to holes in your model. Tilt your phone slightly to capture these angles. * Maintain Distance: Try to keep a consistent distance from your subject throughout the scan. Too close or too far can affect scale and data quality. * Review: Many apps will show you a live preview of the mesh being built. Look for any grey areas or gaps, and rescan those areas if needed. * End Scan: Once you're confident you've captured everything, stop the scan and let the app process. This might take a few minutes. I won't lie, the first few times you try this, it's gonna feel a bit awkward, maybe even silly. (I know I looked like I was doing some weird dance routine in my living room trying to get my own scan!) But honestly, practice makes perfect. And remember, you can always try again!From Raw Data to Printable Model: The Post-Processing Magic
Alright, you've got your raw 3D scan! Chances are, it's not perfect. It'll have some noise, maybe a few holes, and definitely some weird floating bits from the background. This is where post-processing comes in. 1. Export Your Scan: Most apps allow you to export in standard 3D formats like OBJ or PLY. Sometimes you'll get an STL directly, but OBJ/PLY are more common for raw scans. 2. Import into 3D Software: I personally love Autodesk Meshmixer for this kind of cleanup. It's free, surprisingly powerful, and relatively easy to learn the basics. Blender is another fantastic (and free!) option, but it has a steeper learning curve. 3. Clean Up the Noise: * Crop: First, get rid of all the extraneous background data. Use the "Plane Cut" or "Select" tools to remove anything that isn't your figurine. * Smooth: Scans can be a bit bumpy. Use the "Smooth" brush or tool to gently even out surfaces. Don't overdo it, or you'll lose detail! * Fill Holes: This is critical. For 3D printing, your model needs to be "watertight" – meaning no open edges or holes. Meshmixer has a "Make Solid" or "Inspector" tool that can automatically detect and fill small holes. For larger holes, you might need to manually bridge them. * Remesh/Reduce Polygons: Raw scans can have millions of polygons, which are too heavy for some slicers or printers. Use a "Reduce" or "Remesh" function to simplify the geometry while trying to preserve detail. Aim for something under 500,000 polygons for a smooth printing experience on most FDM printers. 4. Orient and Scale: Make sure your model is standing upright and is roughly the size you want. You can scale it later in your slicer, but having a good starting point helps. 5. Export as STL: Once your model is clean, watertight, and optimized, export it as an STL file. This is the universal language for 3D printers. This cleanup phase takes patience. It's like digital sculpting. But the more effort you put in here, the better your final print will look, trust me!Time to Print! Slicing and Bringing Your Selfie to Life
Now for the truly exciting part: watching your digital self become a physical object! 1. Slicer Software: You'll need a slicer program like Ultimaker Cura, PrusaSlicer, or Simplify3D. These programs take your STL file and convert it into G-code – instructions your 3D printer understands. 2. Choose Your Filament: * For figurines, I almost exclusively use PLA filament. It's easy to print, comes in tons of colours, and doesn't smell much. Brands like eSUN, Overture, and Eryone are widely available in India and give consistently good results. You can find a decent 1kg roll for around ₹1500-₹2000. * For a more detailed, smoother finish, especially for smaller figurines, resin p