How to Create Custom Stamps and Embossing Tools in Fusion 360
This guide teaches you how to design custom stamps and embossing tools using Fusion 360. You'll learn the full process from initial sketch to final 3D model, ready for manufacturing.

Unlocking Creativity: Crafting Custom Stamps and Embossing Tools with Fusion 360 (The Indian Way!)
Ever had that moment when you’re working on a project, maybe some custom packaging for your small business, or a unique gift for a friend, and you just KNOW a custom stamp would make it pop? You scour Amazon, you check local craft stores, but you can’t find exactly what’s in your head. Or maybe you find one, but it’s ₹500 for a tiny, generic design? Ugh. Been there, done that, and honestly, it’s frustrating. But guess what? As a 3D printing enthusiast and small business owner right here in India, I'm here to tell you that with a little bit of Fusion 360 magic and your trusty 3D printer, you can literally print your own!
I’m Vidyut, and here at ArtOpia, we're all about bringing custom ideas to life. I’ve personally saved so much money and injected so much unique personality into my own products by designing and printing my own stamps and embossing tools. It's not just about the cost savings, you know? It's about that incredible feeling of holding a physical object that was just an idea in your head a few hours ago. That’s why I'm super excited to share how you can do it too, step-by-step, using Fusion 360.
Why Fusion 360 for Stamps and Embossing?
Now, I know what some of you might be thinking, "Fusion 360? Isn't that for engineers?" And yeah, it is, but it's also incredibly powerful for hobbyists and small business owners like us! The thing is, while there are simpler CAD programs out there, Fusion 360 gives you so much control and precision, which is absolutely critical for something like a stamp where crisp lines and accurate depths really matter. Plus, for personal use and small businesses (if you meet their revenue criteria), you can get a free personal license! Can't beat that, right?
I've used it for everything from designing custom jigs for my workshop to creating intricate parts for my models. And for stamps and embossers, it's just perfect. You can import vector graphics (SVGs are your best friend here!), manipulate text, and extrude shapes with incredible accuracy. Let's dive into how we actually make these beauties.
Designing Your Custom Stamp in Fusion 360: The Basics
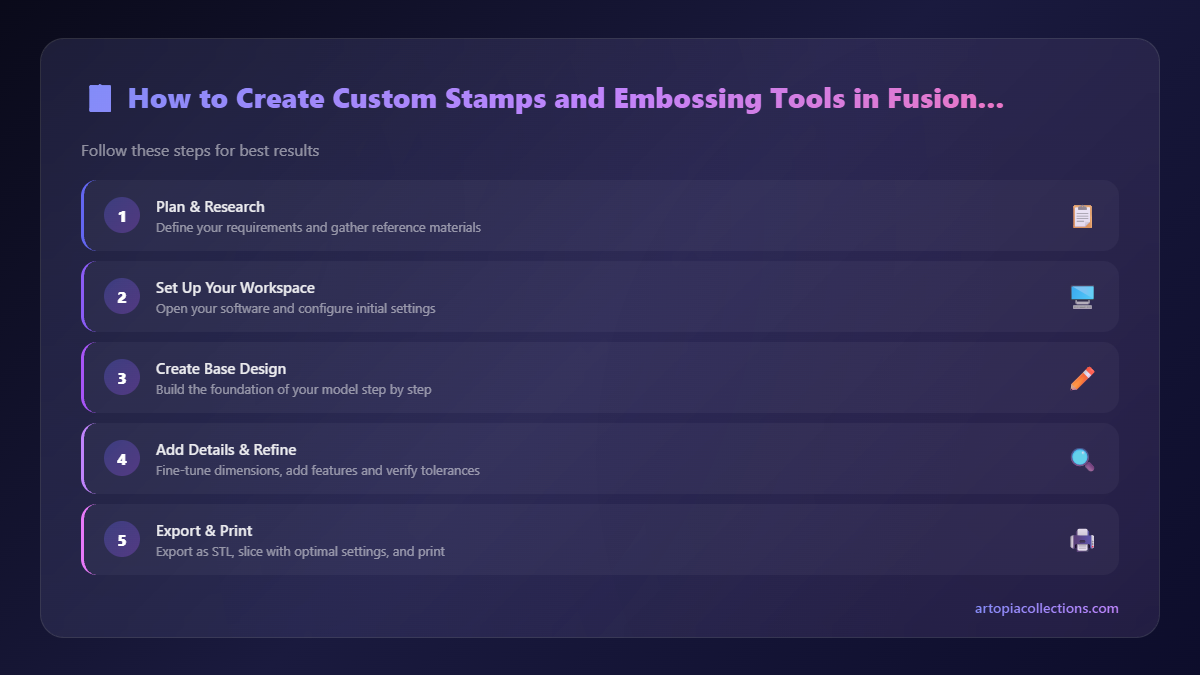
Alright, let’s get into the nitty-gritty. This isn't a full Fusion 360 tutorial series (that would be an entire YouTube channel!), but I'll walk you through the core steps. Assume you've got Fusion 360 open and you're ready to make some magic.
Step 1: Sketching Your Vision (or Importing It!)
First things first, you need a canvas. Create a new sketch on the XY plane. This is basically your drawing board. Now, what do you want your stamp to say or look like? For logos or intricate designs, I always recommend using an SVG (Scalable Vector Graphic). Why SVG? Because they're vector-based, meaning they won't pixelate when you scale them, and Fusion 360 loves them. If you have a JPG or PNG, you can usually convert it to SVG using free online tools or vector software like Inkscape.
To import: Go to Insert > Insert SVG. Select your SVG file and place it on your sketch. Adjust the size as needed. Make sure it's scaled correctly; a small stamp might be 30mm x 30mm, a larger one could be 50mm x 50mm. I usually just eyeball it initially and then fine-tune later.
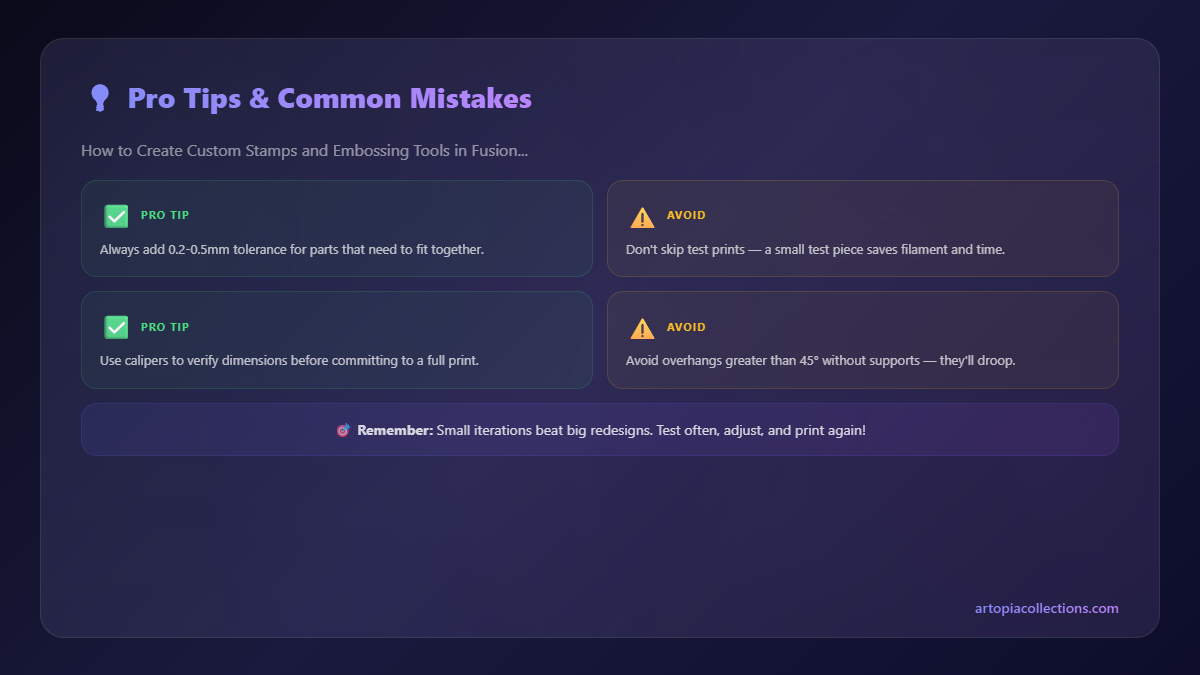
If you're doing text, it's even easier. Select the Text tool from the Sketch palette. Click on your sketch plane, type out your text, choose your font (Arial, Calibri are good defaults, but experiment!), size, and alignment. And here's a critical tip, friends: if you're using a fancy font, make sure its lines are thick enough to be printable. Super thin, wispy fonts just won't come out well on a FDM printer, trust me on this one!
Step 2: The Magic of Extrusion (And the Crucial Reversal!)
Once your design is laid out on the sketch, finish the sketch. Now, we're going to give it some dimension. Select the parts of your design you want to be raised on the stamp. Go to Create > Extrude. For a typical stamp, I extrude the design outwards by about 1.5mm to 2mm. This gives enough relief for the ink to transfer cleanly without the background touching the paper.
STOP! IMPORTANT STEP ALERT! This is where most beginners (and I did this too, more times than I care to admit!) make a mistake. Think about it: a stamp makes an impression. If you want the text to read correctly on paper, the stamp itself needs to be mirrored. So, before you do anything else, go back to your sketch, select everything, and use the Mirror tool (under Sketch > Mirror). If you've already extruded, you can usually mirror the body, but it's cleaner to do it at the sketch stage. Seriously, save yourself the wasted filament and do this! Otherwise, your "Artopia" stamp will print as "aipotrA" on your packaging, and that's just a headache.
Step 3: Building the Base and Handle
Now that your design is extruded (and mirrored!), we need a base to hold it all. Create another sketch, this time on the bottom face of your extruded design. Draw a rectangle or circle around your design, making sure there's at least 3-5mm of border. Extrude this new sketch outwards, creating a solid base. I usually make the base about 5-8mm thick. This provides stability.
Finally, a handle! No one wants to get their fingers inky trying to press a flat stamp. On the back of your base, create another sketch. Draw a circle (or whatever shape you want your handle to be). Extrude this upwards by, say, 20-30mm. You can even add a little ergonomic curve or a hole for a keyring if you're feeling fancy. Make sure all these new extrusions are set to "Join" so they become one solid body.
And there you have it! Your first custom stamp, ready to be exported as an STL file for slicing.
Level Up: Creating Custom Embossing Tools in Fusion 360
Embossing tools are a bit different. Instead of just pressing ink, you're creating a raised (or debossed) texture on material, typically paper, cardstock, or even some softer clays. This usually involves two parts: a "male" die (the raised part) and a "female" die (the corresponding recessed part).
Step 1: Design Your Positive (Male) Die
Just like with the stamp, start with your design in a sketch. Import your SVG or type your text. For embossing, you don't need to mirror the design if you want it to appear correctly on the front of your embossed material. Think about how the final product will look.
Extrude your design. For embossing, you generally want less depth than a stamp, maybe 0.8mm to 1.5mm, depending on the material you're embossing. Too deep, and you might tear the paper. This will be your "male" part.
Add a sturdy base to this male die. Again, about 5-8mm thick. You can even add registration pins or holes to this base, which we'll use in the female die to ensure perfect alignment. Just sketch small circles on two corners and extrude them up a millimeter or two.
Step 2: Crafting the Negative (Female) Die
Now for the clever part. We need the inverse of our male die. Create a new component or body to keep things clean. Start by creating a rectangular or circular block that's slightly larger than your male die's base. This will be the main body of your female die. Give it a thickness of at least 10-15mm to ensure it's robust.
Here's how to make the cut: Use the Combine tool (under Modify > Combine). Your target body will be your new, blank female die block. Your tool body will be your male die. Set the operation to "Cut." This will basically "subtract" the male die's shape from the female die's block, leaving you with a perfect negative impression. Make sure to check "Keep Tools" if you still want your male die model.
If you added registration pins to your male die, you'll see corresponding holes in your female die now. This is gold for aligning the two pieces when embossing!
You might want to add some chamfers or fillets to the edges of your embossed design (both male and female) to prevent sharp edges from tearing paper, especially on delicate materials. Use the Fillet tool for this.
Export both the male and female dies as separate STL files. You now have a custom embossing set!
Slicing and Printing Your Masterpiece (The Indian Filament Scene!)
Once you have your STL files, it's time to bring them to life on your 3D printer. I personally use PrusaSlicer for most of my prints, but Cura is another fantastic, free option that works wonderfully. The settings are crucial for a good stamp or embosser.
- Filament Choice: For stamps and embossing tools, PLA (Polylactic Acid) is usually my go-to. It's rigid, prints easily, and is affordable. Brands like eSun, Overture, Protoprint (an Indian brand, check them out!), or even Amazon Basics PLA are excellent and readily available in India, usually costing anywhere from ₹1200 to ₹2000 per kilogram. PETG is another good option if you need a bit more durability or resistance to moisture, but it can be a little trickier to print.
- Layer Height: For stamps, I often go for a finer layer height, like 0.12mm or 0.16mm. This makes the raised details super smooth and crisp, which translates to a much better impression. For the base or handle, 0.2mm is fine.
- Infill: You want these tools to be sturdy. I generally use at least 20-30% infill, sometimes even 40-50% for high-wear parts. A strong infill pattern like rectilinear or gyroid works well.
- Walls/Perimeters: Increase your wall count! I usually print with 3-4 walls to ensure the outer shell is strong and the details are well-defined.
- Supports: Depending on your handle design, you might need some supports, especially if it overhangs significantly. For the actual stamp face, you generally won't need supports if you print it face-up.
- Printer: I've printed these on everything from my trusty old Ender 3 V2 (which is an amazing workhorse for ₹18,000-₹25,000) to my Anycubic Kobra 2 Neo. Even a basic, well-calibrated FDM printer can produce excellent results.
After printing, a little light sanding on the stamp face can sometimes help remove any tiny imperfections, but generally, if your printer is calibrated well, they come out pretty good. And then, the moment of truth: testing it out! Grab an ink pad, or some paper and press away!
Applications and Making Money with Your New Skills!
So, now you can make custom stamps and embossing tools. Big deal, right? Well, it IS a big deal! Think about the possibilities:
- Small Business Branding: Stamp your logo onto packaging, hang tags, or even product labels. It looks super professional and adds a handmade touch that customers love. For my ArtOpia packaging, I use custom stamps all the time!
- Craft Projects: Personalize greeting cards, scrapbooks, pottery (with clay stamps!), leather (with specialized leather presses), you name it.
- Cookie Stamps: (Food safe filament like PETG or specialized PLA is a must here!) Imagine custom messages on cookies for birthdays or events.
- Custom Embossed Stationery: Elevate your letters or invitations with beautifully embossed designs. This looks incredibly premium.
And here's the kicker: this skill isn't just for your own use. You can offer custom stamp and embossing tool design and printing services! Imagine someone needing 50 custom stamps for a wedding invitation, or a local baker wanting their logo on all their cookie packaging. You can charge a good rate for these custom items. While a traditionally made custom rubber stamp might cost ₹300-₹800, you can offer a 3D printed alternative for a competitive price, and the design flexibility is unmatched.
In my experience, I've had clients pay anywhere from ₹400 to ₹1500 for a custom-designed and printed stamp or embossing set, depending on complexity and size. It’s a fantastic way to leverage your 3D printer for passive income. We even offer some custom tooling services through our ArtOpia Collections page, and these types of tools are always in demand!
Wrapping It Up!
Creating custom stamps and embossing tools with Fusion 360 is, honestly, one of the most rewarding 3D printing projects you can undertake. It combines design, technical skill, and practical application in a way that truly enhances your creative projects or business offerings. It’s incredibly cost-effective compared to traditional manufacturing methods, especially for one-off custom designs.
So, don't be intimidated by Fusion 360. Take the plunge, watch some YouTube tutorials (there are tons of great Indian creators making them!), and experiment. You'll make mistakes, sure (I still do!), but that's part of the learning process. The satisfaction of holding that perfectly stamped or embossed item, knowing you made the tool yourself, is absolutely priceless. Go on, give it a try!
Happy printing, and may your creations always leave a perfect impression!


