How to Design Ball Joints and Articulated Figures in Fusion 360
Master the art of designing functional ball joints and fully articulated figures using Fusion 360. This guide covers essential CAD techniques to bring your movable models to life.

Unleash Your Inner Toymaker: Designing Awesome Ball Joints & Articulated Figures in Fusion 360!
Ever look at those super cool action figures or poseable statues and wish you could just… make one yourself? Like, from scratch, with all the joints moving just right? Trust me, I've been there! Staring at a static 3D print, no matter how detailed, sometimes just feels… limited, right? You want to bring your characters to life, give them personality, let them strike a pose. Well, my friend, that's where the magic of ball joints comes in, and today, we're diving deep into how to design them, and entire articulated figures, using my absolute favourite tool: Fusion 360!
Here at Artopia Collections, we get a lot of requests for custom figures, and honestly, the ability to make them articulated is a game-changer. It opens up a whole new world of possibilities, from tiny desk companions to epic poseable statues. And the best part? It's not as scary as it sounds. With a bit of patience and some Fusion 360 know-how, you'll be designing your own movable masterpieces in no time. So, grab a chai (or whatever your preferred creative fuel is!), let's roll up our sleeves, and get designing!
Understanding the Magic of Ball Joints
Before we even touch Fusion 360, let's talk about what a ball joint actually is and why it's so darn good for articulation. Basically, it's a spherical ball nestled within a socket, allowing for a wide range of rotational and pivoting movement. Think of your shoulder joint – that's a classic ball and socket. They offer much more freedom than a simple hinge, letting your figures twist, turn, and pose in almost any way you can imagine. And that’s super important for making your characters feel alive, you know?
The beauty of designing these for 3D printing is that we can control every single tiny detail. We're not limited by off-the-shelf parts; we're crafting custom joints specifically for our models. But, and this is a big "but," there's a crucial element we have to get right: tolerances. If your ball is too big for the socket, it won't fit. If it's too small, it'll be floppy and useless. Finding that sweet spot is key, and we'll cover that in detail.
Crafting Your First Ball & Socket in Fusion 360
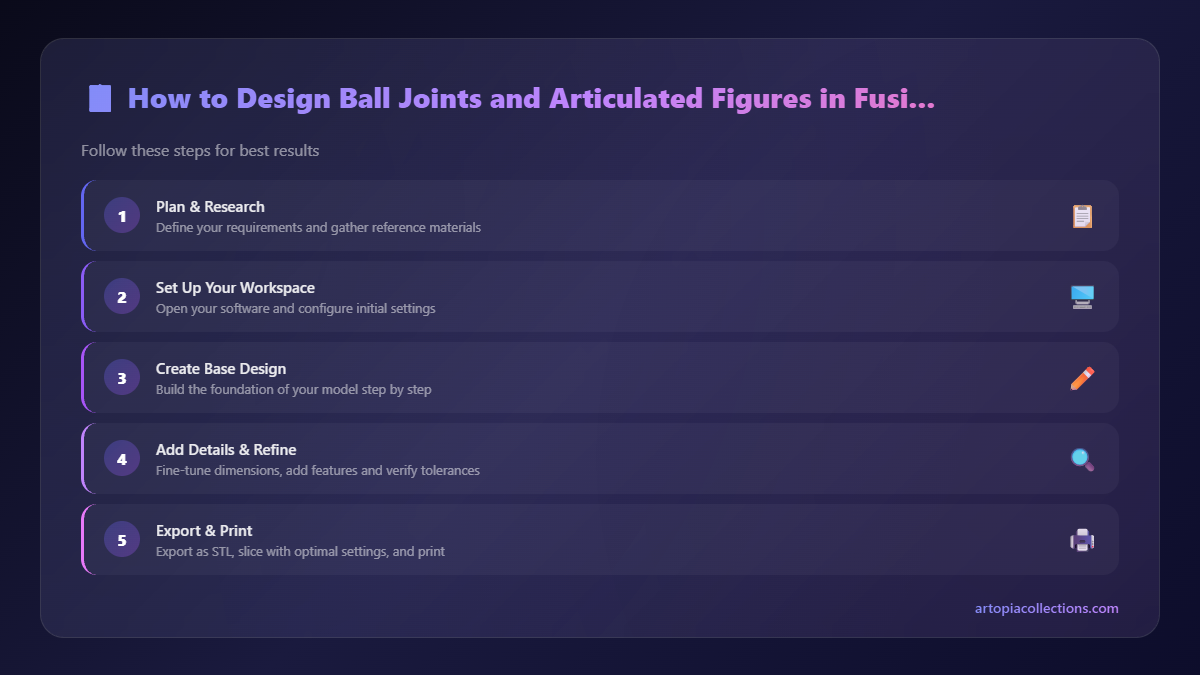
Alright, fire up Fusion 360! If you haven't used it before, don't worry, it's pretty intuitive once you get the hang of it. I personally started with it a few years ago for my Artopia Collections models and haven't looked back. It's a powerhouse!
1. Designing the Ball
This is the easy part. A ball is, well, a sphere! Here's how I usually do it:
- Start a new design.
- Go to Create > Sphere.
- Click on one of the origin planes (e.g., XY plane) and then on the origin point.
- Drag out a sphere. Let's say you want a 10mm diameter ball for a small figure. Type '10' and hit Enter. Simple as that!
Now, this ball needs to connect to something, right? Like an arm or a leg. So, we'll add a stem. This could be a cylindrical peg coming out of one side of the sphere. Use Create Sketch on the surface of the sphere, draw a circle (say, 3mm diameter) centered on the sphere's pole. Then Extrude it outwards (e.g., 5mm). Make sure the operation is 'Join'.
Pro Tip: Always add a small Fillet or Chamfer where the stem meets the ball. This distributes stress and prevents cracking when you're flexing and moving the joint. A 0.5mm fillet works wonders here.
2. Designing the Socket
This is where the magic happens, but also where tolerances become critical. The socket needs to hug the ball just right, providing friction but also allowing movement. Here’s my go-to method:
- Create a new component for the socket. This keeps things organised, especially for complex figures.
- Draw a sketch on an origin plane. Create a half-circle profile. The diameter of this half-circle should be slightly larger than your ball's diameter. This is your tolerance! If your ball is 10mm, try making this half-circle 10.2mm in diameter.
- Use the Revolve tool (under Create). Select your half-circle profile and revolve it 360 degrees around a central axis to create a hollow sphere.
- Now, we only want a socket, not a full sphere. So, you can cut away part of it. A simple way is to create an offset plane and then Extrude Cut through it. Or, just draw a rectangle over the top half of your revolved shape in a sketch and Extrude Cut. You generally want the socket to cover slightly more than half of the ball (say, 55-60%) to ensure it holds it securely.
- You also need a hole for the ball's stem. Create a sketch on the flat face of your socket, draw a circle slightly larger than your stem (e.g., if stem is 3mm, make hole 3.2mm), and Extrude Cut through it.
Remember that crucial tolerance difference? For FDM 3D printing, I usually start with a 0.15mm to 0.2mm radial difference (meaning a 0.3mm to 0.4mm difference in diameter) between the ball and the socket. So, if the ball is 10mm, the inner diameter of the socket would be 10.3mm to 10.4mm. This allows for manufacturing variations and layer lines.
Tolerance is King (and Queen!), Seriously!
Look, I can't stress this enough: tolerance is EVERYTHING for ball joints. If you get this wrong, you're going to have either a joint that fuses together or one that just flops around. Neither is fun, trust me! I've wasted a fair bit of PLA (which, even at ₹800-₹1200 per kg for good quality stuff like eSUN or Overture, adds up!) on test prints that were either too tight or too loose. It's a learning curve.
Here's the deal: every 3D printer is a little different, even two identical models. Your Ender 3 V2 (a fantastic starter printer, by the way – you can find similar models on Amazon.in) might print slightly differently than my Creality K1. Filament brands also play a role. Some filaments, especially cheaper ones, might have inconsistent diameters, which affects print accuracy. So, in my experience, the best way to dial in your tolerance is to print a small test piece.
Design a tiny ball (e.g., 5mm diameter) and a corresponding socket with varying inner diameters (e.g., 5.1mm, 5.2mm, 5.3mm). Print them out, test them, and see what works best on your machine with your preferred filament. Once you find that sweet spot, you can apply that offset to all your future ball joints. It's a small investment in time that pays off huge later!
And honestly, sometimes I still get it wrong. It’s part of the process. You just learn to iterate faster.
Integrating Joints into Articulated Figures
Once you've got your basic ball and socket down, it's time to think about how they'll become


