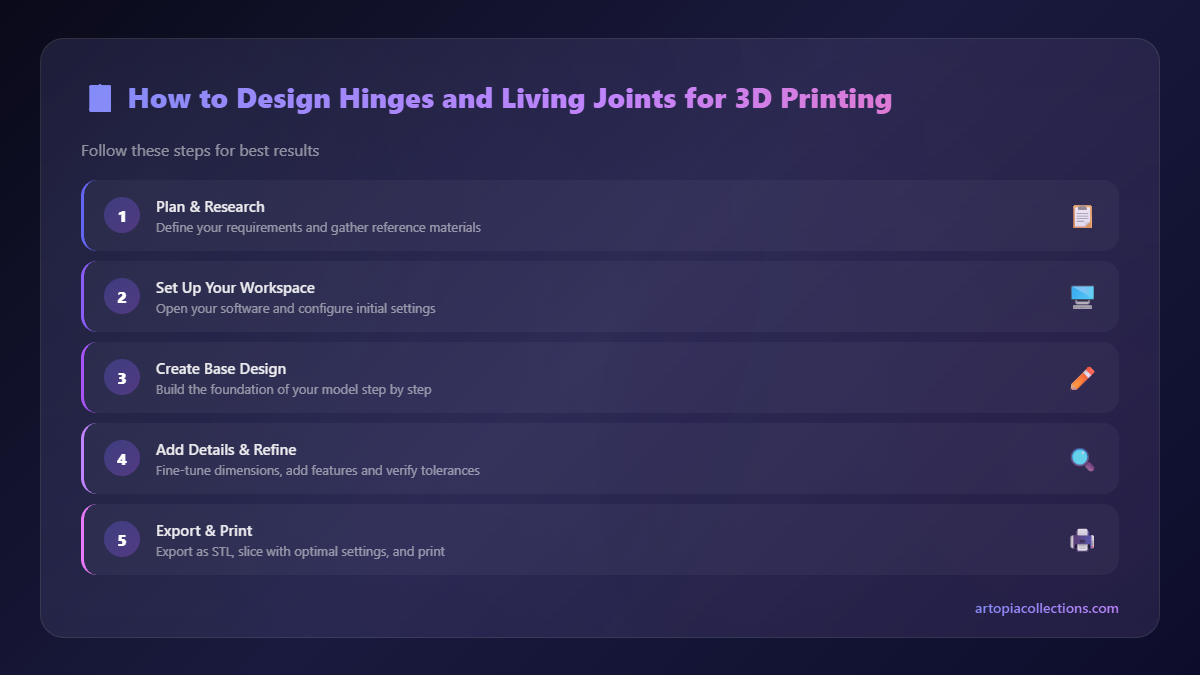
How to Design Hinges and Living Joints for 3D Printing
Designing functional hinges and flexible living joints for 3D printing requires specific considerations. This post offers a comprehensive guide to help you create strong and effective moving parts.

Ever printed something epic, a beautiful enclosure or a functional box, only to realize you need it to open and close? And then the dreaded question hits you: how do I make a hinge that actually, you know, works? Trust me, I've been there more times than I care to admit. The frustration of a perfectly printed part that just won't articulate properly is real, it's soul-crushing, and honestly, it’s one of the biggest hurdles when you’re trying to move from cool display pieces to genuinely useful 3D prints. But what if I told you that designing robust, functional hinges and living joints for 3D printing isn’t just possible, it's actually pretty straightforward once you understand a few key principles? Get ready, because we're about to unlock a whole new dimension of functionality for your prints!
Here at Artopia Collections, we're all about making things that don't just look good, but actually do something. And that often means having parts that move. From simple latches on our custom electronics enclosures to complex articulated figures (yeah, those are fun!), hinges are everywhere. It’s like magic, isn’t it? Watching a printer lay down layer after layer, and then suddenly, you have a moving mechanism right off the build plate. It’s that exact moment that still gives me a thrill, even after running this small business for years here in India.
Understanding the Two Main Types of Hinges for 3D Printing
When you're thinking about adding movement to your 3D prints, you'll generally be looking at two main categories: the classic, traditional pin hinge and the ingenious living hinge. Both have their place, their strengths, and their weaknesses, and understanding when to use which is half the battle won.
The Good Old Pin Hinge: Reliability You Can Count On
Ah, the pin hinge. This is probably what comes to mind when you hear the word "hinge." It’s basically two or more knuckles that interlock, with a pin running through them to hold everything together and allow rotation. It’s tried, tested, and true. For 3D printing, you’ve got two main approaches here: print-in-place or assembly.
Print-in-Place Pin Hinges: The 'Wow' Factor
This is where the real magic happens for me. Imagine pulling a part off your Ender 3 (or whatever beast you’re running) and it already has a fully functional hinge, ready to go. No assembly required! The trick here, my friends, is all about clearance. That tiny gap between the moving parts is absolutely critical. Too little, and your hinge fuses solid. Too much, and it's wobbly and weak.
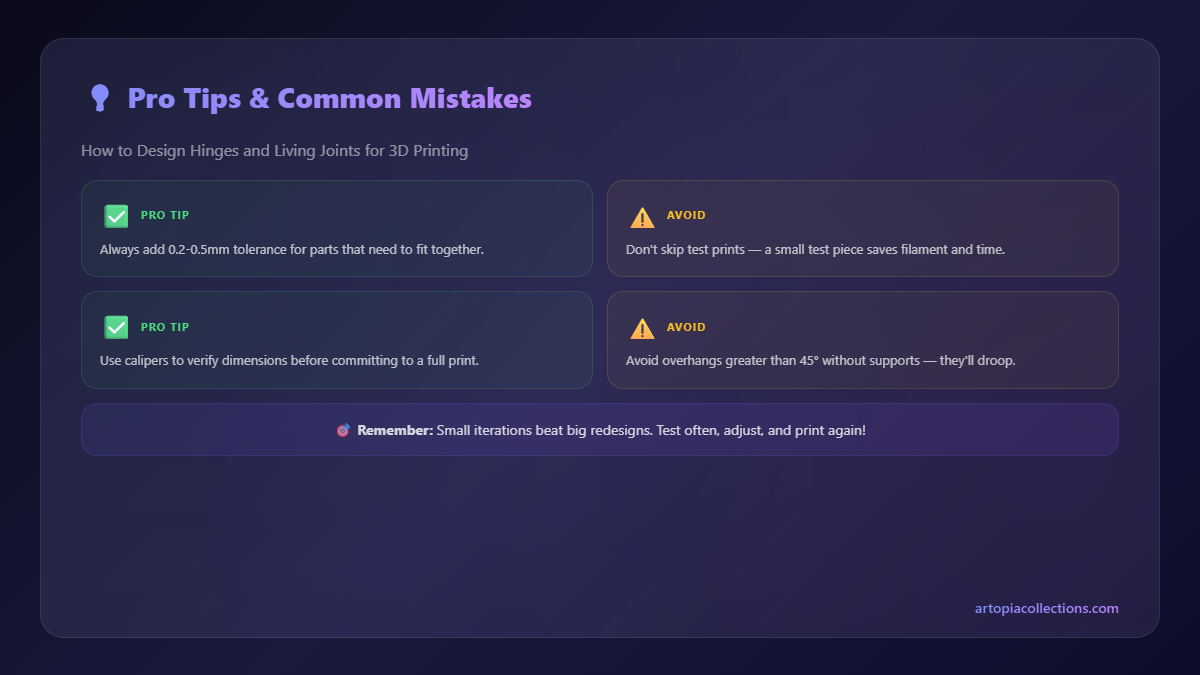
In my experience, a clearance of about 0.3mm to 0.5mm is usually the sweet spot for most FDM printers, especially with standard nozzles (0.4mm). I personally tend to lean towards 0.4mm for general purpose PLA prints. It gives just enough room for the slight inconsistencies in printing and prevents bridging issues that can lock things up. You've got to consider your printer's calibration, though. A finely tuned machine might get away with 0.3mm, while one that's a bit older or less precise might need 0.5mm. It's an art, really, and it takes some experimentation. Print a small test piece, something simple with just a couple of knuckles, and see how it feels.
And then there's the pin itself. For print-in-place designs, the pin is often an integral part of the print. You’re basically printing the knuckles and the pin all at once, separated by that tiny clearance. Sometimes, depending on the design, the pin might be a separate component that you slide in after printing. If you go that route, a piece of straightened paperclip wire, a strong filament scrap (like a bit of PETG or even carbon fiber PLA), or a small metal rod works wonders. I've even used a toothpick in a pinch! For something a bit more professional and robust, especially if you’re making something you intend to sell, investing in some small brass rods from a hardware store can be quite effective. They're usually pretty affordable, like ₹50-₹100 for a meter.
Strength and Orientation are Key
For pin hinges, strength comes from a few places. First, the wall thickness of your knuckles. Don’t go too thin! I usually aim for at least 2mm walls around the pin, but thicker is always better for high-stress applications. Second, infill. You don't necessarily need 100% infill for a hinge unless it's going to bear a lot of weight. 30-50% infill (like cubic or gyroid) is usually perfectly adequate for most functional hinges.
But here’s the kicker, the real game-changer for strength: layer orientation. This is crucial. Imagine your layers as stacked sheets of paper. If you try to bend a stack of paper along its flat side, it's pretty weak, right? But if you try to pull it apart perpendicular to the stack, it's much stronger. It’s the same with 3D prints. For a pin hinge, you want the stress to be distributed along the layers, not pulling them apart. So, try to orient your print so that the hinge pin is parallel to your build plate. This way, the forces acting on the hinge are primarily across the strong layer bonds, not trying to delaminate them.
I learned this the hard way, trust me. Printed a beautiful box with a print-in-place hinge, pulled it off the plate, moved it once, and *snap*. The layers separated right where the pin met the knuckle. Total bummer. Re-oriented the print, and boom – suddenly it was rock solid. So yeah, layer orientation: don't skip it, don't ignore it. It makes a world of difference.
The Marvel of Living Hinges: Flexible by Design
Now, living hinges are a completely different beast, and honestly, they're pure genius. Instead of separate moving parts, a living hinge is a thin, flexible section of material that connects two rigid parts. It bends and flexes repeatedly, acting as the hinge itself. This is where you get those cool 3D-printed boxes or wallets that just fold open smoothly.
But here's the deal: living hinges are incredibly material-dependent. You cannot make a good living hinge with PLA. I mean, you can try, but it'll snap after a couple of bends, maybe even just one. PLA is rigid, it's brittle. It's not designed for repeated flexing. For living hinges, you absolutely, positively need flexible filaments like PETG or, even better, TPU.
Filament Choice for Living Hinges: Not All Plastics Are Created Equal
Let's talk filaments. PETG (Polyethylene terephthalate glycol) is my go-to for many functional prints. It’s stronger than PLA, has better temperature resistance, and a decent amount of flex. You can usually find a good spool of PETG like Overture or Anycubic for ₹1600-₹2500 here in India. It prints pretty well, though it can be a bit stringy sometimes, but that’s a minor annoyance for the benefits it brings. With PETG, you can design quite robust living hinges that can withstand hundreds, maybe even thousands of cycles.
Then there's TPU (Thermoplastic Polyurethane). This is the king of flexibility. If you want something genuinely rubbery and incredibly durable, TPU is your friend. Think phone cases, flexible grippers, even drone parts. It's perfect for living hinges that need to be incredibly resilient. The downside? TPU can be a bit trickier to print. It's super flexible, which means it can jam in Bowden extruders if your retraction settings aren't just right, or if your Bowden tube has too much gap. Direct drive extruders handle it much better. Price-wise, TPU is usually a bit more expensive, often in the ₹2000-₹3500 range per kg for brands like Extrudr or eSun. But for the right application, it’s absolutely worth it.
If you're looking to stock up on some good flexible filament, I’ve had good luck with these brands. For PETG, check out PETG filament options on Amazon.in. And for tough, reliable PLA (though not for living hinges!), you can explore PLA filament on Amazon.in. Having a good variety really expands what you can create.
Designing the Living Hinge Itself: The Thinness is Key
The core principle of a living hinge is its thinness. We're talking anywhere from 0.4mm to 1.0mm for the flexible section. If your nozzle is 0.4mm, you might make the hinge 0.4mm thick (one perimeter wall) or 0.8mm (two perimeter walls). This thinness is what allows the material to bend without breaking. My personal sweet spot for PETG living hinges is usually around 0.6mm-0.8mm. For TPU, you can often go a bit thicker, maybe 1.0mm-1.2mm, because it’s inherently more flexible.
The length and width of the hinge also play a big role. A longer, wider hinge will generally be more durable and distribute stress better than a short, narrow one. Think of it like a rubber band – a thick, wide one stretches more evenly than a thin, short one. And just like with pin hinges, layer orientation is paramount! For a living hinge, you want the layers to run parallel to the direction of the bend. This ensures the stress is put across the strong length of the plastic strands, rather than pulling the weak layer bonds apart. If you print a living hinge with the layers perpendicular to the bend, it will snap almost immediately.
Finally, consider the shape. Simple straight lines are fine, but adding a slight curve or a dog-bone shape to the ends of the hinge (where the thin section transitions to the thicker, rigid parts) can help reduce stress concentrations and significantly increase the hinge's lifespan. It’s all about smooth transitions, basically, not sharp corners where stress loves to gather and initiate cracks.
Tools and Software for Design
You don't need super fancy software for this. I started with TinkerCAD for basic shapes and clearances. It's free, it's browser-based, and it's surprisingly capable for simple hinge designs. Now, I primarily use Fusion 360, which has a bit of a learning curve but offers incredible power and precision. The ability to define exact dimensions and clearances is invaluable. There are tons of free tutorials online for both. Just search "TinkerCAD hinge design" or "Fusion 360 parametric hinge."
As for physical tools, a good pair of digital calipers is a non-negotiable. Seriously, if you're serious about functional prints, spend the ₹300-₹1000 on a decent set. Measuring your clearances, filament diameter, and actual print dimensions accurately will save you so much grief. I mean, how else are you going to verify that your 0.4mm clearance actually came out as 0.4mm after printing? Eyeballing it just doesn’t cut it.
Troubleshooting Common Hinge Issues
Okay, so you’ve designed it, you’ve printed it, and it didn't quite work. Don't worry, we've all been there. Here’s a quick rundown of what usually goes wrong:
- Pin Hinge Seized Up? Almost always, your clearance is too small. Increase it by 0.1mm or 0.2mm and try again. It could also be elephant's foot, where the first layer squishes out a bit. Adjust your initial layer horizontal expansion in your slicer.
- Pin Hinge Breaks Immediately? Check your layer orientation. Are the forces pulling layers apart instead of across them? Also, check wall thickness and infill. More perimeters and infill around the pin areas can help.
- Living Hinge Snaps or Cracks Quickly? This is usually a material issue (you're using PLA, aren't you?), or the hinge section is too thick. Reduce the thickness, or switch to PETG/TPU. Again, layer orientation is critical here too.
- Print-in-Place Supports Fusing? Sometimes the supports for print-in-place hinges can fuse to the hinge itself. Make sure your support Z distance (the gap between support and print) is adequate, usually 0.2mm-0.3mm.
Look, the thing is, 3D printing is all about iteration. You design, you print, you test, you learn, and you refine. Don't be afraid to fail a few times. That’s how you truly master it. My own workshop here has a literal graveyard of failed prints, each one a lesson learned. It’s totally part of the process, especially when you’re pushing the boundaries of what you can do with a FDM printer.
Beyond Hinges: What Else Can You Do?
Once you nail hinges, a whole world of possibilities opens up. Think about things like snap-fit joints, ball joints for articulated models, or even flexible enclosures for electronics where you want a bit of give. The principles you learn here – clearance, material choice, layer orientation, and iterative design – apply to almost any functional print. Seriously, understanding these basics will elevate your 3D printing game significantly.
And speaking of elevating your game, if you're ever looking for some cool, functional, or just plain awesome 3D printed products and designs (or want to get inspired!), you should definitely check out our own Artopia Collections products. We put a lot of thought into the design and functionality of everything we make, and yes, many of them feature cleverly designed joints and hinges!
Final Thoughts: Just Go For It!
So, there you have it. Designing hinges and living joints for 3D printing isn't some dark art reserved for engineers. It's a skill anyone can learn with a bit of patience and experimentation. Start simple, understand the role of clearance and material, and pay close attention to layer orientation. You'll be amazed at what you can create.
I genuinely believe that the ability to print functional, moving parts is one of the most rewarding aspects of 3D printing. It transforms a hobby into a powerful tool for creation and problem-solving. So, fire up your CAD software, load up some PETG or TPU, and get designing. You’ve got this!


