How to Scan and Print Replacement Parts for Home Appliances
Don't discard broken home appliances due to a single faulty part. Learn how to scan the damaged component and 3D print a precise replacement, extending the life of your appliances.
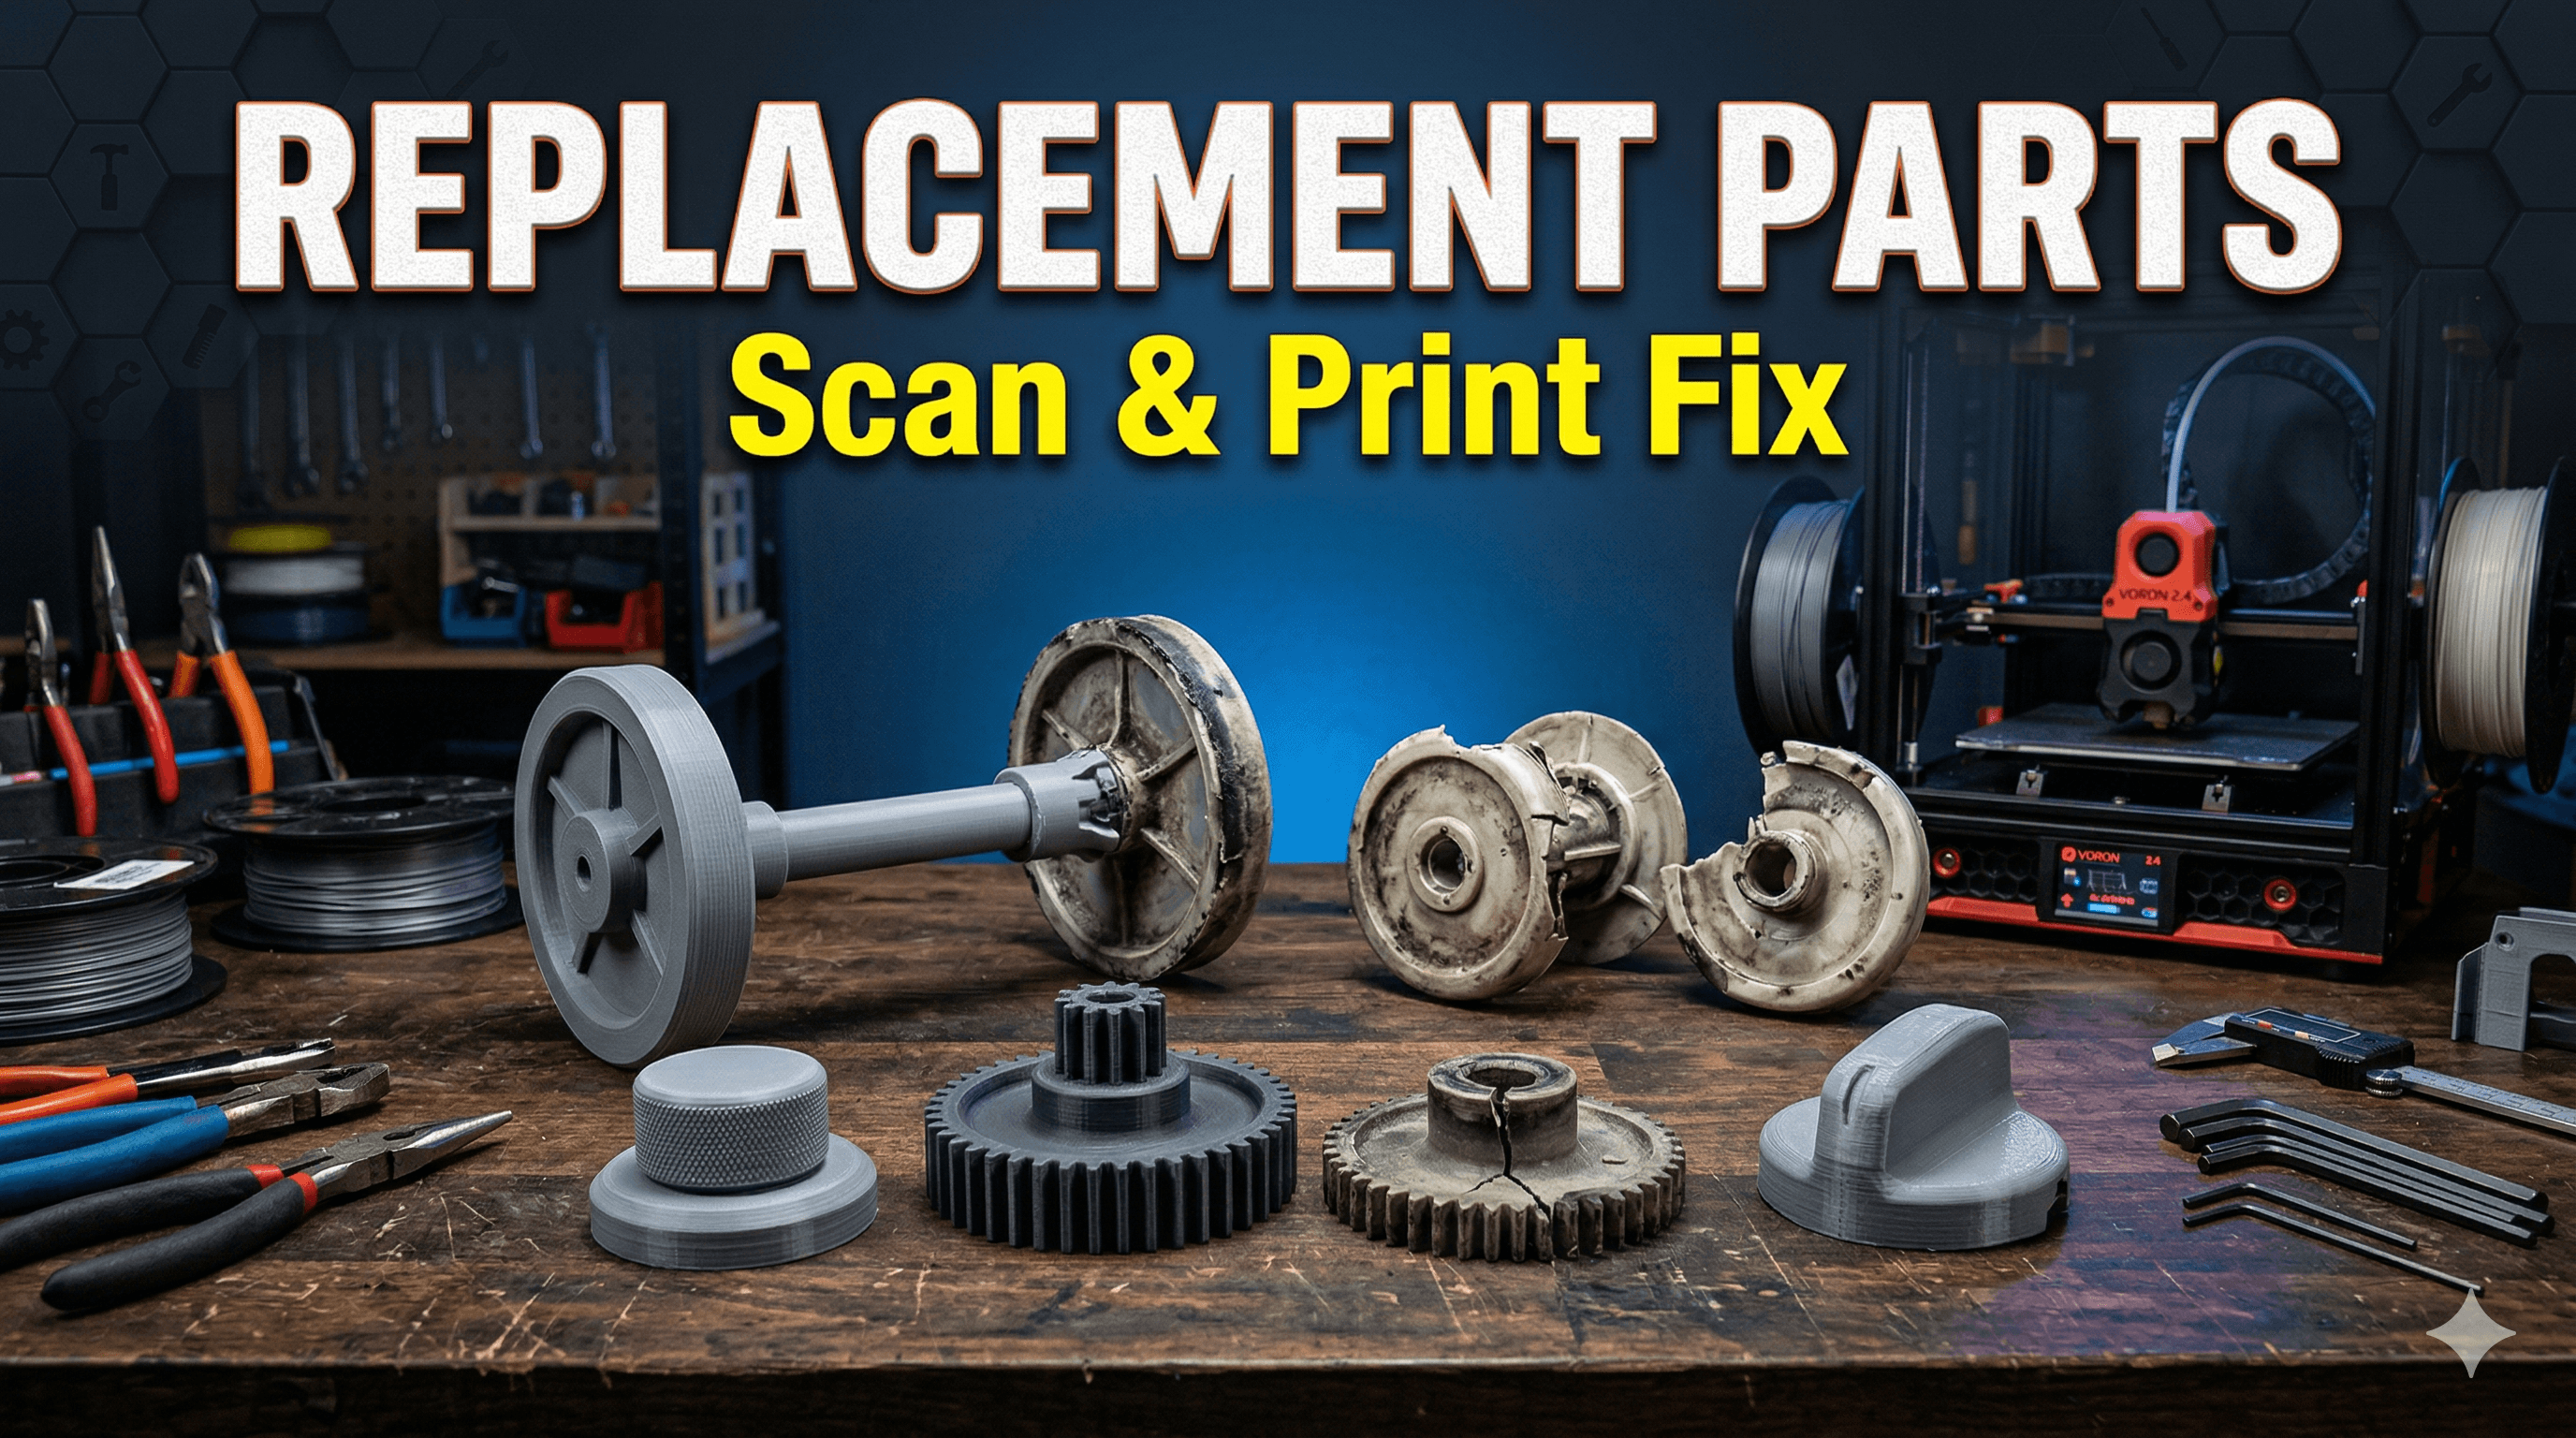
Ever had that moment? You know, the one where your washing machine starts making a weird rattling sound, or your blender suddenly won't spin because a tiny, insignificant plastic part decided to give up the ghost? Ugh, it’s the worst, isn't it? And then you call the service guy, who tells you the part isn't available, or it’ll cost half the price of a new appliance, or take three weeks to arrive from some mythical warehouse. Honestly, it's enough to make you just want to throw the whole thing out and buy new. But what if I told you there’s a better way, a way to breathe new life into your trusty appliances, save a bunch of cash, and feel like a total superhero while doing it? That's right, we're talking about 3D printing replacement parts, and it's not as complicated as you might think!
Here at Artopia Collections, my little 3D printing business right here in India, we see this scenario play out all the time. People come to us with broken knobs, snapped clips, missing gears – basically, the small, often crucial, bits that manufacturers seem to forget are vital. And the thing is, these parts are usually just simple plastic. Why should you ditch a perfectly good appliance for want of a ₹50 component?
Today, I want to pull back the curtain a bit and show you how we approach this. It's a fantastic skill to learn if you have a 3D printer, or even if you just want to understand the magic behind bringing those broken bits back from the brink. We're going to talk about scanning (or measuring, the low-tech way!) and then printing those much-needed replacement parts. Let's dive in!
The First Hurdle: Getting the Dimensions Right
This is arguably the most crucial step. A part that doesn't fit is just expensive scrap plastic, right? You've got two main routes here: manual measurement or 3D scanning. Each has its pros and cons, and which one you choose really depends on the complexity of the part and what tools you have at your disposal.
Route 1: The Old-School, But Reliable, Manual Measurement
Don't have a fancy 3D scanner? No worries! Most parts, especially the simpler ones like knobs, brackets, or clips, can be accurately measured by hand. This is where your inner engineer comes out. Look, it’s about patience and precision.
What you'll need:
- A good quality digital caliper. This is non-negotiable, trust me. You can get a decent one for around ₹500-₹1500 on Amazon.in. I've been using this one for ages, and it's a workhorse: Digital Caliper on Amazon.in.
- A ruler or measuring tape for larger dimensions.
- Pen and paper for sketching and jotting down measurements.
- The broken part itself (obviously!).
The Process:
- Examine the Part: Really look at it. How does it fit? What are its critical dimensions? Is it symmetrical? Are there any broken bits you need to account for? Sometimes, the break itself gives you clues about a weak point you can reinforce in your new design.
- Sketch it Out: Draw a simple diagram of the part. Don't worry about being an artist; just get the basic shapes down. Mark all the surfaces, holes, and features you need to measure.
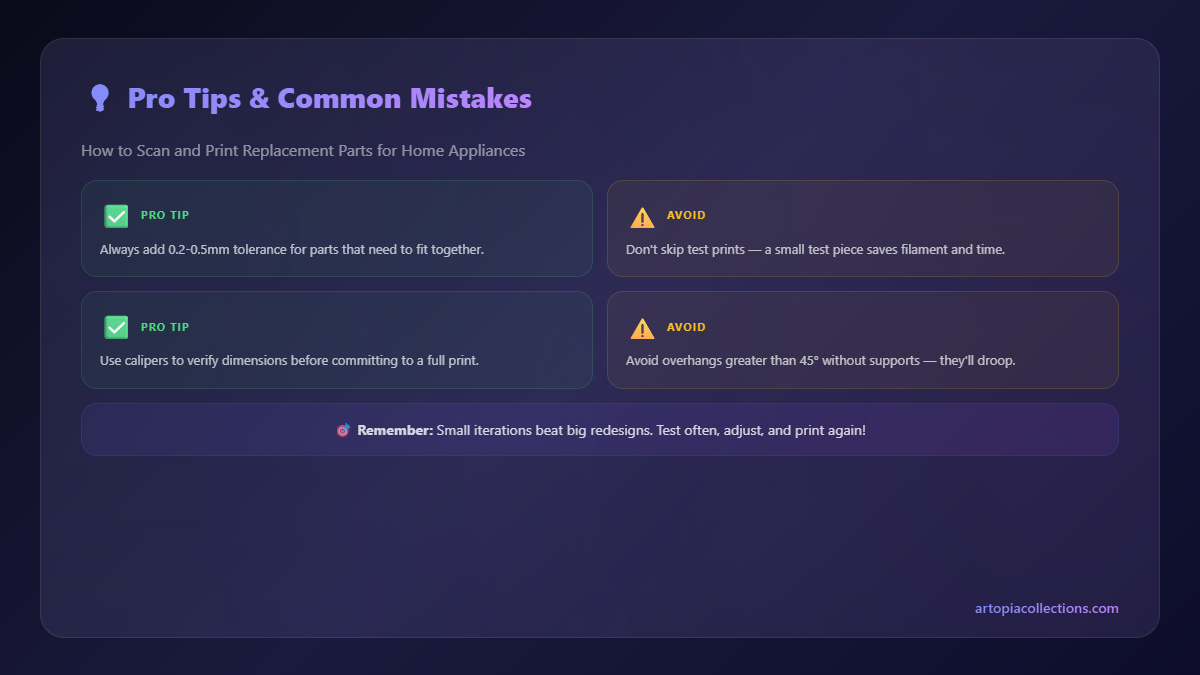
- Measure, Measure, Measure: Use your digital caliper to take all critical dimensions – length, width, height, hole diameters, distances between features, wall thicknesses. Be meticulous. Take each measurement a couple of times to ensure accuracy. And here’s a pro tip: always measure the mating part (the thing it connects to) as well, if possible. This helps ensure proper fit, especially with tolerances.
- CAD Time!: Now, armed with your measurements and sketch, you can jump into a CAD (Computer-Aided Design) software. For beginners, Tinkercad is fantastic – it's free, web-based, and super intuitive for basic shapes. If you want something more powerful, Fusion 360 offers a free hobbyist license and is incredibly capable. You'll basically build the part virtually, using your measurements to create the 3D model.
In my experience, about 70% of the replacement parts people ask for can be recreated this way. It's precise, it's free (if you already have the tools), and it builds a great understanding of design.
Route 2: Embracing the Future with 3D Scanning
But what about those really complex parts? Think about a washing machine impeller with intricate curves, or a vacuum cleaner nozzle with organic, ergonomic shapes. Manually measuring those would be a nightmare, if not impossible. That's where 3D scanning comes into play. This is where things get really exciting, and a bit more techy (and costly, to be fair!).
Types of Scanners & What They Cost (roughly, in INR):
- Smartphone Apps: There are some apps out there, especially for newer iPhones with LiDAR, that can do basic 3D scanning. They're usually not precise enough for functional parts, but great for learning and concept capture. Free to ₹500 for some premium features.
- Consumer Handheld Scanners: This is where it gets serious for hobbyists and small businesses like mine. Brands like Revopoint (Pop, Mini) or Shining3D (Einstar) offer really good bang for buck. They can capture detailed geometries with decent accuracy. Expect to pay anywhere from ₹40,000 to ₹1,50,000 for a decent one. Yes, it's an investment, but it's a game-changer for complex jobs. I personally use a Revopoint scanner for most of my complex scanning needs, and it's been a lifesaver.
- Desktop & Professional Scanners: These are for industrial applications and can cost several lakhs. Probably overkill for most home appliance parts!
So, you’ve got your scanner. What next?
The Process:
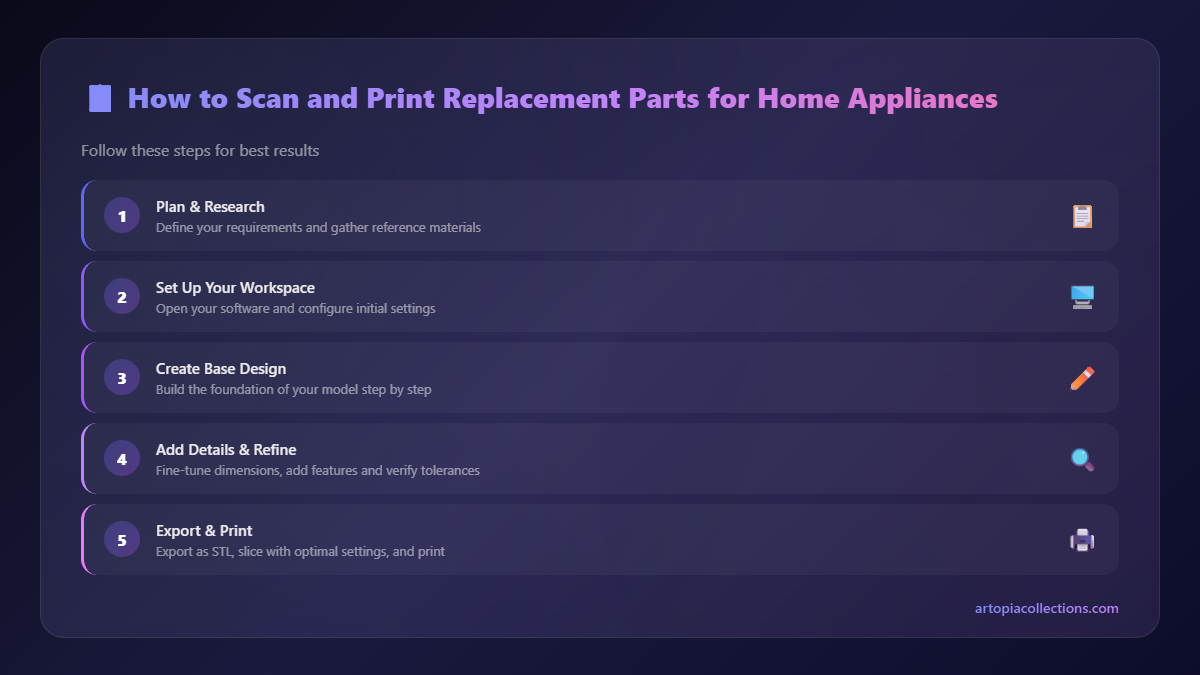
- Scan the Part: Follow your scanner's instructions. This usually involves moving the scanner around the object, making sure to capture all surfaces and details. Good lighting and a stable setup are crucial.
- Process the Scan: The scanner software will generate a point cloud or a mesh model (usually an STL or OBJ file). This raw scan often has noise, holes, and imperfections. You'll need to clean it up.
- Clean and Refine the Mesh: Software like MeshMixer (free) or Blender (free, powerful) are excellent for this. You’ll fix holes, smooth surfaces, remove extraneous data. The goal is to get a clean, watertight mesh.
- Convert to Solid Model (if necessary): Here's the trickiest part. A scan is just a surface mesh, not a "solid" CAD model that's easy to edit parametrically. For simple parts, you might print the mesh directly. But for functional parts where you need to modify dimensions, add features, or ensure precise fits, you'll need to convert it. This is called "reverse engineering." Software like Fusion 360, FreeCAD, or SolidWorks have tools for converting a mesh into a solid body, allowing you to then sketch and refine surfaces based on the scan data. It's a skill that takes practice, but it's incredibly powerful!
Designing and Refining Your Part in CAD
Whether you started with manual measurements or a 3D scan, you now have a virtual model of your part. This is where you can truly shine. Don't just copy the old part; improve it! Did it break because it was too thin in one spot? Add some material! Was a certain corner always snagging? Round it off! This is the beauty of 3D printing – customisation and improvement. Make sure to consider:
- Tolerances: Plastic shrinks a little when it cools, and your printer isn't infinitely precise. For parts that need to fit snugly (like a shaft in a hole), you'll often need to design holes slightly larger (e.g., 0.1-0.2mm larger diameter) than your measured shaft, or add a small fillet to edges that mate. A bit of trial and error is normal here.
- Strength: How much stress will this part endure? Will it be twisted, bent, or constantly pushed? This will influence your material choice and print settings.
- Mounting: Ensure screw holes, clips, and other mounting features are accurately placed and sized.
Choosing the Right Filament for the Job
This is crucial! You wouldn't use butter to fix a cracked engine block, right? Same principle with 3D printing filaments. Each material has different properties, and choosing the right one can mean the difference between a lasting repair and another broken part next week.
Here are the common ones we use in India for appliance parts:
- PLA (Polylactic Acid):
- Pros: Easiest to print, widely available, cheap (around ₹1000-₹1500 per kg). Great for non-structural, low-heat parts like decorative covers, simple knobs that don't see much force, or prototypes.
- Cons: Brittle, low heat resistance (deforms around 60°C). Not ideal for parts that get hot or experience high stress.
- PETG (Polyethylene Terephthalate Glycol):
- Pros: My go-to for many appliance parts! It's stronger, more flexible than PLA, and has better heat resistance (up to 80°C+). It's also food-safe for some applications (though always verify with the manufacturer and don't assume). A bit more expensive, usually ₹1800-₹2500 per kg.
- Cons: A bit trickier to print than PLA – prone to stringing, needs higher temperatures. But totally worth the effort for functional parts.
- ABS (Acrylonitrile Butadiene Styrene):
- Pros: Very strong, durable, and good heat resistance (up to 100°C+). This is what many original appliance parts are made from.
- Cons: Difficult to print! Needs a heated chamber to prevent warping and produces unpleasant fumes, so good ventilation is a must. Not recommended for beginners unless you have an enclosed printer. Prices are similar to PETG.
- TPU (Thermoplastic Polyurethane):
- Pros: Very flexible and rubber-like. Ideal for gaskets, feet, or flexible connectors.
- Cons: Slow to print, can be tricky with some direct-drive extruders, even harder with Bowden setups.
For most appliance parts that aren't exposed to extreme heat or continuous flexing, I recommend starting with PETG. Brands like eSun, Overture, and a few good local Indian brands (you can find them on Amazon.in!) offer reliable quality. Check out a good selection of PETG filaments here: PETG Filament on Amazon.in.
Printing Your Masterpiece
Okay, your design is solid, your filament is chosen. Now, it's time to send it to your 3D printer! Most common for this kind of work are FDM (Fused Deposition Modeling) printers – basically, the ones that melt plastic filament layer by layer. Popular models like the Creality Ender 3, Anycubic Kobra series, or if you're feeling fancy, a Prusa i3 or Creality K1, are excellent choices. I've got a small farm of Ender 3s and a couple of Anycubics running non-stop here!
Key Slicer Settings (and why they matter):
- Infill: This is how "solid" the inside of your part is. For structural parts, I generally go for 40-60% infill, sometimes even 80% if it needs to be really strong. Don't waste filament on 100% infill unless absolutely necessary; the strength gains are minimal after a certain point.
- Layer Height: Thinner layers (e.g., 0.12mm) mean finer detail but longer print times. Thicker layers (e.g., 0.2mm) are faster but show more layer lines. For functional parts, I usually stick to 0.16mm or 0.2mm.
- Supports: If your part has overhangs (sections that print in mid-air), you'll need supports. Make sure they are easy to remove and don't scar critical surfaces. Sometimes, reorienting the part on the build plate can reduce or eliminate the need for supports.
- Walls/Perimeters: Increasing the number of outer walls (say, from 2 to 4 or 5) significantly increases the strength of a printed part, often more so than just increasing infill.
Once the print is done, carefully remove it from the build plate. Clean off any supports, maybe do a little sanding or filing if needed for a perfect fit. And then, the moment of truth: fit the part!
Real-World Triumphs (and a few failures!)
I've had so many rewarding projects. There was the time a client's 15-year-old food processor was declared dead because of a tiny plastic coupling that cost literally ₹5 to make (after design time, of course!). Or the time I printed new clips for a friend's refrigerator shelf that saved him from buying an entire new shelf unit for ₹2000. And who can forget the custom vacuum cleaner attachment for a client who had lost the original, saving them from buying a whole new kit. These are the moments that make running Artopia Collections so worthwhile. Every successful print feels like a mini-victory against planned obsolescence.
Of course, it's not always smooth sailing. I've had parts that didn't fit (my own fault, usually a missed measurement!), parts that broke during testing (wrong filament choice!), and prints that just failed halfway through (printer gremlins!). But each "failure" is a learning opportunity, helping me refine my process and get better at what I do. That's the personal opinion bit here – you learn more from things that don't quite work out initially than from effortless successes.
Need Help with Your Broken Bits?
So, there you have it! The basic rundown of how we scan (or measure) and print replacement parts for home appliances. It's an empowering process, saving money, reducing waste, and honestly, it’s just plain cool to bring something broken back to life. If you've got a tricky part you need help with, or if you're looking for custom 3D printed items, don't hesitate to check out our products and services right here at Artopia Collections. We love a good challenge!
In a world where everything feels disposable, 3D printing offers a powerful tool for repair, customisation, and sustainability. It's not just a hobby for me; it's a passion, and a way to make a real difference, one perfectly printed part at a time. Go forth and fix something!


