How to Set Up Remote Access for Your 3D Printer From Anywhere
Unlock the power of remote 3D printing. Discover simple steps to set up access for your 3D printer, letting you monitor and control it from any location.
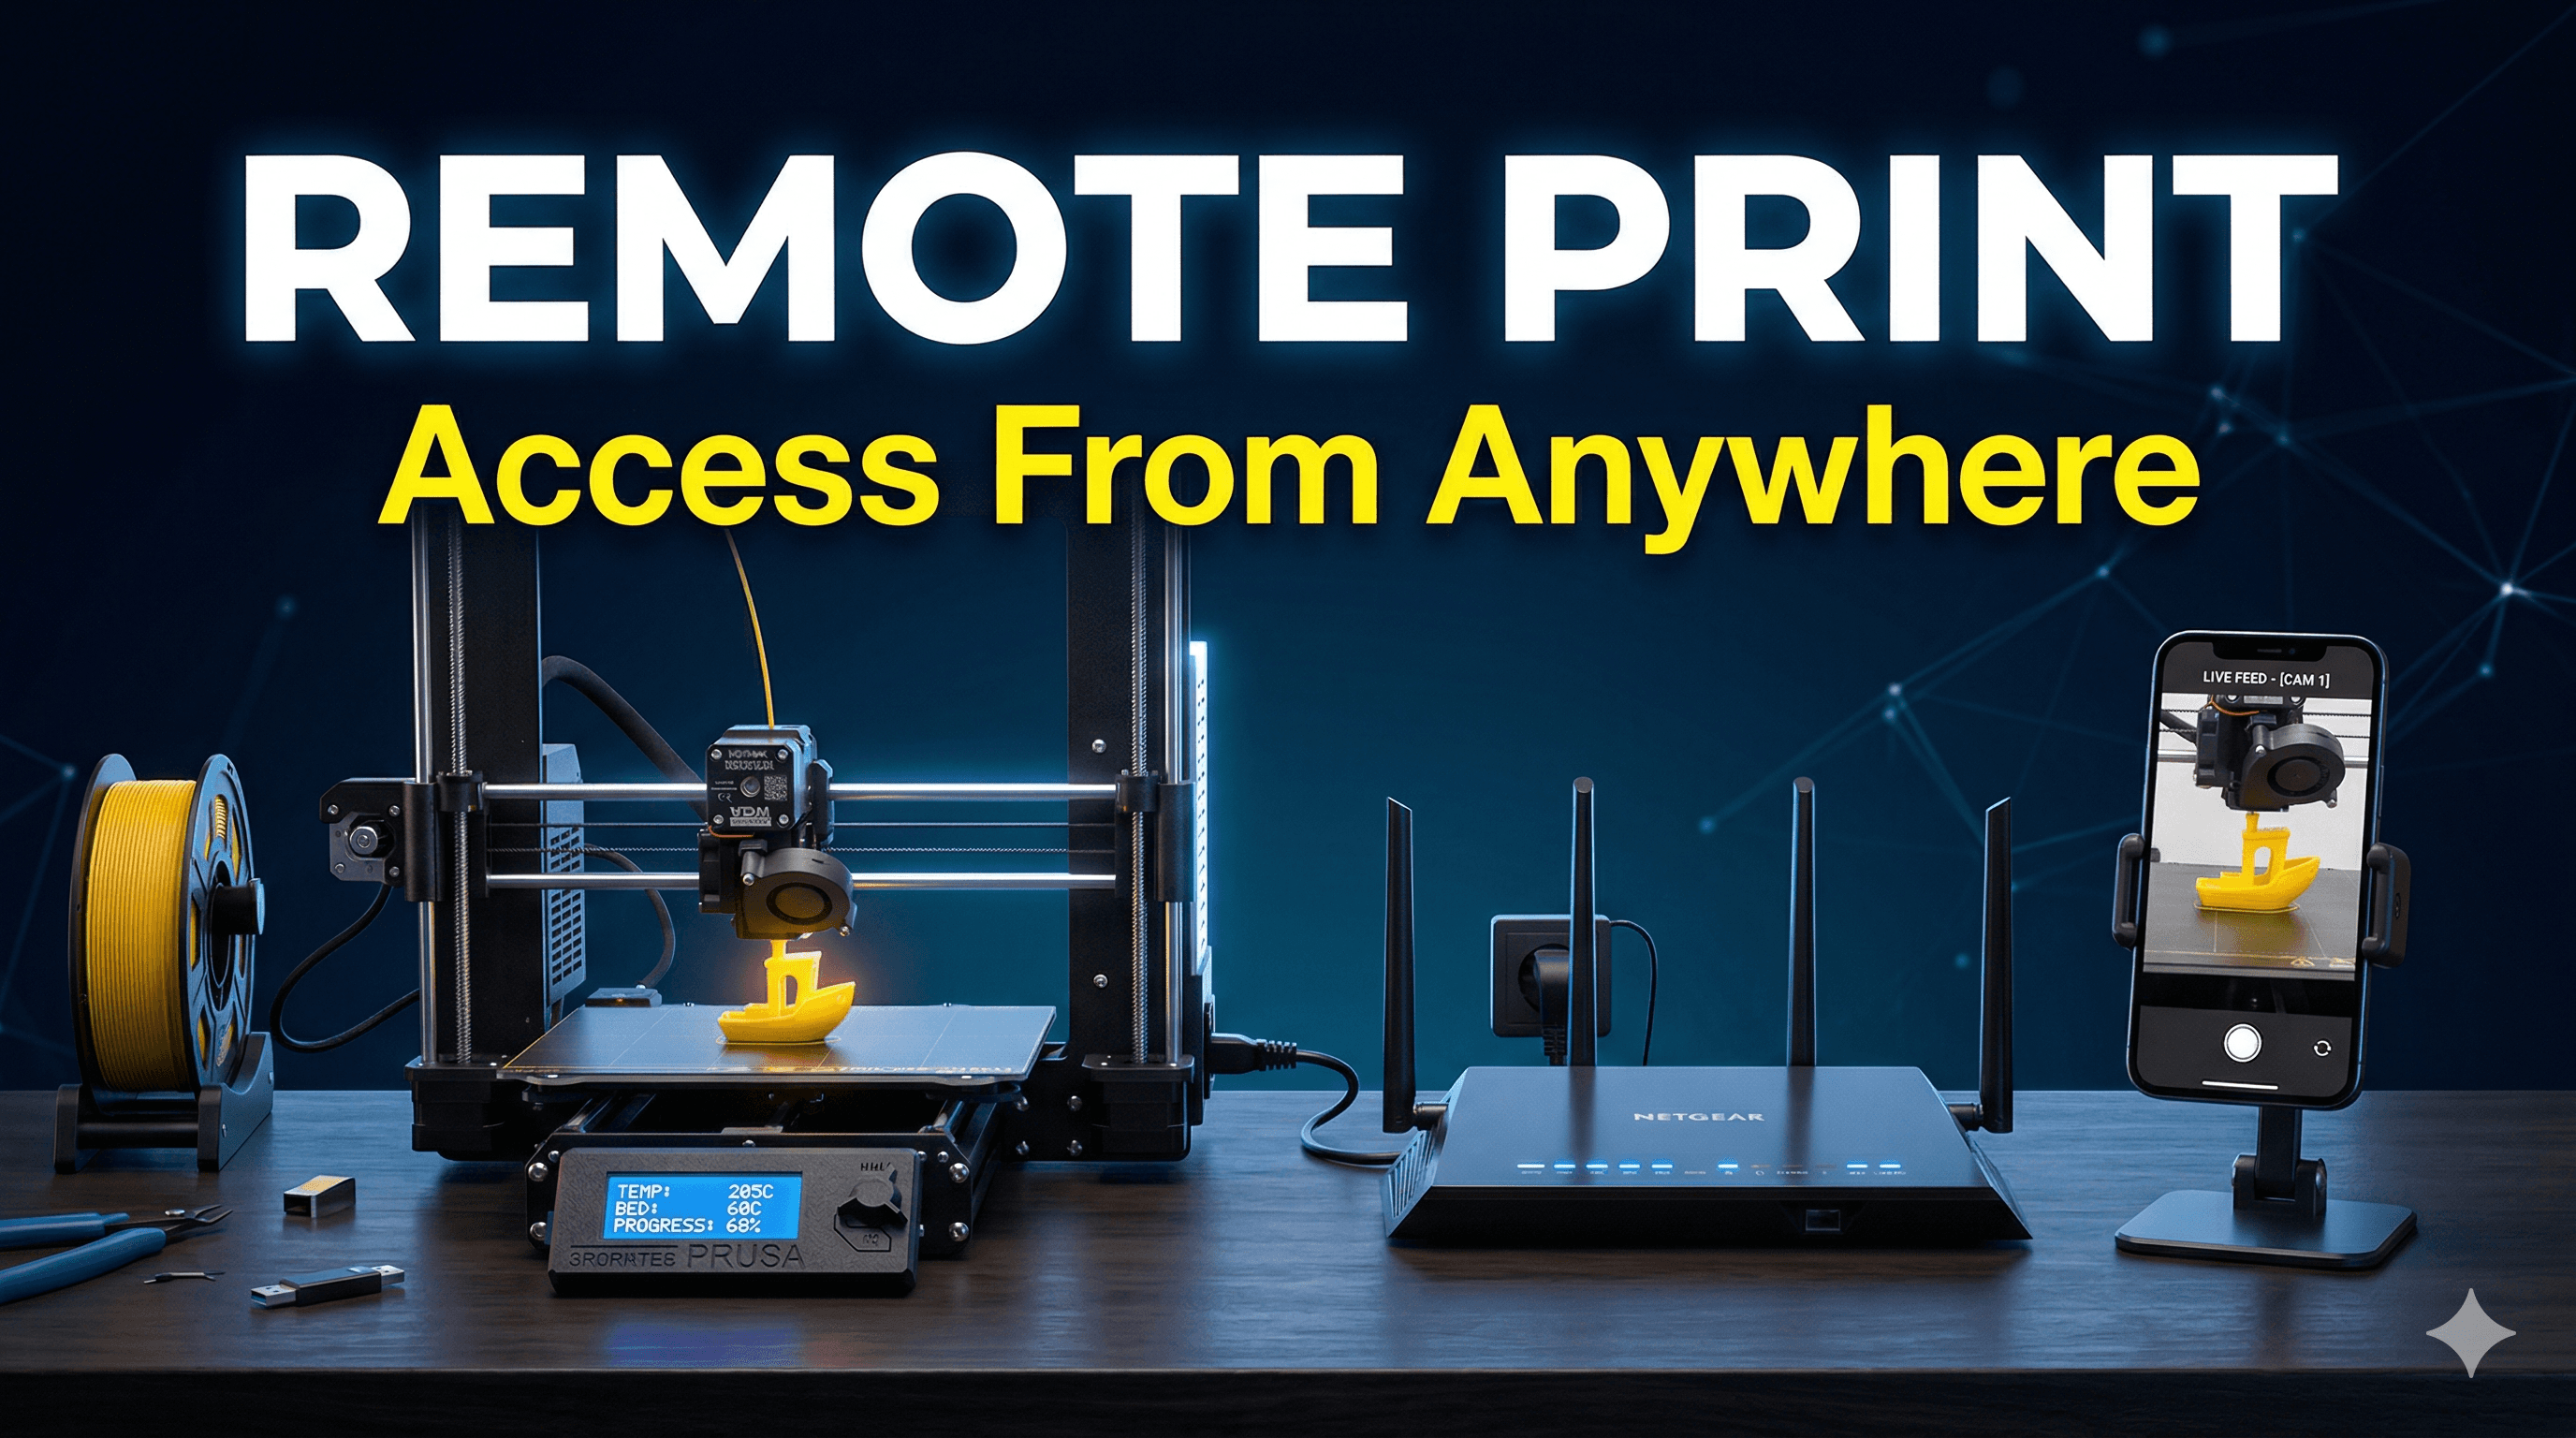
Ever had that gut-wrenching feeling? You're out, maybe stuck in Mumbai traffic, or enjoying a much-needed chai break miles away, and suddenly, you remember that big, multi-hour print humming away back in your workshop. Your mind starts racing: Is the first layer sticking? Did the filament tangle? Oh God, what if it's a spaghetti monster and the nozzle is just grinding plastic into thin air for hours? The sheer thought can ruin your day, can't it?
Trust me, I've been there, more times than I care to admit. Running Artopia Collections, my small 3D printing business, means my printers are often working overtime, churning out everything from custom prototypes to cool desk knick-knacks. And for a long time, the anxiety of leaving them unattended was a constant companion. But then I discovered the magic, the absolute game-changer, of remote access. It's like having eyes and hands on your printer, no matter where you are – even if you're chilling in Goa!
So, you want to know how to set up remote access for your 3D printer from anywhere? My friend, you've come to the right place. This isn't just about convenience; it's about peace of mind, efficiency, and honestly, taking your 3D printing game to a whole new level. Let's dive in!
Why Even Bother With Remote Access?
Honestly, the reasons are endless, especially if you're running a business or just have a serious printing addiction. For me, it's about:
- Catching failures early: That spaghetti monster I mentioned? Remote access lets you spot it, pause the print, and save hours of wasted filament and electricity. Think of the money you save, especially with good quality PLA costing around ₹1200-₹1500 a kilo!
- Managing multiple prints: I often have a queue of orders. Being able to check on one printer while another finishes means I can plan my next steps without having to physically be there.
- Starting prints on the go (with caution!): Sometimes, a client needs something urgently. If I have the G-code ready and the print bed clear, I can literally start a print from my phone while I'm out. But look, this comes with a *huge* caveat, which we'll discuss.
- Monitoring progress: Just the satisfaction of seeing a beautiful print come to life, layer by layer, even if you're miles away. It's oddly therapeutic.
- Temperature control: Adjusting bed or nozzle temps if you notice warping or stringing, all without needing to hover over your machine.
Basically, it gives you control. And control, my friends, is power when it comes to 3D printing.
The Brains of the Operation: The Raspberry Pi
Alright, first things first, you're going to need a dedicated mini-computer to act as the bridge between your printer and the outside world. And in the world of 3D printing, the undisputed champion is the Raspberry Pi.
I personally use a Raspberry Pi 4 (2GB RAM version is usually plenty, but 4GB gives you a bit more wiggle room if you plan on running a lot of plugins or multiple cameras). The thing is, Raspberry Pis have been a bit tough to find in India at reasonable prices lately, thanks to global supply issues. You might find a Raspberry Pi 4 kit on Amazon.in for anywhere between ₹6,000 to ₹10,000, depending on the retailer and current stock. It's an investment, but it's totally worth it.
So, what does it do? The Raspberry Pi basically runs a specialized operating system called OctoPi, which comes pre-installed with OctoPrint. OctoPrint is the magical web interface that lets you control and monitor your 3D printer.
Setting Up Your Raspberry Pi with OctoPrint
The setup isn't too complicated, honestly. Here's the gist:
- Flash OctoPi: Download the OctoPi image from the OctoPrint website. Use a tool like Balena Etcher to flash it onto a high-quality microSD card (at least 16GB, Class 10).
- Configure Wi-Fi (optional): Before first boot, you can edit a file on the flashed SD card to pre-configure your Wi-Fi details. Super handy if your Pi won't be near an Ethernet port.
- Boot it up: Insert the microSD into the Pi, connect power, and plug in your 3D printer's USB cable to the Pi.
- Access OctoPrint: Once booted, you can find its IP address (check your router's client list) and navigate to it in your web browser. You'll go through an initial setup wizard, create a username and password (make it strong!), and connect your printer.
And just like that, you've got local access to your printer through a beautiful web interface!
Your Eyes on the Prize: The Webcam
Remote access without a camera is like trying to drive blindfolded. You absolutely need a way to see what your printer is doing. In my experience, a good webcam is non-negotiable.
You've got a couple of options here:
- Raspberry Pi Camera Module: These are specifically designed for the Pi and connect via a ribbon cable. They offer great image quality and low latency. You can find them for around ₹2,000-₹3,500.
- USB Webcam: Most standard USB webcams work perfectly fine. Just plug it into one of the Pi's USB ports. I've used an old Logitech C920, and it's been rock solid.
Once connected, OctoPrint will automatically detect most cameras and you'll get a live video feed right there in your web interface. Make sure to position it well – I usually mount mine slightly above and to the side of the print bed, giving a clear view of the nozzle and the first few layers. Some folks even use those cool flexible gooseneck mounts. You can find many generic USB webcams suitable for OctoPrint on Amazon.in if you don't want to shell out for the RPi official cam.
The Holy Grail: Remote Access Solutions
Now that you have OctoPrint running locally with a camera, the real challenge begins: accessing it when you're not on your home Wi-Fi network. There are a few ways to tackle this, each with its pros and cons.
Option 1: Cloud-Based Solutions (Easiest for Beginners)
 This is probably the quickest and simplest way to get up and running. Services like Obico (formerly OctoPrint Anywhere) offer a secure, cloud-based tunnel to your OctoPrint instance. You install a plugin in OctoPrint, sign up for their service, and boom – you can access your printer from anywhere through their website or mobile app.
- Pros: Super easy setup, no router configuration, often includes AI failure detection.
- Cons: Relies on a third-party server, free tiers usually have limitations (e.g., lower video quality, limited print history), and you're trusting another company with your data.
For casual users, Obico's free tier is a fantastic starting point. But if you're serious about security or want full control, I'd suggest looking at the next option.
Option 2: Virtual Private Network (VPN) – My Go-To for Security and Control
This is what I personally use for Artopia Collections, and it's what I recommend for anyone who wants robust security and complete control over their setup. A VPN creates a secure, encrypted tunnel between your remote device (phone, laptop) and your home network. It's like you're physically sitting at home, even when you're not.
Setting up a VPN can sound intimidating, but it's totally doable. Here's how most people (including me) do it:
Sub-Option A: Router-Based VPN (If Your Router Supports It)
Some higher-end routers come with built-in VPN server capabilities (like OpenVPN or WireGuard). If yours does, you can configure it directly on your router. This is great because your router is always on, and it doesn't add any extra load to your Raspberry Pi.
- Pros: Very efficient, doesn't require an extra device running a VPN server.
- Cons: Requires a capable router, configuration can be tricky depending on your router's interface.
Sub-Option B: Raspberry Pi VPN Server (My Preferred Method for OctoPrint)
This is where your trusty Raspberry Pi shines again! You can turn your OctoPrint Pi into a VPN server using software like Pi-VPN (which often uses OpenVPN or WireGuard protocols). This way, your Pi handles both OctoPrint and the secure tunnel.
Here's a simplified rundown of the setup process:
- Install Pi-VPN: SSH into your Raspberry Pi and run a simple command to download and install Pi-VPN. The installer is pretty user-friendly and guides you through the choices (like choosing OpenVPN or WireGuard).
- Static IP for your Pi: Make sure your Raspberry Pi has a static IP address on your local network. This ensures your VPN server always knows where to find itself.
- Port Forwarding (just for the VPN!): This is the *only* port forwarding I recommend. You need to tell your router to direct incoming VPN traffic to your Raspberry Pi. For OpenVPN, it's usually UDP port 1194. For WireGuard, it's usually UDP port 51820.
- Dynamic DNS (DDNS): Unless you have a static public IP address from your ISP (which most home users in India don't), your home IP address changes periodically. A DDNS service (like No-IP or DuckDNS) gives you a constant hostname (e.g., "myprinters.duckdns.org") that always points to your current home IP. Most routers have built-in DDNS clients, or you can run one on your Pi.
- Generate Client Profiles: Pi-VPN lets you easily generate configuration files for your phone, laptop, or tablet.
- Install VPN Client: Install the appropriate VPN client app (OpenVPN Connect or WireGuard) on your remote device, import the profile, and connect!
Once connected to your VPN, you can simply open your browser, type in your Raspberry Pi's *local* IP address (the static one you set earlier), and access OctoPrint just as if you were home. It's truly seamless!
- Pros: Highly secure, complete control, no reliance on third-party servers for access, works with any device that has a VPN client.
- Cons: More technical to set up, requires a bit of network understanding, might slightly impact your Pi's performance (though minimal for OctoPrint/VPN combo).
Option 3: Port Forwarding (Seriously, Don't Do It)
 I feel obligated to mention this only to tell you to avoid it. Some guides might suggest directly port forwarding your OctoPrint web interface (usually port 80 or 443) to the internet. While it works, it's a massive security risk. You're basically opening a direct door to your printer and potentially your home network for anyone on the internet to try and exploit. Don't, just don't. Your prints, and your data, are worth more than that risk.
Option 4: Proprietary Printer Apps
Some newer printers, like those from Creality (with Creality Cloud) or AnkerMake, come with their own built-in remote access solutions and apps. These are incredibly easy to set up and use, as they're designed specifically for their ecosystem. If you have one of these, you might not even need OctoPrint for remote access, though OctoPrint often offers more granular control and a richer plugin ecosystem.
- Pros: Dead simple to set up, tailored for your specific printer.
- Cons: Tied to a specific brand, often less flexible than OctoPrint, may have fewer features or plugins.
What Can You Really Do Remotely?
Once you're connected, either through Obico or your VPN, you've got a world of control at your fingertips!
- Monitor Live Video: Essential. Watch your print, catch issues.
- Check Print Status: See progress, time remaining, temperatures.
- Pause/Cancel Print: If things go wrong, you can stop it immediately.
- Send G-code Files: You can upload new G-code files to OctoPrint's queue.
- Control Temperatures: Adjust nozzle or bed temperatures on the fly.
- Move Axes: You can jog the print head around, pre-heat, etc.
Now, about starting a print *completely* remotely: While you can upload G-code and technically hit "Print," I strongly, strongly advise against starting a print if you can't be absolutely sure your print bed is clear, properly prepped, and there's fresh filament loaded. It's great for restarting a print you paused, or for starting a new one if you have a reliable setup and perhaps an automated bed clearing system (which is next-level stuff!). But for a standard FDM printer, always use caution here. A human touch is still best for the initial setup.
Safety First, Always!
This is probably the most important bit, so pay attention. Remote access is fantastic, but it shouldn't replace common sense and safety precautions.
- Fire Safety: Never, ever leave your printer completely unattended if you haven't taken fire safety measures. This means a good quality, well-maintained printer, preferably in an enclosure, and ideally with a smoke detector nearby. I've heard too many horror stories.
- Filament Management: Ensure your filament is properly spooled and won't tangle. A tangled spool is a sure-fire way to ruin a remote print. Using reliable brands like eSUN PLA+ or Overture helps reduce issues.
- Secure Your OctoPrint: Use a strong, unique password for your OctoPrint interface. Enable Access Control.
- Regular Checks: Even with remote access, make it a habit to physically inspect your printers regularly.
My Business Perspective: The Artopia Advantage
For Artopia Collections, remote access isn't just a nice-to-have; it's fundamental to how I operate. Imagine a client calls me while I'm out for lunch, asking for an update on their custom lithophane. Instead of saying, "I'll check when I get back," I can pull out my phone, connect via VPN, see the print progress, check the camera feed, and give them an accurate update on the spot. It makes my business look professional, efficient, and reliable.
It means I can manage my print queue, prioritize urgent orders, and minimize downtime. If a print fails, I know immediately, can cancel it, and queue up the next job, saving valuable hours. That means faster turnaround times for my customers and less wasted material for me. It's a win-win!
Go Forth and Connect!
Look, setting up remote access might seem like a bit of a project, especially if you go the VPN route. But trust me, the freedom and control it gives you are absolutely worth the effort. It transforms your 3D printing experience from a tethered, anxious one to a liberating, efficient one.
So, grab a Raspberry Pi, get that webcam ready, and dive into the world of remote 3D printing. You won't regret it. And hey, if you get stuck, the 3D printing community in India is super helpful. Just ask around!


