Photogrammetry for 3D Printing: Turn Photos into Printable Models
Discover how photogrammetry allows you to convert ordinary photos into detailed 3D printable models. This guide will walk you through the process of bringing your digital captures into the physical world.

Ever looked at a beloved, maybe even a little broken, family heirloom and thought, "Man, I wish I could 3D print a replica of this, but how?" Or maybe you've sculpted something amazing out of clay, only to realise converting it into a digital file for printing is a whole different beast? Trust me, I get it. As someone running a small 3D printing business right here in India, based out of my buzzing workshop – Artopia Collections, by the way – I'm constantly on the hunt for ways to bring unique, impossible-to-find objects into the digital realm, so we can then bring them back to life in plastic, resin, or even metal. And let me tell you, there's a technique that feels like magic, but is totally accessible: photogrammetry. It's basically turning your everyday photos into super cool, printable 3D models.
What Even IS Photogrammetry, Yaar?
Okay, so let's break it down in simple terms. Photogrammetry, at its core, is the science of making measurements from photographs. But for us 3D printing enthusiasts, it's more like a superpower. You take a whole bunch of photos of an object from every possible angle – literally, hundreds of them sometimes – and then you feed those photos into special software. This software then looks at all the common points in those overlapping images, figures out where your camera was for each shot, and boom! It reconstructs a 3D model of your object. It's like your phone, but way smarter, building a virtual sculpture using just pixels.
I know, sounds a bit like wizardry, right? But the thing is, it's not some super high-tech, inaccessible field anymore. With the cameras we carry in our pockets every day and some incredibly powerful (and often free!) software, anyone can dive into this. And honestly, it's been a game-changer for my business. I've had clients come to me with ideas that were just sketches, or with physical objects they wanted to duplicate, and photogrammetry has been the bridge.
Why Should You, a 3D Printing Enthusiast, Care?
Well, why wouldn't you? Imagine you're at a historical site, say Hampi, and you see this incredible carving on a pillar. You can't just take it home, obviously. But what if you could take a series of photos, process them, and then 3D print a miniature replica for your desk? Or maybe you've got a broken part on an old appliance, something that's not manufactured anymore. If you can photograph the unbroken counterpart (or even carefully photograph the broken one), you might just be able to create a printable file and save yourself a ton of hassle and money. I personally think this is where the real power lies – giving new life to old or unique items.
Look, traditional 3D modelling requires a certain skill set. CAD software like Fusion 360 or Blender are amazing, but they have a learning curve that can be steep. Photogrammetry, on the other hand, lets you capture complex organic shapes, intricate textures, and really unique forms that would be a nightmare to model from scratch. Think about it: a gnarled tree stump, a piece of coral, a handmade ceramic vase. Trying to model those polygon by polygon? Forget about it! With photogrammetry, you just need a keen eye and a steady hand.
What You'll Need to Get Started (It's Less Than You Think!)
Here's the deal: you probably already have most of what you need. That's the beauty of it!
1. A Camera (Your Phone is Probably Enough!)
Honestly, you don't need a fancy DSLR to start. Your smartphone, especially if it's a mid-range to high-end one from the last few years (think something like a Samsung Galaxy S series, an iPhone, or even a good OnePlus) will do a surprisingly good job. The key isn't necessarily super high megapixels, but rather good image quality, consistent focus, and decent low-light performance. If you do have a DSLR or a mirrorless camera with a prime lens (something like a 50mm f/1.8, which you can often get for around ₹10,000-₹20,000), that's fantastic, but don't let a lack of professional gear stop you.
2. Good Lighting
 This is probably one of the most critical, yet often overlooked, aspects. You need consistent, even lighting. Indirect natural sunlight on a slightly overcast day is usually perfect. If you're indoors, diffuse LED lights or softboxes work wonders. The goal is to avoid harsh shadows, hotspots, and reflections. Why? Because shadows can confuse the software, making it think there's a different shape than there actually is. I've ruined many a scan by being impatient with the lighting, trust me!
3. A Subject That Cooperates
Not all objects are created equal when it comes to photogrammetry. Here’s what works best:
- Textured, matte surfaces: The software needs unique points to track. A rough stone, wood grain, or a painted figurine with lots of detail works beautifully.
- Non-reflective, non-transparent: Shiny objects (like polished chrome) or clear objects (like glass bottles) are incredibly difficult. They either reflect the environment in unpredictable ways or let light pass right through, giving the software nothing to grab onto.
- Stationary objects: This might sound obvious, but ensure your subject isn't moving, vibrating, or changing shape between photos.
4. The Software (Free is Your Friend!)
 This is where the magic happens. Here are some options:
- Meshroom (Free, Open-Source): This is my go-to recommendation for beginners. It's powerful, based on the AliceVision framework, and completely free. It runs on Windows and Linux. The catch? It needs a good GPU (NVIDIA preferred) to process quickly.
- RealityCapture (Paid, but with "pay-per-input" options): Super fast and produces incredible results, especially for larger scenes. It's often used professionally. You can download it for free and use it, but you pay "credits" to export the final model. A few thousand photos can cost you a few hundred rupees to export, so it's quite flexible for occasional use.
- Agisoft Metashape (Paid): Another industry standard, very robust, and excellent for detailed work. A professional license can run into many tens of thousands of rupees (around ₹1.5 Lakhs for Pro, but a Standard license is around ₹15,000 for a perpetual license for hobbyists, if you catch a sale). A bit pricey for a hobbyist, but worth it for professional work.
For most of you reading this, I'd say start with Meshroom. It's completely free, and honestly, the results you can get with it are astounding if you follow good photo-taking practices.
5. A Decent Computer
While taking photos doesn't need a supercomputer, processing them definitely does. Photogrammetry software is very demanding on your CPU and especially your GPU (if you're using Meshroom or RealityCapture). You'll want at least 16GB of RAM, a multi-core processor (an Intel i5 or Ryzen 5 equivalent or better), and ideally a dedicated NVIDIA graphics card with at least 6-8GB of VRAM. Without these, processing can take hours, even days, for complex models.
The Process: From Clicks to Plastic
Okay, so you've got your gear, you've got your subject. What next?
Step 1: The Photo Shoot (It's a Marathon, Not a Sprint!)
This is the most crucial part. You need to take *many* photos. I'm talking hundreds for a small object. Think about covering every single angle, with plenty of overlap between shots. Imagine orbiting your object, taking photos every few degrees, moving up and down in layers. Make sure:
- Focus is sharp: Every photo must be in focus.
- Exposure is consistent: Use manual mode if you can, or at least exposure lock, so brightness doesn't change from shot to shot.
- Plenty of overlap: Each feature on the object should ideally be visible in at least 3-5 photos.
- No shaky hands: Use a tripod if possible, or brace yourself. Blurry photos are useless.
And for objects on the smaller side, sometimes rotating the object on a turntable while keeping the camera stationary works wonders. Just make sure the background is either plain and distant, or you're masking it out later. I've got a simple DIY turntable made from a lazy Susan that cost me about ₹200 from a local market, and it’s been invaluable.
Step 2: Processing in Software
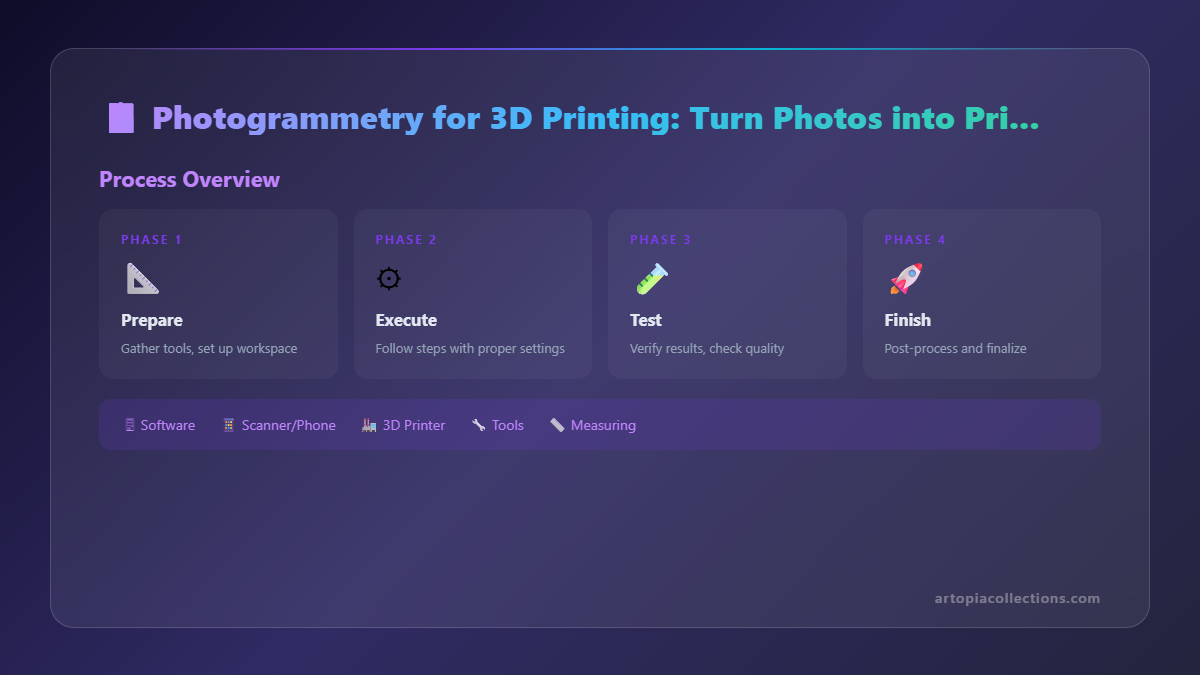
Once you've got your photos, import them into your chosen software (let's say Meshroom). The software will then go through several stages:
- Structure-from-Motion (SfM): This is where it identifies common points across images and figures out where each photo was taken in 3D space. It creates a "sparse point cloud" – basically a rough skeleton of your object and camera positions.
- Multi-View Stereo (MVS): Now, it uses the camera positions from SfM to build a denser point cloud, filling in more detail.
- Meshing: The point cloud is then converted into a mesh – a surface made of triangles. This is your 3D model!
- Texturing: Finally, the software projects the actual photo colours onto your 3D mesh, giving it a realistic appearance.
This stage can take a *long* time, depending on the number of photos and your computer's power. Go make yourself some chai, or maybe binge a web series. When it's done, you'll have an OBJ or FBX file, complete with textures.
Step 3: Cleanup and Preparation for 3D Printing
The raw output from photogrammetry isn't always perfect for printing. You'll often have:
- Holes and Gaps: Especially on undersides or areas you couldn't photograph well.
- Noise and Floating Geometry: Bits of the background or random artifacts.
- Non-Manifold Edges: Geometrical issues that 3D printers hate.
- High Polygon Count: Often way too detailed for printing, leading to huge file sizes and slow slicing.
This is where software like Blender (free, open-source) or Meshmixer (free from Autodesk, though no longer updated) comes in handy. You can use them to:
- Decimate the mesh: Reduce the polygon count without losing too much detail.
- Fill holes: Make the model watertight.
- Smooth surfaces: Refine rough areas.
- Sculpt away imperfections: Manually clean up any weird bits.
The goal is to get a manifold (watertight), clean, and reasonably low-poly model. I usually aim for a few hundred thousand to a couple of million polygons, depending on the object's complexity and desired print resolution. For a truly professional finish, you might even consider sending your model to a specialized modeller for retopology, which essentially rebuilds the mesh for optimal performance.
Step 4: Slice and Print!
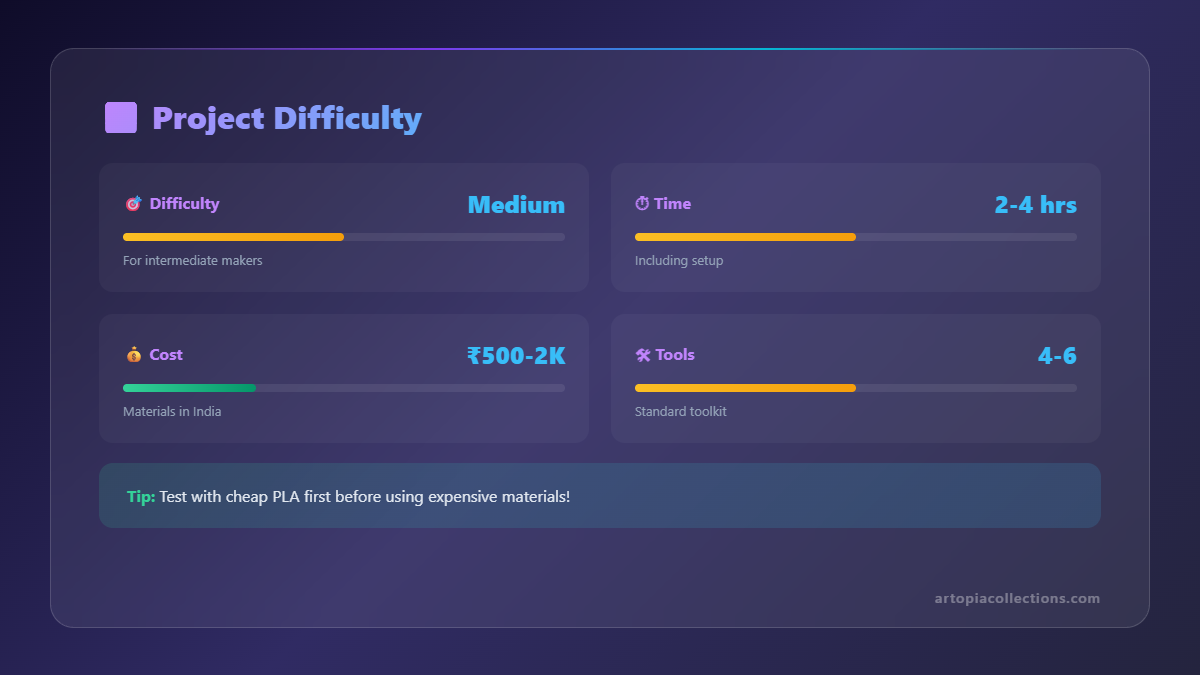
Once your model is clean and ready, it's just like any other 3D model. Load it into your favourite slicer (PrusaSlicer, Cura, Simplify3D), set your print parameters (layer height, infill, supports), and send it to your printer. I've printed models from photogrammetry on everything from my trusty Creality Ender 3 V3 KE (an absolute beast for the price, around ₹28,000-₹30,000) to my Anycubic Kobra 2 Neo. The prints come out looking fantastic, especially if the original object had a lot of intricate detail.
I usually start with standard PLA filament, like eSUN PLA+, which costs about ₹1,200-₹1,500 per kg. It's reliable, easy to print with, and comes in a zillion colours. For objects that need a bit more strength or a specific look, I might switch to PETG or even some specialty filaments, but PLA is perfect for prototyping and general decorative prints.
My Experience and Some Friendly Advice
Honestly, when I first stumbled upon photogrammetry, it felt like unlocking a secret level in the 3D printing game. I've used it to scan antique artefacts for clients who wanted replicas, to create models of intricate temple carvings, and even to make miniatures of people and pets (though people and pets are a whole different challenge because they move!).
One time, a client wanted a miniature of a very specific, traditional Indian clay lamp – the kind you only find in remote villages during festivals. It had these incredibly delicate, almost filigree patterns. Modelling it by hand would have taken days, if not weeks, and probably wouldn't have captured the organic, handmade feel. I took about 400 photos, processed it, spent a few hours cleaning it up in Blender, and within a couple of days, I had a printable model. The client was over the moon!
But it's not always smooth sailing. I remember trying to scan a shiny brass idol once. Total nightmare! The reflections were everywhere, and the software just couldn't make sense of it. I ended up having to spray it with a matte, washable primer to get a usable scan. So, yeah, be prepared for some trial and error. That's part of the fun, right?
The biggest challenge for most people, I think, will be the processing time and the cleanup. Don't get disheartened if your first few attempts produce lumpy, hole-ridden messes. It's a learning process. Focus on improving your photo-taking technique first, that's where 80% of the success comes from.
Bringing Your World Into the 3D Printing Universe
Photogrammetry truly bridges the gap between the physical and digital worlds for 3D printing enthusiasts and professionals alike. It opens up a universe of possibilities for creating unique, personalized, and historically significant models that would otherwise be impossible or incredibly time-consuming to achieve. Whether you're preserving memories, replicating intricate designs, or just experimenting with new ways to create, photogrammetry is a skill worth adding to your 3D printing arsenal.
So, what are you waiting for? Grab your phone, find an interesting object around your house (maybe a cool rock you found, or a unique piece of pottery), and start clicking! The future of personalized 3D printing is literally in your hands. And hey, if you get stuck or want some cool custom prints done, you know where to find me. Check out some of the unique stuff we're already crafting and selling right here on our Artopia Collections product page. We're always experimenting with new techniques, photogrammetry included!


