Print-on-Demand Jewelry: How to Sell Resin Printed Rings and Pendants
Start your own print-on-demand jewelry business today! Learn to design, market, and sell custom resin 3D printed rings and pendants with ease.
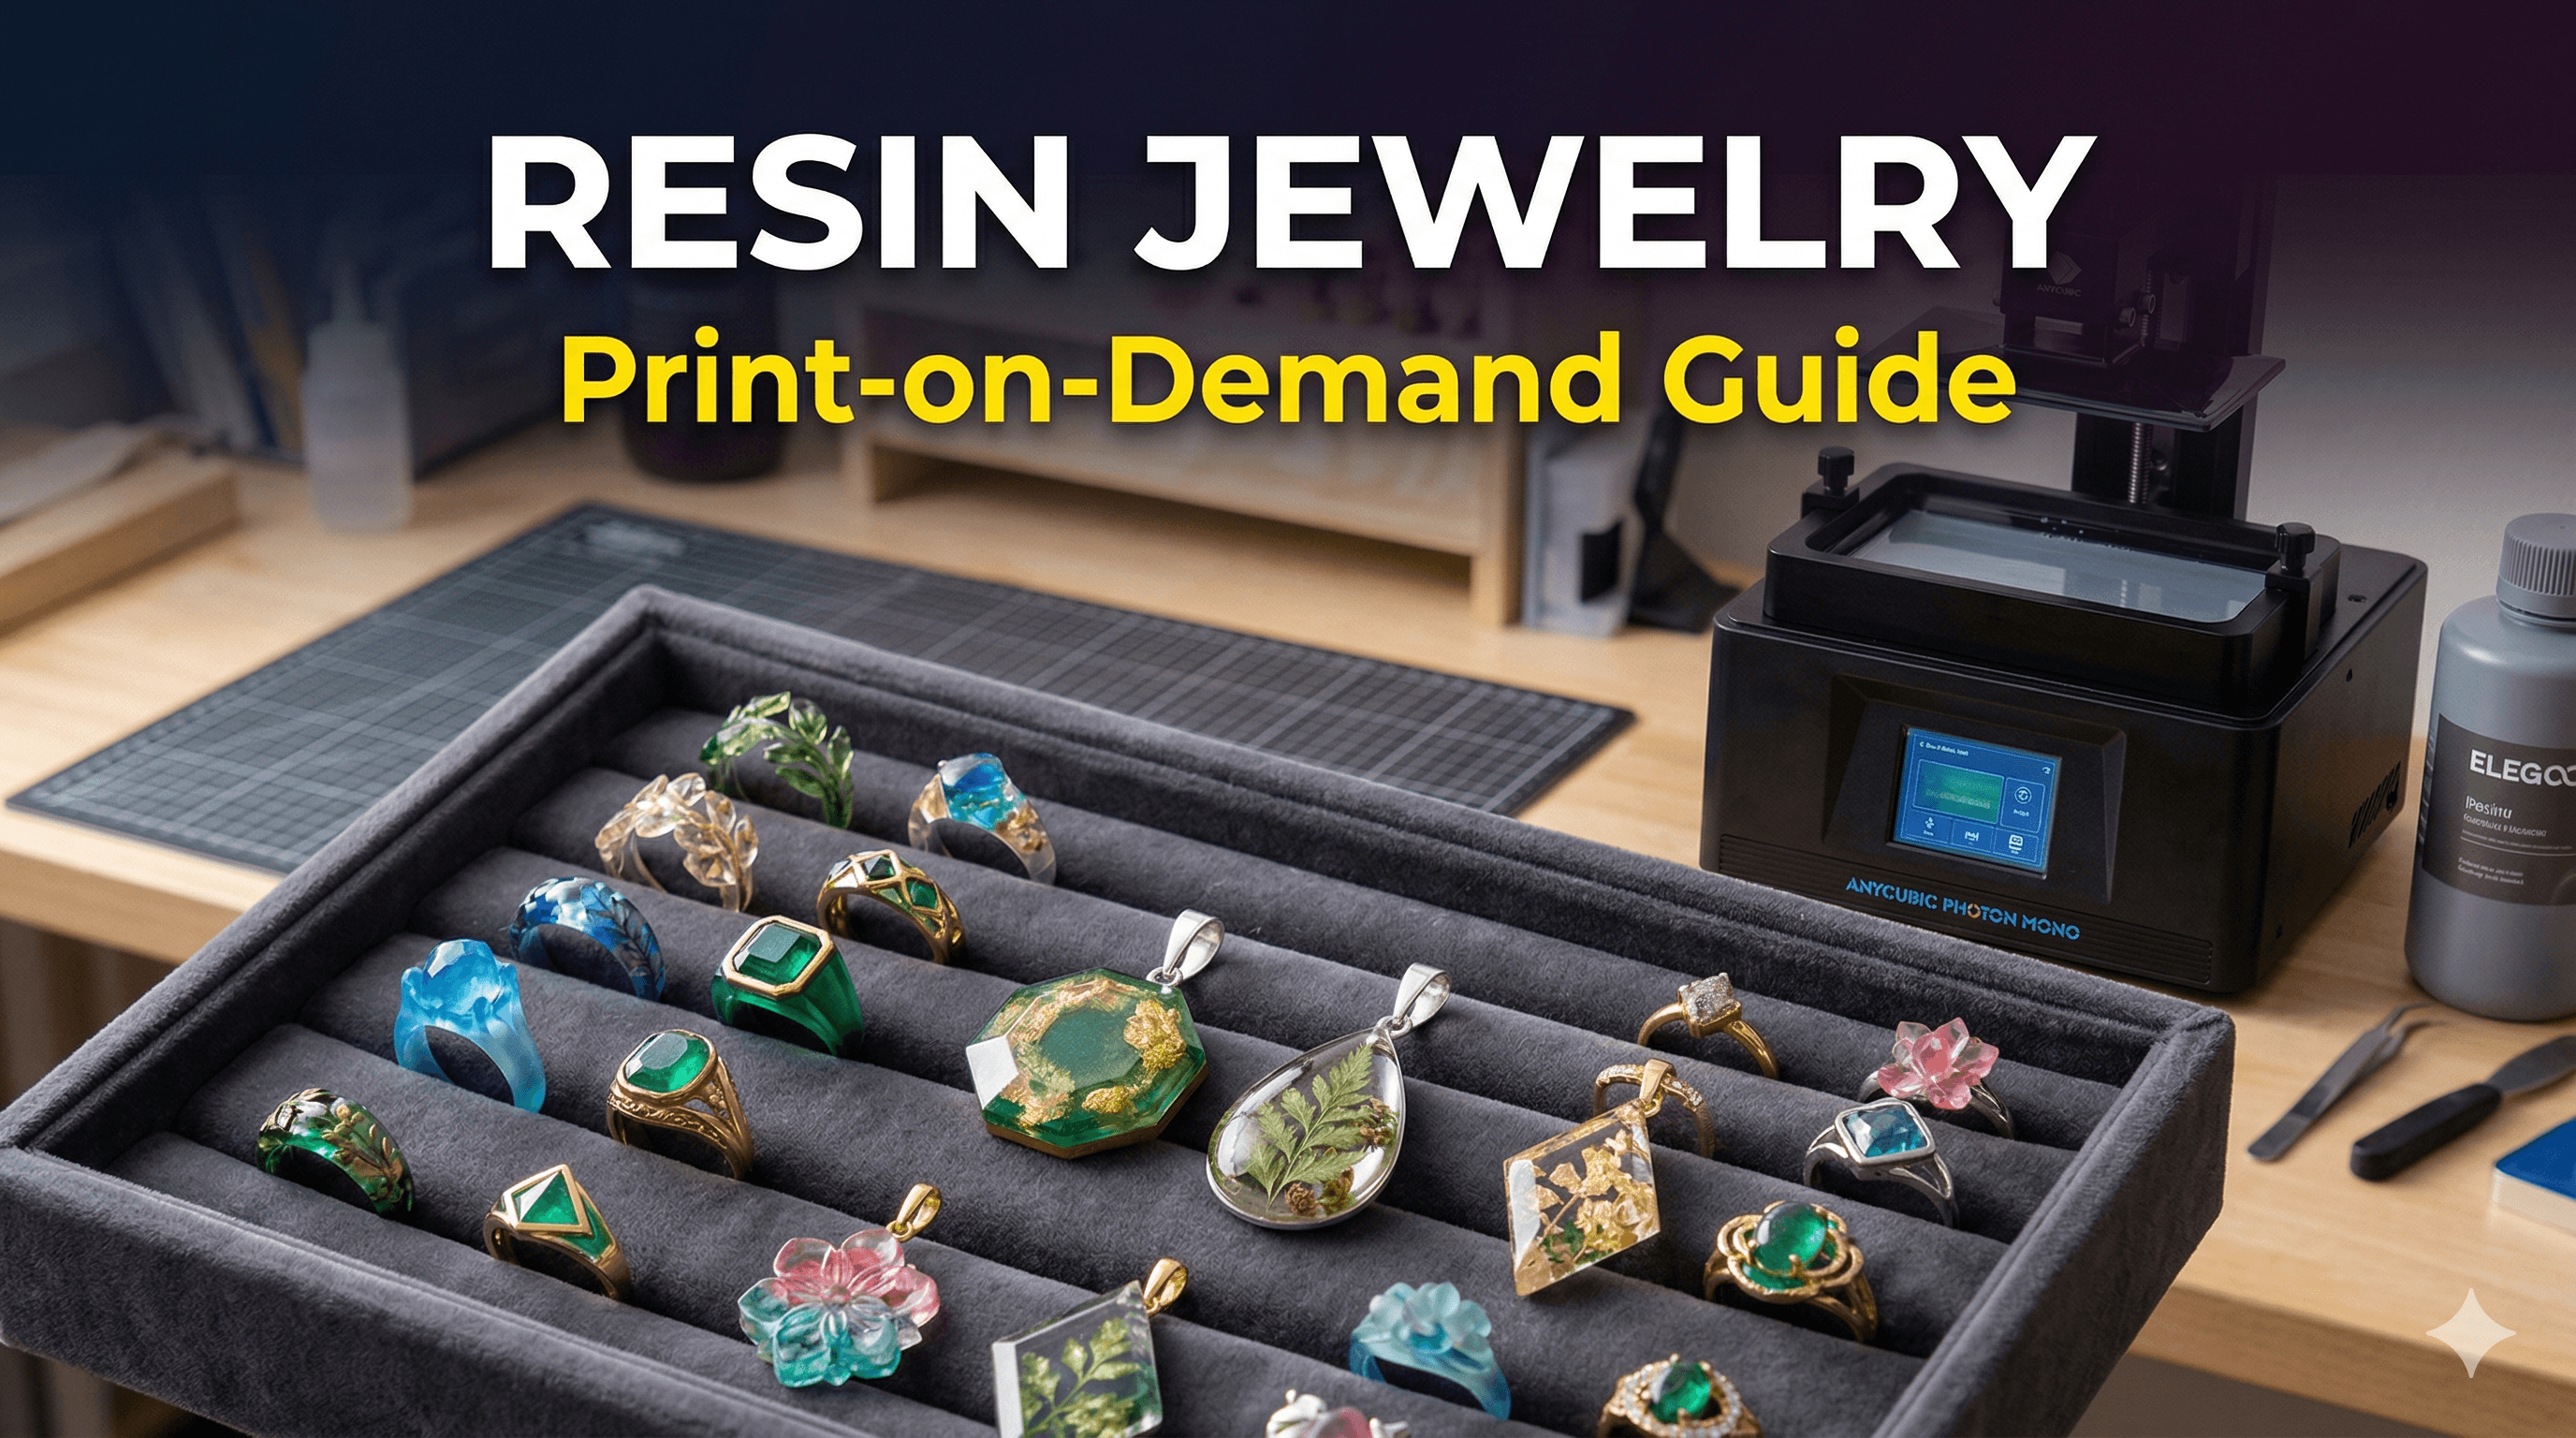
Chalo, let's talk about something that seriously makes my heart do a little happy dance: turning resin prints into gorgeous, wearable art. You know that feeling when a customer sees their custom-designed piece for the first time, and their eyes light up? That, my friends, is pure magic, and it’s why I’m so ridiculously passionate about what we do at Artopia Collections. Forget just printing fidget toys or miniatures – we're talking about crafting beautiful jewelry, right here in India, with our very own 3D printers!
For ages, folks in India have cherished intricate jewelry, whether it’s a family heirloom or a trendy new piece. And the thing is, with 3D printing, especially resin printing, we've got this incredible opportunity to blend traditional aesthetics with modern customization. It's not just about making things faster; it's about making unique, personalized pieces that tell a story. And that's where the print-on-demand model for resin-printed rings and pendants absolutely shines.
Why Resin for Jewelry? Oh, My Friend, Let Me Count the Ways!
Look, when most people think 3D printing, they often picture FDM printers, right? Those machines that lay down plastic layers like spaghetti. And while I love my FDM printers for so many projects – seriously, they’re workhorses – for jewelry, FDM just doesn't cut it. The layer lines are too visible, the detail isn't fine enough, and the surface finish... well, it's just not elegant. But then there's resin printing, or SLA/DLP/LCD printing, and that's a whole different ballgame. It uses UV light to cure liquid resin layer by microscopic layer, and the result? Oh, it’s *stunning*.
The details you can achieve are mind-blowing. Think about it: tiny engravings, delicate filigree, sharp edges on a geometric pendant – all perfectly rendered. The surface finish is smooth, almost like injection molded plastic, but with the freedom of custom design. Plus, you can get resins in various colors, and some even mimic precious metals or have a translucent quality. It’s basically a jeweler's dream if you're into unique, contemporary designs or even custom replicas without the hefty traditional mold-making costs.
And honestly, in India, where customization and unique gifts are so highly valued, this niche is just waiting to be explored more. Imagine someone wanting a pendant with their child's unique doodle, or a ring with an intricate motif inspired by their grandmother’s sari border. We can do that now, quickly and affordably!
Your Essential Resin Printing Setup for Jewelry Making
So, you’re convinced, right? Great! Now, what do you need to get started? It's not as intimidating as it sounds, I promise.
The Printer Itself
For detailed jewelry, you'll want a decent resin printer. Models like the Elegoo Mars 3, Anycubic Photon Mono 4K, or even the Creality Halot-One are fantastic entry points. They offer incredible resolution for their price point, often around ₹20,000 to ₹35,000 when they're on sale. These aren't huge build volumes, but for rings and pendants, they're more than enough. I personally started with an older Photon model, and it was a revelation after years of FDM.
The Resin – Your Liquid Gold
 This is where the magic really happens. You'll primarily be using standard resins for most jewelry pieces. I often use brands like Anycubic, Elegoo, or even some local Indian brands if they're reliable. A liter of standard grey or clear resin usually costs somewhere between ₹1,500 to ₹2,500. For specific applications, you might consider:
- Jewelry Castable Resin: This is special stuff. It burns out cleanly during the casting process, leaving no ash, which means you can print a wax-like model and then cast it directly in silver or gold. Super cool, but also more expensive (₹4,000-₹8,000+ per kg) and requires specific casting equipment.
- Tough/ABS-like Resin: If you want something a bit more durable for everyday wear that won’t shatter if dropped, these are good options.
Safety First, Always!
Resin printing isn't like FDM. You're dealing with liquid chemicals, and they can be messy and a bit smelly. So, you absolutely NEED:
- Nitrile Gloves: Always, always wear them when handling resin or uncured prints.
- Respirator Mask: A good quality one with organic vapor cartridges is essential, especially if you're printing in a less-than-perfectly ventilated space.
- Safety Glasses: Protect those eyes from splashes.
- Ventilation: Print in a well-ventilated area. An open window and a fan are minimums.
- IPA (Isopropyl Alcohol): Lots of it, for cleaning prints and spills. You can usually get a liter for ₹200-₹400.
- Wash & Cure Station: This is a game-changer. It automates the washing of uncured resin from your prints and then cures them with UV light. It's not strictly necessary – you can use a bucket of IPA and a separate UV lamp – but it makes life SO much easier and cleaner. I'd highly recommend investing in one, like the Anycubic Wash & Cure Plus. Trust me, your hands (and your sanity) will thank you.
Designing Your Masterpieces: Where Creativity Meets CAD
This is arguably the most exciting part for me! The design phase. For jewelry, you’ll typically be working with 3D modeling software. Don’t panic if you’re new to it!
- Fusion 360: My personal favorite for parametric design. It’s free for hobbyists and startups, and it’s incredibly powerful for creating precise, dimensionally accurate models. Great for geometric designs, interlocking parts, or custom text.
- Blender: Also free, and fantastic for organic shapes, sculptural elements, or if you want to get into more artistic, free-form modeling. It has a steeper learning curve but offers immense creative freedom.
- ZBrushCoreMini: A free version of ZBrush, excellent for sculpting organic shapes. Think tiny deities, intricate floral patterns, or stylized animals.
When designing, remember a few things for resin success:
- Minimum Wall Thickness: Resin printers are amazing, but they can't print infinitely thin. Aim for at least 0.8mm to 1mm for most structural elements to ensure they don't break during post-processing or wear.
- Overhangs and Supports: Just like FDM, resin printing needs supports for overhangs, but they are much finer. Design smart to minimize supports, or make them easy to remove in inconspicuous areas.
- Holes for Findings: Don't forget to include small holes or loops in your pendant designs for jump rings, chains, or earring hooks! This is a classic oversight for beginners.
For print-on-demand, the key is having a library of customizable designs. Maybe you offer a few base pendant shapes and then let customers add custom text, a specific symbol, or even upload a simple sketch. This way, you're not designing from scratch every time, but you're still offering that bespoke touch.
The Printing Process: From Digital to Tangible
Once your design is ready, you'll need to "slice" it using software like Chitubox or Lychee Slicer. This converts your 3D model into layers that your printer understands. Here's a quick rundown:
- Orientation: This is CRITICAL for resin prints. Don't print flat on the build plate – it creates suction and can fail. Angle your prints, typically around 30-45 degrees, to minimize layer lines and make support removal easier.
- Supports: Let the slicer generate automatic supports, then manually add or remove them as needed. You want just enough to hold the print, but not so many that they damage the surface when removed.
- Exposure Settings: Each resin has specific exposure times. Start with the manufacturer's recommendations and fine-tune with calibration prints.
Temperature can also be a factor, especially here in India with our fluctuating climates. Resin works best at around 20-30°C. If your print space is too cold, the resin becomes thicker, and prints might fail. Too hot, and it can cure too fast. It's a bit of a balancing act sometimes!
Post-Processing: The Art of Finishing
You’ve got a printed piece off the build plate. It’s gooey and a bit ugly right now. This is where the magic of post-processing comes in to reveal its true beauty.
- Washing: Carefully remove the print from the build plate (use a metal scraper!). Wash it thoroughly in IPA to remove all uncured resin. This is where a wash station really shines.
- Support Removal: While the print is still slightly soft (before final curing), carefully snip off the supports with flush cutters. This minimizes marks.
- Curing: Once dry, place your print in a UV curing station or under a dedicated UV lamp. This hardens the resin completely. Don't overcure, as it can make the resin brittle or yellow.
- Sanding & Polishing (Optional, but Recommended): For a truly professional finish, especially on larger, flatter surfaces, you might want to wet sand with very fine grit sandpaper (e.g., 800-2000 grit) and then polish with a buffing compound. This really makes the resin shine and removes any tiny support marks.
- Adding Findings: This is where your print becomes actual jewelry! Use pliers to attach jump rings, chains, ear hooks, bail clips, etc. I usually source these from local jewelry supply shops in India or even online marketplaces like IndiaMart or Amazon.in (search for "jewelry findings India"). For example, you can get a pack of 100 brass jump rings for about ₹150-₹250.
And voilà! You have a beautiful, finished piece of jewelry. You can even paint them with acrylics or use various finishing techniques to add color and flair.
Selling Your Creations: The Print-on-Demand Business Model
Here’s the deal with print-on-demand for jewelry: you don’t hold inventory. A customer orders a specific design or a custom piece, and *then* you print it. This significantly reduces your upfront costs and risk. It's perfect for a small business like mine, or even for a hobbyist looking to make some extra cash.
Pricing Your Work (The Indian Context)
 This is crucial. You need to cover your costs and make a profit. Don't undersell yourself!
- Material Cost: Calculate how much resin each piece uses. A small pendant might only use 5-10ml of resin, so if resin costs ₹2000/liter, that’s ₹10-₹20 in material.
- Electricity: Printer, wash & cure station, UV lamp. It’s relatively low, but account for it.
- Your Time: Design time (if custom), print time, post-processing time, packaging. Your time is valuable!
- Overheads: Packaging materials (small pouches, boxes – can be ₹10-₹50 per piece), marketing, website fees, etc.
- Value: This is where customization and unique design really count. People pay more for something personal and handcrafted.
For a resin-printed pendant, depending on complexity, size, and finish, you might have a material and direct labor cost of, say, ₹50-₹150. You could reasonably sell these for ₹300-₹800, or even more for truly intricate or custom designs. Rings might be ₹400-₹1200+. It really depends on your target market and the perceived value.
Where to Sell
There are so many avenues!
- Your Own Website: Like Artopia Collections (shameless plug, I know!). Gives you full control, but requires traffic generation.
- Social Media: Instagram and Facebook are goldmines for visual products like jewelry. Use high-quality photos and videos! Run targeted ads for specific demographics in India.
- Online Marketplaces: Etsy is global and great for handmade goods. In India, platforms likeMeesho, Kraftly or even setting up a WhatsApp Business catalog can work wonders.
- Local Markets & Exhibitions: Craft fairs, pop-up shops in malls, college fests – these are fantastic for direct customer interaction and showing off the quality firsthand.
- Collaborations: Partner with local boutiques, fashion designers, or even influencers.
Marketing & Photography
Your jewelry might be amazing, but if your photos are bad, no one will know. Invest time in good lighting, clear shots, and lifestyle photos. Show people wearing your pieces! Tell the story behind the design. Emphasize the unique, handcrafted, custom aspect. That’s what sets you apart from mass-produced jewelry.
Challenges & My Two Cents
It's not all rainbows and perfectly cured resin, of course. There are challenges. Resin printing can be a bit finicky sometimes – a failed print wastes resin and time. Post-processing can be tedious. And educating customers that 3D printed jewelry isn't "cheap plastic" but a medium for intricate, durable art can take effort.
But honestly, the rewards far outweigh the hurdles. The joy of creating something beautiful from a liquid, seeing a design come to life, and then seeing someone wear it proudly? Priceless. The ability to iterate designs quickly, offer true customization, and tap into a market that craves unique, personalized items... it's an incredible opportunity for us makers in India.
So, if you've been thinking about getting into resin printing, or if you're already printing and looking for a new venture, I highly, highly recommend exploring the world of print-on-demand resin jewelry. It's a creative, fulfilling, and potentially very profitable niche. It's where technology meets artistry, right here in our hands. Go on, give it a shot – you might just surprise yourself!