TinkerCAD Codeblocks: Teaching Kids Parametric Design Through Code
TinkerCAD Codeblocks offers a unique platform to introduce children to the world of parametric design and visual programming. Learn how this powerful tool can help young minds develop crucial STEM skills while creating amazing 3D models.

Ever notice how kids today are just glued to screens? I mean, my nephew, he’s like a digital native, swiping before he could properly talk. And it makes you wonder, doesn’t it? Are they just consuming, or are they actually building something meaningful with all that screen time? As someone who lives and breathes 3D printing right here in India, running my small business, ArtoPia Collections, this question hits home for me. I’ve always been about turning ideas into tangible objects, you know? The sheer joy of seeing something you designed in your head appear in plastic on your print bed is just… magical. And I truly believe that magic shouldn't be reserved for us adults or seasoned engineers. It should be for everyone, especially the next generation.
That’s why I’ve been absolutely buzzing about a fantastic tool lately: TinkerCAD Codeblocks. If you’ve dabbled even a little bit in 3D design, you’ve probably heard of TinkerCAD. It’s this incredibly user-friendly, browser-based CAD software from Autodesk that basically taught an entire generation (and many adults, myself included!) how to think in 3D. It’s got that intuitive drag-and-drop interface, perfect for beginners. But Codeblocks? Oh man, Codeblocks is a whole different beast, and honestly, it’s a game-changer for teaching kids, especially in India where we’re so keen on STEM education, how to think parametrically and computationally about design. And that, my friends, is a super skill for the future.
What Exactly Is TinkerCAD Codeblocks? It's Visual Coding for 3D!
So, you know Scratch, right? That brilliant visual programming language from MIT where kids snap together coloured blocks to make animations or games? Codeblocks is basically the 3D design equivalent of that. Instead of dragging pre-made shapes onto a workplane and manually resizing them, you use a block-based coding interface within TinkerCAD to generate your 3D models. You’re giving the computer instructions, step-by-step: "create a box," "move it 10mm to the right," "rotate it 45 degrees," "subtract a cylinder from it."
And here's the kicker: you can define variables! This is where the magic of parametric design really starts to shine. Instead of saying "make a box that is 20mm wide," you say "make a box that is width mm wide," and then you define what width is. Suddenly, you can change that one variable, and your entire design scales, adjusts, or remodels itself automatically. It’s like having a design assistant that understands your commands and executes them perfectly, every single time. I personally think this is brilliant because it introduces complex coding concepts and design principles in a way that’s not intimidating at all. No scary syntax errors, no cryptic command lines – just colourful blocks snapping together.
Demystifying Parametric Design for Little Geniuses
Okay, "parametric design" sounds like a fancy, intimidating term, doesn't it? Like something only seasoned engineers or architects with expensive software use. But it's actually a pretty simple concept at its core, and it's incredibly powerful. Basically, it means your design isn't just a fixed shape; it's defined by parameters, by rules, by relationships. Think of it like this: if you design a chair, and you decide the legs need to be 10cm longer, in traditional CAD, you'd go in and manually stretch each leg. But with parametric design, you’d just change one single value, say "leg_height = 50cm" to "leg_height = 60cm," and boom! All four legs, along with any other parts linked to that height, automatically update. The entire chair reconfigures itself based on that new parameter.
Why is this a superpower? Well, imagine designing a series of custom enclosures for electronics. Each enclosure needs to fit a different circuit board, but they all need the same wall thickness, screw holes, and ventilation patterns. Instead of redesigning each one from scratch, you create one parametric model. You just input the length, width, and height of the new circuit board, and the software generates a perfectly scaled and dimensioned enclosure for you. It's efficient, it's consistent, and it opens up a world of customization. For kids, it teaches them to think modularly, logically, and about how changes in one part of a system affect others. It's essentially laying the groundwork for engineering thinking, but they're just having fun making cool stuff!
My First Foray: From Simple Blocks to Modular Wonders
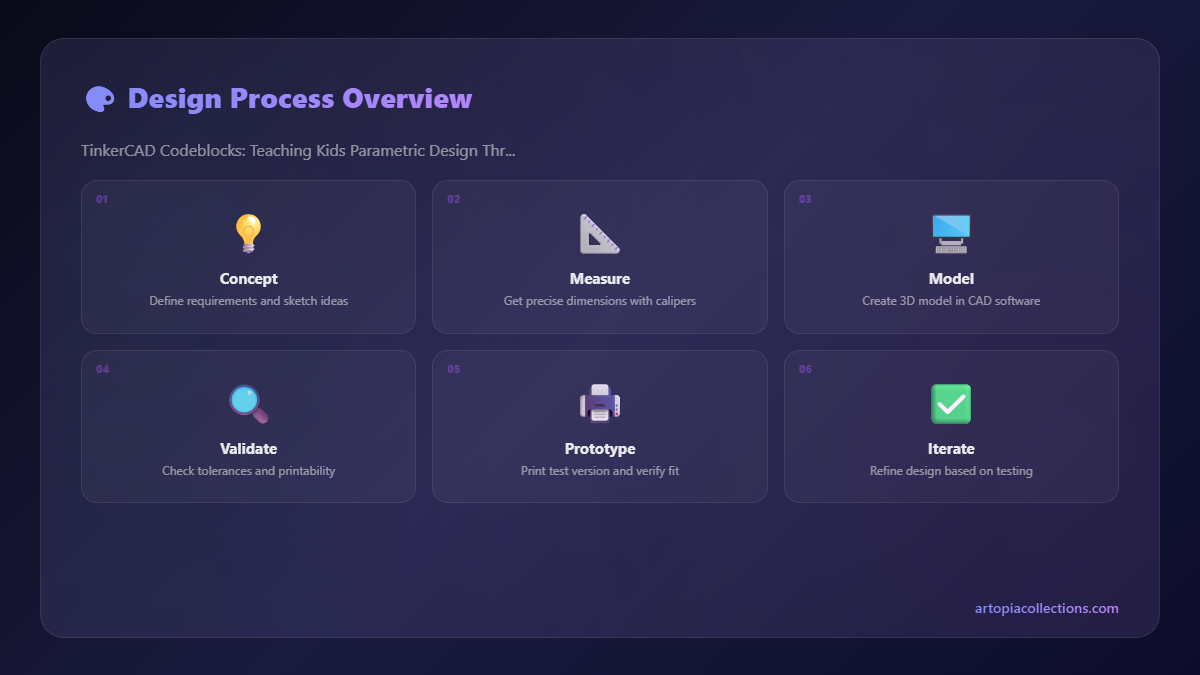
I remember when I first stumbled upon Codeblocks. I was actually trying to create a series of custom jigs for my 3D printer – you know, small tools that help with assembly or holding parts. And I thought, "This looks like a good place to try out a little programmatic design." My own kids aren't quite old enough to grasp it fully yet, but I roped in my bright young niece, Riya, who's about ten. She's always been fascinated by my printers, those whirring machines that make toys appear out of thin air.
We started super simple. I challenged her to make a custom name tag. We used the "create box" block, then added a "create text" block. We talked about coordinates, moving the text up, centring it. Then, the real fun began: introducing a variable called tag_length and another called tag_height. Instead of fixed numbers, she used these variables. So, if she wanted a longer tag, she just changed the number next to tag_length, and the box, along with the text – because we linked the text position to the box's size – would automatically adjust. Her eyes just lit up! "Uncle, I can make it say my name, and then I can change the size with just one number!" Exactly, Riya, exactly!
We then moved onto something slightly more complex: a modular building block system. Think LEGO, but completely custom. We defined variables for the 'stud_diameter', 'block_height', 'number_of_studs_x', and 'number_of_studs_y'. She could then build a 2x2 block, a 2x4 block, a 1x1 block, all from the same basic code, just by changing those few variables. It was incredible to watch her go from simply stacking digital bricks to actually understanding how those bricks are programmatically generated. She was basically creating her own rules for a toy system, and then the computer was doing all the tedious work for her. The level of problem-solving and logical thinking involved, even for a ten-year-old, was just phenomenal.
Why This Is a Game-Changer for Kids in India
Look, in India, we're all about giving our kids the best education, preparing them for the future. We see the rise of coding, AI, robotics, and design. TinkerCAD Codeblocks directly hits so many of those future-ready skills. It’s not just about making pretty shapes; it’s about:
- Logical Thinking & Problem Solving: Kids learn to break down a complex design into smaller, manageable steps. If something doesn't look right, they debug their "code" to find the issue.
- Spatial Reasoning: Understanding how shapes occupy space, how they interact, and how transformations (moving, rotating, scaling) affect them. This is crucial for engineering and architecture.
- Mathematical Concepts: They’re implicitly using coordinates, geometry, and basic arithmetic without even realising they’re doing "math."
- Creativity & Innovation: Once they grasp the basics, they're not limited to pre-made parts. They can invent entirely new objects, tools, and toys.
- Bridging Code & Reality: This is a big one. They're not just coding something on a screen; they're seeing that code become a physical object they can hold. That connection is incredibly powerful and motivating.
Plus, it’s accessible. TinkerCAD is free, browser-based, and works on pretty much any computer with an internet connection. You don't need fancy, expensive software licenses. This means schools, parents, and hobbyists across India can get their kids involved without breaking the bank. And honestly, for a country that's producing so many engineers and innovators, giving them these foundational tools early on is a massive advantage.
Getting Started: What You Need (and What It Costs in Rupees)
So, you're convinced, right? You want to get your kid, or even yourself, started with Codeblocks and 3D printing. Here’s the deal:
First off, you need a computer and an internet connection. That’s a given for TinkerCAD. No special software to install, which is a blessing. Just head over to tinkercad.com, create a free account, and navigate to the Codeblocks section.
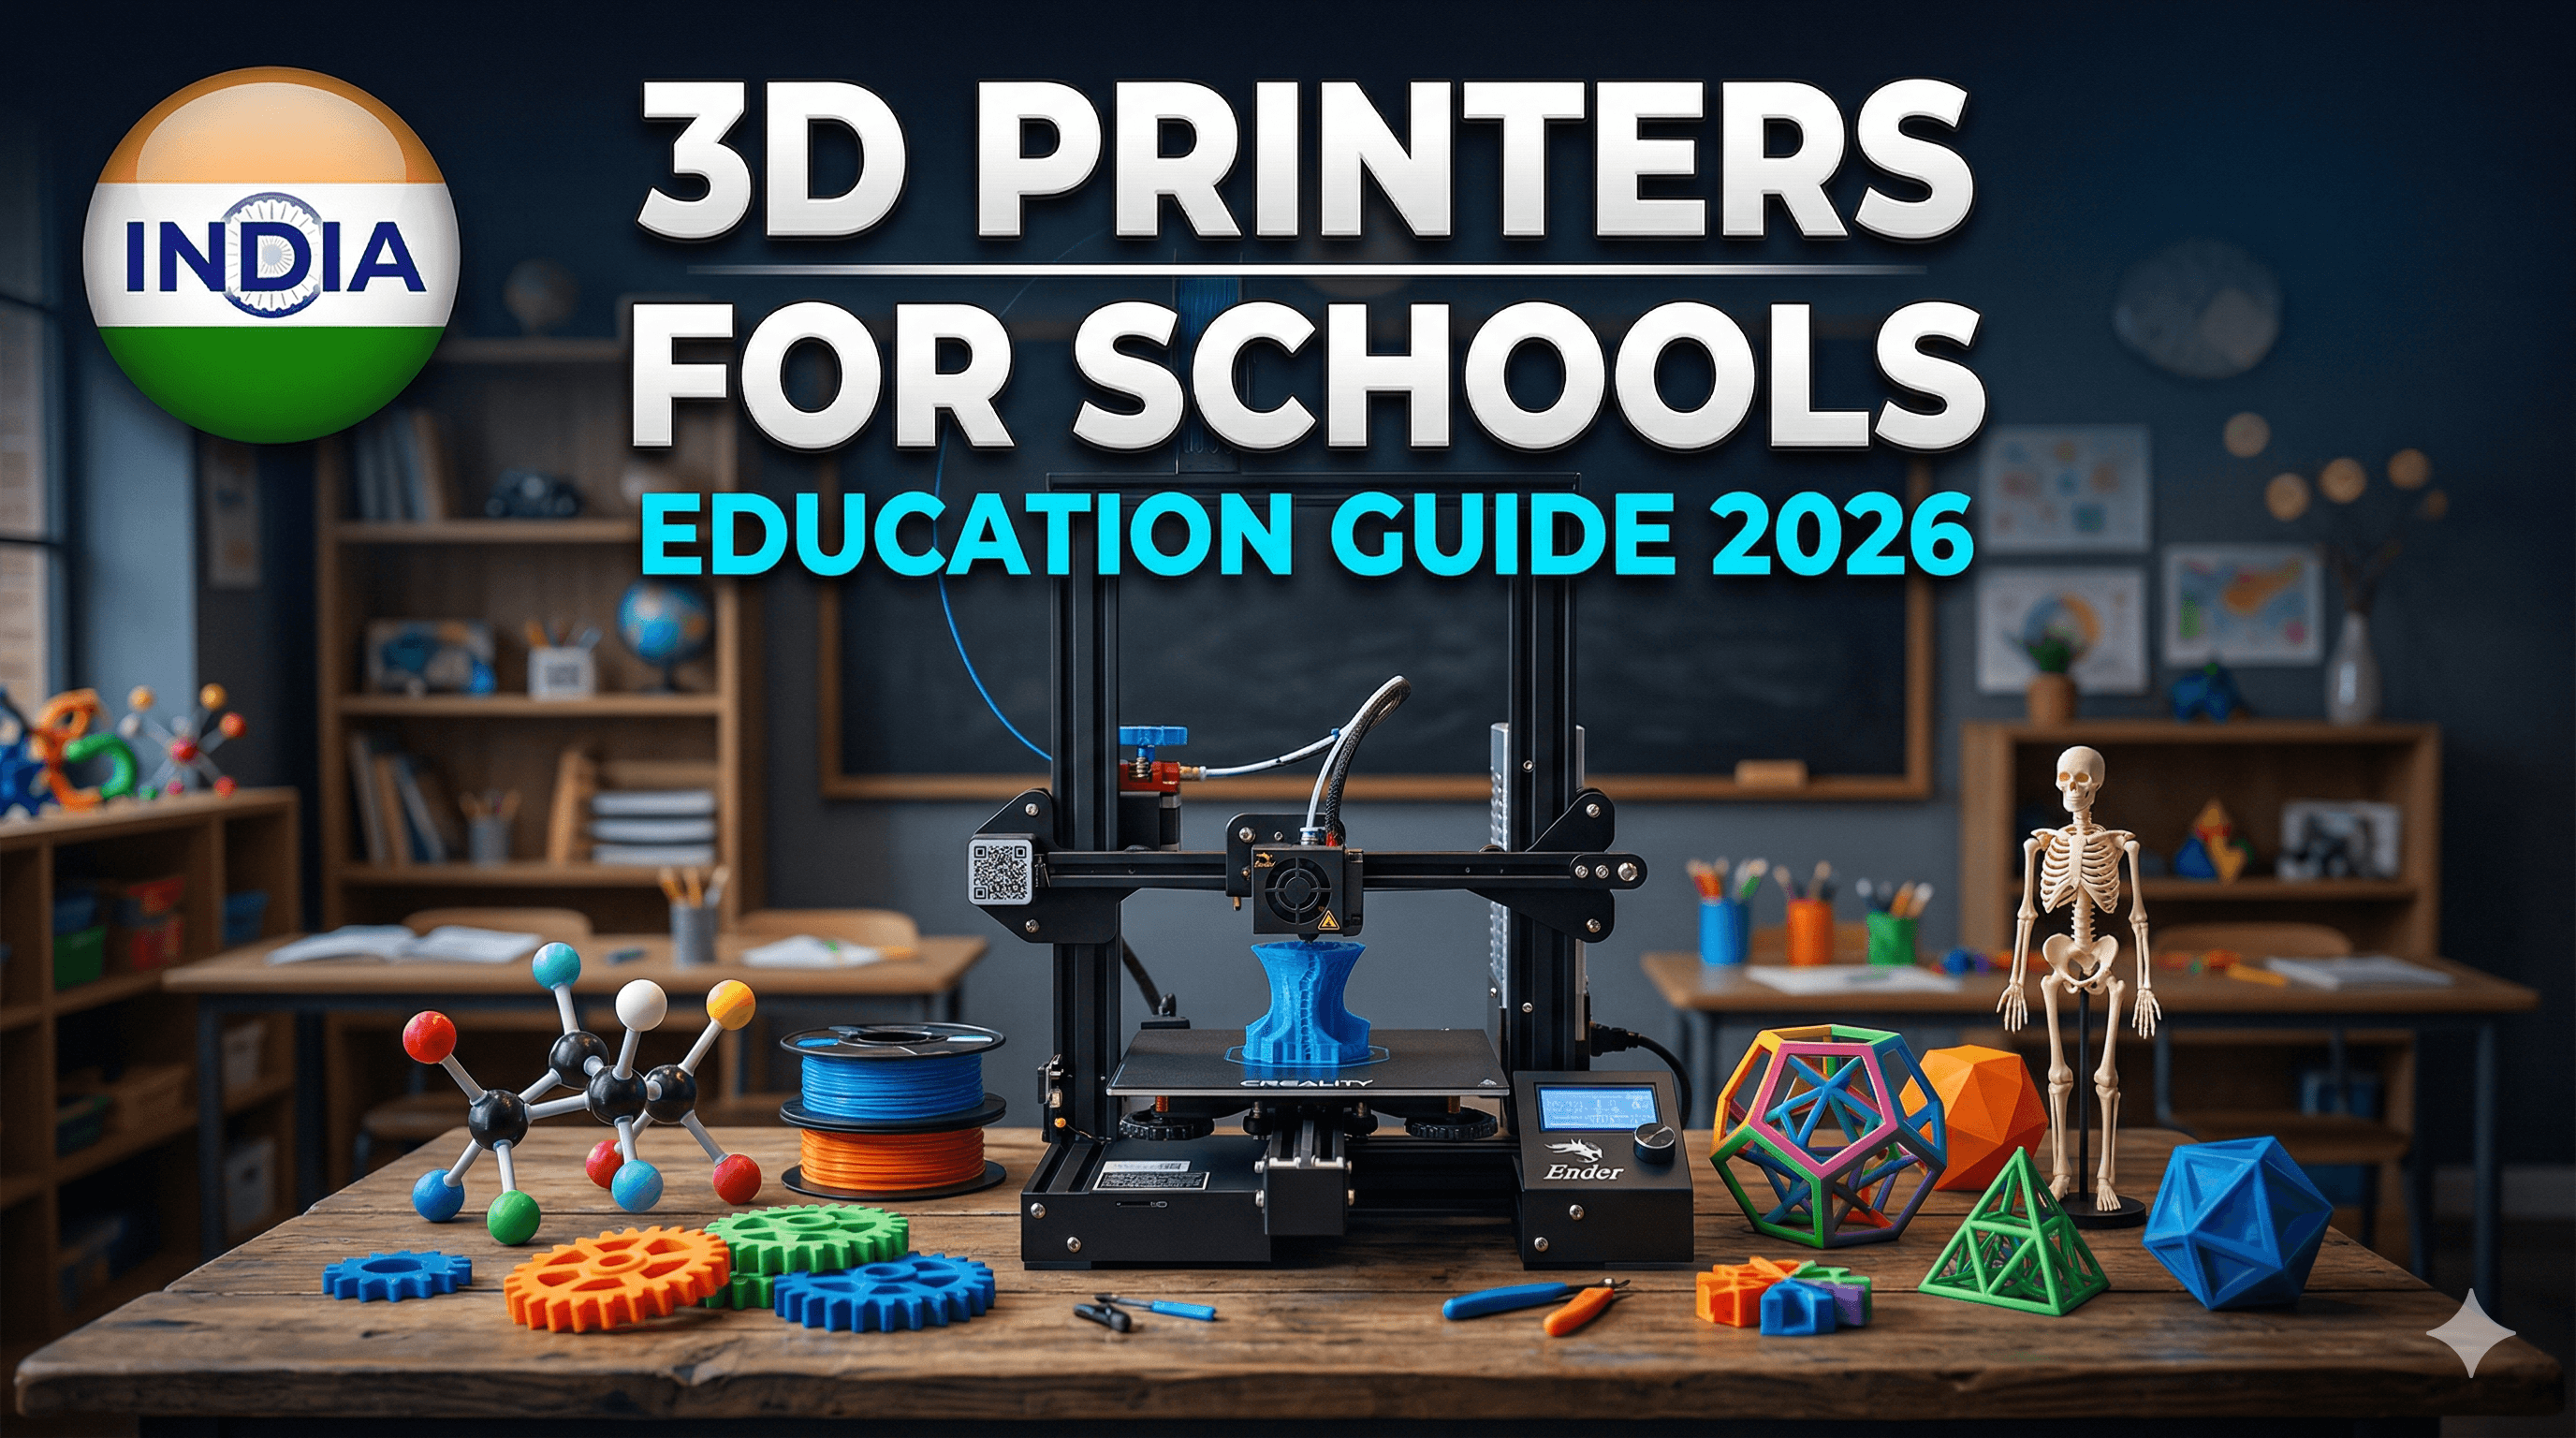
Second, if you want to actually hold those fantastic designs, you'll need a 3D printer. The good news is, entry-level 3D printers have become incredibly affordable and user-friendly here in India. A fantastic starting point, and one I recommend constantly to my workshop attendees, is something like the Creality Ender 3 V2. It’s robust, has a huge community for support, and it’s pretty reliable once you get it dialled in. You can usually find one for somewhere between ₹18,000 to ₹25,000, depending on sales and where you buy it. It's a solid investment for endless creativity. You can check it out on Amazon right here if you're interested.
And third, you’ll need filament! For kids and beginners, PLA (Polylactic Acid) is your best friend. It’s safe, non-toxic, easy to print with, and comes in a rainbow of colours. A good quality 1kg spool of PLA filament will typically set you back anywhere from ₹1,500 to ₹2,000. Brands like eSun, Overture, and some good Indian local brands are readily available. A single spool goes a long, long way for small projects. You can find a good selection of PLA filament options on Amazon.in too.
That’s basically it! With a computer, a printer, and some filament, you're set to turn digital designs into physical realities. The initial investment might seem a bit much for a hobby, but when you consider the educational value and the sheer number of things you can create and learn, it's peanuts, really.
My Business & Codeblocks: ArtoPia Collections and Beyond
At ArtoPia Collections, while I focus on custom designs and unique 3D printed art pieces, the principles I see taught by Codeblocks are fundamental to everything I do. That ability to think parametrically, to design things that can be easily customized or adapted, is a core part of my business model. For example, if a client wants a custom organizer for their desk, I don't start from scratch every time. I have a basic parametric model that allows me to quickly adjust dimensions, add compartments, change hole sizes – all by just tweaking a few variables. This saves me so much time and allows me to offer truly bespoke products without prohibitive costs.
I’m even exploring the idea of running small workshops for kids, perhaps starting with a few local schools in my area, to introduce them to Codeblocks. Imagine kids designing their own unique trophies for a school competition, or custom keychains for a farewell gift – and then seeing them printed right there! The enthusiasm would be off the charts. It’s not just about selling prints; it’s about nurturing that spark of innovation. So, if you're curious about the kind of custom work we do, or just want to see some cool examples of 3D printed items that often start with these very design principles, feel free to check out our customizable designs and prints here!
Challenges and Little Quirks (Because Nothing's Perfect!)
Now, I wouldn't be giving you the full picture if I didn't mention a few quirks. While Codeblocks is fantastic, it's not without its minor limitations. It's still a visual block-based system, so if you're trying to do super complex organic shapes or extremely intricate geometries, you might eventually hit its ceiling. For that, you'd move onto more advanced CAD software like Fusion 360 or OpenSCAD (which, by the way, is pure code-based parametric design – a great next step after Codeblocks!).
Sometimes, when you have a lot of blocks, it can get a bit visually cluttered, and tracing the logic might take a moment. Also, while it’s great for introducing variables, it doesn't have the full mathematical expression capabilities of a truly advanced parametric system. But honestly, for its target audience – kids and beginners – these are minor quibbles. It’s designed to be approachable, not to replace professional engineering software. And for what it aims to do, it excels.
Final Thoughts: Unleash the Young Innovators!
So, there you have it. TinkerCAD Codeblocks isn't just another online tool; it's a gateway. A gateway for kids (and adults!) to understand the fundamental principles of design, coding, and manufacturing in a hands-on, engaging way. It’s about empowering them to move beyond just consuming digital content and become creators of it, both virtually and physically.
I truly believe that fostering this kind of thinking from a young age is crucial for India's future. We need more problem-solvers, more innovators, more people who aren’t afraid to tinker, to experiment, and to build. So, if you're a parent, an educator, or just a curious individual, I urge you: give TinkerCAD Codeblocks a try. It’s free, it’s fun, and it might just spark a lifelong passion for design and creation in someone you know. Go ahead, unleash those young innovators! The future is literally being built, one print, one codeblock, at a time.