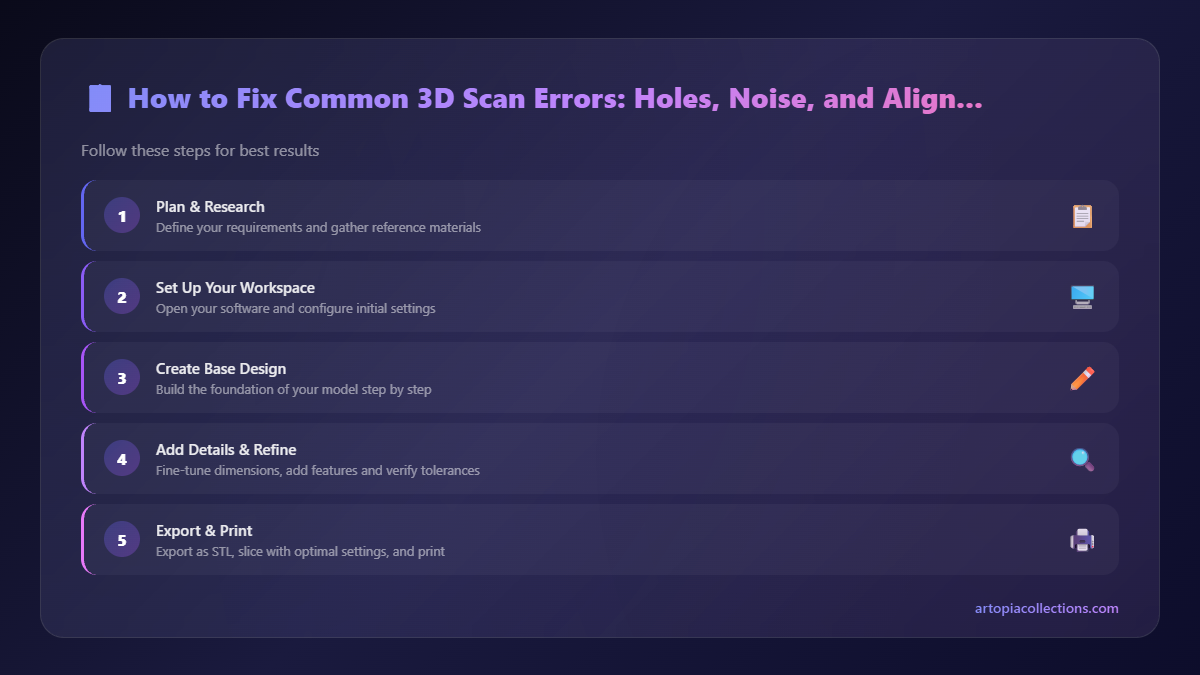
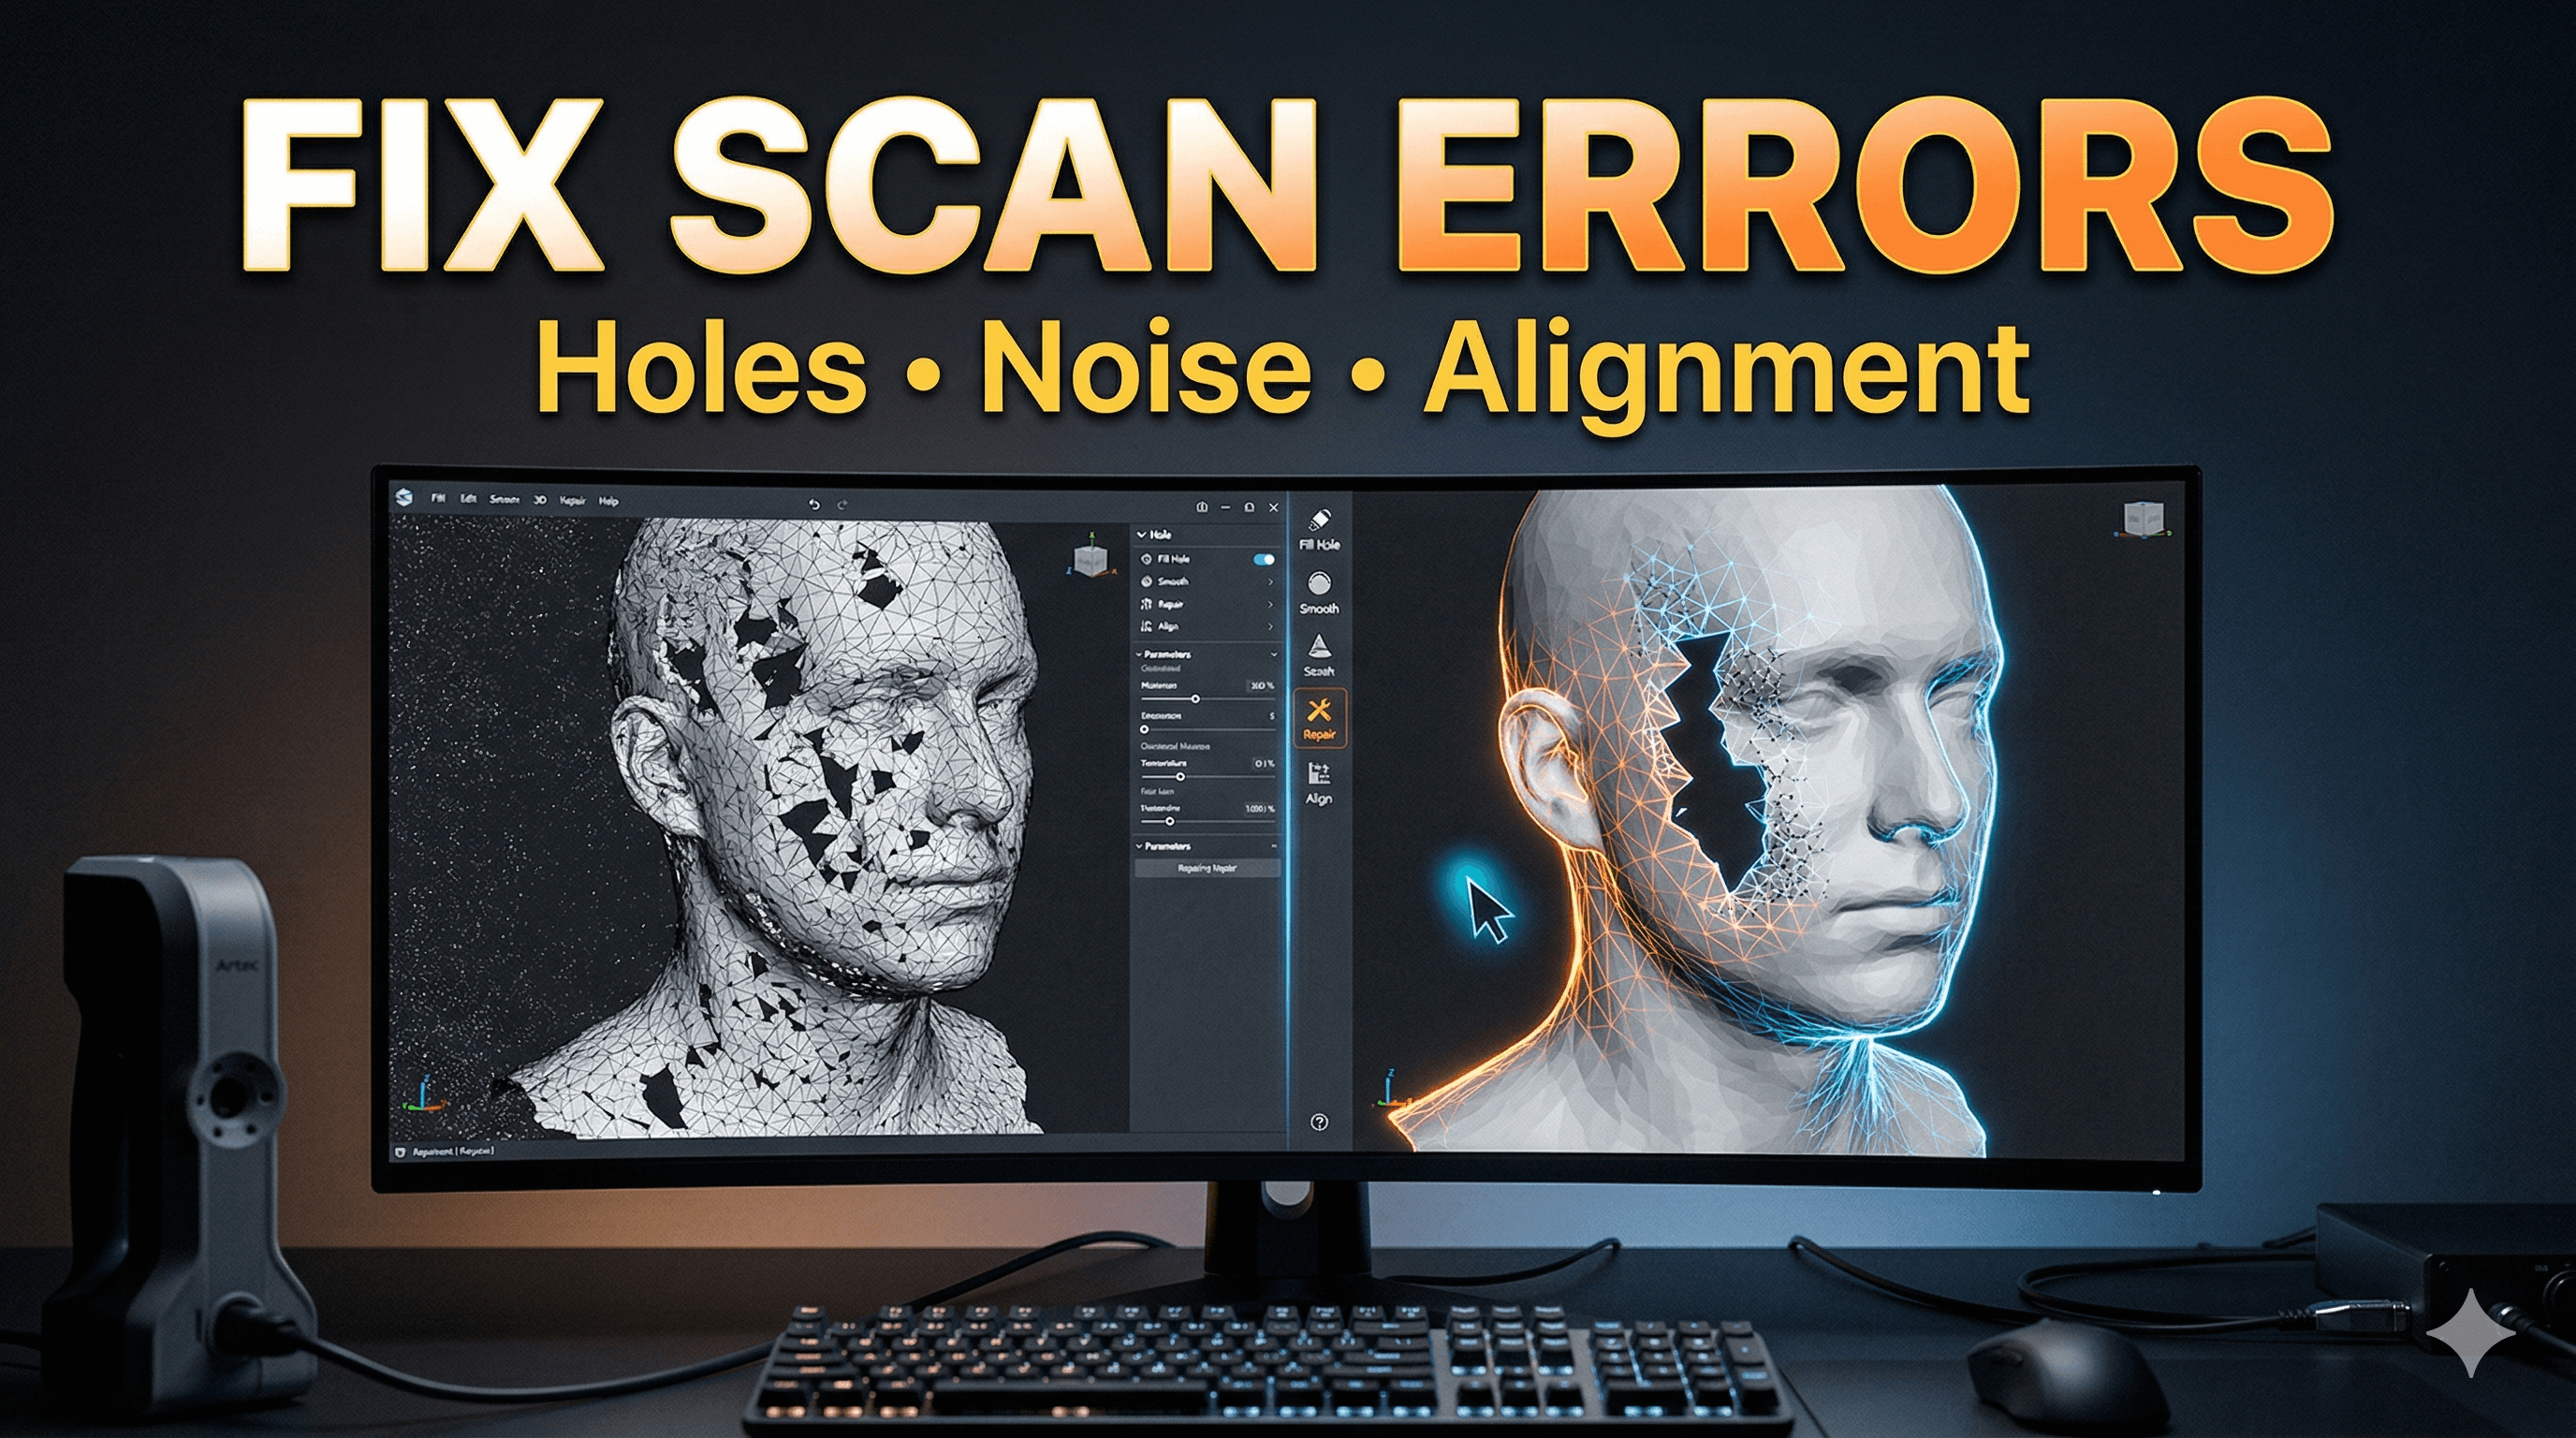
How to Fix Common 3D Scan Errors: Holes, Noise, and Alignment
Common 3D scan issues such as holes, noise, and alignment problems can degrade your models. Learn practical techniques to effectively repair these errors and achieve professional 3D scan results.
Artopia Collections Blog Team23 February 202614 min read
Don't Let Bad Scans Ruin Your Day: A Desi Fixer's Guide to Perfect 3D Models!
Ever get that incredible rush when your scanner – be it a fancy handheld one or even just your smartphone with a photogrammetry app – finishes its job? You click "process," you wait, you hold your breath… and then, boom! There it is, your object, captured in glorious 3D! But wait. What's that? A gaping hole where an intricate detail should be. Jagged, noisy surfaces that look like a digital rash. Or worse, you scanned it in multiple passes, and now it looks like two different objects trying to awkwardly merge at a bad disco. Ugh. Been there, done that, printed the t-shirt (with the holes still in it, probably). Look, 3D scanning, especially here in India where we often make do with what we have – maybe a ₹30,000 Revopoint POP 2, or even just a decent phone camera with something like Polycam – it’s a game-changer. It lets us digitize real-world objects, preserve heritage (imagine scanning an old temple carving!), or even just reverse-engineer a broken part. But the raw data? Oh, that’s almost never print-ready. It’s like getting fresh vegetables from the market; you still need to wash, chop, and cook them before they become a delicious meal. Same with scans. You need to clean 'em up, make 'em watertight, and get 'em looking pristine. And honestly, in my small business, Art-O-Print, based right here in Chennai, this is something I deal with almost daily. Clients bring me everything from antique idols they want reproduced to custom car parts they need replicated. And almost always, the first step after scanning is a good old digital cleanup. The thing is, this isn't some black magic. It's a set of skills, a workflow, that anyone can learn. So, grab a cup of chai, settle in, and let's talk about how to tackle those pesky holes, annoying noise, and frustrating alignment issues in your 3D scans.Your Digital Toolkit: Software That Gets the Job Done
Before we dive into the fixes, let’s talk about the gladiators in our arena – the software. You don’t need to break the bank. 1. Meshmixer (Free!): My absolute go-to for quick and dirty fixes. It’s like the Swiss Army knife for meshes. Autodesk created it, and it's surprisingly powerful for being free. For holes, noise, and basic cleanup, it's a champion. 2. Blender (Free!): This one’s a beast. A full 3D suite for modelling, sculpting, animation, rendering… and yes, mesh editing. It has a steeper learning curve than Meshmixer, no doubt. But for more complex repairs, sculpting details, or advanced retopology, Blender is indispensable. And it's free, did I mention that? 3. ZBrush (Paid, but professional-grade): If you’re serious about sculpting and organic forms, ZBrush is the gold standard. It’s expensive (think ₹50,000+ for a perpetual license), but for highly detailed repairs, adding textures, or truly artistic enhancements, nothing beats it. I don't use it for *every* scan, but for high-end client work, it's invaluable. For this guide, I'll mostly focus on Meshmixer and Blender because they're accessible to everyone.Issue #1: Holes – The Digital Swiss Cheese Effect
Okay, let's start with holes. These are probably the most common and, frankly, the most frustrating errors. You scan a beautiful statue, and suddenly there’s a massive crater in its back. Why do they happen? * Occlusion: The scanner couldn't see that part of the object. Maybe your hand was in the way, or it was in a shadow, or simply angled away. * Reflective or Transparent Surfaces: Glass, highly polished metal, or dark, non-reflective surfaces can confuse optical scanners. Lasers just bounce off or get absorbed. * Thin Features: Hair, thin wires, sharp edges – these can be tricky for a scanner to capture accurately, often resulting in gaps. * Insufficient Data: You just didn't get enough overlapping scan data in that particular area.How to Fill Those Gaps:
The good news? Holes are often the easiest to fix. 1. In Meshmixer: * Analyze > Inspector: This is your best friend. Click on it, and Meshmixer will highlight all open boundaries (holes) with little spheres. You can usually click these spheres, and Meshmixer will try to automatically fill the hole. For simple, convex holes, it works like a charm. * Fill Type: When Meshmixer fills, it gives you options: "Flat Fill," "Smooth Fill," "Minimal Fill." For organic shapes, "Smooth Fill" or "Minimal Fill" usually give the best results, trying to match the surrounding curvature. "Flat Fill" is good for mechanical parts or flat surfaces. * Bridge Tool (Edit > Bridge): For more complex holes, or when you want to connect two separate boundaries (maybe you're trying to close a hollow model), the Bridge tool is fantastic. Select two edge loops (Ctrl+Click on edges in Select mode) and hit Bridge. You can control the number of segments to create a smoother transition. * Sculpt Tools: For really intricate or large holes, sometimes I just jump into the Sculpt mode. Use the "RobustSmooth" brush to soften surrounding edges, then use the "Draw" brush (with appropriate settings) to slowly build up new geometry, and then smooth it out again. It’s more manual but gives you full control. 2. In Blender: * Select the Edge Loop: Go into Edit Mode (Tab), select an edge, then Alt+Click an adjacent edge to select the entire edge loop around the hole. * Fill (F key): For simple, flat holes, just hit 'F'. Blender will create a face to fill it. It's often flat, so you might need to use the sculpting tools later
Issue #2: Noise – The Digital Static
Noise is that grainy, bumpy, or "fuzzy" appearance on your scan. Instead of smooth surfaces, you get a texture like sandpaper or, worse, a topographical map of a small planet. * Causes: * Scanner Limitations: Cheaper scanners or low-resolution settings might inherently capture more noise. * Environmental Factors: Poor lighting, reflections from nearby objects, or even vibrations during scanning can introduce noise. * Sensor Issues: Sometimes it's just the scanner's sensor picking up erroneous data. * Dirty Lens: A smudge on your scanner's lens or your phone camera can wreak havoc!Smoothing Things Over:
Noise is primarily fixed by smoothing or decimating the mesh. 1. In Meshmixer: * Sculpt > Brushes > RobustSmooth: This is my favourite smooth brush. Go into Sculpt mode, select "RobustSmooth," and gently brush over the noisy areas. You can adjust the strength and size of the brush. Be careful not to over-smooth, or you'll lose fine details! * Select and Smooth (Select > Modify > Smooth Boundary/Smooth): You can select a specific area, then go to Edit > Smooth. This applies a smoothing algorithm to the selected region. * Reduce (Edit > Reduce): This tool decimates the mesh, reducing the polygon count. While primarily used to lighten the file size, reducing polygons often inherently smooths out minor noise by getting rid of unnecessary vertices. You can choose different reduction types (e.g., "Adaptive" or "Uniform"). I personally prefer "Adaptive" as it tries to preserve details in critical areas while simplifying flat ones. But be careful – too much reduction can make your model look blocky. 2. In Blender: * Smooth Tool (Sculpt Mode): Just like Meshmixer, Blender has a powerful Smooth brush in Sculpt Mode. Use it judiciously. * Smooth Modifier: In Object Mode, with your mesh selected, go to the Modifiers tab (looks like a wrench). Add a "Smooth" modifier. You can adjust the "Factor" (strength) and "Repeat" (iterations) to get the desired effect. This is non-destructive, meaning you can always disable or remove it later. * Decimate Modifier: Also in the Modifiers tab. This works similarly to Meshmixer's Reduce. You can choose "Collapse" (good for general reduction), "Un-Subdivide" (if your mesh was generated by subdivision), or "Planar" (great for flat surfaces). Be careful not to over-decimate and lose important geometric features. * Remesh (Object Data Properties > Remesh or Voxel Remesh Modifier): This is a more aggressive tool. It essentially rebuilds your mesh with a uniform density of polygons (voxels). It’s excellent for creating a clean, watertight mesh that’s easier to sculpt on, but it will significantly alter your topology and might smooth out *all* fine details, even ones you wanted to keep. Use it strategically. My Two Cents: Always try to get a clean scan from the start. Better lighting, proper markers (if your scanner uses them), and a steady hand can prevent a lot of noise. When smoothing, do it in small steps. It's easy to over-smooth and lose crisp details. And remember, sometimes a little noise gives a model character, especially if you're going for a 'rough' or 'organic' look. Don't chase perfection if it's not needed. Also, for truly excellent prints of your cleaned models, invest in good filament. I often use eSun PLA+ filament on Amazon.in; it's consistent and gives great results even on my trusty Creality Ender 3.Issue #3: Alignment – The Digital Jigsaw Puzzle
This one mostly happens when you're scanning a large object in multiple passes, or if you're using photogrammetry and moving around the object. The scanner captures different "chunks" of data, and then it needs to stitch them together perfectly. When it doesn't, you get misalignment – overlapping geometries, gaps between parts, or an object that looks like it’s been hit by a digital earthquake. * Causes: * Insufficient Overlap: The individual scans didn't share enough common geometry for the software to identify matching points. * Movement: Either the object moved, or the scanner moved inconsistently between passes. * Lack of Reference Poin