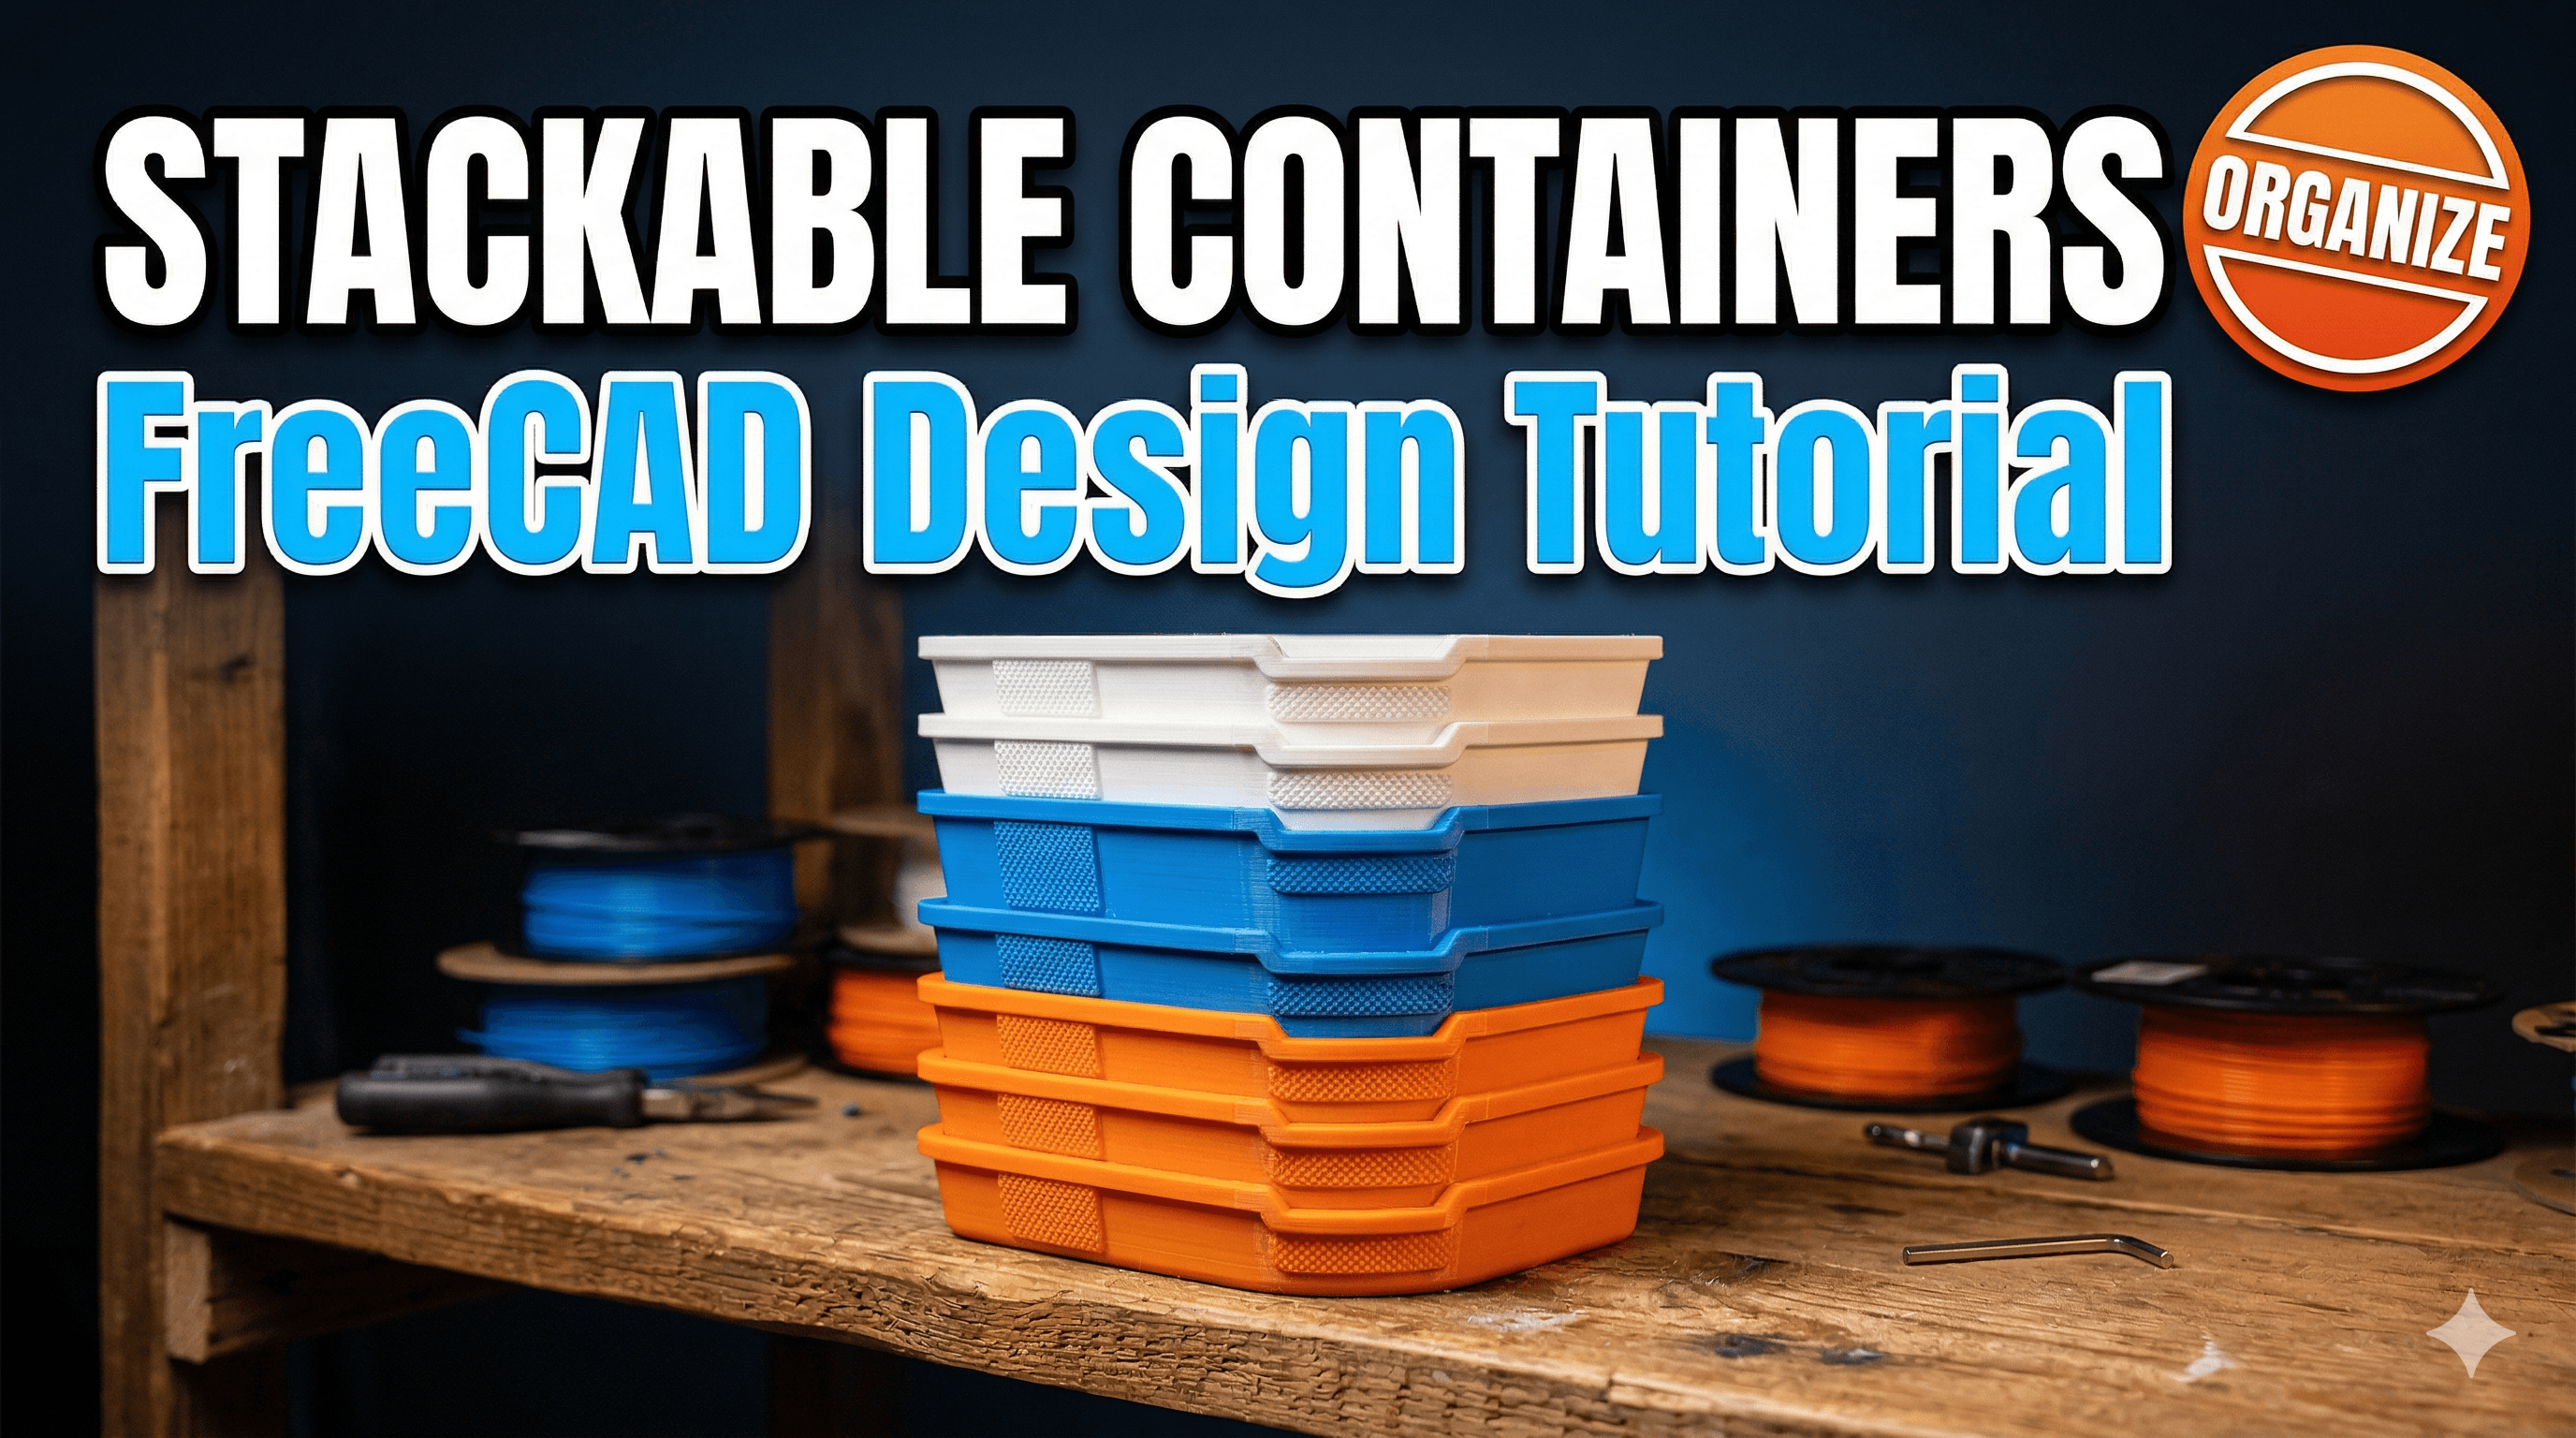
How to Design Stackable Storage Containers in FreeCAD
Discover how to design functional, stackable storage containers tailored to your needs using FreeCAD. This comprehensive guide will walk you through every step, from initial sketches to final printable models.
Ever look at your desk, or maybe that one drawer in the kitchen, and just sigh? All those tiny bits and bobs, charger cables, craft supplies, screws, nuts, bolts – they're just... *everywhere*. It's a chaotic mess, a jumbled nightmare that honestly, sometimes makes me question my life choices when I'm searching for that one specific Allen key. We’ve all been there, right? The usual plastic boxes from the local store are either too big, too small, or just plain don't fit. And buying custom storage? Bhai, that can cost a bomb!
But here's the deal, my friends, my fellow makers and clutter-conquerors: we have 3D printers! This incredible technology isn't just for printing cool miniatures or fun toys. It's for solving real-world problems, for bringing order to the chaos. And what's better than a custom storage solution? A custom, *stackable* storage solution! Imagine a world where everything has its place, neatly tiered and easily accessible. That's the dream, and with a bit of elbow grease in FreeCAD, it's totally within reach.
I'm Vidyut, and at ArtOpia Collections, we live and breathe this stuff. I've spent countless hours hunched over my keyboard, wrestling with CAD software to design everything from bespoke jigs for my workshop to custom enclosures for electronics. And stackable storage? Oh, that's a personal obsession. My workshop used to be a disaster zone, but now? Now it's... well, it's still a work in progress, but a *much* tidier one, thanks to these designs.
Why Stackable Storage is a Game Changer (and why FreeCAD is Your Best Friend)
Okay, so stackable containers. Why are they such a big deal? Simple. They save space. Whether you're a hobbyist with limited desk real estate or a small business like mine trying to keep inventory organized, vertical storage is your best friend. It transforms dead space into prime organizational territory. Plus, when they're custom-designed, they fit *exactly* what you need, with no wasted volume. No more rattling components in an oversized box, or squishing things into a too-small one. It's tailor-made efficiency, boss.
And FreeCAD? Man, I love FreeCAD. I've tried other CAD software, some paid, some free, but for a small business in India, where every rupee counts, FreeCAD is a godsend. It's completely open-source, absolutely free, and incredibly powerful once you get past that initial learning curve. Don't get me wrong, it's not always the most intuitive thing out there, and sometimes it feels like it's actively trying to test your patience (especially when you're dealing with the dreaded topological naming problem – yeah, that’s a thing), but the community is fantastic, and the capabilities are immense. For parametric design, which is crucial for creating parts that need to fit together precisely, FreeCAD shines.
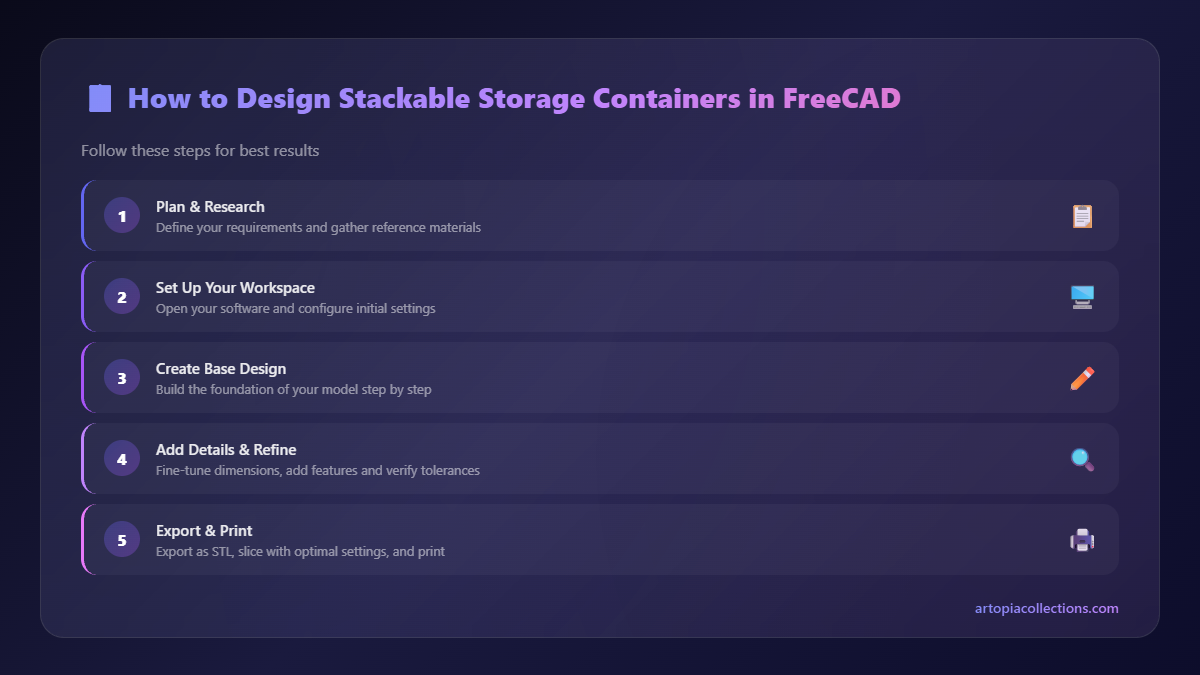
So, let's dive into how you can design your very own stackable storage containers using this fantastic piece of software.
Getting Started with FreeCAD: Your First Steps
First things first, if you haven't already, head over to the FreeCAD website and download the latest stable version. Installation is straightforward – just like any other software. Once it's installed, open it up. You'll probably see a blank screen and a whole lot of menus. Don't get intimidated; we're only going to focus on a few key workbenches.
The "workbench" concept in FreeCAD is basically like different toolkits for different tasks. For what we're doing – designing solid 3D models – the Part Design Workbench is where we'll spend 99% of our time. You can select it from the dropdown menu at the top of the interface, usually labelled "Start" or "Part Design" already.
Step 1: Brainstorm & Sketch – The Humble Beginning
Before you even touch FreeCAD, grab a pen and paper. Seriously. This step is vital. What are you storing? How big are those items? How many do you need to store? Are they heavy? Light? What's the maximum footprint you have available on your shelf or desk? Will you need dividers? Handles? A lid? Sketch it out. Rough dimensions. This planning phase saves so much time later. Trust me, I've skipped it more times than I care to admit, and always regretted it.
For this example, let's imagine we're making small containers for resistors or tiny screws. Something roughly 50x50x30mm externally.
Step 2: Designing the Base Container in Part Design
Okay, FreeCAD time! Open a new document (`File > New`).
- Create a Body and a Sketch: In the Part Design workbench, click `Create body`. Then, with the body selected, click `Create sketch`. It'll ask you to select a plane. For our base, the `XY_Plane` (the flat ground plane) is usually best.
- Draw the Base Rectangle: You're now in Sketcher mode. Select the `Rectangle` tool and draw a rectangle. We need to make it precise, so use the `Constrain horizontal distance` and `Constrain vertical distance` tools. Click one side, then the origin point, and set the dimension. Let's make it 50mm x 50mm. Make sure it's centered on the origin for good practice – you can do this by drawing cross-hairs from the corners or using symmetric constraints. Once fully constrained (all lines turn green), click `Close Sketch`.
- Pad (Extrude) for Height: Back in Part Design, with your sketch selected, click `Pad`. This will extrude your 2D sketch into a 3D solid. For our container, let's give it a height of 30mm. Click `OK`. Congrats, you have a solid block!
- Shell it Out: Now we need to make it hollow. Select the top face of your block. Then click `Thickness` (the shell icon). For 3D printing, a wall thickness of 1.2mm to 2mm is generally good for strength and printability. My go-to is 1.6mm for most containers, especially if I'm using a 0.4mm nozzle with 2-3 perimeters. Let's go with 1.6mm. Click `OK`. Boom! You've got a basic box.
- Add Fillets (Optional but Recommended): Sharp corners can be weak points and a pain to clean up. Select the inner and outer top edges (or all edges, if you prefer) and use the `Fillet` tool. A radius of 1mm or 2mm usually looks good and adds durability.
Step 3: The Stacking Mechanism – This is the Magic!
Here's where it gets interesting and where the "stackable" part truly comes alive. We need to create a lip or a ridge that allows one container to securely sit *into* another without sliding off. I personally think a recessed lip is better than an external one because it keeps the overall footprint consistent.
- Create a New Sketch on the Top Edge: Select the *top inner edge* of your container. Click `Create sketch`. Now, sketch a rectangle that's slightly smaller than the inner dimensions of your container's top opening. This will be the recess.
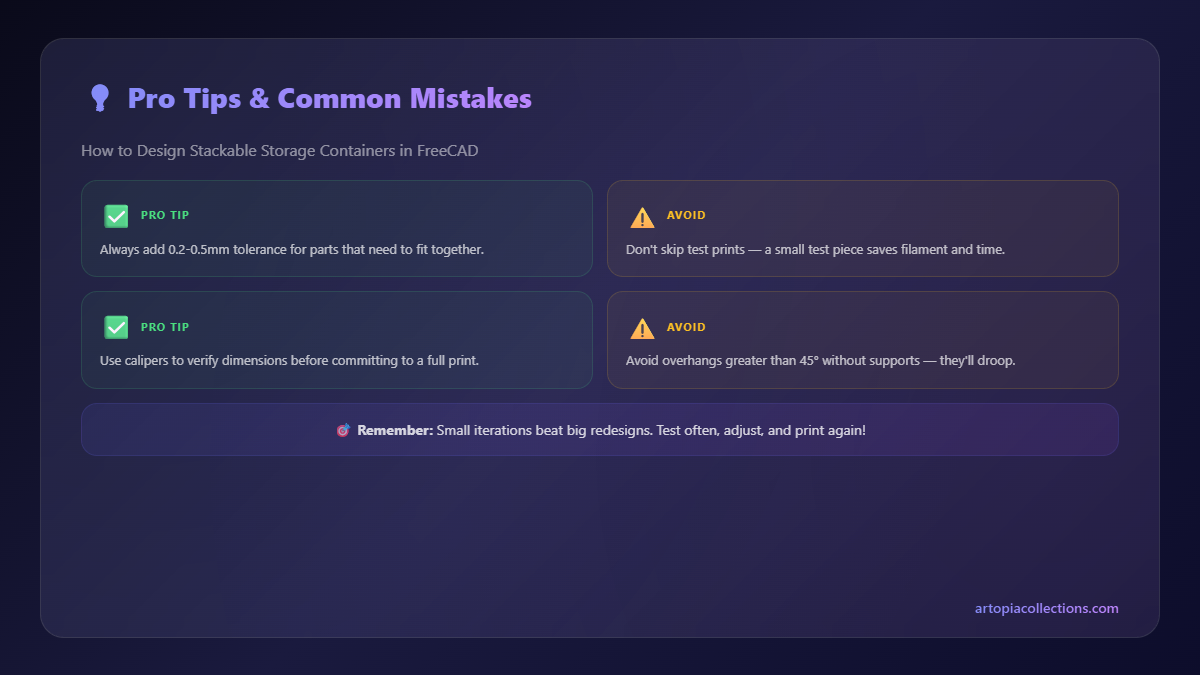
- Offset for Tolerance: This is crucial. If your containers are 50x50mm externally, and your wall thickness is 1.6mm, the *inner* dimension is 50 - (1.6*2) = 46.8mm. The lip we're designing needs to fit *inside* the bottom of another container. So, this rectangle for the recess needs to be, say, 46.8mm - 0.6mm = 46.2mm. That 0.6mm (0.3mm on each side) is your *tolerance*. It accounts for print variations and makes sure things fit without being too loose or too tight. In my experience, for a Creality Ender 3 V2 Neo printing PLA, 0.3mm tolerance per side (so 0.6mm total for an internal fit) is usually spot on.
- Pocket (Cut) the Recess: Once your smaller rectangle sketch is fully constrained (e.g., 46.2mm x 46.2mm, centered), close the sketch. With the sketch selected, click `Pocket`. This performs a cut. A depth of 2mm to 4mm is usually sufficient for a sturdy stack. Let's go with 3mm. Click `OK`. You should now have a subtle step or recess around the top inside edge of your container.
- The Bottom Lip: Now we need the part that *sits into* that recess. This is a bit trickier. We need to create an extension from the *bottom* of our container that has the exact outer dimensions of the recess we just created.
- Go back to the bottom face of your original container. `Create sketch`.
- Draw a rectangle here that perfectly matches the dimensions of the *recess* you just pocketed (e.g., 46.2mm x 46.2mm).
- Close the sketch. Now, `Pad` this sketch *downwards* (negative length, e.g., -3mm) by the same depth as your recess. This creates the stacking lip.
- Important: Add a Draft Angle! This is a pro-tip for 3D printing stackable objects. Select the side faces of this newly padded lip (the parts that will touch the inner walls of the container below). Click `Draft`. Give it a small angle, like 1 to 2 degrees. This slight taper makes it *much* easier to print without elephant's foot issues and helps the containers slide into each other smoothly. It's a small detail but makes a huge difference in usability.
You now have a container with a top recess and a bottom lip that should perfectly mate with another identical container!
Step 4: Adding Practical Features (Handles, Ventilation)
Now, let's make it more functional.
- Handles: Select one of the side faces. `Create sketch`. Draw a rectangle or an arc for a cutout handle. You can make it a simple finger-pull slot or a larger, full handle. `Pocket` it through the wall thickness. For small containers, a simple oval cutout is fine. Make sure to add fillets to the corners of the handle cutout to prevent sharp edges.
- Ventilation/Drainage: If you're storing things that need air circulation or might get wet, select the bottom face. `Create sketch`. Draw a few small circles or slots. `Pocket` these through. Remember, don't make them too small, or your slicer might struggle with them.
- Label Holders: Want to know what's in each box? Sketch a small, thin rectangle on a side face. `Pad` it outwards by 0.8mm to 1.2mm. This creates a raised area where you can stick a label. You could even pocket a small recess into it to hold a paper label.
Step 5: Exporting and Slicing
Once you're happy with your design, you need to get it ready for your 3D printer.
- Export to STL: Select the Body in the Model tree. Go to `File > Export`. Choose `STL Mesh` as the file type. Give it a sensible name.
- Slicer Time: Open your preferred slicer (PrusaSlicer, Cura, etc.). Import your STL.
- Check Orientation and Supports: Make sure the container is sitting flat on its bottom. For this design, you *shouldn't* need supports, especially if your handles are simple cutouts and your draft angles are good. If you have complex overhangs, you might need them, but I always try to design things to be support-free if possible. Saves filament, saves time.
- Settings:
- Material: For most storage, PLA filament is perfect. It's affordable (you can get a good kilo for around ₹800-₹1200 from brands like eSUN or Opendot), easy to print, and comes in tons of colours. If you need more heat resistance or strength, PETG is a good alternative, though it's a bit trickier to print.
- Layer Height: 0.2mm is a good balance of speed and detail. If you want super smooth, go 0.16mm. For speed, 0.28mm or 0.3mm can work.
- Infill: For most containers, 15-20% infill is absolutely fine. They don't need to be solid. I usually use a rectilinear or grid pattern.
- Perimeters/Walls: I always go for 3 perimeters. With a 0.4mm nozzle, that gives you a 1.2mm wall, which is generally quite sturdy. If your walls are 1.6mm thick, 4 perimeters will make them essentially solid, which is great for durability.
Slicing usually takes a few seconds. Check the preview carefully for any weird artifacts or gaps. If it all looks good, save the G-code to your SD card or send it over Wi-Fi if your printer supports it (mine usually needs the good old SD card, a bit old school but reliable).
Printing Your Stackable Marvels
Load up your 3D printer, hit print, and watch the magic happen! The first one will take a while, but once it's done, print a second one. Then, the moment of truth: try to stack them. Do they fit? Is it too tight? Too loose? This is where your tolerance choices come into play. If it's too tight, you might need to adjust your design slightly in FreeCAD and increase the tolerance. If it's too loose, reduce it. It's an iterative process, and that's perfectly normal.
In my workshop, I've got dozens of these, from small ones holding tiny nozzle cleaning needles to larger ones storing rolls of electrical tape. They’ve completely transformed how I organize my tools and materials. Honestly, it's such a satisfying feeling to create something that brings order to your daily life, and to do it yourself from scratch.
My Journey and ArtOpia Collections
Here at ArtOpia, we're all about creating useful and beautiful things with 3D printing. We take on custom design projects, print unique home decor, and of course, help people like you solve their everyday organization problems. These stackable containers are a prime example of the kind of functional prints that started as a personal need and turned into something I could offer to others. If you're looking for some inspiration or need a custom solution designed and printed, definitely check out some of our creations at ArtOpia Collections Products.
Designing in FreeCAD might seem a bit daunting at first, I won't lie. There are moments where you just want to pull your hair out, or at least slam your head against the desk. But the satisfaction of seeing your design materialize into a physical object that *works*? That's priceless. It's like a superpower. You have an idea, you design it, you print it, and suddenly, that messy drawer isn't so scary anymore.
So, give it a shot. Don't be afraid to experiment. Start simple, like a basic box, and then gradually add complexity. Watch some YouTube tutorials (there are tons of great FreeCAD channels out there, just search for "FreeCAD Part Design tutorial"). The best way to learn is by doing. And who knows, maybe your perfectly organized workshop or craft room will inspire someone else to ditch the store-bought clutter and embrace the power of personalized, 3D printed solutions.
Happy designing, and even happier printing, my friends! Let's conquer that clutter, one stackable container at a time!