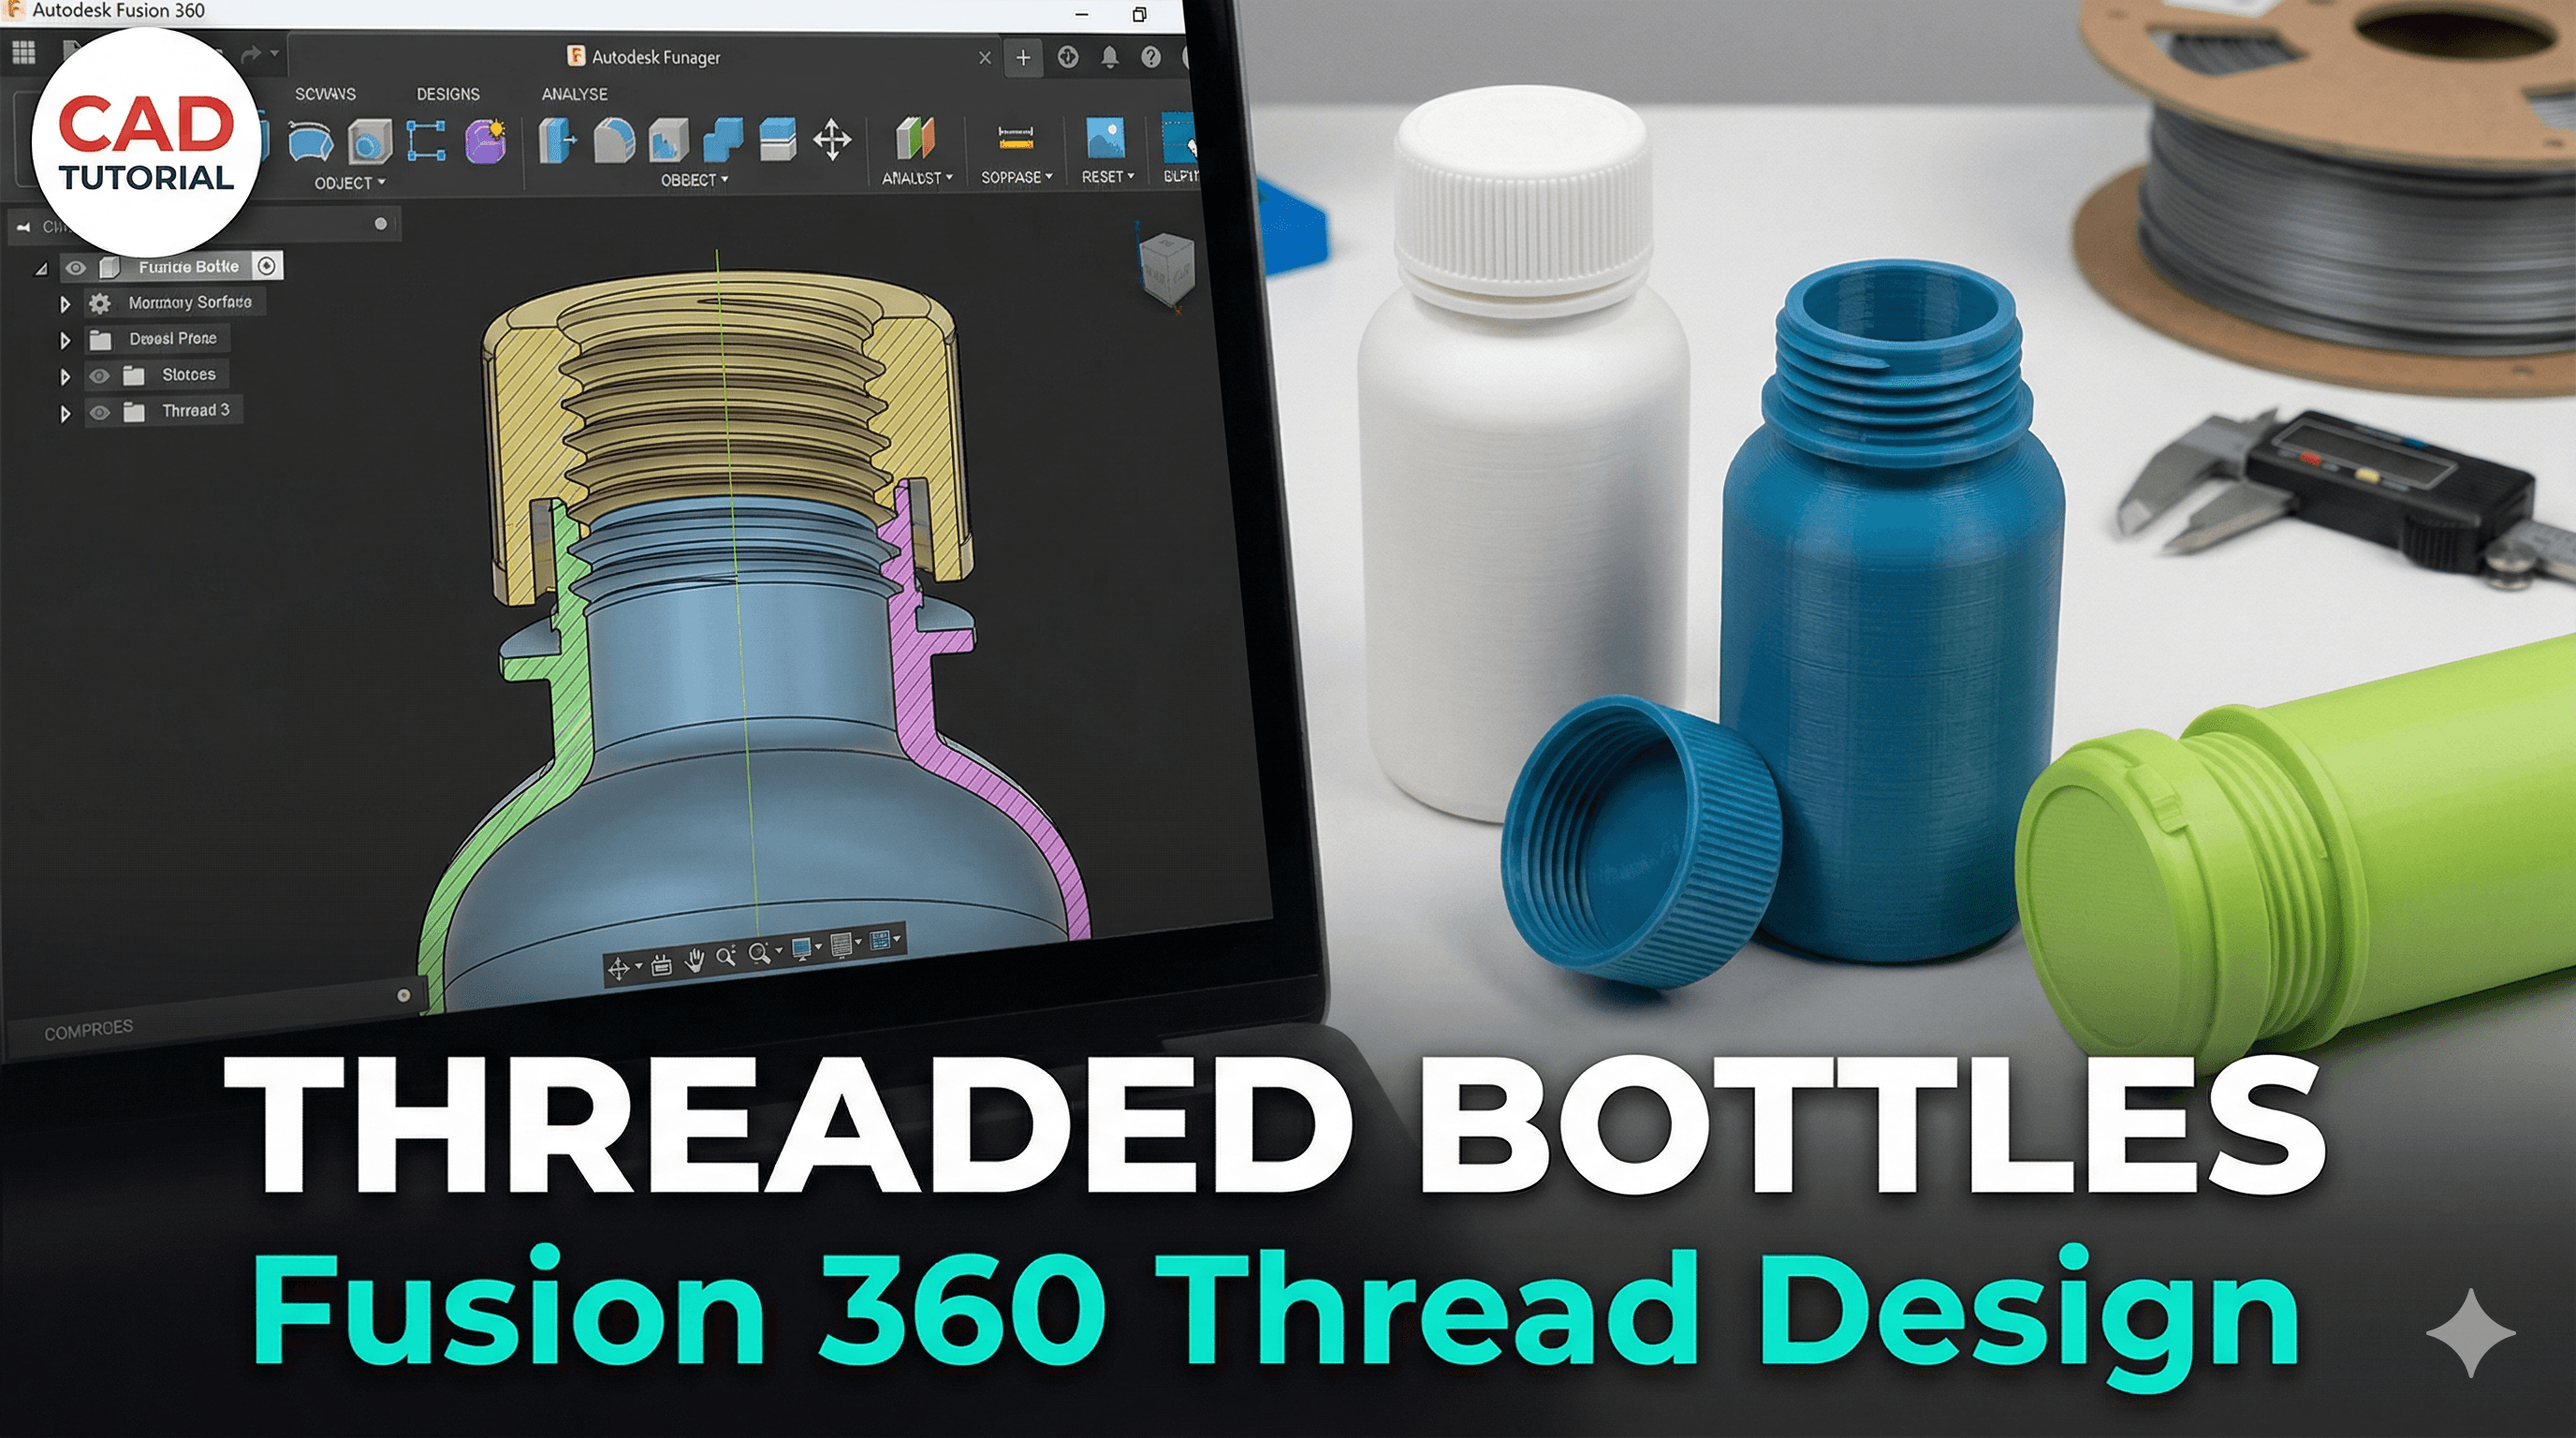
How to Create Threaded Bottles and Containers in Fusion 360
Discover how to create realistic and functional screw threads for bottles and containers using Fusion 360. This guide walks you through essential steps to master threaded designs for your 3D models.
Ever found yourself staring at a perfectly good container, but the lid's gone missing? Or maybe you needed a custom jar for your homemade spices, a secret stash for tiny trinkets, or even just a super specific bottle for that one exotic sauce you perfected? Yeah, me too, like, all the time! It's one of those little frustrations in life, right? You scour the market, and nothing quite fits the bill. That's exactly why I absolutely *love* 3D printing. It's not just about making cool figurines; it's about solving real-world problems and creating bespoke solutions that just aren't available off-the-shelf. And believe me, here in India, where custom solutions can sometimes cost a pretty penny or just be impossible to find, being able to whip up exactly what you need on your Creality Ender 3 (or whatever your weapon of choice is!) is nothing short of magic. Today, we're diving deep into one of the most useful, yet often intimidating, aspects of functional 3D printing: creating perfectly threaded bottles and containers right there in Fusion 360. Get ready, because we're about to make some awesome stuff!
Why Bother with Threads?
Honestly, when I first started my little venture, ArtOpia Collections, I was mostly printing decorative pieces, keychains, and fun desk toys. But soon enough, clients started asking for more practical items. "Can you make a box for my jewellery with a secure lid?" "I need a small container to carry my medicine that won't pop open." And that's when the thread challenge hit me. You can snap-fit lids, sure, but a good screw-on lid just *feels* more secure, doesn't it? It gives that satisfying twist and seal, and it means your stuff isn't going anywhere. Plus, it just looks more professional, whether it's for a product prototype or just something for your own use.
The thing is, creating functional threads in a CAD program like Fusion 360, especially for 3D printing, needs a bit of finesse. It's not just about hitting the 'thread' button and hoping for the best. There are clearances, tolerances, and design considerations that can make or break your print. But don't you worry, I've made all the mistakes so you don't have to! Let's get into how we tackle this beast.
Setting the Stage: Designing Your Basic Bottle or Container
Before we get to the fancy threads, you need a body for your bottle or container. This is usually the fun part where you let your creativity flow! I personally love using the 'Revolve' tool for bottles because it gives you that nice, organic shape easily. For a more boxy container, 'Extrude' is your best friend.
Here’s a quick rundown of how I typically start:
- New Design: Open Fusion 360, hit 'File' > 'New Design'.
- Sketch Time: Go to 'Create Sketch' and pick one of the origin planes (usually XZ or YZ for bottles).
- Draw the Profile: For a bottle, you'll draw half of its cross-section. Think of it like cutting the bottle in half lengthwise. Start with a line down the middle – this will be your axis of revolution. Then, draw the outline of one side of your bottle. Make sure it's a closed profile! Use lines, splines, arcs... whatever you need to get the shape you want.
- Finish Sketch: Once your profile looks good, click 'Finish Sketch'.
- Revolve It: Go to 'Create' > 'Revolve'. Select your profile, and then select the centerline you drew as your axis. Voila! You have your bottle's main body.
- Shell It Out: Unless you want a solid brick (which you probably don't!), you need to make it hollow. Use the 'Shell' command (Modify > Shell). Select the body and enter your wall thickness. I usually start with 1.5mm to 2mm for strength, especially for containers that will be handled a lot. You can always adjust this later. For a bottle, you'll typically select the top face to be open.
Now, for a boxy container, it's even simpler: Sketch a rectangle or square, 'Extrude' it to your desired height, and then 'Shell' it, selecting the top face to open it up. Easy peasy!
The Heart of the Matter: Creating the Threads (The Bottle Side)

Alright, this is where the magic happens, but also where most people get tripped up. Fusion 360 has a fantastic 'Thread' command, but you need to use it smartly for 3D printing. The key is to create modeled threads, not just cosmetic ones.
Step-by-Step for the Bottle Neck:
- Create the Neck: If your bottle doesn't already have a defined neck, you'll need to create one. This usually involves sketching a circle on the top face and extruding it upwards. Make sure the diameter is appropriate for a lid. Let's say, for a small spice jar, maybe 30mm to 40mm diameter.
- Locate the Thread Command: Go to 'Create' > 'Thread'.
- Select the Face: Click on the cylindrical outer face of your bottle's neck. Fusion 360 will automatically try to guess the thread size.
- Crucial Settings for 3D Printing:
- Modeled: THIS IS VITAL. Make sure the 'Modeled' checkbox is ticked. If it's not, you're only creating a visual representation, and your 3D printer won't see any threads!
- Thread Type: For general purpose, I usually go with 'ISO Metric Profile' for standard screw threads. It's common and robust.
- Size: This will be the nominal diameter of your neck. Fusion 360 should pre-fill this based on your selected face.
- Designation: This is where you pick the specific thread size (e.g., M30x2 for a 30mm diameter with a 2mm pitch). The pitch (the distance between threads) is super important. For 3D printing, a coarser pitch (larger number, like 2mm or 3mm) works much better than a fine pitch. Fine threads tend to fuse together or get lost in the printing process.
- Class: Leave it as '6g' or '6H' for now, it's more for manufacturing tolerances, but good to keep standard.
- Full Length: Decide if you want threads along the entire length of your neck or just a partial section.
- Thread Direction: 'Right Hand' is standard (tightens clockwise).
- Apply: Click 'OK'. You should now see actual modeled threads on your bottle's neck! Rotate around and zoom in to admire your work.
A quick tip: Sometimes, when you apply the thread command, you might find the threads don't look quite right or they are too sharp. Don't worry, we'll deal with clearances next, which will naturally smooth them out a bit during printing.
Crafting the Perfect Lid: The Mating Thread
Now that your bottle has threads, your lid needs to match them perfectly. This is often where people struggle the most because clearances are everything!
Designing the Lid Body:
- New Component: I highly recommend creating a new component for the lid ('Assemble' > 'New Component'). This keeps your design clean and makes modifications easier. Make sure the new component is active.
- Sketch on Top: Create a new sketch on the top face of your bottle's neck.
- Project Geometry: Use 'Project' (Sketch > Project/Include > Project) to project the outer edge of your bottle's neck onto your new sketch plane. This ensures your lid starts at exactly the right diameter.
- Offset for Lid Diameter: Use the 'Offset' tool (Sketch > Offset) on the projected circle. Offset it outwards by a few millimeters (e.g., 2-5mm) to create the main body of your lid. This gives it a lip that overlaps the bottle.
- Extrude the Lid Body: Extrude this new larger circle upwards to give your lid its desired thickness (e.g., 10-15mm). Make sure the operation is 'New Body' if it's the first part of the lid.
Creating the Internal Thread for the Lid:
This is where the magic (and the clearance challenge) truly comes in. You need an internal thread that *fits* the external thread of the bottle, but not too tightly that it fuses during printing, and not too loosely that it wiggles.
- Offset the Bottle's Thread Face: This is my go-to technique for clearances. Deactivate the lid component and activate the bottle component. Use 'Offset Face' (Modify > Offset Face) and select the outer cylindrical face of the *bottle's threads*. Offset it inwards by your desired clearance. I usually start with 0.25mm to 0.35mm. This effectively shrinks the diameter where the lid's threads will be. For example, if your bottle's neck was 30mm, offsetting by 0.25mm means the *new* thread diameter for the lid will be slightly smaller. This is crucial for a loose enough fit.
- Activate Lid Component: Switch back to the lid component.
- Sketch the Inner Cylinder: Create a sketch on the *bottom* face of your lid. Project the inner edge of the bottle's neck (the one you just offset). Then extrude this projected circle *downwards* into the lid body. This forms the internal cylinder where your lid's threads will sit. Make sure it's long enough to cover all the threads on the bottle, plus a little extra.
- Apply Thread to Lid's Inner Cylinder: Go to 'Create' > 'Thread' again. Select the *inner cylindrical face* you just created on the lid.
- Match Settings & Crucial Differences:
- Modeled: TICK THIS AGAIN!
- Thread Type, Size, Designation, Class: These *must* exactly match the threads you created on the bottle. Same ISO Metric Profile, same M size, same pitch (e.g., M30x2).
- Internal Thread: Fusion 360 should automatically detect this, but double-check that it's creating an internal thread.
- Thread Direction: 'Right Hand' (standard).
- Check Fit: Click 'OK'. You now have threads on your lid! Now, activate the main assembly component to see both the bottle and lid. Use the 'Section Analysis' (Inspect > Section Analysis) to cut through both components and visually inspect the threads. You should see a small gap between them – that's your clearance! If they look like they're touching or even overlapping, your clearance isn't enough.
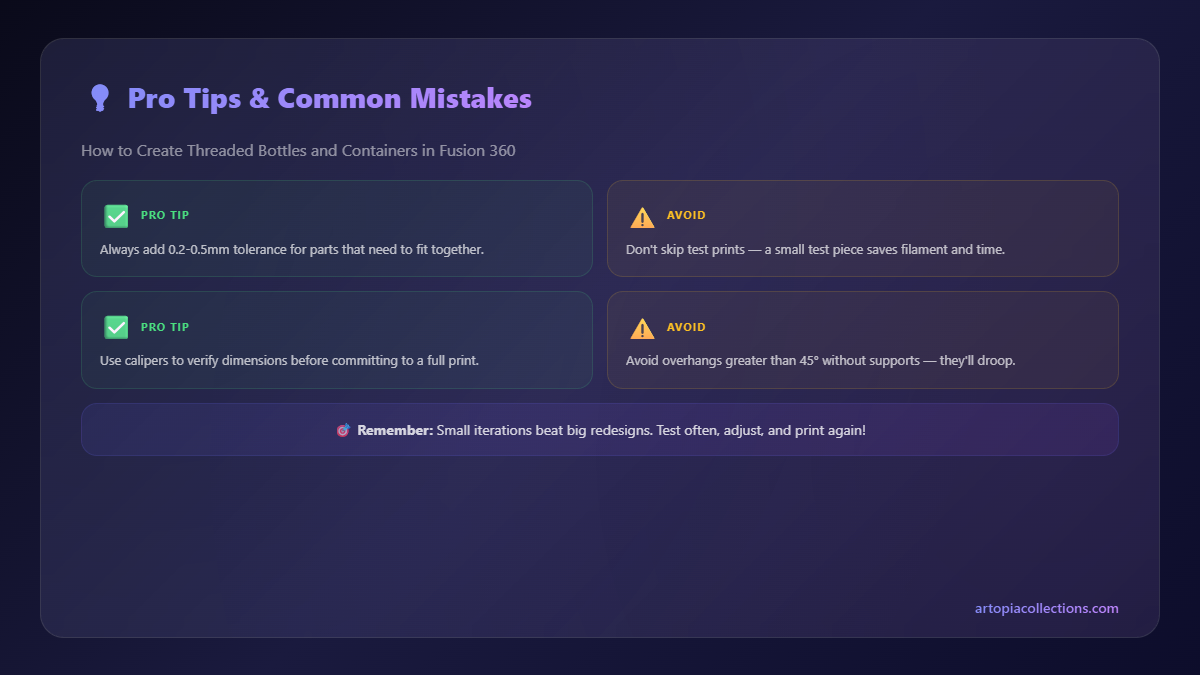
A note on clearance: This is probably the most critical part for 3D printing. My go-to clearances are 0.25mm to 0.35mm. For small threads (like M10-M20), 0.25mm is often good. For larger threads (M30+), I lean towards 0.3mm or even 0.35mm, especially if your printer isn't perfectly calibrated or if you're using a filament like PETG that can sometimes be a bit stringy. You might need to experiment a little bit with your specific printer and filament combo. Sometimes, you might even need to use 'Press/Pull' (Modify > Press/Pull) on the thread faces to increase the clearance slightly after modeling, if 'Offset Face' wasn't enough or didn't quite work.
Adding the Finishing Touches to Your Lid
A plain lid is boring, isn't it? Let's add some grip! Knurling is fantastic for screw-on lids.
- Knurling (Optional but Recommended):
- On the outer cylindrical face of your lid, sketch a triangle.
- Use 'Pattern' > 'Circular Pattern' to repeat this triangle around the circumference.
- 'Extrude' > 'Cut' these triangles inwards slightly. This creates a simple, effective knurl.
- You can also add a fillet to the top edge of the lid for a softer feel.
- Engraving (Optional): Want to put your logo or text? Create a sketch on the top face of the lid, use the 'Text' tool, and then 'Extrude' > 'Cut' or 'Extrude' to emboss/deboss it.
Printing Considerations and Filament Choices
Alright, you've got your beautiful, threaded design. Now for the real world: the 3D printer!
Printer Settings are Key:
- Layer Height: For threads, I usually go with a slightly finer layer height than my default. Instead of 0.2mm, I might use 0.16mm or 0.12mm. This helps capture the detail of the threads better.
- Infill: For containers, 15-20% infill is usually sufficient. For a super sturdy lid or bottle, go up to 30%.
- Walls/Perimeters: Increase your wall count! I always recommend at least 3-4 walls for anything functional, especially threads. This makes the threads much stronger and less likely to delaminate.
- Supports: For internal threads (like on the lid), you will absolutely need supports. For external threads, usually not. Ensure your support settings are tuned so they're easy to remove without damaging the threads. Tree supports can be great for this.
- Orientation: Print bottles and lids upright. This ensures the layer lines run horizontally, which is best for thread strength.
Filament Choices (available readily in India):
- PLA (Polylactic Acid): Your best friend for most projects. It's easy to print, affordable (a good 1kg spool from brands like eSun, Overture, or local Indian brands goes for about ₹1000-₹1800), and great for prototyping. For non-food-contact containers, it's excellent. Check out some good PLA options here.
- PETG (Polyethylene Terephthalate Glycol): Stronger, more durable, and generally more chemical resistant than PLA. If you're making something that needs to hold liquids or withstand a bit more wear and tear, PETG is a solid choice. It's also considered "food-safe" by some (though always do your research and ensure your printer nozzle is stainless steel, not brass, if actual food contact is intended). It's a bit harder to print than PLA – more stringing and higher temperatures – but totally worth it. Expect to pay ₹1500-₹2500 per spool.
- ABS (Acrylonitrile Butadiene Styrene): Even stronger and more heat-resistant than PETG, but it's a pain to print without an enclosure due to warping and fumes. I rarely use it for containers unless a client specifically requests it for high-temp applications.
In my experience, for everyday containers, PLA works perfectly. For something more robust, like a camping bottle cap or a spice jar that travels, PETG is the way to go. I often use my Creality Ender 3 V2 Neo or my Anycubic Kobra Go for these kinds of functional prints, and they handle threads beautifully once the clearances are dialled in.
Troubleshooting Common Thread Problems
Even with all the right steps, you might run into issues. It's part of the game!
- Threads Fuse Together: This is the most common problem. Your clearance isn't enough. Go back into Fusion 360, select the outer face of your bottle's threads (or the inner face of the lid's threads), and use 'Offset Face' or 'Press/Pull' to increase the gap by another 0.05mm to 0.1mm. Re-export and print a test.
- Threads are Too Loose: Less common, but it happens. If your lid just wiggles off, your clearance is too large. Reduce that offset amount in Fusion 360.
- Rough Threads: This could be print quality. Check for:
- Over-extrusion: Calibrate your E-steps and flow rate.
- Nozzle size: A 0.4mm nozzle is standard, but if you're trying really fine threads, it might be pushing its limits.
- Layer height: Try an even finer layer height.
- Cooling: Ensure adequate part cooling, especially for smaller threads.
- Supports Won't Remove: Your support settings are too aggressive. Increase the Z-gap or X/Y distance in your slicer. Try different support patterns.
It usually takes me one or two test prints to get the clearance just right for a new thread design. Don't get discouraged! Print a small section of the thread (maybe just the top 10-15mm) rather than the whole bottle and lid to save time and filament. A small test piece takes minutes and saves hours.
Wrapping Up and What's Next
Creating threaded bottles and containers in Fusion 360 for 3D printing might seem like a daunting task at first, but once you understand the 'Modeled' threads and the importance of clearance, it becomes incredibly satisfying. From custom spice jars to unique gift packaging or even functional parts for your home, the possibilities are literally endless. I've used this exact technique for clients who needed custom stoppers for lab equipment, unique containers for artisan soaps, and even a special cap for a homemade gin bottle (don't ask!). It's a skill that will open up so many doors in your 3D printing journey.
So, what are you waiting for? Fire up Fusion 360, get creative with your shapes, and start threading! If you make something cool, please share it with me on social media – I'd love to see what you come up with. And hey, if you're ever looking for some custom design work or just a unique 3D printed gift, don't forget to check out what we're cooking up over at ArtOpia Collections. We're always experimenting with new ideas and pushing the boundaries of what 3D printing can do right here in India.
Happy printing, my friends!