How to Import DXF Files into Fusion 360 and Create 3D Models
Learn how to import DXF files into Fusion 360 and transform your 2D sketches into professional 3D models. Follow our step-by-step guide to effortlessly bring your designs to life, enhancing your CAD workflow.
Guys, let me tell you, there’s nothing quite like that feeling, you know? That moment when a vague idea, a doodle on a napkin, or even just a client's half-baked concept finally transforms into something tangible, something you can hold in your hands. That’s the magic of 3D printing, isn't it? For me, running Artopia Collections out of my small workshop here in Pune, that magic happens every single day. And honestly, it’s not just about the printers humming or the smell of warm PLA; it’s about the journey from a flat, digital sketch to a functional, beautiful 3D object. Today, I want to pull back the curtain a bit and talk about one of my absolute favourite tools in that journey: importing DXF files into Fusion 360 and bringing them to life.
I remember when I first started Artopia, it was all about printing cool stuff I found online or simple designs I cooked up myself. But then clients started coming in, and they'd often have these amazing 2D designs – vector art, logos, architectural layouts – usually in a format called DXF. They'd ask, "Can you 3D print this?" And for a while, I’d scratch my head, thinking, "How do I turn this flat drawing into something with depth?" That’s when I dove deep into Fusion 360’s capabilities, and man, did it open up a whole new world!
What Even IS a DXF File, Boss?
So, for those of you who might be new to this, or if you’ve only heard the term floating around, DXF basically stands for Drawing eXchange Format. It’s a vector image file, meaning it uses mathematical paths to define lines, curves, and shapes, instead of pixels. Think of it like a blueprint. Architects use it, engineers use it, graphic designers use it for laser cutting, CNC routing, and all sorts of cool stuff. It's essentially a universal language for 2D CAD (Computer-Aided Design) drawings. And the best part? It's a fantastic starting point for turning those flat designs into 3D models for printing.
Why is this such a big deal for us 3D printing enthusiasts, especially here in India where customization is king? Well, imagine a client comes to you with their company logo, meticulously designed in something like CorelDRAW or Adobe Illustrator. Or maybe you're working on a functional part, and someone sends you an AutoCAD drawing of a gasket. You can't just print that 2D file directly, right? You need to give it thickness, make it a solid object. That’s where DXF and Fusion 360 become your best buddies. It bridges that gap between the 2D world of design and the 3D reality of printing.
My Go-To CAD Software: Why Fusion 360 Rocks
Now, there are a bunch of CAD software out there, I know. SolidWorks, AutoCAD, Onshape, Tinkercad even. But for me, for Artopia Collections, and for pretty much anyone looking to do serious design without breaking the bank, Fusion 360 is the undisputed champion. Seriously, it's incredible. The thing is, for small businesses and hobbyists, the free personal use license (if you meet the criteria, which many do) or the relatively affordable commercial license (₹30,000-₹40,000 a year, give or take, which is way less than SolidWorks) makes it super accessible. And it’s cloud-based, meaning I can work on a design at my workshop, then tweak it on my laptop at a coffee shop in Kothrud. Super convenient!
Plus, the community around Fusion 360 is massive, especially online. You'll find tutorials for everything, and people are always willing to help out. That’s a huge plus when you’re learning and trying to grow your skills. Alright, enough gushing about Fusion, let’s get down to the actual "how-to" part. Get ready to turn some flat drawings into awesome 3D prints!
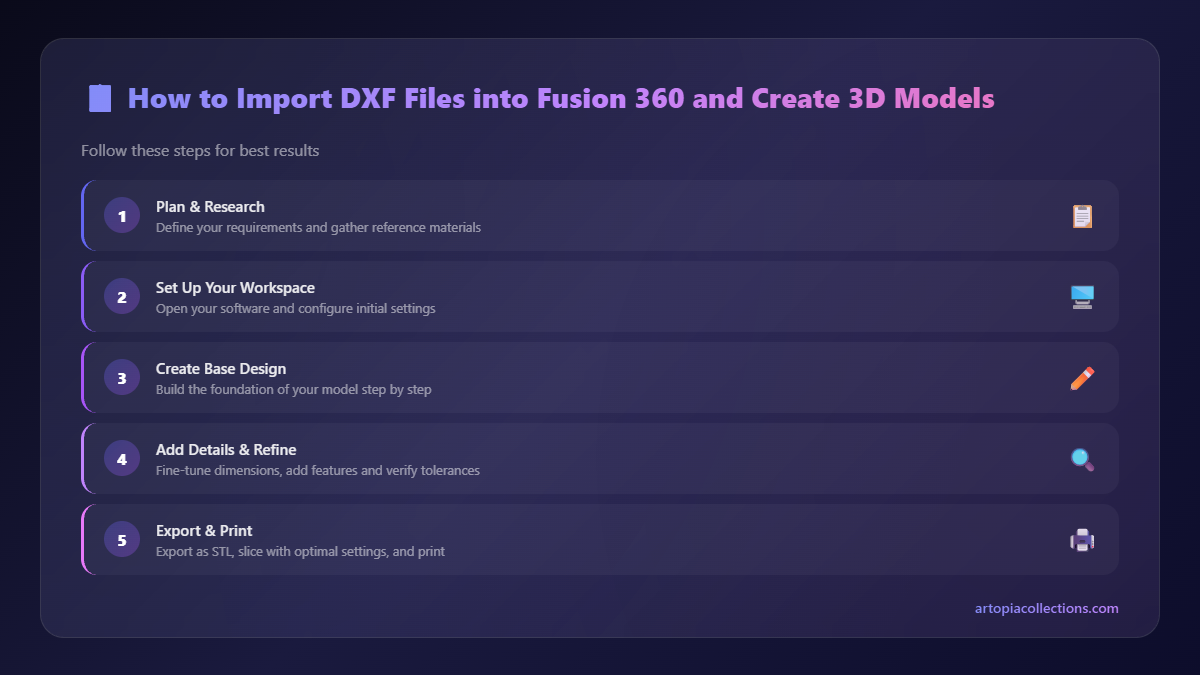
Step 1: Getting Your DXF Ready (And Finding It!)
Before you even open Fusion 360, you need a DXF file. Where do these come from?
- Clients: Often, clients will provide their logos, designs, or technical drawings in DXF format.
- Online Resources: There are tons of sites offering free or paid vector art that you can download as DXF.
- Creating Your Own: If you're designing something from scratch in a 2D vector program like Adobe Illustrator, Inkscape (free and open source!), or AutoCAD LT, you can export your drawing as a DXF. Just make sure your lines are clean, closed loops where possible, and avoid overlapping lines that aren't meant to be there.
In my experience, a clean DXF makes the whole process smoother. If you get a file from a client that looks a bit messy, it's worth taking a few minutes to clean it up in your 2D software first. Trust me, it saves headaches later.
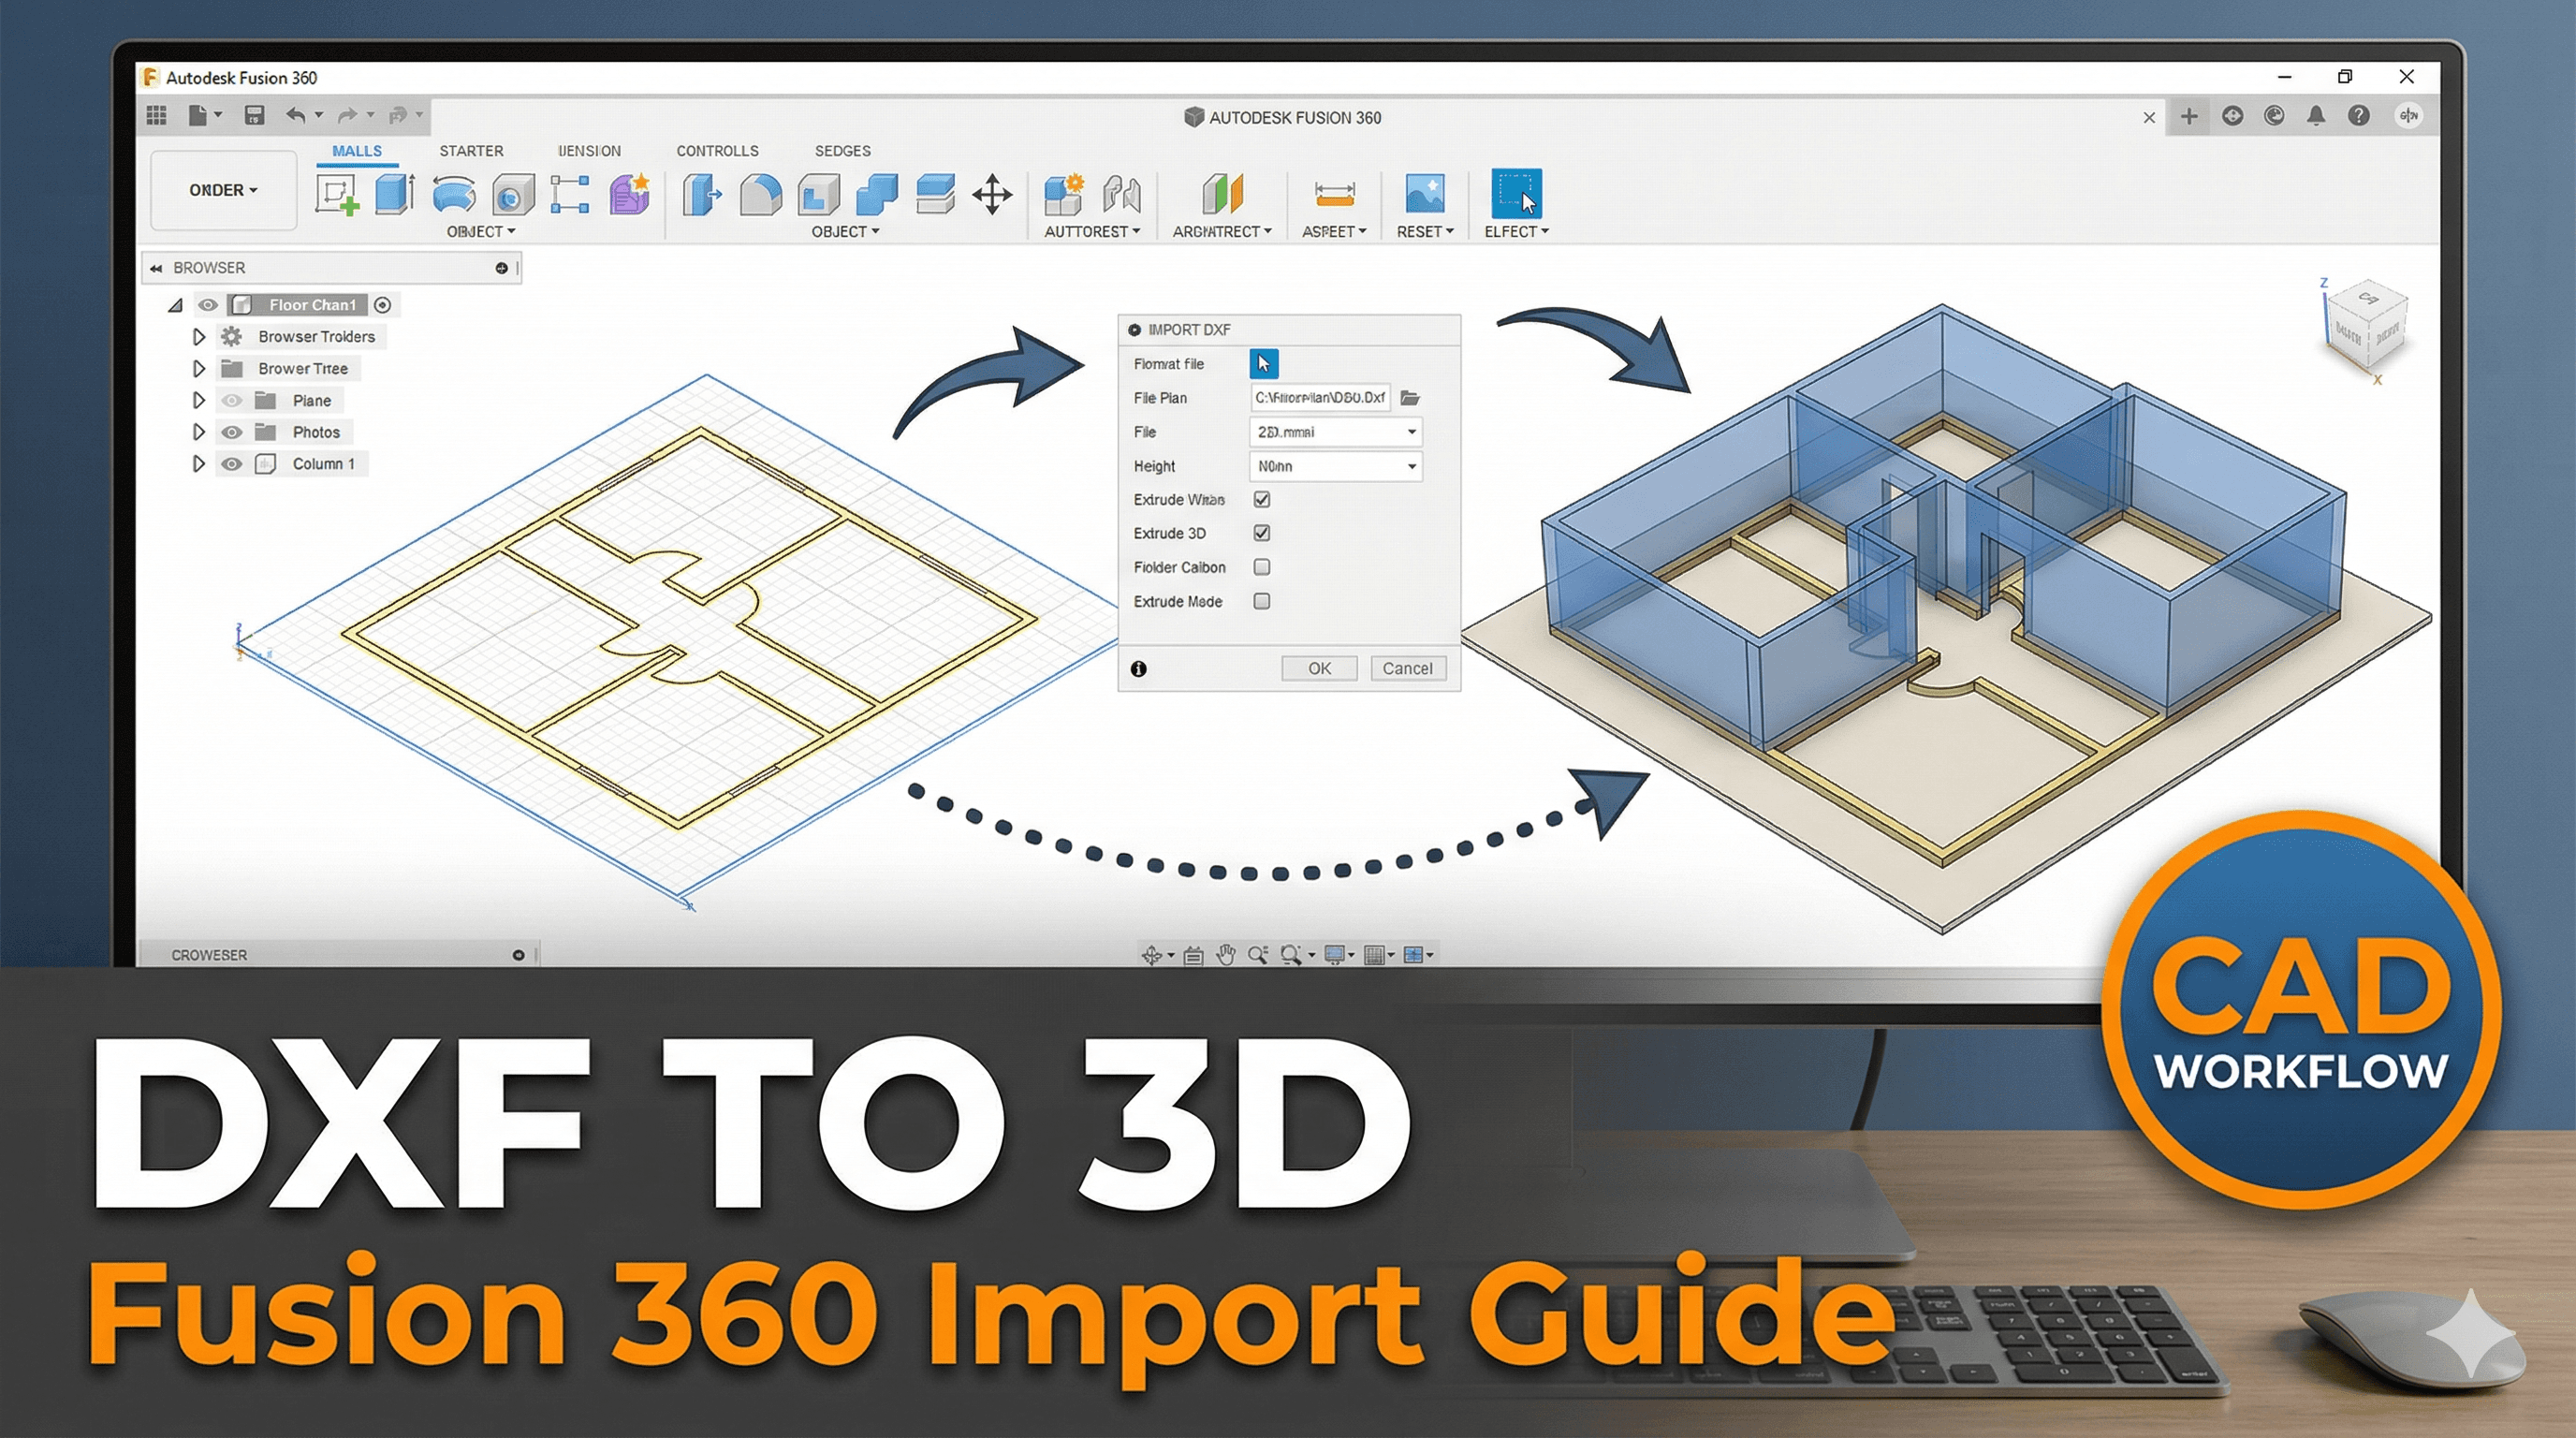
Step 2: Firing Up Fusion 360 and Inserting the DXF
Okay, you've got your DXF. Open up Fusion 360. You'll usually start with an empty canvas, a blank design. Now, here's the deal:
- Go to the 'Insert' menu at the top.
- Select 'Insert DXF'.
- A dialog box will pop up. You’ll need to choose the plane you want to insert your sketch onto. For most designs, especially if you're making something that stands upright, I usually pick the 'XY plane' (the flat ground plane). But if you're making a wall mount or something, you might choose XZ or YZ. No biggie, you can always reorient later if you mess up.
- Now, locate your DXF file on your computer and hit 'Open'.
And voilà! Your 2D sketch should appear on the plane you selected. Pretty cool, right?
Step 3: Scaling and Positioning – The Crucial Bits!
Now, this is where things can get a little tricky, especially if you're dealing with DXF files from various sources. The scale might be off. Sometimes a 100mm design shows up as 100 inches, or vice-versa, depending on how it was saved. Don't panic!
- Check the Scale: After inserting, you'll see a small dialog box with options like 'Unit' and 'Scale'. Very often, DXF files are created in millimeters, but sometimes they default to inches when imported. If your design looks tiny or massive compared to what it should be, this is probably why.
- Adjust Units: In the 'Insert DXF' dialog, you can change the 'Unit' to Millimeters, Centimeters, or Inches. If your original design was, say, 100mm wide, and it looks like it's 2.54mm wide, then it's probably interpreting inches as millimeters. So, just switch the unit to 'mm' or vice-versa to correct it. Sometimes you might need to manually input a scale factor, like 25.4 (to convert inches to mm).
- Positioning: You'll see a triad of arrows (X, Y, Z axes) and a rotation widget. You can drag your sketch around to position its origin (the little blue dot) exactly where you want it. I usually like to snap it to the center or a corner of the main design, it just makes things tidier later. You can also rotate it if needed.
- Once you're happy with the scale and position, hit 'OK'. Your DXF is now a proper sketch in Fusion 360!
Honestly, getting the scale right is probably the biggest hurdle here. Just take your time, and if it looks wrong, undo (Ctrl+Z is your friend!) and try adjusting the units again.
Step 4: Extruding to Bring it to Life!
This is where the magic really happens! Your 2D sketch is just sitting there, flat. We need to give it depth, turn it into a solid.
- Make sure your sketch is selected (it will usually be highlighted blue).
- Go to the 'Solid' tab in the toolbar at the top.
- Click on the 'Extrude' command (it looks like a square being pulled upwards). You can also just press 'E' on your keyboard.
- A dialog box will appear. Fusion will try to automatically select closed profiles within your sketch. If you have multiple parts, you might need to click on each one you want to extrude.
- Now, the 'Distance' field is crucial. This is how thick your object will be. For a simple logo, I might go with 3mm, 5mm, or even 10mm, depending on the desired effect and how strong it needs to be. For functional parts, you'll have specific dimensions.
- 'Operation' is important too:
- New Body: Creates a completely new solid object. This is what you'll usually want when starting.
- Join: If you're extruding into an existing body and want to merge them.
- Cut: This is super cool! If you extrude *into* an existing body with a negative distance, it will cut material away. Great for making holes or debossed text.
- Once you’ve set your distance and operation, hit 'OK'.
Boom! You now have a 3D model! See, it wasn’t so hard, was it? You’ve just turned a flat drawing into a solid object. How cool is that?
Step 5: Refining and Adding Details (Making it Print-Ready!)
Often, just extruding isn't enough. You might want to add some finishing touches to make your model look better, feel smoother, or be more functional for 3D printing.
- Fillets and Chamfers: Sharp edges can be brittle and uncomfortable. Use the 'Fillet' tool (Ctrl+F) to round off edges, or 'Chamfer' to bevel them. This really makes a difference in aesthetics and durability.
- Text and Logos: You can add more sketches directly onto the faces of your extruded body to add text or emboss/deboss other features. Then extrude/cut them.
- Combining Bodies: If you've extruded multiple parts, you might want to combine them into a single body using the 'Combine' tool (under 'Modify'). This is good for simplifying your model and making it easier to work with.
- Creating Holes/Mounts: If your part needs to be mounted or have screws, you can create new sketches on the surface and use the 'Extrude - Cut' operation to make perfect holes.
Remember, Fusion 360 is incredibly powerful. Spend some time playing around with the tools. That’s how I learned most of what I know – just fiddling about, breaking things, and then figuring out how to fix them! For instance, if you're making custom keychains, you'd extrude the main shape, then add a small circle sketch, and extrude-cut it for the ring hole. Easy peasy!
Step 6: Getting it Ready for the Printer
Once your 3D model is looking perfect in Fusion 360, it's time to prepare it for printing.
- Go to the 'File' menu -> '3D Print'.
- Fusion will export your model as an STL file, which is the standard format for 3D printing. Make sure 'Send to 3D Print Utility' is unchecked if you just want to save the STL to your computer.
- Save your STL file.
- Now, open your favorite slicer software – I personally use Creality Slicer for my Ender 3 Pro and PrusaSlicer for my Anycubic Kobra Plus (it handles custom supports really well).
- Import your STL into the slicer.
- Set your print settings (layer height, infill, supports, etc.). For most decorative items, I stick to 0.2mm layer height and 20% infill. For functional parts, I might go 0.16mm and 40-50% infill for strength.
- Slice the model, save the G-code to your SD card or send it over Wi-Fi, and let your printer do its thing!
We use a lot of local filaments here in India, brands like eSun, Overture, or even some good quality PLA from 3D Print India. A good kilo of PLA usually costs between ₹800 to ₹1200, depending on the brand and color. It's affordable enough to experiment!
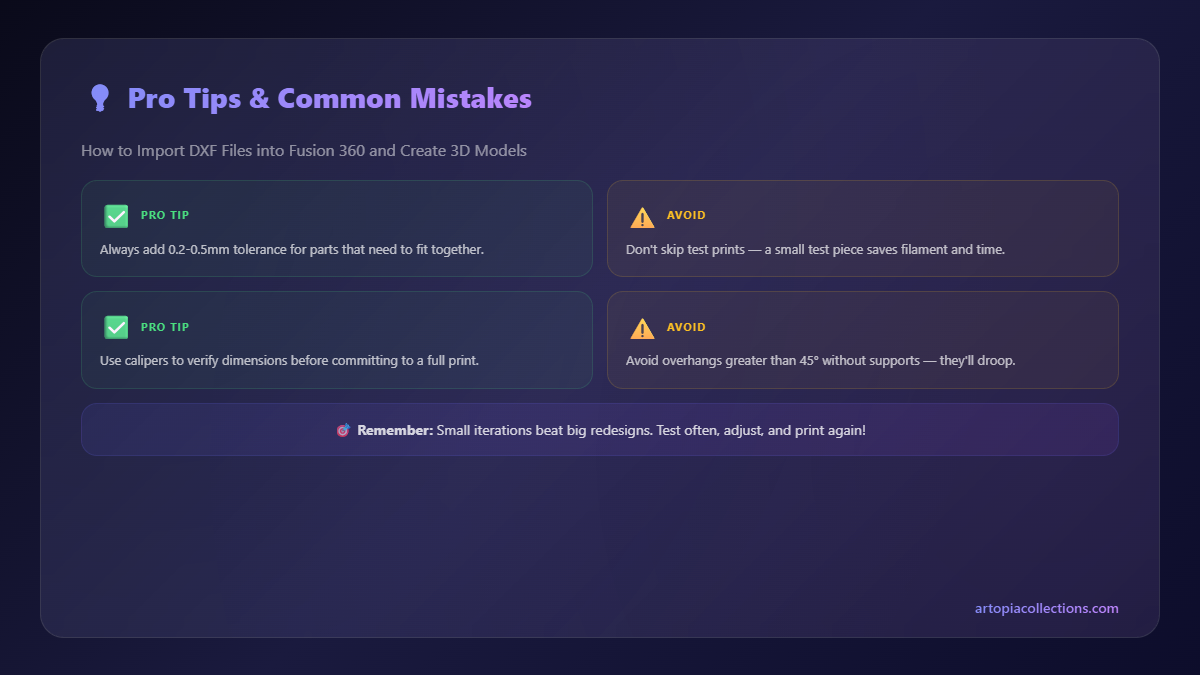
Common Pitfalls (And How to Avoid Them!)
Look, it's not always sunshine and rainbows. You'll run into issues. Here are a couple I've faced and how I tackled them:
- Open Contours: Sometimes, your DXF might have tiny gaps between lines, or lines that don't quite meet. Fusion 360 won't be able to extrude an "open" profile. If you try to extrude and nothing happens, or only parts of your sketch highlight, zoom in *really* close and check all your corners and intersections. You might need to use the 'Trim' or 'Extend' tools in the sketch environment to close those gaps.
- Overlapping Lines: Similar to open contours, sometimes a DXF can have duplicate lines or lines that overlap in a weird way. This can confuse Fusion. The best way to deal with this is to clean up your DXF in its original 2D software before importing. Fusion does have a 'Delete' (or just select and press 'Delete') tool for sketch lines, but it’s often easier in the native 2D program.
- Performance Issues: If your DXF is super complex with thousands of tiny lines, Fusion might slow down a bit. Patience is key, and sometimes simplifying the original DXF can help.
Turning DXF Skills into Business Success!
Learning this DXF to 3D model workflow has been a game-changer for Artopia Collections. It means I can take a client’s logo, a unique piece of artwork, or a specific mechanical drawing, and almost instantly turn it into a custom 3D printed product. Whether it's custom trophies, personalized nameplates, functional prototypes, or even cool art pieces, this skill unlocks so many possibilities.
It's how we create many of our unique offerings, like custom wall art or specialized components for other businesses. You can check out some of the cool stuff we make, some of which started as simple DXF files, right here on our Artopia Collections product page.
So, there you have it, folks! Importing DXF files into Fusion 360 isn't some black magic; it's a straightforward process that once mastered, opens up a massive world of design and printing possibilities. It's a skill that will absolutely elevate your 3D printing game, whether you're a hobbyist or running a full-fledged business like mine.
Don't be afraid to experiment, make mistakes, and learn from them. That’s truly the best way to grow in this amazing world of 3D printing. Now go on, give it a try, and let me know what incredible things you create!