FreeCAD Path Workbench: From 3D Print Design to CNC Machining
Transform your 3D print designs into CNC-ready G-code using FreeCAD's Path Workbench. This post guides you through the entire process, from CAD to CAM.
From Pixel-Perfect Plastics to Machined Marvels: My Journey with FreeCAD Path Workbench
You know that feeling, right? That buzz you get when a 3D print finishes, and it's just *perfect*. The layers are smooth, the details crisp, and the idea you had in your head is now a tangible thing sitting on your desk. For years, that's been my jam. Running Artopia Collections, my little 3D printing business here in India, has been an absolute blast, turning clients' ideas into reality, mostly with FDM printers like my trusty Ender 3 V2 and a couple of those lightning-fast Anycubic Kobra 2s. We print everything from custom figurines to functional prototypes, all in glorious PLA, PETG, or sometimes even ABS if a client needs something really tough. But honestly, sometimes plastic just doesn't cut it. There are moments when you need something more rigid, more durable, or perhaps just... *different*. That's where I hit a wall, or rather, where I found a new door: the FreeCAD Path Workbench.
The Plastic Ceiling: Why I Needed More Than Just 3D Printing
Look, I love my 3D printers. They're incredible tools, and the speed at which we can iterate designs with them is phenomenal. We get through reels of filament from brands like eSun, Overture, and even some great local ones like Protoprint – you can find them all over Amazon.in these days, often for around ₹1200-₹1800 a kilo, which is pretty good. But there were always these projects that came along, these ideas that my FDM machines couldn't quite handle. Think about it: a client wants a custom wooden sign, or a sturdy aluminum bracket for an industrial application, or even intricate engravings on a piece of acrylic. My 3D printers, bless their hearts, just looked at me with their sad little hotends and said, "Nope, boss. Can't melt that."
And that's the thing. While 3D printing is additive – building up material layer by layer – there's a whole other world of manufacturing that's subtractive. We're talking about CNC machining, where you start with a block of material and precisely remove parts of it to create your final product. For the longest time, I thought this was some dark art, requiring super expensive machines and even more expensive software. But then I stumbled upon FreeCAD's Path Workbench, and my mind, it was absolutely blown. It wasn't just for designing parts anymore; it was for telling a CNC machine how to carve them out!
FreeCAD: My Open-Source CAD Companion
Before we dive into the Path Workbench specifically, let's talk about FreeCAD itself. If you're into 3D printing, chances are you've either used it, heard of it, or at least considered it. It's a free, open-source parametric 3D CAD modeler, which, in layman's terms, means it's super powerful for designing precise, dimensionally accurate parts. Now, I'll be honest with you, FreeCAD has a *bit* of a learning curve. It's not as instantly intuitive as, say, TinkerCAD, and it can feel a little clunky compared to some commercial CAD packages. But here's the deal: once you get past that initial hump, it's incredibly rewarding. The Part Design and Sketcher Workbenches are what I primarily use for creating models that eventually go into my Slicers for 3D printing.
I personally think its strength lies in its flexibility. Because it's open-source, there's a huge community constantly developing new features and workbenches. And that's exactly how the Path Workbench came into its own. It leverages all that robust CAD geometry you've already created (or imported!) and translates it into instructions for a CNC machine. Pretty neat, huh?
Entering the Path Workbench: My First Steps into CNC CAM
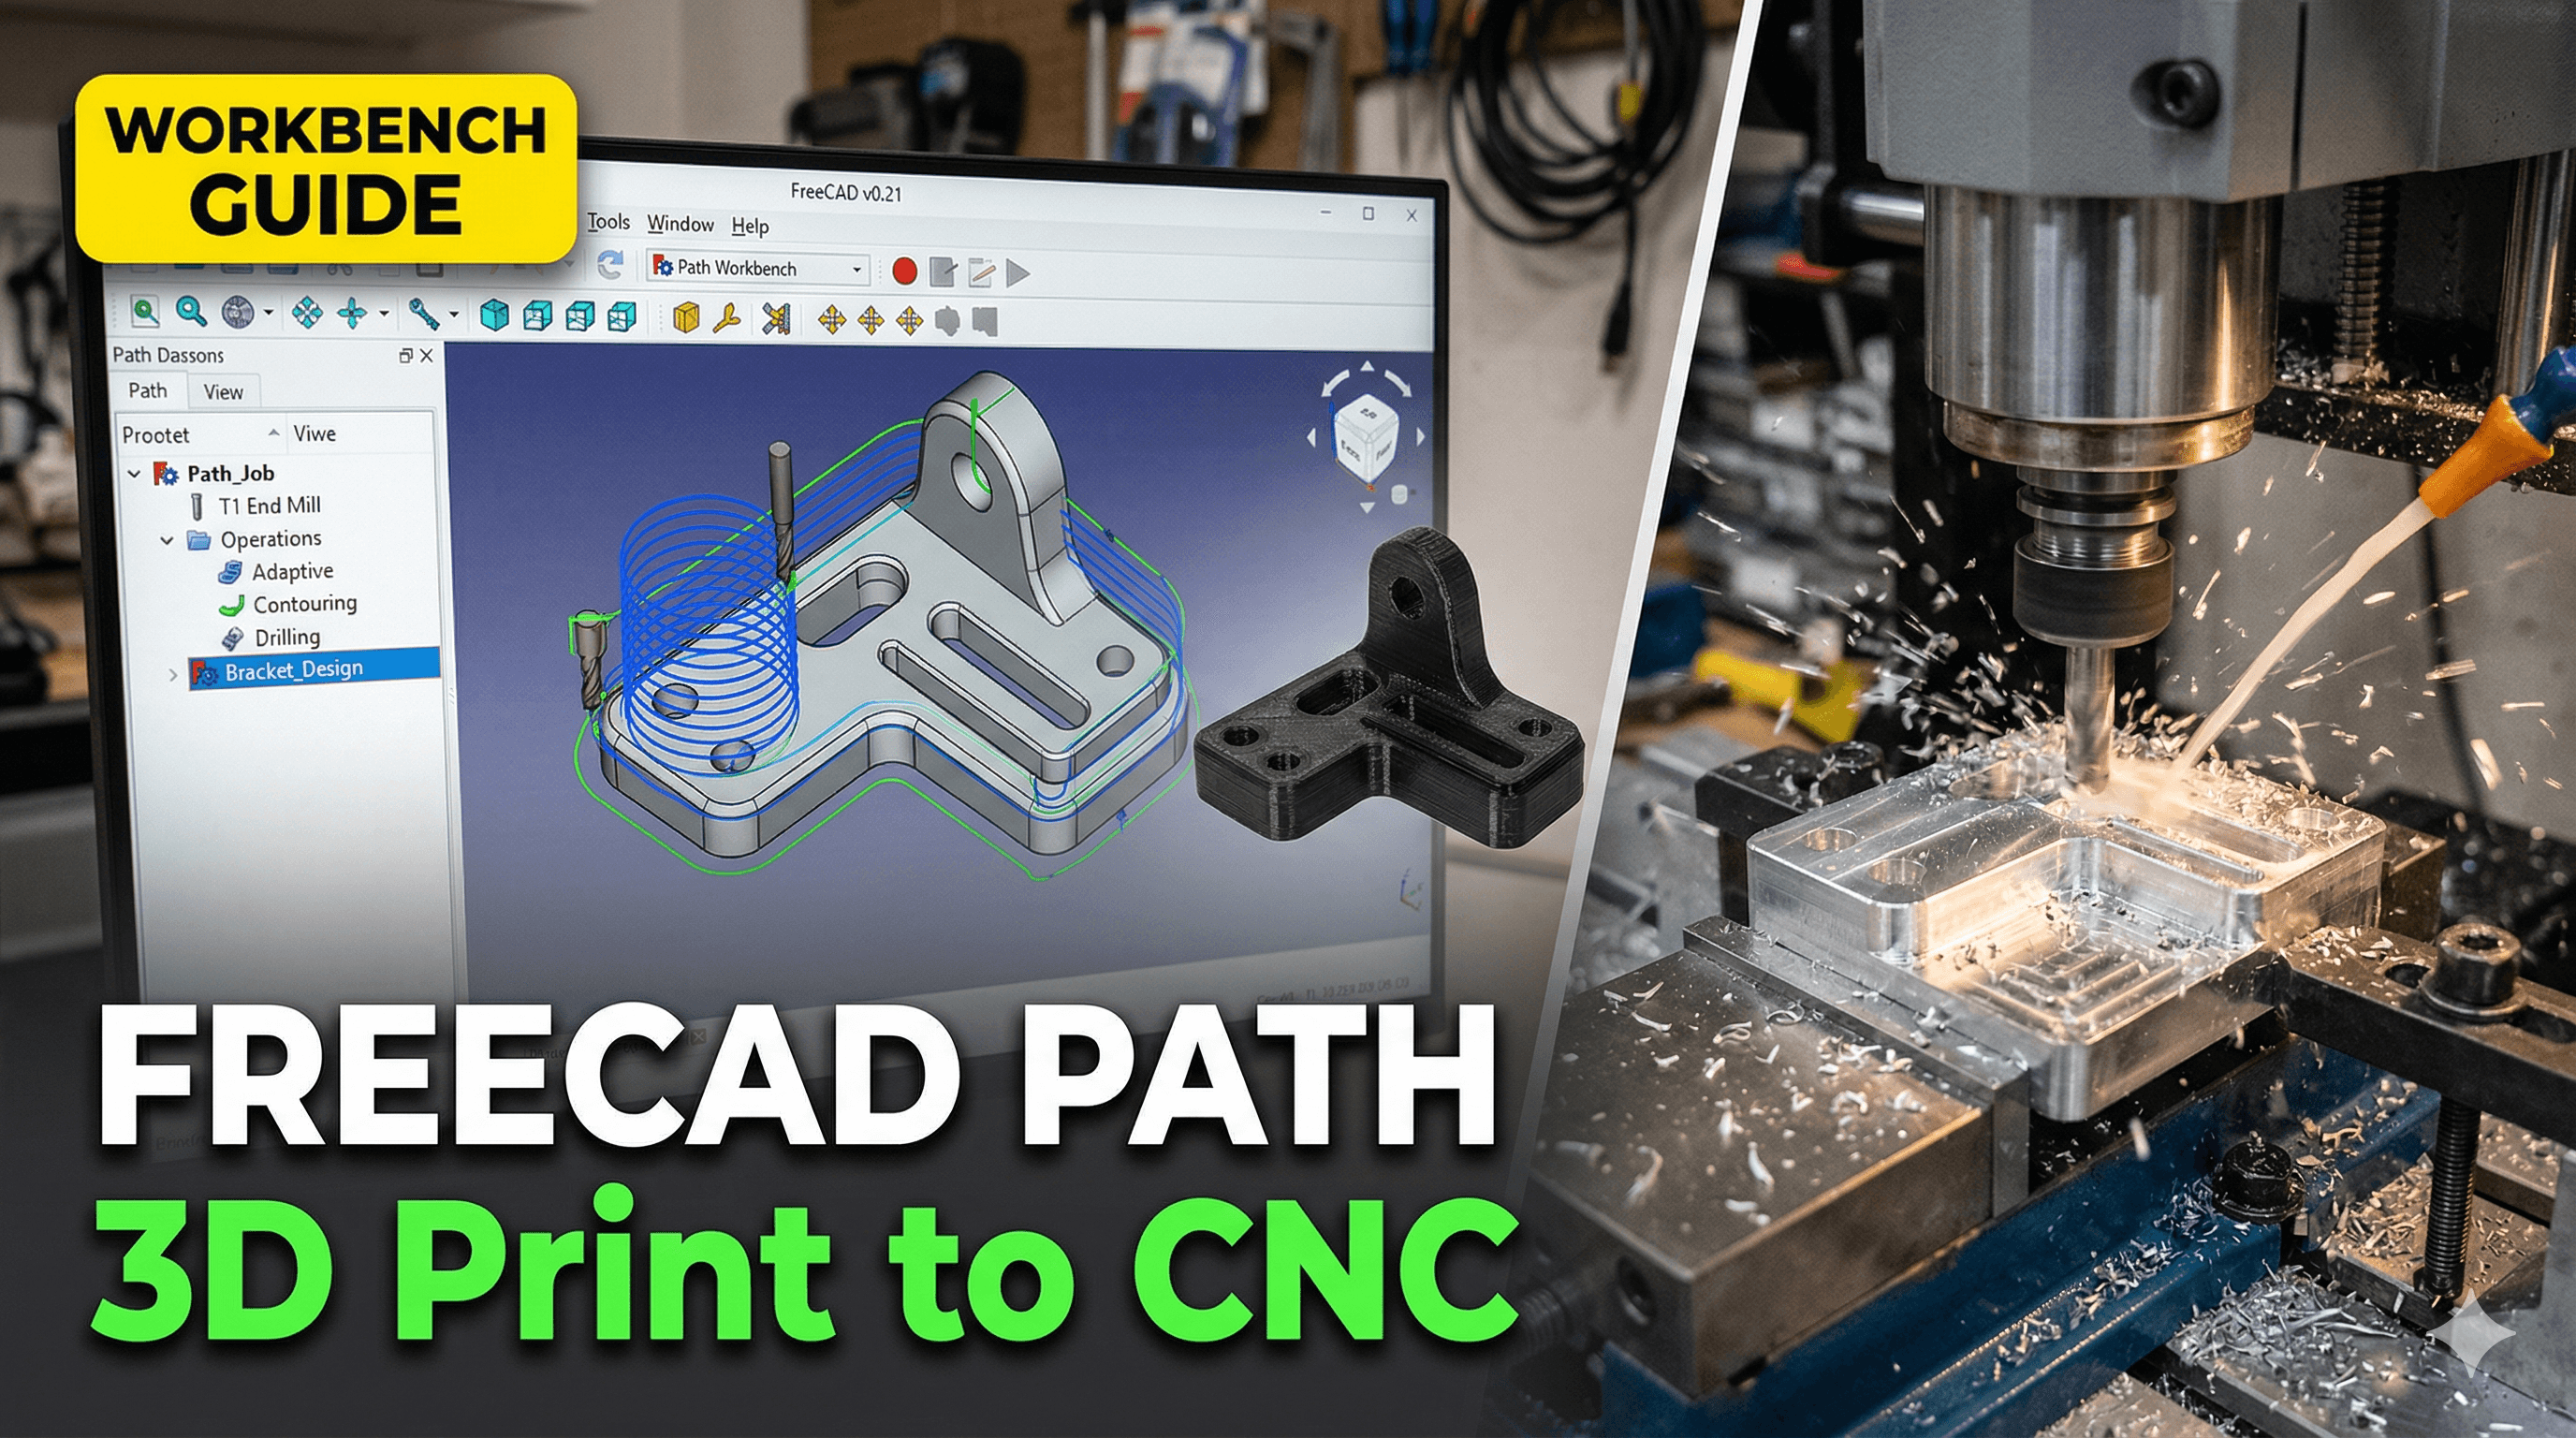
So, what exactly is the FreeCAD Path Workbench? Basically, it's the module within FreeCAD that allows you to generate G-code (the language CNC machines understand) for subtractive manufacturing. It takes your 3D model and lets you define how a cutting tool will move to carve that shape out of a block of material, or "stock."
My initial foray into it was, well, a mix of excitement and frustration. I'd bought a small, cheap 3018 CNC router online for about ₹18,000 – mostly just out of curiosity. It’s a hobby-grade machine, good for softer materials like wood, acrylic, and maybe some really soft aluminum. The idea was to engrave some custom wooden coasters. I had the design in FreeCAD (a simple logo), but how do I get it onto the CNC? That’s where the Path Workbench stepped in.
Here’s the basic workflow I figured out (and trust me, it took some YouTube tutorials and forum diving!):
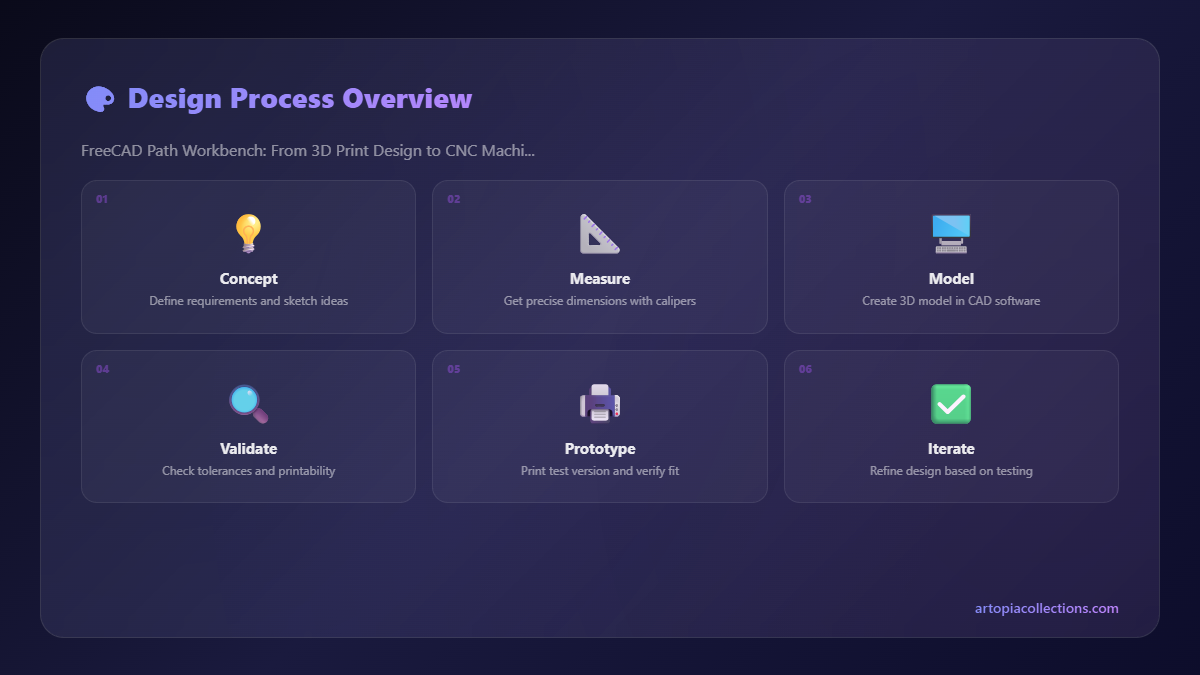
- Design or Import: First, you need your 3D model. This could be something you designed directly in FreeCAD using the Part Design Workbench, or an imported STL/STEP file.
- Switch to Path Workbench: Obvious, right? Just select it from the workbench dropdown menu.
- Create a Job: This is the container for all your CNC operations. You select your base object (your 3D model) and then define your "stock." The stock is essentially the raw block of material you'll be cutting from. This is crucial for accurate simulation and preventing your tool from trying to cut through thin air, or worse, through your spoilboard!
- Define Your Tools: This is where it gets interesting. You need to tell FreeCAD what kind of cutting tool you're using – its diameter, its length, how many flutes it has. I started with a basic 2mm flat end mill for most of my engraving. You can create a library of tools, which saves a lot of time later.
- Add Operations: This is the heart of CAM. You tell FreeCAD what kind of cut you want to make.
- Profile: For cutting around the outside or inside of a shape. Great for cutting out parts.
- Pocket: For clearing out an area to a certain depth. Perfect for engraving recesses.
- Drill: Self-explanatory, for drilling holes.
- Engrave: For following lines or outlines with a V-bit tool, creating nice chamfered edges.
- There are many more, but these are the ones I use most frequently.
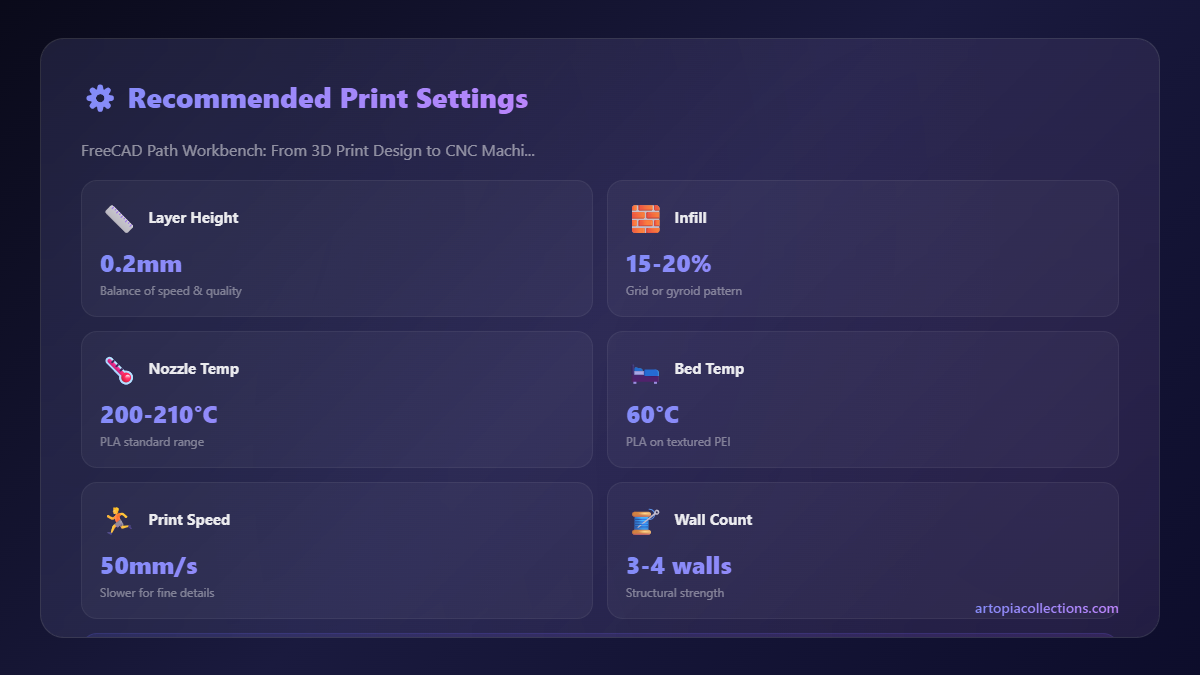
- Set Parameters: For each operation, you set things like cutting depth, stepover (how much the tool overlaps on each pass), climb vs. conventional milling, and, perhaps most critically, feed rates and spindle speed. This is where experience (and a lot of trial and error) comes in. Too fast, and you break your tool; too slow, and you might get poor surface finish or just waste time.
- Generate Paths: Once you've set up your operations, FreeCAD calculates the toolpaths – the exact movements your CNC machine will make.
- Simulate! This step is absolutely non-negotiable. Always, always, *always* simulate your toolpaths before running them on the machine. FreeCAD's simulator shows you how the tool will move and what the final part will look like. It's saved me from countless broken tools and ruined material.
- Post-Process: This is the final step where FreeCAD translates all those toolpaths into machine-specific G-code. You choose a post-processor relevant to your CNC controller (for my 3018, it's usually GRBL). Then you save the G-code file.
After all that, I load the G-code into Candle (a common GRBL sender software), clamp down my piece of wood, set the origin, and hit go. The first time I saw my little 3018 accurately carving out a design I'd created and processed entirely with free software, it felt like magic. And let me tell you, that feeling of empowerment? Priceless.
Expanding Horizons: CNC Machining for Artopia Collections
Learning the FreeCAD Path Workbench has genuinely transformed what Artopia Collections can offer. We're not just a 3D printing business anymore; we're a small-scale digital fabrication hub. Here’s how it's helped:
- Custom Signage: Clients often want wooden signs with engraved text or logos. Now, instead of turning them away, we can design it, generate the G-code, and carve it out beautifully. It opens up a whole new revenue stream.
- Functional Prototypes: While 3D printed parts are great for form and fit, sometimes a prototype needs to be made from aluminum or a dense composite for strength or heat resistance. We can now machine these using our more capable CNC router (yes, I upgraded from the 3018 to something a bit sturdier, though still a budget-friendly one, for about ₹75,000).
- Jigs and Fixtures: If you're running a shop, custom jigs are essential. We've used the Path Workbench to create precise jigs out of MDF and acrylic to hold oddly shaped parts for other processes.
- Custom Enclosures: For electronics projects, a precisely cut enclosure from aluminum or thick acrylic looks incredibly professional. We can now design these in FreeCAD and machine them to exact specifications.
- Unique Products: We've even started making some custom wooden art pieces and unique gifts that simply wouldn't be possible with 3D printing alone. The texture and feel of machined wood are just different, you know?
The flexibility has been a game-changer. I remember one specific project where a client needed a very specific bracket for a camera rig. They wanted it in anodized aluminum, and they needed it strong. Designing it in FreeCAD was straightforward, but getting it machined locally would have cost them upwards of ₹5,000-₹10,000 for a single prototype, because of setup costs and minimum order quantities. With my own CNC and the Path Workbench, I could produce it for them at a fraction of that, covering material costs (maybe ₹500 for the aluminum block) and a reasonable machining fee, making it a win-win.
The Real Talk: Challenges and Learning Pains
Now, I won't sugarcoat it. Getting into CNC machining, even with free software like FreeCAD, isn't without its challenges. There's a steep learning curve, perhaps even steeper than 3D printing. Here are a few things I learned the hard way:
- Tooling is Everything: Just like selecting the right filament, choosing the correct end mill for your material and operation is crucial. Too aggressive a cut with the wrong tool, and you'll snap it. A decent set of various end mills (flat, ball nose, V-bits) can cost anywhere from ₹1,000 to ₹5,000, depending on quality.
- Speeds and Feeds are a Dark Art: Seriously, this takes experimentation. How fast should your spindle turn? How quickly should the tool move through the material? What's the "depth of cut" per pass? These depend on the material, the tool, and even the rigidity of your machine. Start conservative, listen to the machine, and adjust.
- Safety, Safety, Safety: CNC machines are powerful, noisy, and can be dangerous. Always wear eye protection. Keep your fingers clear. Ensure your material is securely clamped. And never leave a machine running unsupervised, especially when you're still learning the ropes.
- Material Management: Stock material isn't always perfectly flat or uniform. Planning your cuts, zeroing your machine accurately, and understanding material waste are all part of the game.
- FreeCAD's Quirks: As much as I love it, FreeCAD can be a bit... finicky sometimes. Crashes happen (save often!), and certain operations might behave unexpectedly. But the community forums are a lifesaver for troubleshooting.
Despite these hurdles, the satisfaction of creating something robust and precise out of wood or metal is immense. It's a completely different kind of joy than a successful 3D print, equally rewarding.
Is FreeCAD Path Workbench For You?
If you're already comfortable with 3D printing and have an interest in expanding your fabrication capabilities beyond plastics, then absolutely, yes! Even if you don't own a CNC machine yet, playing around with the Path Workbench in FreeCAD costs you nothing but time. You can learn the interface, understand the concepts of operations, tools, and simulation, and when you're ready, a basic hobby CNC machine (like a 3018 or similar) won't set you back a fortune, maybe ₹15,000 to ₹30,000 for the machine itself, plus tools.
The beauty of FreeCAD is that it democratizes complex manufacturing processes. You don't need to spend lakhs of rupees on commercial CAD/CAM software to get started. You can design, create toolpaths, and simulate, all with free software, making the entry barrier significantly lower for small businesses and hobbyists like us here in India.
I honestly believe that combining 3D printing with CNC machining gives you an incredibly versatile toolkit. You get the rapid prototyping and complex geometries of additive manufacturing, coupled with the strength, precision, and material versatility of subtractive manufacturing. For my business, it means I can say "yes" to more diverse client requests, push my own creative boundaries, and keep learning new skills. And that, my friends, is what truly makes this whole journey worthwhile.
So, what are you waiting for? Download FreeCAD, dive into the Path Workbench, and start exploring the world beyond plastics. Your next project might just be carved out of wood, or even gleaming aluminum!