How to Fix Spaghetti Prints: Why Your Print Fails Mid-Way
Frustrated by your 3D printer producing spaghetti or failing in the middle of a print? This guide will uncover the common culprits behind these issues and provide practical solutions to ensure your prints finish successfully.

The Horror of Spaghetti: How to Stop Your 3D Prints From Failing Mid-Way
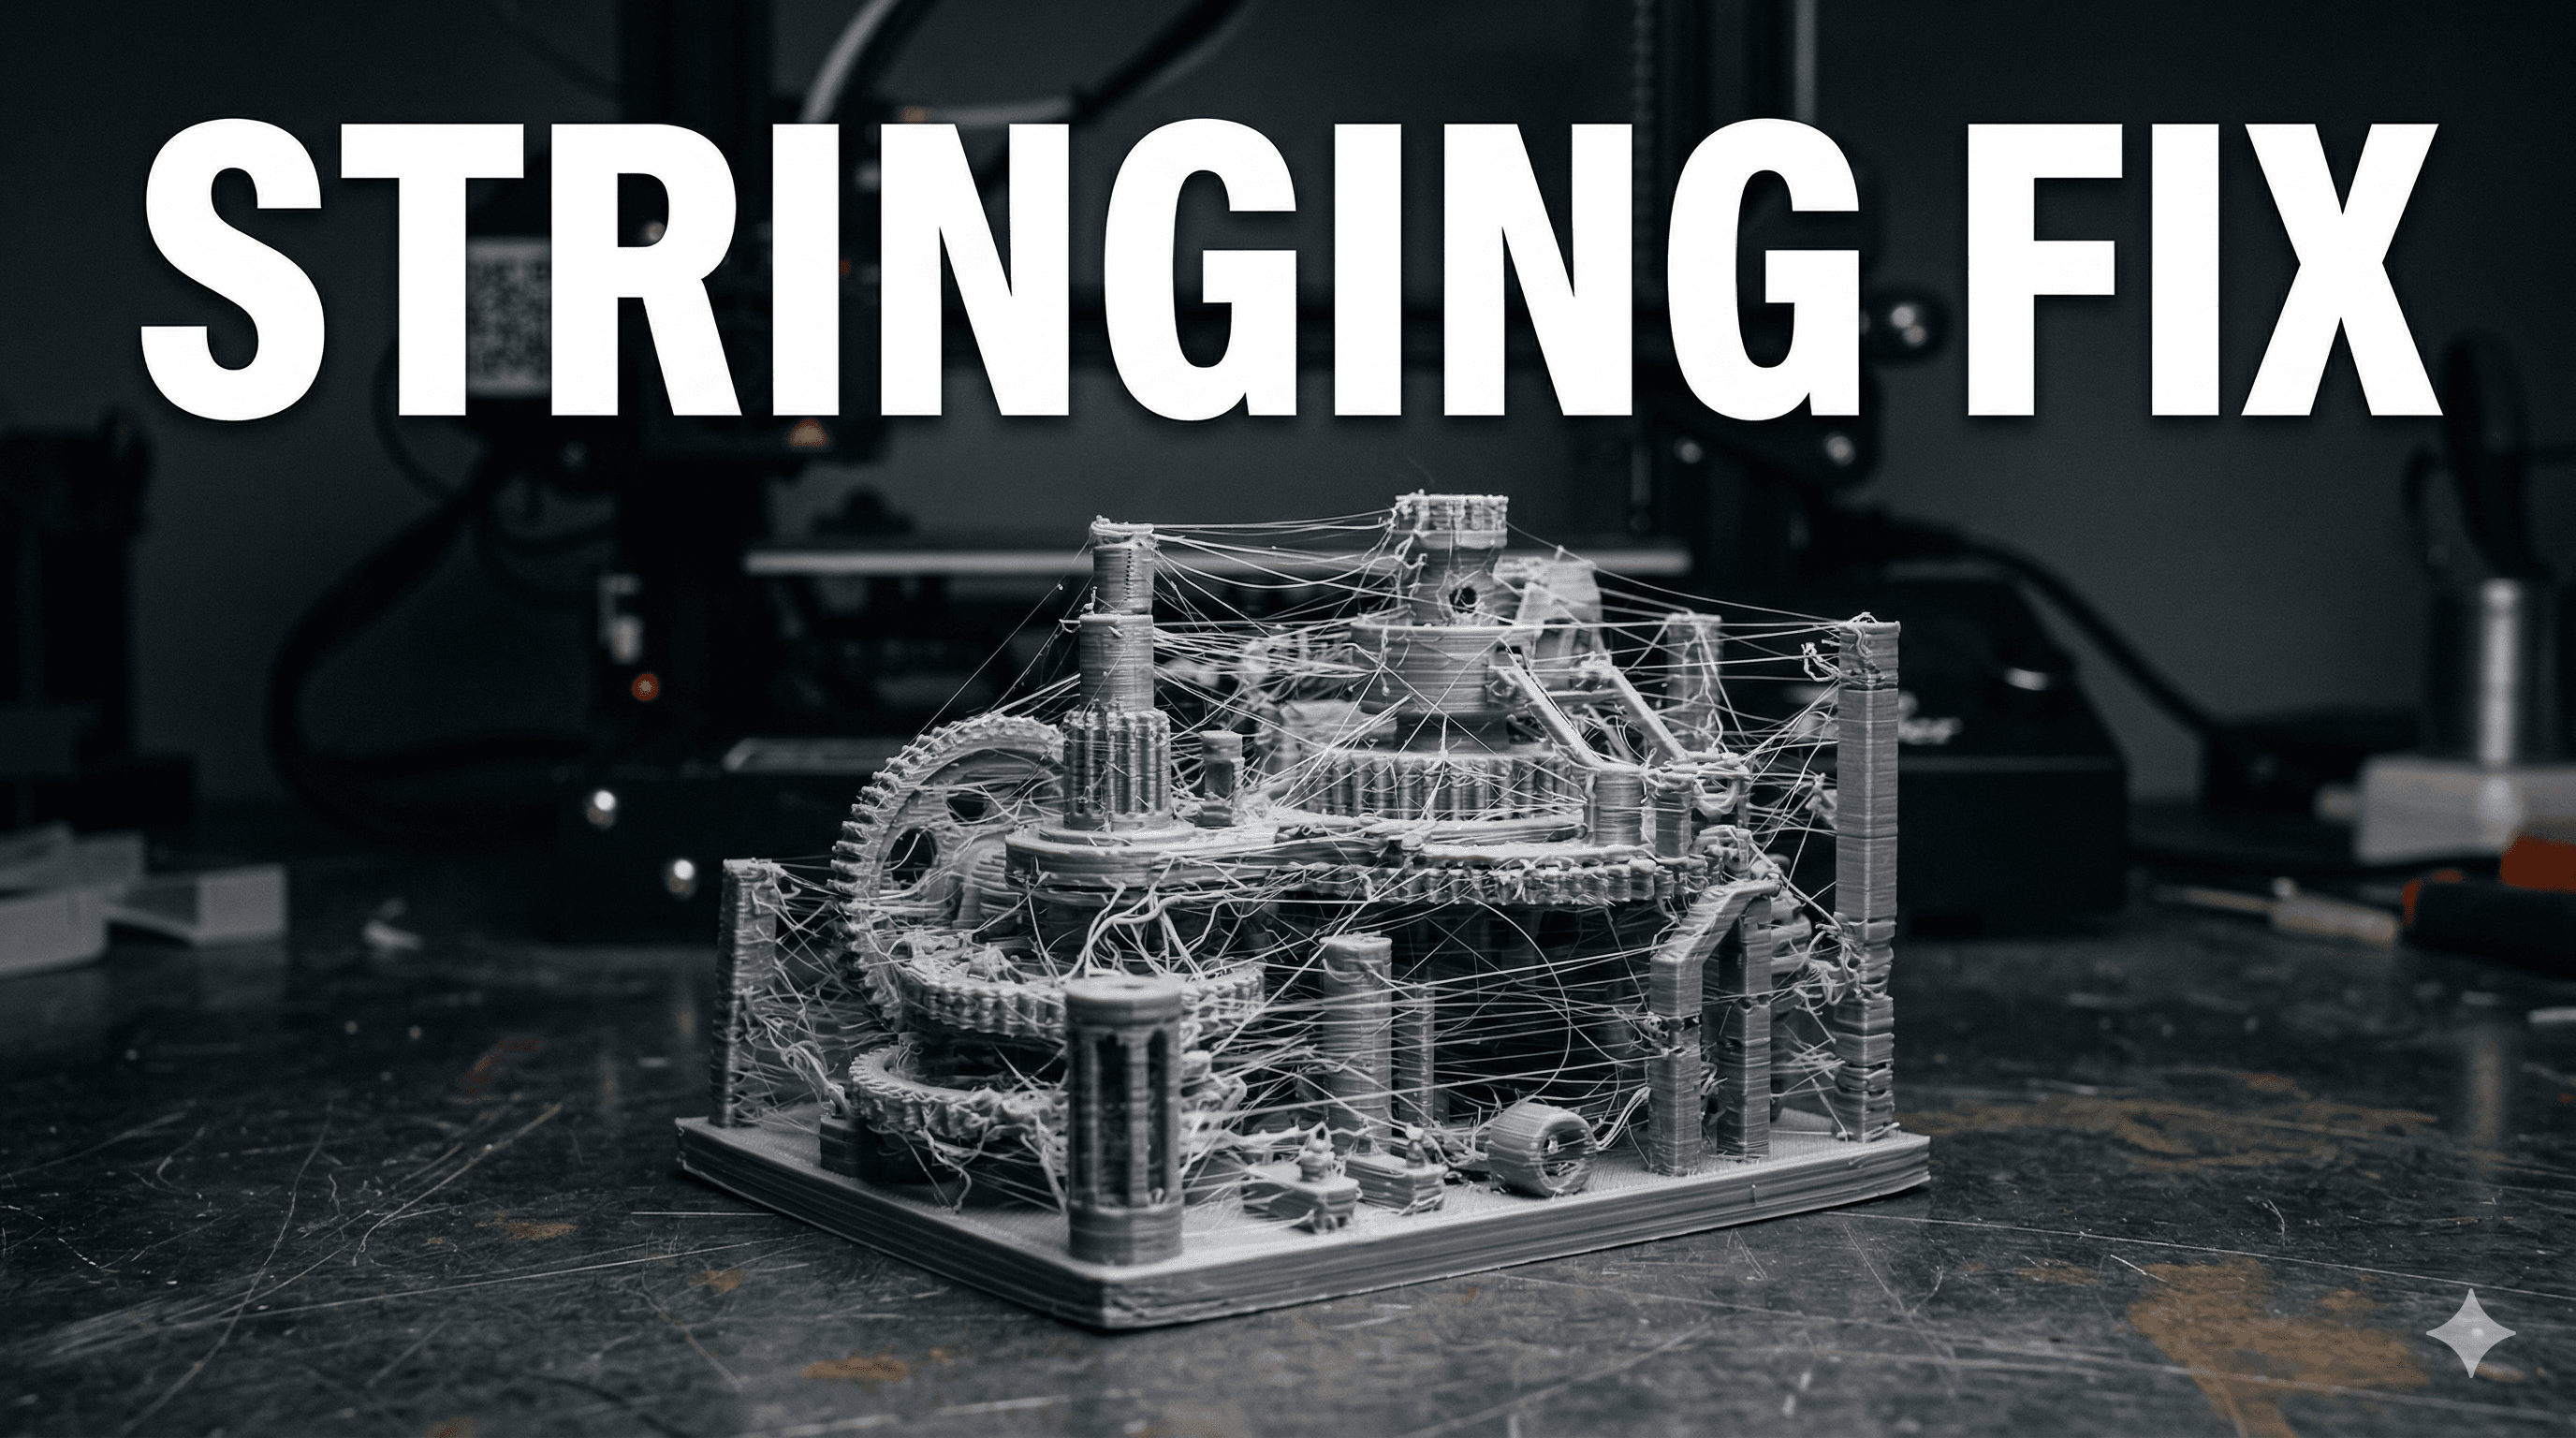
You know that feeling, right? You've spent hours meticulously designing something, or maybe just picked a cool model online. You slice it, load it up, hit print, and everything seems fine. You walk away, maybe grab a cup of chai, daydreaming about the perfect print. Then you come back, all excited, only to find... pure chaos. A tangled mess of filament, a ghostly outline of what *could* have been, sprawled across your print bed like a very sad, very expensive plate of spaghetti. Ugh. It's soul-crushing, honestly. And trust me, I've seen enough "spaghetti monsters" in my time running ArtOpia Collections to know the pain intimately.
Weâve all been there. Every single 3D printer enthusiast, from the absolute newbie to the seasoned pro, has faced the dreaded spaghetti print. It's basically when your print detaches from the build plate, or just stops extruding properly, and your printer keeps on going, happily pushing out filament into thin air, creating a bird's nest of plastic instead of your beautiful object. But here's the deal: it's not some random act of god. There are always reasons, and thankfully, most of them are totally fixable. So, let's dive deep into why your prints might be failing mid-way and, more importantly, how to wrangle that spaghetti monster back into submission.
The Root of All Evil: Bed Adhesion (Or Lack Thereof)
This, my friends, is probably the number one culprit, especially for prints failing early on. If your first layer doesn't stick properly, the rest of the print is doomed. Period. Think about it: the entire structure depends on that solid foundation. If it peels up, warps, or just floats away, your print head keeps moving in the correct path, but it's laying filament onto nothing, and boom, spaghetti.

1. A Dirty Bed is a Bad Bed
Look, your print bed needs to be squeaky clean. Even the oils from your fingertips can create a microscopic barrier that prevents adhesion. I can't stress this enough. For glass or PEI sheets, a good wipe down with isopropyl alcohol (IPA) before every print, or at least every few prints, is crucial. You can find a good bottle of IPA for around â¹300-â¹500 online or at a local chemist. Sometimes, if it's really grimy, a wash with warm water and dish soap, followed by a thorough rinse and dry, works wonders. Just make sure there's no soap residue left!
2. Level Up Your Bed (Literally)
This is basic, but so often overlooked. If your bed isn't perfectly level, some parts of your first layer will be squished too much (leading to elephant's foot or scraping), and others will be too far from the nozzle (leading to poor adhesion). For manual leveling (like on an Ender 3), I usually use a piece of standard A4 paper â you want just a slight drag on the paper when you slide it between the nozzle and the bed. It takes a bit of practice, but it's super important. If you have an auto-bed leveling (ABL) sensor like a CR-Touch or BL-Touch, don't just rely on it. ABL compensates for inconsistencies, but a manually well-leveled bed helps the ABL do its job even better. I personally think a combination of both is the holy grail.
3. Adhesion Aids: Your Best Friends
Sometimes, even with a clean and level bed, you need a little extra help. Especially with trickier filaments or larger prints. Here are my go-to's:
- Glue Stick: The classic. A thin, even layer of a standard UHU or Fevicol glue stick (â¹50-â¹150) works wonders, especially on glass beds. It's cheap, easy to apply, and easy to clean off with water.
- Hairspray: Yep, the stuff for your hair. A light mist of an unscented, strong-hold hairspray (like L'Oréal Elnett, around â¹300-â¹400) on a *cool* bed, then letting it dry, creates a fantastic adhesion layer. Just make sure to mask off your printer's other parts if you're spraying directly on the bed, you don't want sticky internals!
- PEI Sheets: If you're serious, consider upgrading to a textured or smooth PEI sheet. These usually stick incredibly well to PLA, PETG, and often even ABS without any additional adhesives. They can cost anywhere from â¹1000 to â¹3000 depending on your printer size, but they're a game-changer. You can find various options for 3D printer bed adhesives and surfaces on Amazon.in.
4. First Layer Settings in Your Slicer
Don't just hit print with default settings! Your first layer is special. I always slow down the first layer speed significantly (20-30 mm/s is a good starting point). Also, increasing the first layer extrusion width (say, 120% of your nozzle diameter) helps squish more plastic onto the bed, creating a stronger bond. And speaking of squish, ensure your first layer height is appropriate â too high, and it won't stick; too low, and it might scrape or clog.
The Silent Killer: Clogged Nozzles
Picture this: your print starts fine, the first few layers go down beautifully. You're feeling good. Then, suddenly, no more filament is coming out, or it's coming out in a thin, wispy strand. The printer keeps moving, expecting plastic to be laid down, but nothing's there. The result? You guessed it â spaghetti or an incomplete print that looks like a ghost. This is often a nozzle clog.
1. The "Cold Pull" Technique
This is my first line of defense. Heat your hotend to printing temperature for your filament (e.g., 200°C for PLA). Push a little filament through manually to ensure it flows. Then, let the hotend cool down to around 90-100°C for PLA (the exact temp varies a bit, you want it to be molten but still semi-solid). Once it reaches that temperature, quickly pull the filament *straight up* and out. The slightly solidified filament should grab any debris or burnt bits inside the nozzle and pull them out. Sometimes you'll see a perfectly formed "plug" at the end of the filament, which is very satisfying.
2. Cleaning Needles and Nozzle Replacement
If a cold pull doesn't work, you might need a tiny nozzle cleaning needle. These usually come with your printer or you can buy a set for â¹150-â¹300. Heat the nozzle to printing temperature and carefully insert the needle from the bottom to dislodge any blockage. Be gentle! If all else fails, or if your nozzle is really old or worn out, just replace it. A pack of brass nozzles (0.4mm is standard) costs around â¹200-â¹500 for 10-20 pieces. Hardened steel nozzles, better for abrasive filaments, are more expensive, maybe â¹500+ for a single one, but they last much longer. It's a small investment for peace of mind.
Temperature Troubles: Too Hot, Too Cold, Just Right?
Incorrect temperatures can cause a myriad of issues, including poor layer adhesion (leading to separation mid-print) or filament not flowing properly (leading to clogs or under-extrusion).
1. The Temperature Tower
This is a must-do for any new filament spool, especially if you're experimenting with different brands. A temperature tower is a test print that changes temperature at different heights. By printing one, you can visually inspect which temperature gives the best layer adhesion, overhangs, and surface finish for that specific filament. It's a quick print that saves you a lot of headache later.
2. Follow Filament Guidelines (Mostly)
Most filament manufacturers provide a recommended temperature range on the spool. Start there! If you're using PLA from a brand like eSUN, Overture, or even good Indian brands like OSO or 3D Print Zone (which you can find here on Amazon.in), their recommended temps are usually a good starting point. Adjust your print temperature in 5°C increments based on your temp tower results or if you notice issues. Too low, and you get poor layer bonding; too high, and you might get stringing, oozing, or heat creep leading to clogs.
Print Speed: The Need for Speed vs. Quality
While we all want our prints to finish quickly, sometimes going too fast is the enemy of quality and, yes, adhesion. Especially for intricate parts or overhangs.
1. Slow Down for Success
I usually recommend printing at a moderate speed for most filaments, say 50-60 mm/s for PLA. If you're pushing intricate details, very small parts, or heavily-supported models, consider dropping it to 30-40 mm/s. And as mentioned before, *always* slow down that first layer. The slower your printer moves, the more time the filament has to properly bond to the previous layer and the bed.
Slicer Settings and Model Integrity
Sometimes, the problem isn't your printer, but the digital instructions you're giving it or even the model itself.
1. Supports, Supports, Supports!
If your model has significant overhangs or bridges that your printer can't handle, the filament will just print into thin air and, well, create spaghetti. Make sure you're adding appropriate supports in your slicer (Cura, PrusaSlicer, Simplify3D are popular choices). Adjust their density and pattern. Sometimes, auto-generated supports aren't enough, and you need to manually add more.
2. Slicer Preview is Your Friend
Before you hit print, always, *always* check the preview in your slicer. Look for disconnected parts, unsupported areas, or strange gaps. It can often show you potential failure points before you waste precious filament and time.
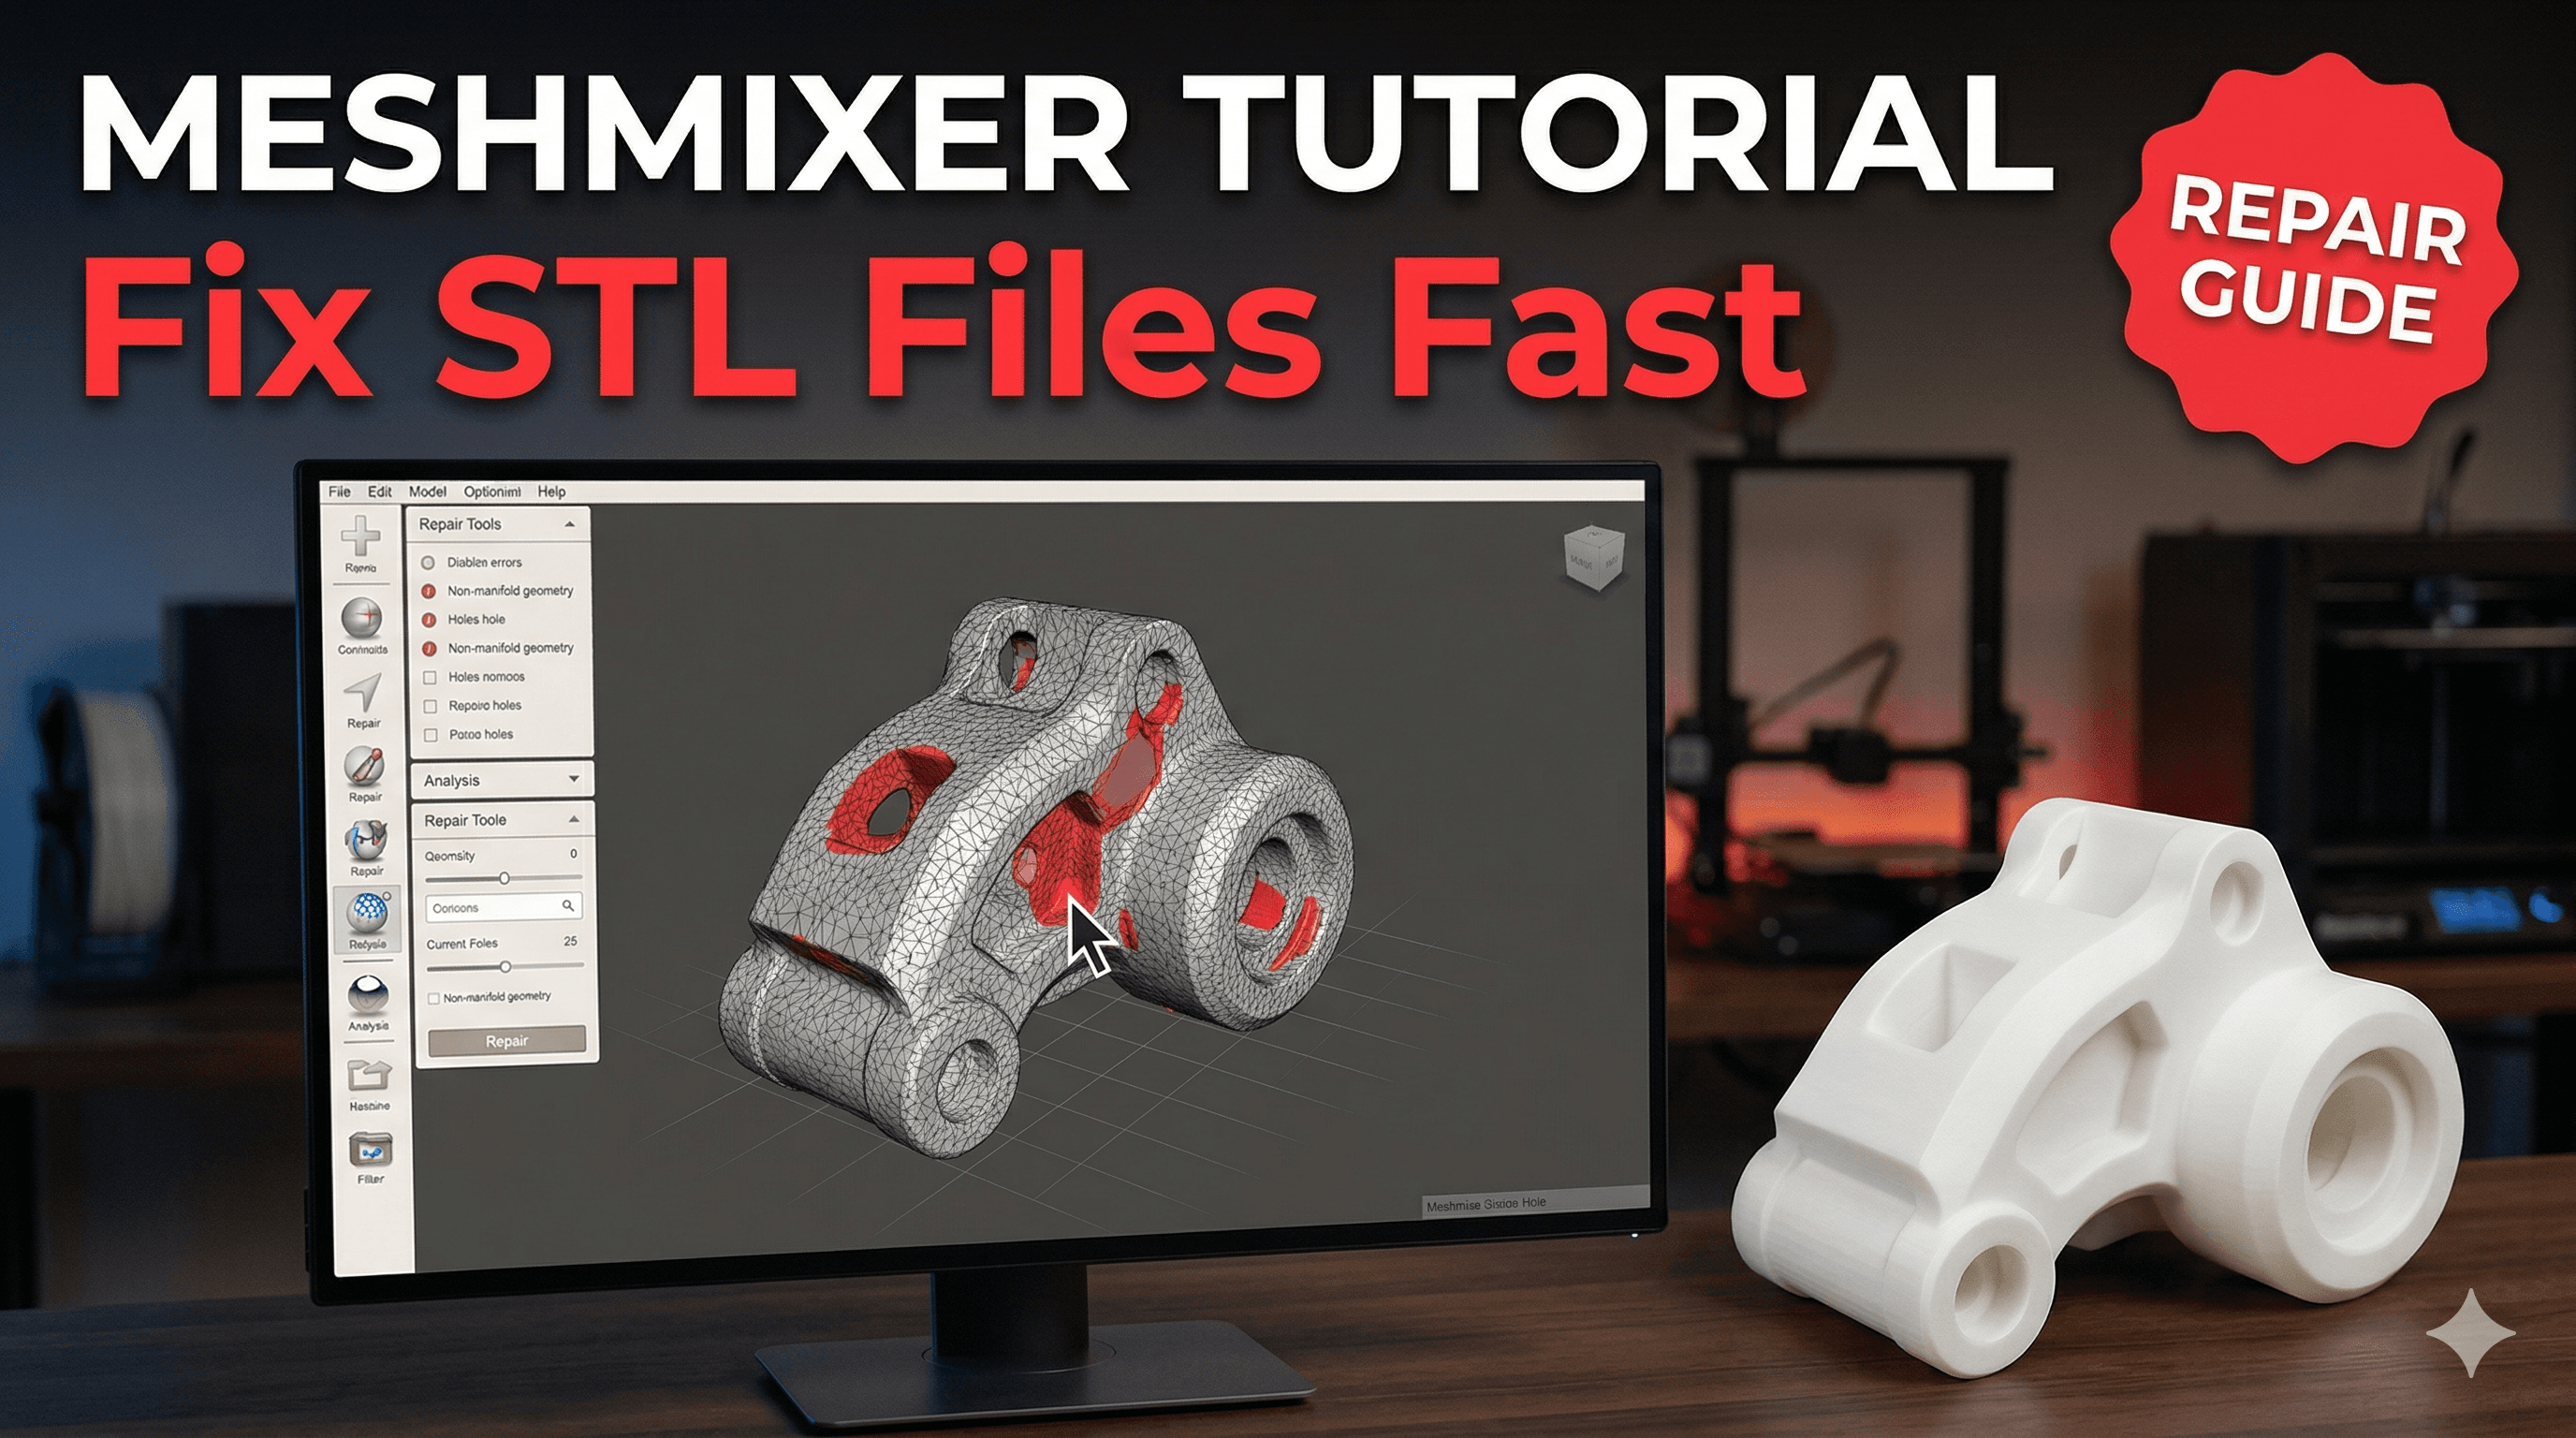
3. Mesh Errors
Occasionally, you might download a model with underlying mesh errors (non-manifold edges, flipped normals, etc.). Your slicer might try to fix these, but sometimes it results in weird slicing behavior. Tools like MeshMixer or even some online STL repair services can help clean up a faulty model.
Filament Quality and Moisture
Not all filaments are created equal. And even good filament can go bad if not stored properly.
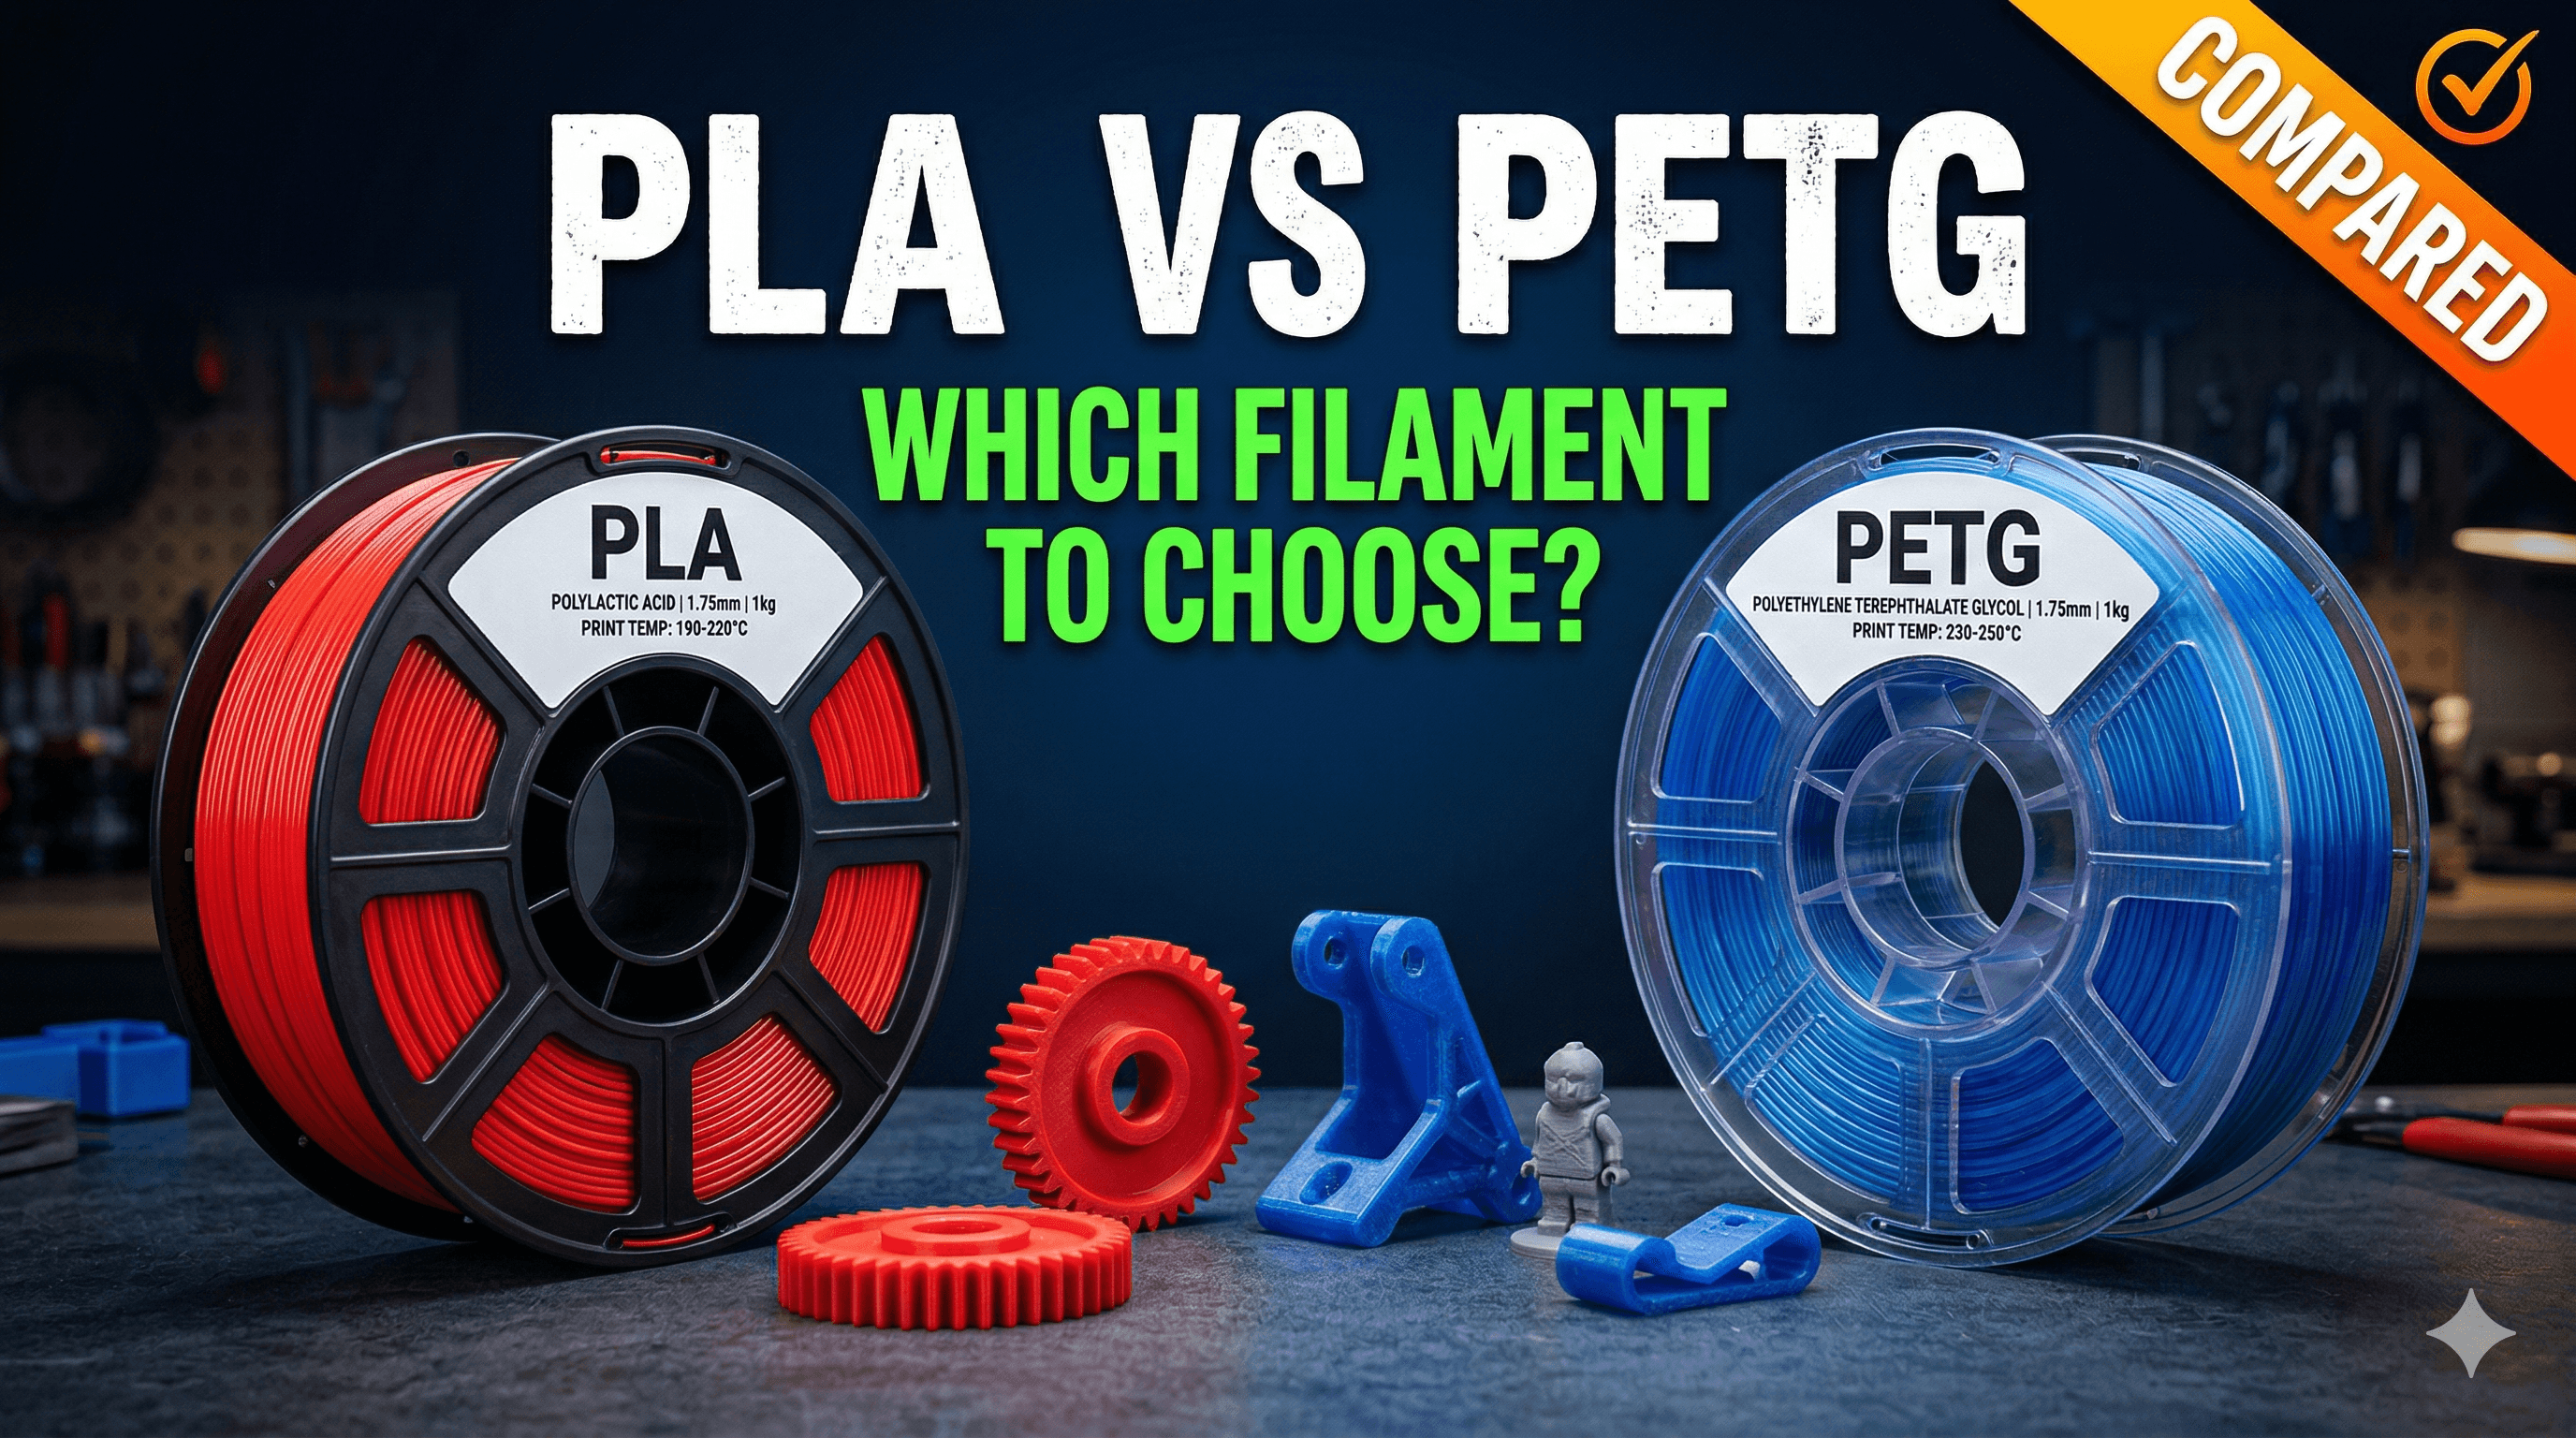
1. Invest in Good Filament
Cheaper filament can sometimes be inconsistent in diameter, leading to under-extrusion or clogs. It might also have poorer additives, affecting adhesion or strength. While it's tempting to save a few hundred rupees, a good quality filament spool (typically â¹1000-â¹1500 per kg for PLA) is an investment in successful prints. My personal favourites are eSUN and Overture â they rarely disappoint.
2. Dry Your Filament!
This is a big one, especially in humid climates like India. Filaments like PETG, Nylon, and even PLA absorb moisture from the air. Moist filament will pop and crackle during printing, leading to brittle prints, poor layer adhesion, and very visible print quality issues. It also creates a lot of stringing and blobbing. A dedicated filament dryer box (ranging from â¹3000 to â¹7000) is a fantastic investment, or you can use a food dehydrator or even your oven on its lowest setting (be *very* careful with this and monitor the temperature closely!). I keep most of my opened spools in airtight containers with desiccant packets, especially during the monsoon season.
Mechanical Issues: When the Hardware Fails
Sometimes, the printer itself needs a little TLC.
1. Loose Belts and Wobbly Parts
If your X or Y-axis belts are loose, your print head won't move precisely, leading to layer shifts or parts of your print detaching because of inaccurate movement. Check belt tension; they should be taut, but not overtightened. Also, check for any wobbly parts on your hotend carriage or bed â tighten eccentric nuts on rollers if needed.
2. Worn Nozzles
Over time, especially with abrasive filaments or just a lot of printing, your brass nozzle's opening can widen or become deformed. This leads to inconsistent extrusion and print quality issues. Regular nozzle replacement (every few months for heavy users) is good practice.
Final Thoughts and Prevention
Honestly, fixing spaghetti prints is mostly about troubleshooting and understanding the fundamental principles of 3D printing. It takes patience, a bit of experimentation, and a willingness to learn. Here are my golden rules to prevent these messy failures:
- First Layer Focus: Always watch your first layer go down. If it looks bad, stop the print, adjust, and restart. Don't waste filament on a doomed print.
- Regular Maintenance: Keep your printer clean, level your bed, and check for loose parts regularly. A little preventive maintenance goes a long way.
- Good Environment: Try to keep your printer in a stable environment, away from drafts or direct sunlight, which can cause warping.
- Listen to Your Printer: Strange noises, grinding, clicking â these are often signs of trouble. Don't ignore them!
Remember, every failed print is a learning opportunity. Don't get discouraged! We've all been through it, and with these tips, you'll be troubleshooting like a pro in no time. If you're ever looking for inspiration for what amazing things you can create once you master these issues, or maybe just want to get your hands on some cool finished products without the hassle of printing, definitely check out some of the unique items we've crafted at ArtOpia Collections. Weâre always experimenting, learning, and creating, just like you.
Happy printing, and may your prints always stick!