How to Fix Stringing on Your 3D Printer: Complete Troubleshooting Guide
This guide helps you diagnose and fix common 3D printer stringing issues. Learn step-by-step solutions and settings adjustments to achieve cleaner, high-quality prints.
Battling the Cobwebs: Your Ultimate Guide to Fixing 3D Printer Stringing (No More Spiderwebs, Promise!)
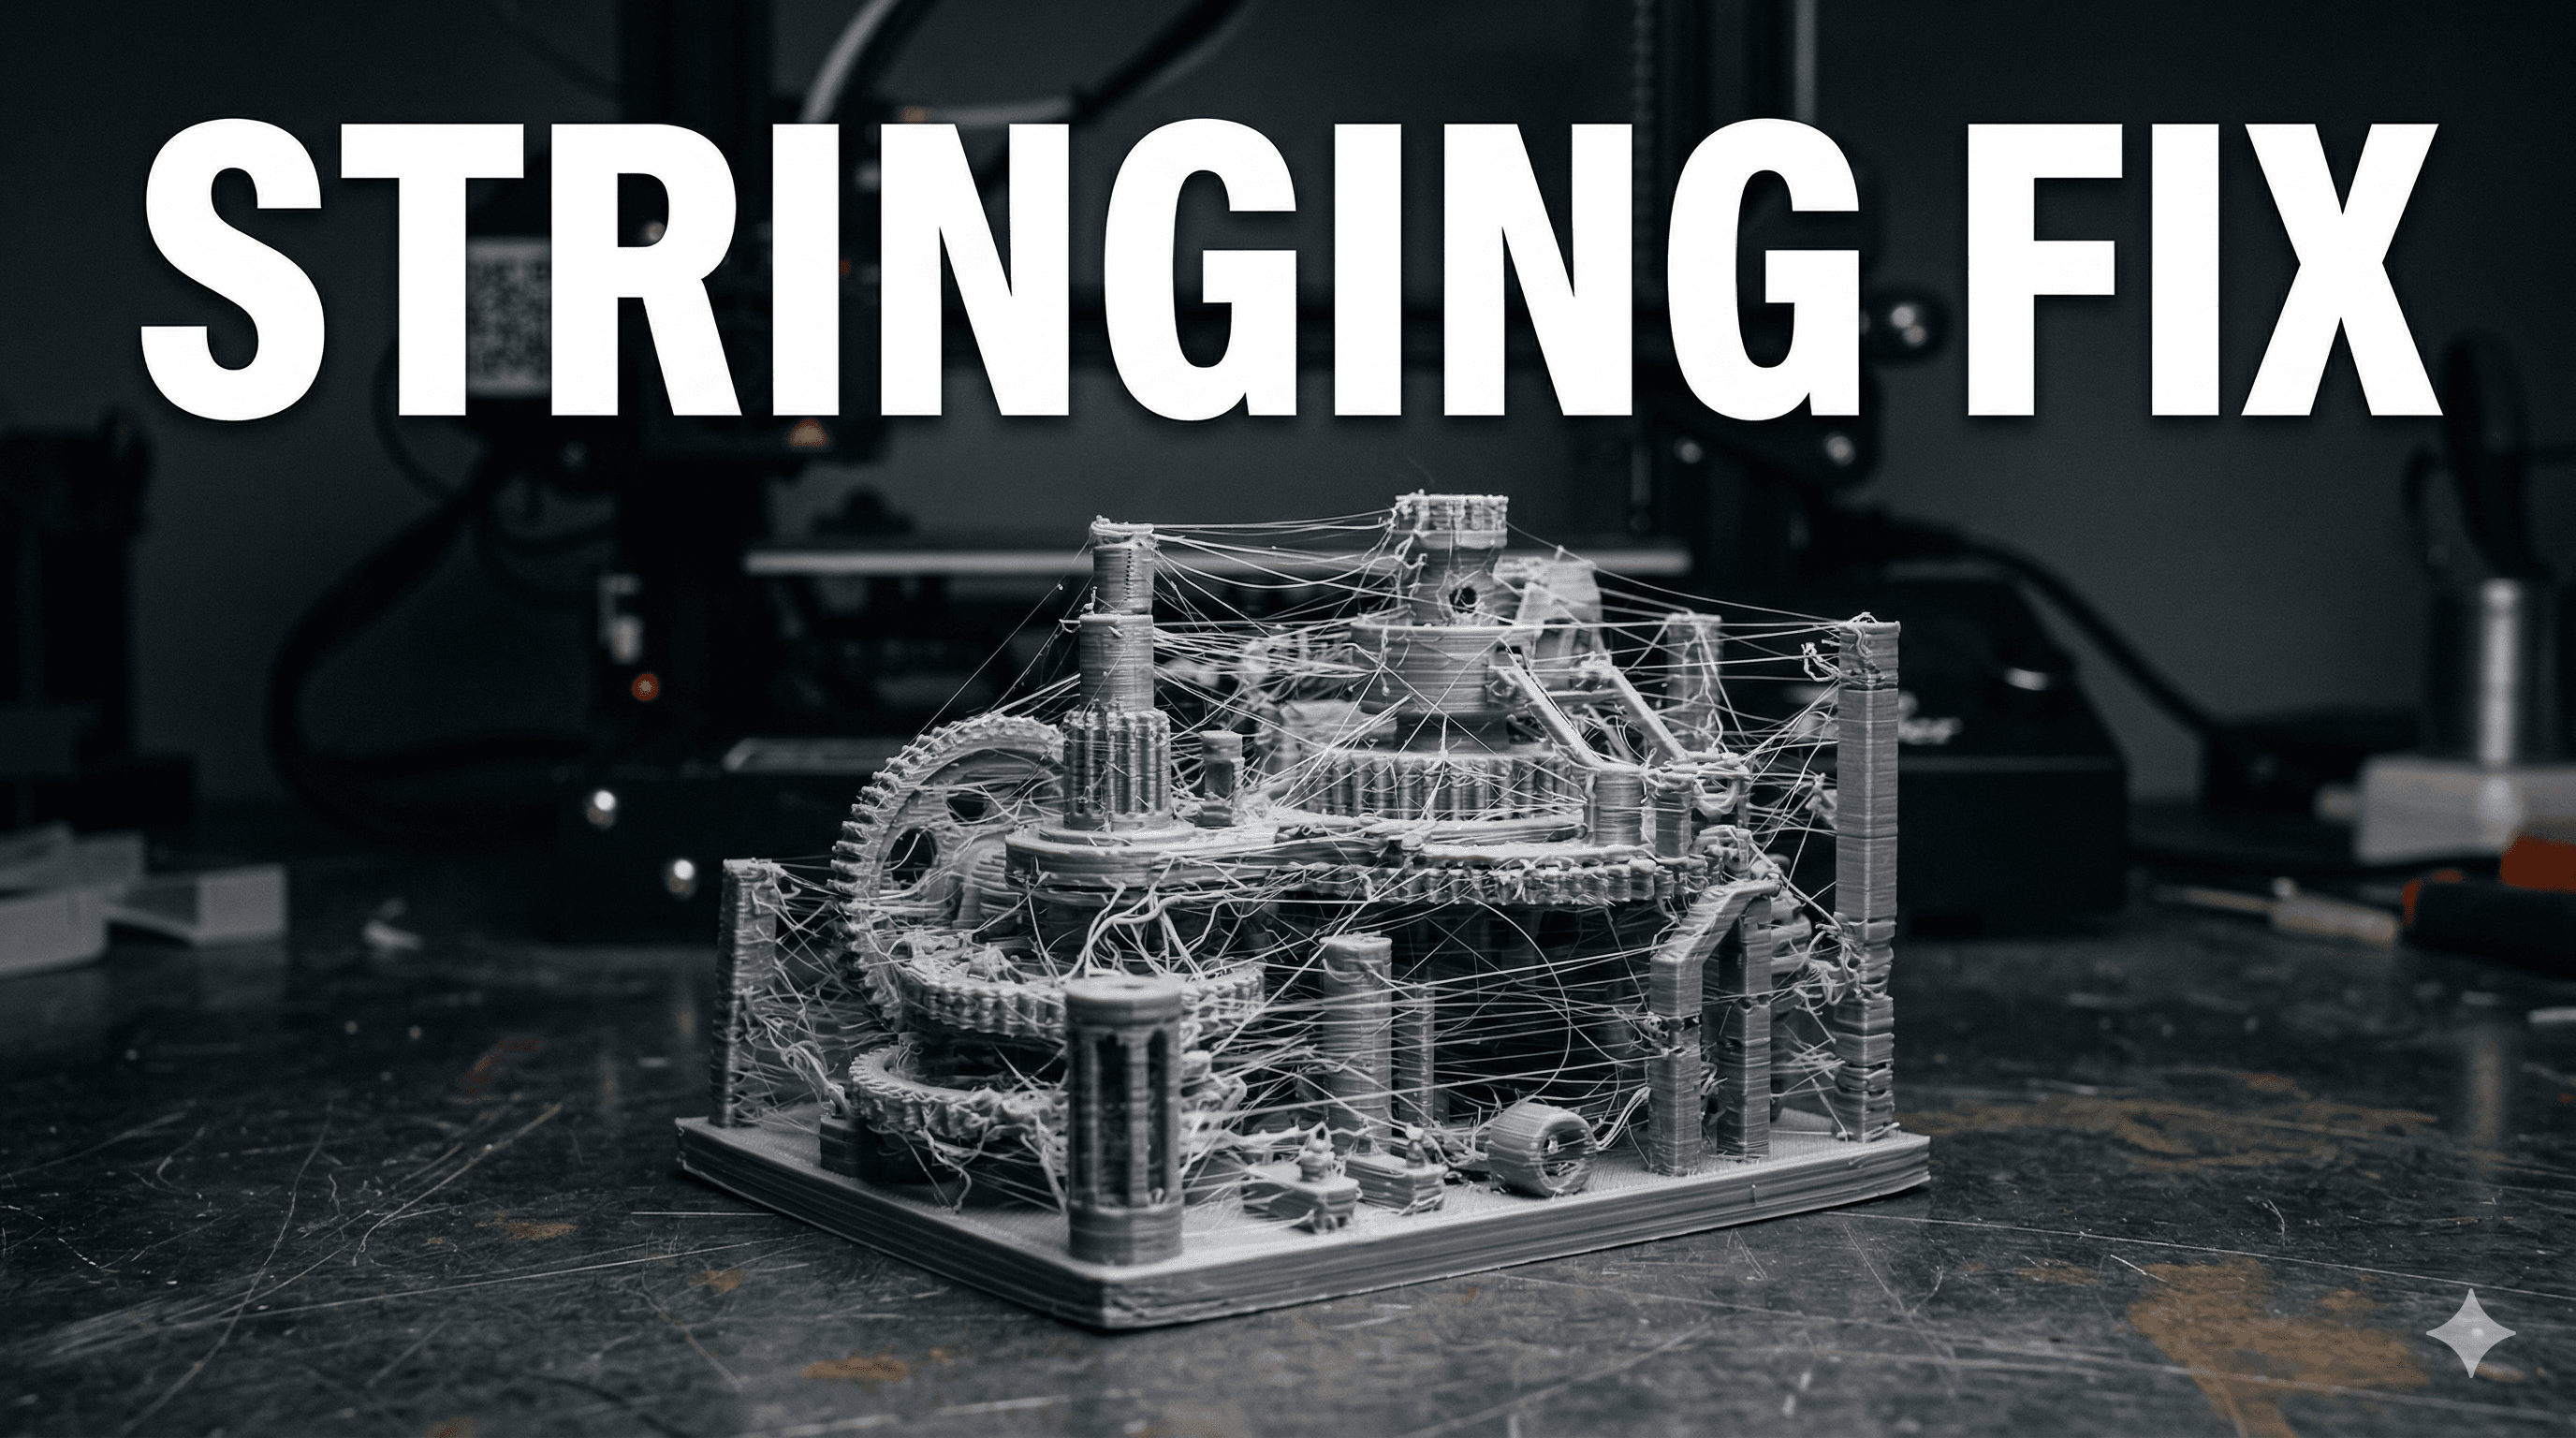
You know that feeling? That gut-wrenching moment when your beautiful 3D print comes off the bed, and it looks like a spider decided to host a particularly messy party on it. Yeah, I'm talking about stringing, my friend. Those wispy, hair-like plastic threads that sprout between different parts of your print, turning a masterpiece into a fuzzy mess. Honestly, it's one of the most common, and frankly, most annoying issues we 3D printing enthusiasts face. Especially here in India, where the weather can be, let's just say, "challenging" for our filaments.
Here at ArtTopia, we've battled our fair share of these plastic cobwebs, believe me. From intricate sculptures for clients to our own ArtTopia Collections prototypes, every print needs to be clean. And trust me, I've seen it all on my trusty Ender 3 V2 and the Anycubic Kobra - from fine hairs to thick, gooey strands that make you want to pull your hair out. So, if you're pulling your hair out too, take a deep breath. We're gonna fix this. I've compiled my complete troubleshooting guide, born from countless hours of trial and error (and a few moments of absolute despair, let's be real). Think of this as me, your friendly neighbourhood 3D printing bhaiya, walking you through it step-by-step.
So, What Even IS Stringing, Really?
Basically, stringing happens when your printer's nozzle moves between two separate points of your print, and molten plastic oozes out of the nozzle during that non-printing travel. Ideally, the printer should stop extruding, pull the filament back a tiny bit (that's called retraction!), move to the next spot, and then start extruding again. But if something's off, that molten plastic just decides to leave a trail. Annoying, right? It's like leaving footprints everywhere you go, but with plastic.

The good news is, stringing is almost always fixable. It's rarely a sign of a truly broken printer, more often it's just a matter of tuning your settings. And that's where the fun (and sometimes frustration) begins. But hey, that's part of the journey, isn't it?
Your Stringing Troubleshooting Checklist: Let's Get This Done!
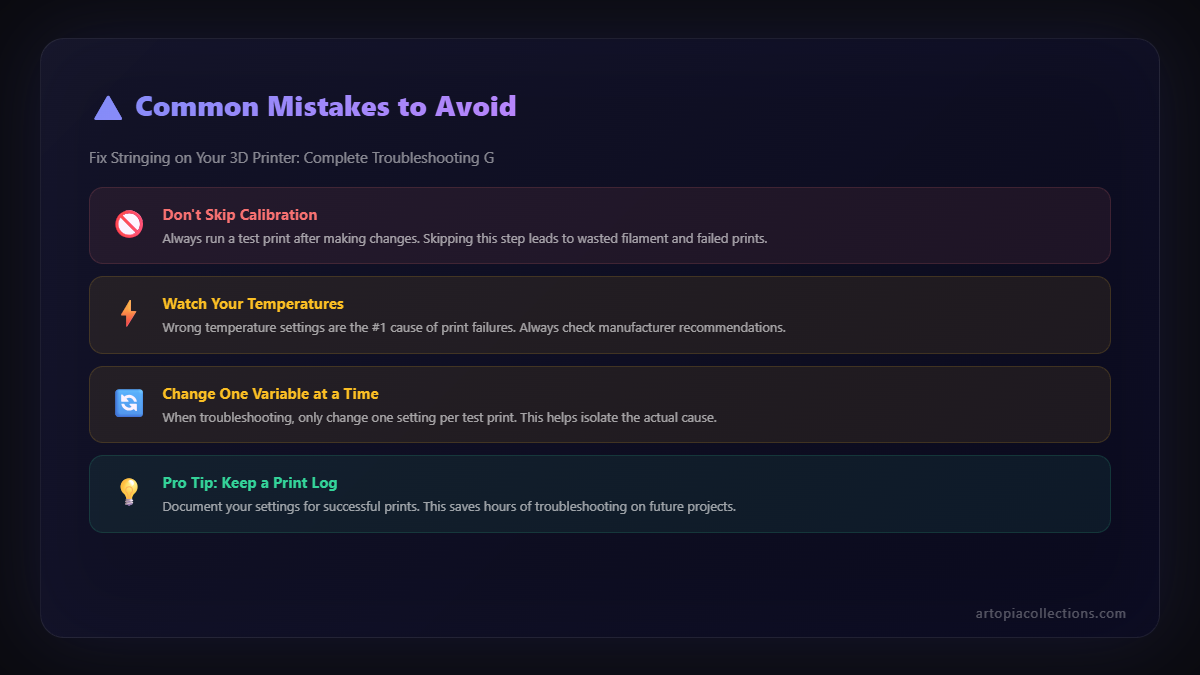
Alright, grab a cup of chai, fire up your slicer (Cura, PrusaSlicer, SuperSlicer â whatever your poison), and let's dive into the settings that make all the difference. We're going to tackle this systematically, from the most common culprits to the more obscure ones. Remember, change one setting at a time, print a test cube (or a stringing tower, which is even better!), and then evaluate. This isn't a race, it's a marathon of meticulous tweaking.
1. Temperature: The Hottest Culprit (Pun Intended!)
This is, hands down, the first thing I check when I see stringing. If your nozzle temperature is too high, the plastic inside is super runny, almost like water. And liquid, well, it tends to ooze. It's simple physics, really. Conversely, if it's too low, you'll have underextrusion and clogs, so it's a delicate balance. Every filament brand, sometimes even different colours of the same brand, has its sweet spot. A good quality PLA like eSun or Overture usually prints well between 195°C and 215°C, but that's just a guideline.
What to do:
- Start by reducing your print temperature by 5°C.
- Print a temperature tower. This is a game-changer. It's a print designed to change temperature at different heights, letting you see exactly where your filament performs best. I personally think this is the most efficient way to dial in your temperature for a new spool.
- If you're using PETG, which is notorious for stringing, aim for the lower end of its recommended temperature range. PETG can sometimes print as high as 250°C, but that's just begging for stringing in my experience. Try around 230-240°C.
I usually run my KDM PLA at 200°C for most models, but some intricate stuff might need 195°C. Itâs all about experimentation, my friend.
2. Retraction Settings: The Mighty Filament Pullback
This is the big kahuna, the king of stringing fixes. Retraction is the process where your extruder motor pulls the filament back a little bit into the hotend when the nozzle is traveling. This creates a vacuum and relieves pressure, preventing oozing. There are two main settings here: Retraction Distance and Retraction Speed.
Retraction Distance:
- Direct Drive Extruders (like on Prusas, or upgraded Enders): You usually need a much shorter distance, typically 0.5mm to 2mm. Too much, and you risk grinding the filament.
- Bowden Tube Extruders (like stock Ender 3, Anycubic Kobra): Because the filament has to travel further through that PTFE tube, you'll need a longer distance. Start with 4mm-6mm. Some folks even go up to 8mm, but be careful not to pull the molten plastic too far into the cold end, causing clogs.
Retraction Speed:
- This is how fast the filament is pulled back. Too slow, and plastic still oozes. Too fast, and you might skip steps on your extruder motor or grind the filament.
- A good starting point is usually 30mm/s to 60mm/s.
- I personally run my Ender 3 V2 (Bowden) with a 6mm retraction distance and 45mm/s speed for PLA. It works wonders for most of my projects, like the detailed miniatures we sometimes print for our store.
What to do: Print a dedicated retraction tower. These let you test different distances at different heights. Start with your default settings, then tweak distance by 0.5mm increments, and speed by 5-10mm/s increments. Be patient here; this is where most of the magic happens.
3. Print Speed and Travel Speed: Are You Rushing Things?
Print Speed: While not the primary cause, if your overall print speed is too high, especially for intricate parts with lots of retractions, your hotend might not have enough time to retract properly, or the plastic might be forced out faster. Try reducing your main print speed by 10-20mm/s and see if it helps. I usually print my regular PLA objects at 50-60mm/s, sometimes down to 40mm/s for detailed stuff. For PETG, I often drop it to 40-50mm/s.
Travel Speed: This is how fast your nozzle moves when it's NOT printing. If this speed is too slow, the nozzle might spend more time over non-printed areas, giving more opportunities for oozing. Increase your travel speed to 150mm/s or even 200mm/s if your printer can handle it without shaking too much. My Ender 3 V2 hums along nicely at 180mm/s travel speed.
4. Filament Moisture: The Silent Killer (Especially in India!)
Okay, so this is a big one, particularly if you live in a humid climate like many parts of India (Chennai, Mumbai, Bangalore during monsoon, I'm looking at you!). Filament is hygroscopic, meaning it absorbs moisture from the air. When moist filament goes through your hotend, the water turns to steam, creating tiny bubbles that burst, leading to inconsistent extrusion, weak prints, and yes, you guessed it â stringing! It sounds like a subtle crackle or pop as it prints.
I've lost count of the times I've blamed my settings, only to realize my â¹1800 spool of eSun PLA had absorbed too much moisture. The thing is, even if it's new, it could have been exposed to humidity during storage or shipping.
What to do:
- Get a filament dryer. Seriously, it's one of the best investments you can make, especially if you print with PETG or Nylon. They typically cost anywhere from â¹4,000 to â¹8,000, depending on the brand and features. I've used models similar to the JAYO Filament Dryer and they've been lifesavers.
- You can also try drying your filament in a food dehydrator (if it can reach low enough temperatures and you don't use it for food anymore!), or even your oven on the lowest possible setting (like 40-50°C for PLA, 60-70°C for PETG), but be super careful not to melt it! I personally don't recommend the oven method unless you're desperate, a dedicated dryer is much safer and more effective.
- Store your filament in airtight containers with desiccant packets (those little silica gel packs) when not in use. I use large storage boxes with rubber seals; you can find them at any local store for a few hundred rupees.
5. Nozzle Issues: Old & Clogged Nozzles
A worn-out or partially clogged nozzle can cause inconsistent extrusion, which can manifest as stringing. The plastic doesn't flow smoothly, leading to blobs and strings. Nozzles are consumables, my friends. They don't last forever, especially the cheap brass ones.
What to do:
- Inspect your nozzle. Is the tip damaged? Is it discolored?
- Try a cold pull to clear any partial clogs.
- Replace your nozzle. They're pretty inexpensive. You can get a pack of 10 brass nozzles for around â¹300-â¹500 on Amazon.in. Trust me, it's worth having a spare set handy. I usually swap out my brass nozzles every 3-4 months, or sooner if I've been printing a lot of abrasive filaments.
6. Z-Hop (Z-Lift): A Double-Edged Sword
Z-Hop or Z-Lift makes your nozzle lift a tiny bit vertically before traveling to a new spot, then lowers it back down. The idea is to prevent the nozzle from dragging across the print and knocking things over or creating scars. While it can prevent collisions, it can also exacerbate stringing! Because the nozzle is spending more time traveling vertically, there's more opportunity for molten plastic to ooze out.
What to do:
- If you have Z-Hop enabled, try disabling it completely to see if your stringing improves.
- If you *must* use Z-Hop (e.g., for very delicate parts or to avoid nozzle dragging), try to keep the Z-Hop distance as low as possible (e.g., 0.1mm-0.2mm).
I personally keep Z-Hop off for most of my prints. The only time I enable it is when I'm printing something with very fine, delicate features that might be prone to getting knocked off the print bed by the nozzle's travel.
7. Cooling: Blast It With Air!
Proper part cooling is crucial. When the plastic is extruded, you want it to solidify quickly. If your part cooling fan isn't powerful enough, or if it's not directed properly, the plastic stays molten for longer, increasing the chance of stringing. This is especially true for bridging and overhangs.
What to do:
- Ensure your part cooling fan is running at 100% for PLA, especially after the first few layers.
- Check if your fan duct is properly aimed at the nozzle tip. If it's old or damaged, consider printing a new one (there are tons of improved fan duct designs on Thingiverse).
- For filaments like ABS, you'll want minimal or no cooling, so don't crank the fan for everything! But for PLA and PETG, blast away!
8. Travel Settings & Combing: Smart Moves
Your slicer has some clever ways to manage nozzle travel. "Combing" is a setting that tries to keep the nozzle travel path over already printed areas whenever possible. This means if stringing does occur, it happens *inside* the model, where you won't see it. It's a neat trick.
What to do:
- Enable "Combing" in your slicer (usually found under Travel settings). Try "Not in Skin" or "Within Infill."
- Also look for "Wipe Distance" or "Coast" settings. Wipe distance tells the nozzle to stop extruding a fraction of a millimeter before the end of a line, using up any excess pressure. Coasting stops extrusion for a certain distance before the end of the line, allowing residual pressure to finish the line. These can help reduce blobs and stringing. I usually set my wipe distance to about 0.2mm.
Sometimes, simply enabling combing can drastically reduce visible strings, even if you still have minor oozing. Itâs a bit of a cheat, but hey, if it works, it works!
Putting It All Together: My Personal Philosophy
Look, fixing stringing is an art, not a science. Okay, maybe a bit of both. But the main takeaway is patience and methodical testing. Don't go changing five settings at once and expect to understand what fixed it! Change one, print a small stringing test (you can find tons of these on Thingiverse â they print quickly, saving you filament and time), and analyze the results. And then repeat. Iâve probably spent hundreds of rupees on just filament for calibration cubes and towers over the years for my business, but it's an investment in quality.
In my experience, the hierarchy of things to check is usually:
- Temperature: Too high is the most common sin.
- Retraction Distance & Speed: The most powerful levers.
- Filament Moisture: The sneaky culprit, especially in our Indian climate.
- Nozzle Condition: Don't overlook this simple fix.
If you're still struggling after all that, consider the quality of your filament. Some cheaper brands (and I'm not naming names, but you know the ones you get for like â¹1200 a kilo) just don't perform as consistently. Investing a little more, say â¹1800-â¹2200 for a good quality spool of eSun, Overture, or even some of the better KDM filaments, can save you a lot of headache and failed prints.
Don't Give Up!
I know it can be frustrating, watching your printer weave plastic spiderwebs instead of solid models. But every string you fix is a lesson learned. And honestly, there's nothing more satisfying than pulling off a perfectly clean print, with nary a hair in sight. That's the feeling we chase, right?
Keep tinkering, keep learning, and keep printing. And if you've got any unique stringing fixes or tips that have worked for you, especially in India's unique printing environment, drop a comment below! We're all in this together, building cool stuff, one layer at a time. Happy printing, and may your prints be forever string-free!