Tired of Slow Prints? How Klipper Transformed My Ender 3 V2 (and My Business!)
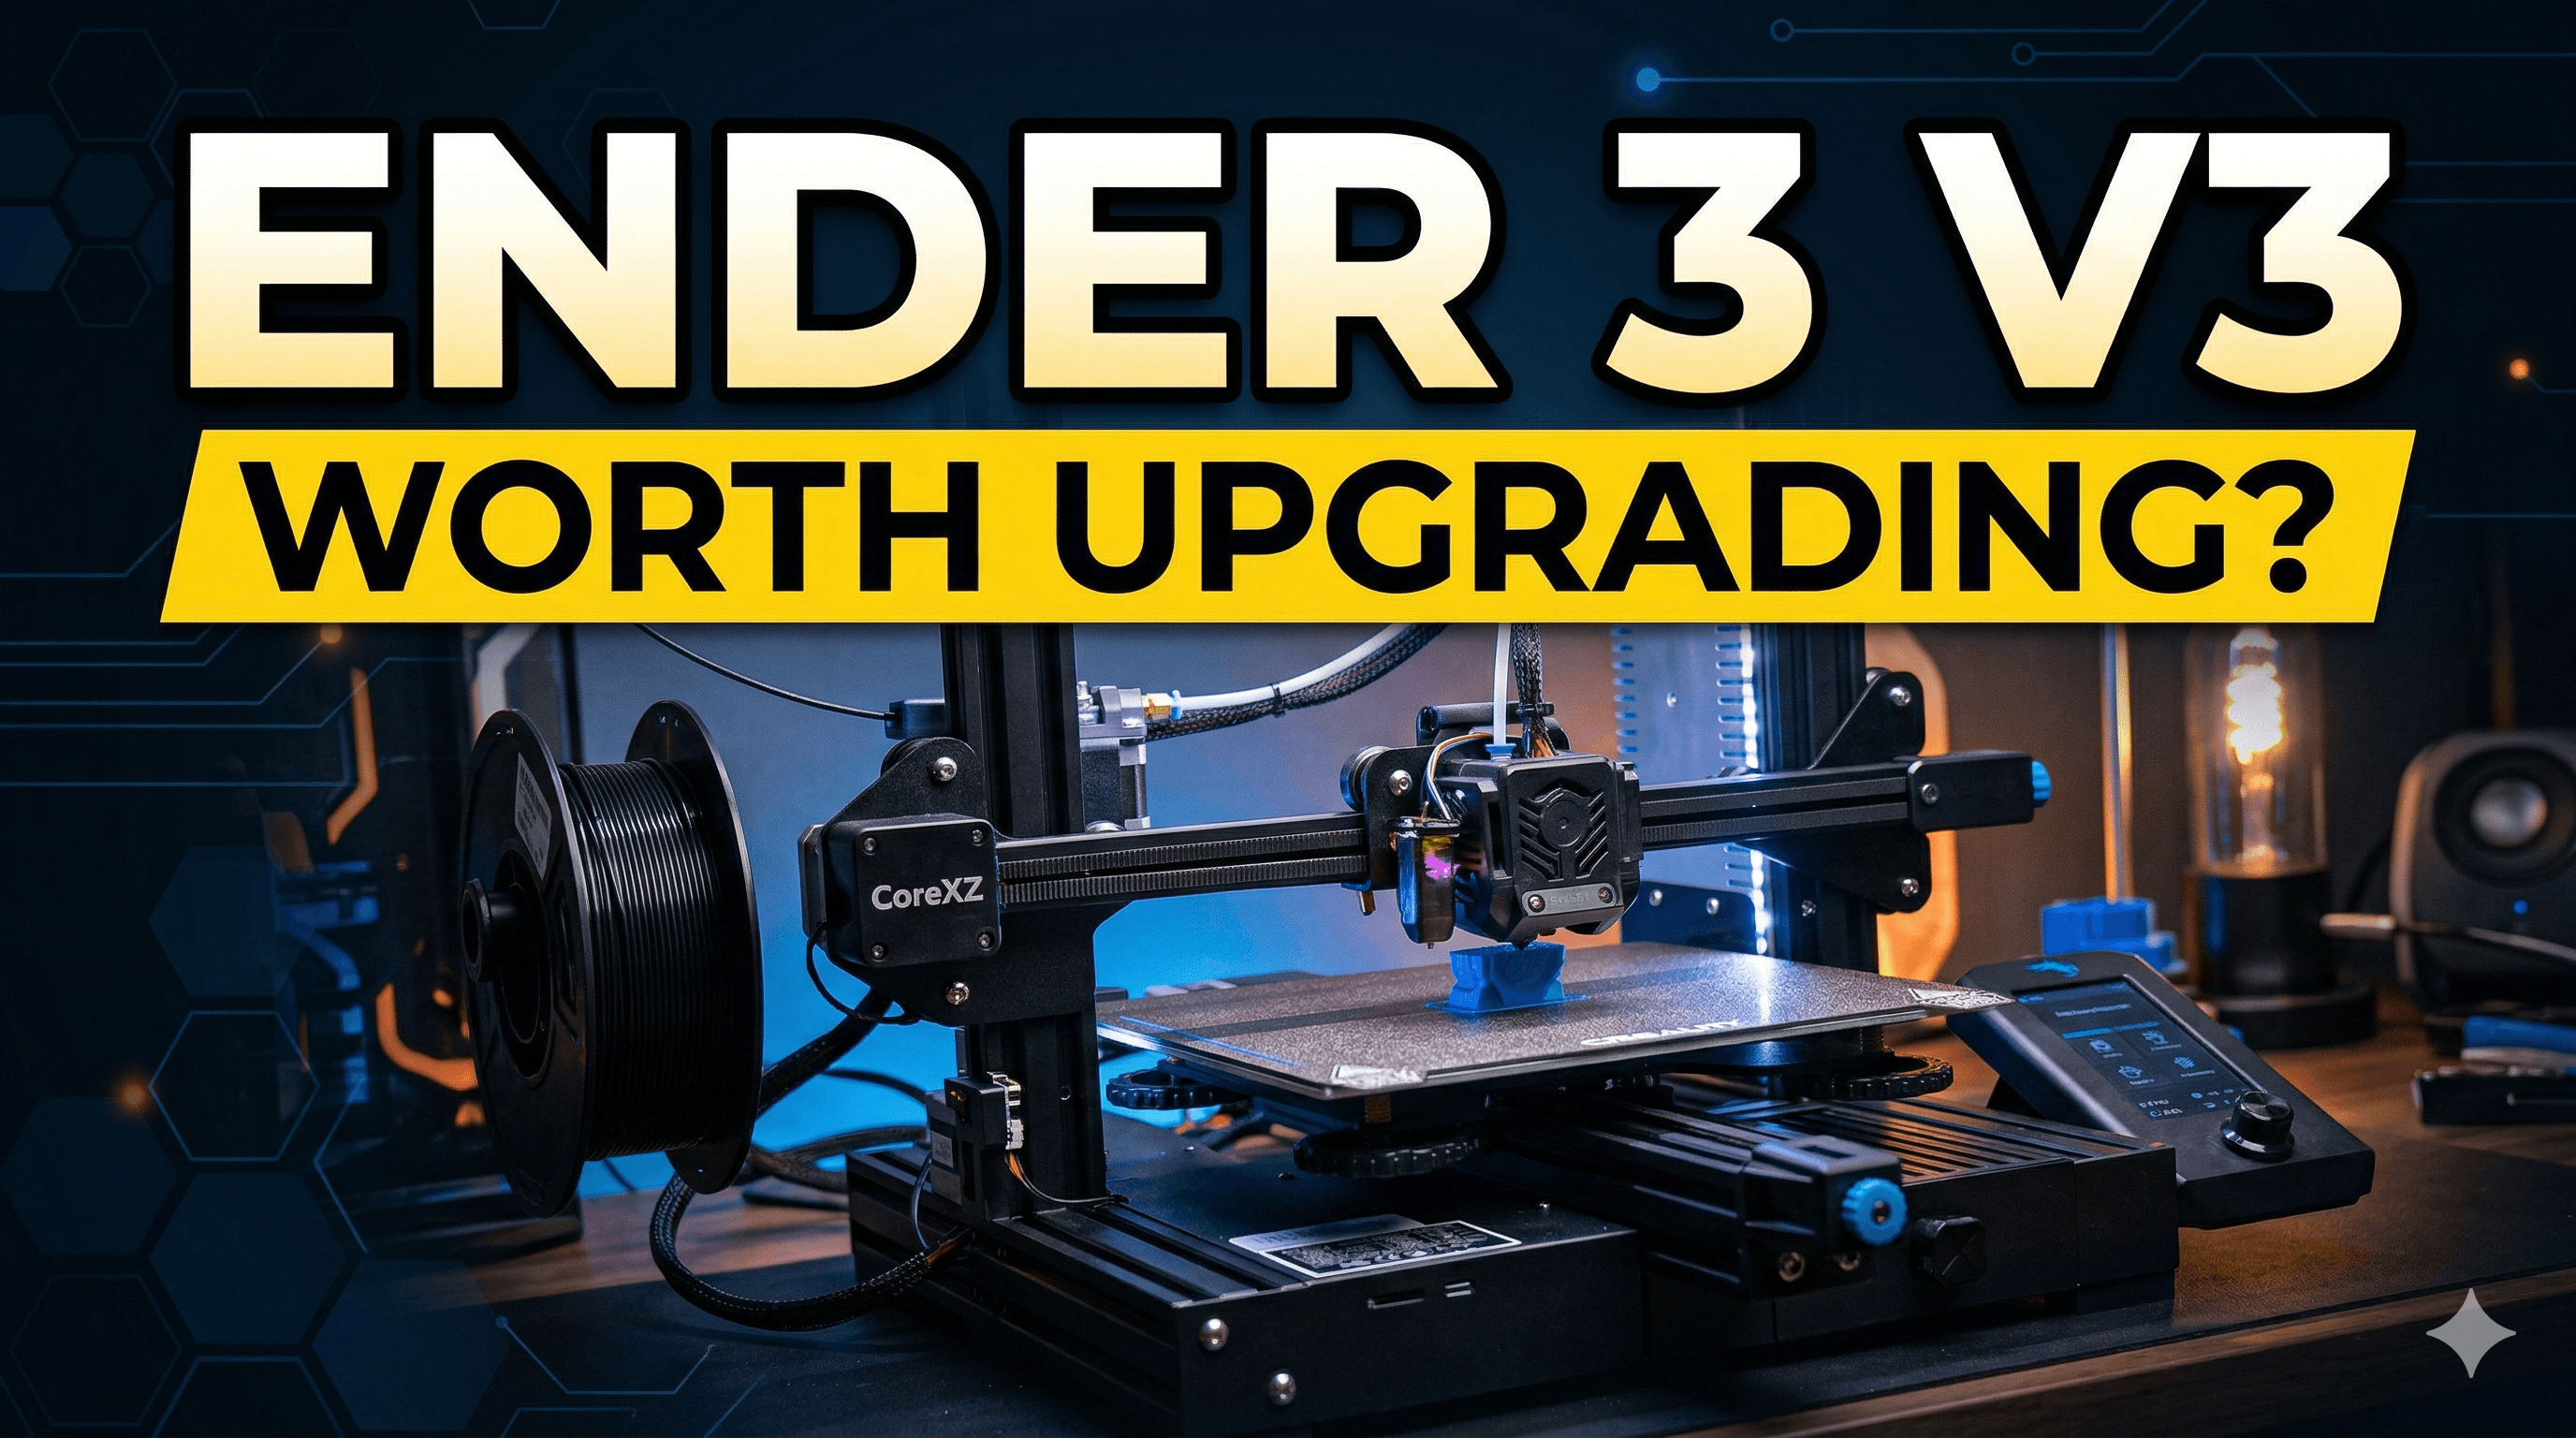
Alright, guys, let me tell you something: if you're still rocking your Ender 3 V2 with its stock Marlin firmware, or even a slightly tweaked version, you're leaving so much on the table. So much. I mean, honestly, for ages, my trusty Ender 3 V2 was the workhorse of my little business, Artopia Collections. It churned out all sorts of cool stuff, from custom prototypes to decorative pieces for clients. But there was always this nagging feeling, you know? It could be *faster*. It could be *quieter*. It could be *better*. And then I discovered Klipper. Man, oh man, it was like someone swapped out a sluggish old Ambassador engine for a full-blown sports car. My printing world, and by extension, my business, has never been the same.
What Even IS Klipper, and Why Should You Care?
So, what's the big deal with Klipper? Basically, it's open-source firmware, just like Marlin, but it takes a completely different approach. Instead of running all the complex calculations and motion planning on your printer's relatively underpowered 8-bit or 32-bit mainboard, Klipper offloads that brainpower to a much more powerful external computer – usually a Raspberry Pi. Think of it like this: your printer's board becomes just a simple driver, executing commands, while the Pi does all the heavy lifting.
What does that mean for you? Well, for starters, it means crazy fast print speeds without sacrificing quality. We're talking about doubling or even tripling your print speeds, sometimes more, all while maintaining incredible precision. And this isn't just about raw speed; Klipper unlocks features like Input Shaping, which actively cancels out vibrations and ringing (those ghosting effects you sometimes see on prints), giving you unbelievably clean walls even at ludicrous speeds. Plus, you get a beautiful web interface (Mainsail or Fluidd are popular choices) to control everything, monitor your prints remotely, and even make timelapses. It's truly next-level stuff. For my business, where time is literally money and quality is non-negotiable, this was a game-changer. I could take on more orders, deliver faster, and honestly, the prints just *look* better.
My Journey to Klipper: When Marlin Just Wasn't Enough
Like many of you, I started with the stock Ender 3 V2 firmware. It was fine for getting my feet wet, but as Artopia Collections grew, I needed more. I tried upgrading Marlin versions, messing with advanced settings, but there was always a ceiling. My prints were okay, but never really *wow*. I’d hear about people printing at 150mm/s with perfect walls, and my Ender 3 V2 would struggle to hit 80mm/s without turning into a shaky mess. And the noise! Oh, the noise. Running multiple printers overnight, I was constantly worried about disturbing the neighbours, not to mention my own sanity.
A few months ago, a friend of mine, another 3D printing fanatic from Chennai, kept raving about Klipper. He told me it transformed his Ender 3 Pro. I was skeptical, honestly. "Another firmware?" I thought. "Is it really worth the hassle?" But he convinced me. He said the investment in a Raspberry Pi would pay for itself in saved print time and improved quality. And he was absolutely right. The difference was immediate and profound. My Ender 3 V2, which I’d originally bought for about ₹25,000-₹28,000 back then, suddenly felt like a much more expensive, high-performance machine.
What You'll Need (The Shopping List, Indian Edition!)
Alright, if I've piqued your interest, here's the deal. You'll need a few things before you dive in. Don't worry, most of this stuff is readily available here in India, especially online.
1.
A Raspberry Pi: This is the brain of your Klipper setup.
*
Recommendation: A Raspberry Pi 3B+ or a Raspberry Pi 4 (2GB or 4GB RAM) is ideal. I personally use a Pi 4 (2GB) for my Ender 3 V2, and it handles everything beautifully.
*
Cost: A Pi 4 (2GB) alone might set you back ₹6,000-₹8,000 these days, depending on where you find it. A full kit with a power supply, case, and SD card could be ₹9,000-₹12,000. It's an investment, but trust me, it's worth it. You can find some good options on Amazon.in if you search for Raspberry Pi kits. Here’s a general link:
Raspberry Pi Kits on Amazon.in
2.
MicroSD Card: 8GB or 16GB is more than enough. Get a good quality Class 10 card. (You might get one with a Pi kit).
3.
Power Supply for the Pi: Make sure it's powerful enough (e.g., 5V, 3A for Pi 4). Again, usually comes with a kit.
4.
USB A to USB B Cable: This is what connects your Raspberry Pi to your Ender 3 V2's mainboard. You probably have one lying around from an old printer or scanner.
5.
Computer: For flashing the firmware to your Pi and your Ender.
6.
Optional but Recommended: A USB Webcam: For remote monitoring and timelapses. A basic Logitech C920 or similar is excellent, though I use a cheaper generic one I picked up for about ₹2,500.
The Nitty-Gritty: Installing Klipper on Your Ender 3 V2
Okay, let's get into the actual steps. Don't get overwhelmed; we'll break it down.
Step 1: Flashing Klipper Firmware to Your Ender 3 V2 Mainboard
This is probably the trickiest part, but once it's done, you rarely touch it again. Klipper doesn't directly flash to your Ender like Marlin does. Instead, you compile a small Klipper "bootloader" firmware specifically for your printer's mainboard.
1.
Connect to Your Pi: You'll do this part from your Raspberry Pi's terminal. If you've already flashed MainsailOS or FluiddPi (which we'll cover next) to your Pi, you can SSH into it from your computer.
2.
Generate the Klipper Firmware:
* SSH into your Pi.
* Navigate to the klipper directory: `cd klipper`
* Run `make menuconfig`. This brings up a text-based menu.
* **Crucial Settings for Ender 3 V2:**
* **Microcontroller Architecture:** `STMicroelectronics STM32`
* **Processor model:** This is key! If you have the 4.2.2 board, it's usually `STM32F103`. If you have the newer 4.2.7 board, it's `STM32F401`. Double-check your board if you're unsure; sometimes Creality mixes them up. (Mine was a 4.2.2 with F103).
* **Bootloader offset:** `28KiB bootloader` (This is standard for most Creality boards).
* **GPIO pins to set serial port:** `USART1 PA10/PA9`
* Save and exit.
* Run `make`. This will compile your `klipper.bin` file.
3.
Transfer and Flash:
* You'll find the `klipper.bin` file in the `klipper/out/` directory on your Pi.
* Transfer this file to your computer. You can use `scp` or a tool like WinSCP.
* Rename the file to something like `firmware_klipper.bin`. (It's important to rename it so your Ender's bootloader recognizes it as a new file).
* Copy this renamed file onto an empty (FAT32 formatted) microSD card.
* With your Ender 3 V2 *powered off*, insert the microSD card into the printer's slot.
* Power on your Ender 3 V2. It will automatically flash the Klipper bootloader. The screen might stay blank for a bit, or show a Creality logo. Just give it 10-15 seconds. Once it's done, power off, remove the SD card, and power back on. The screen might look weird, or show an error, but that's normal because it's now waiting for Klipper commands from the Pi!
Step 2: Installing Klipper on Your Raspberry Pi (MainsailOS/FluiddPi)
This is much easier thanks to pre-built images. I prefer MainsailOS myself because it's robust and looks great.
1.
Download MainsailOS/FluiddPi: Go to the official MainsailOS or FluiddPi GitHub page and download the latest image file.
2.
Flash the Image: Use a tool like Balena Etcher (free and easy to use) on your computer to flash the downloaded image to your microSD card.
3.
Configure Wi-Fi (Optional, but recommended): After flashing, Etcher will eject the card. Reinsert it. You'll see a `boot` partition. Inside, there's usually a `mainsail.txt` or `fluidd.txt` file (or similar) where you can enter your Wi-Fi SSID and password. Edit this file, save it, and then safely eject the card.
4.
Boot the Pi: Insert the microSD card into your Raspberry Pi. Connect the Pi to its power supply. Connect the Pi to your Ender 3 V2 using the USB A to USB B cable.
5.
Find Your Pi's IP Address: Once the Pi boots (give it a few minutes), it should connect to your network. You can find its IP address by checking your router's connected devices list, or by using a network scanner app on your phone.
6.
Access the Web Interface: Open a web browser on your computer and type in your Pi's IP address (e.g., `http://192.168.1.100`). You should be greeted by the Mainsail or Fluidd interface!
Step 3: Basic Klipper Configuration (printer.cfg)
This is where you tell Klipper all about your specific Ender 3 V2.
1.
Initial Setup: In the Mainsail/Fluidd interface, go to the "Configuration" section. You'll see a `printer.cfg` file. It'll likely be mostly empty or have some example code.
2.
Microcontroller Path: The very first thing you need to add is the path to your printer's mainboard.
* In the terminal (SSH into your Pi), run `ls /dev/serial/by-id/*`. This will give you a unique ID for your printer's USB connection. Copy it.
* Add this to your `printer.cfg`:
[mcu]
serial: /dev/serial/by-id/usb-1a86_USB_Serial-if00-port0
(Replace the path with *your* actual path).
3.
Grab a Base Config: It's much easier to start with a known good config. Search online for "Ender 3 V2 Klipper printer.cfg" and you'll find plenty of examples. Creality also provides some. Copy and paste the relevant sections into your `printer.cfg`.
* **Key sections to look for and customize:**
* `[stepper_x]`, `[stepper_y]`, `[stepper_z]`, `[extruder]`: These define your motors, steps per mm (usually `step_distance: 0.0025` for X/Y, `0.0025` for Z, and `0.01075` for extruder for 4.2.2/4.2.7 boards), endstop pins, and motor current.
* `[heater_bed]`, `[heater_extruder]`: Define your bed and hotend heaters, thermistor types (usually `NTC 100K M3080` for Creality), and PID settings.
* `[fan]`, `[fan_heater]`: For your part cooling and hotend fans.
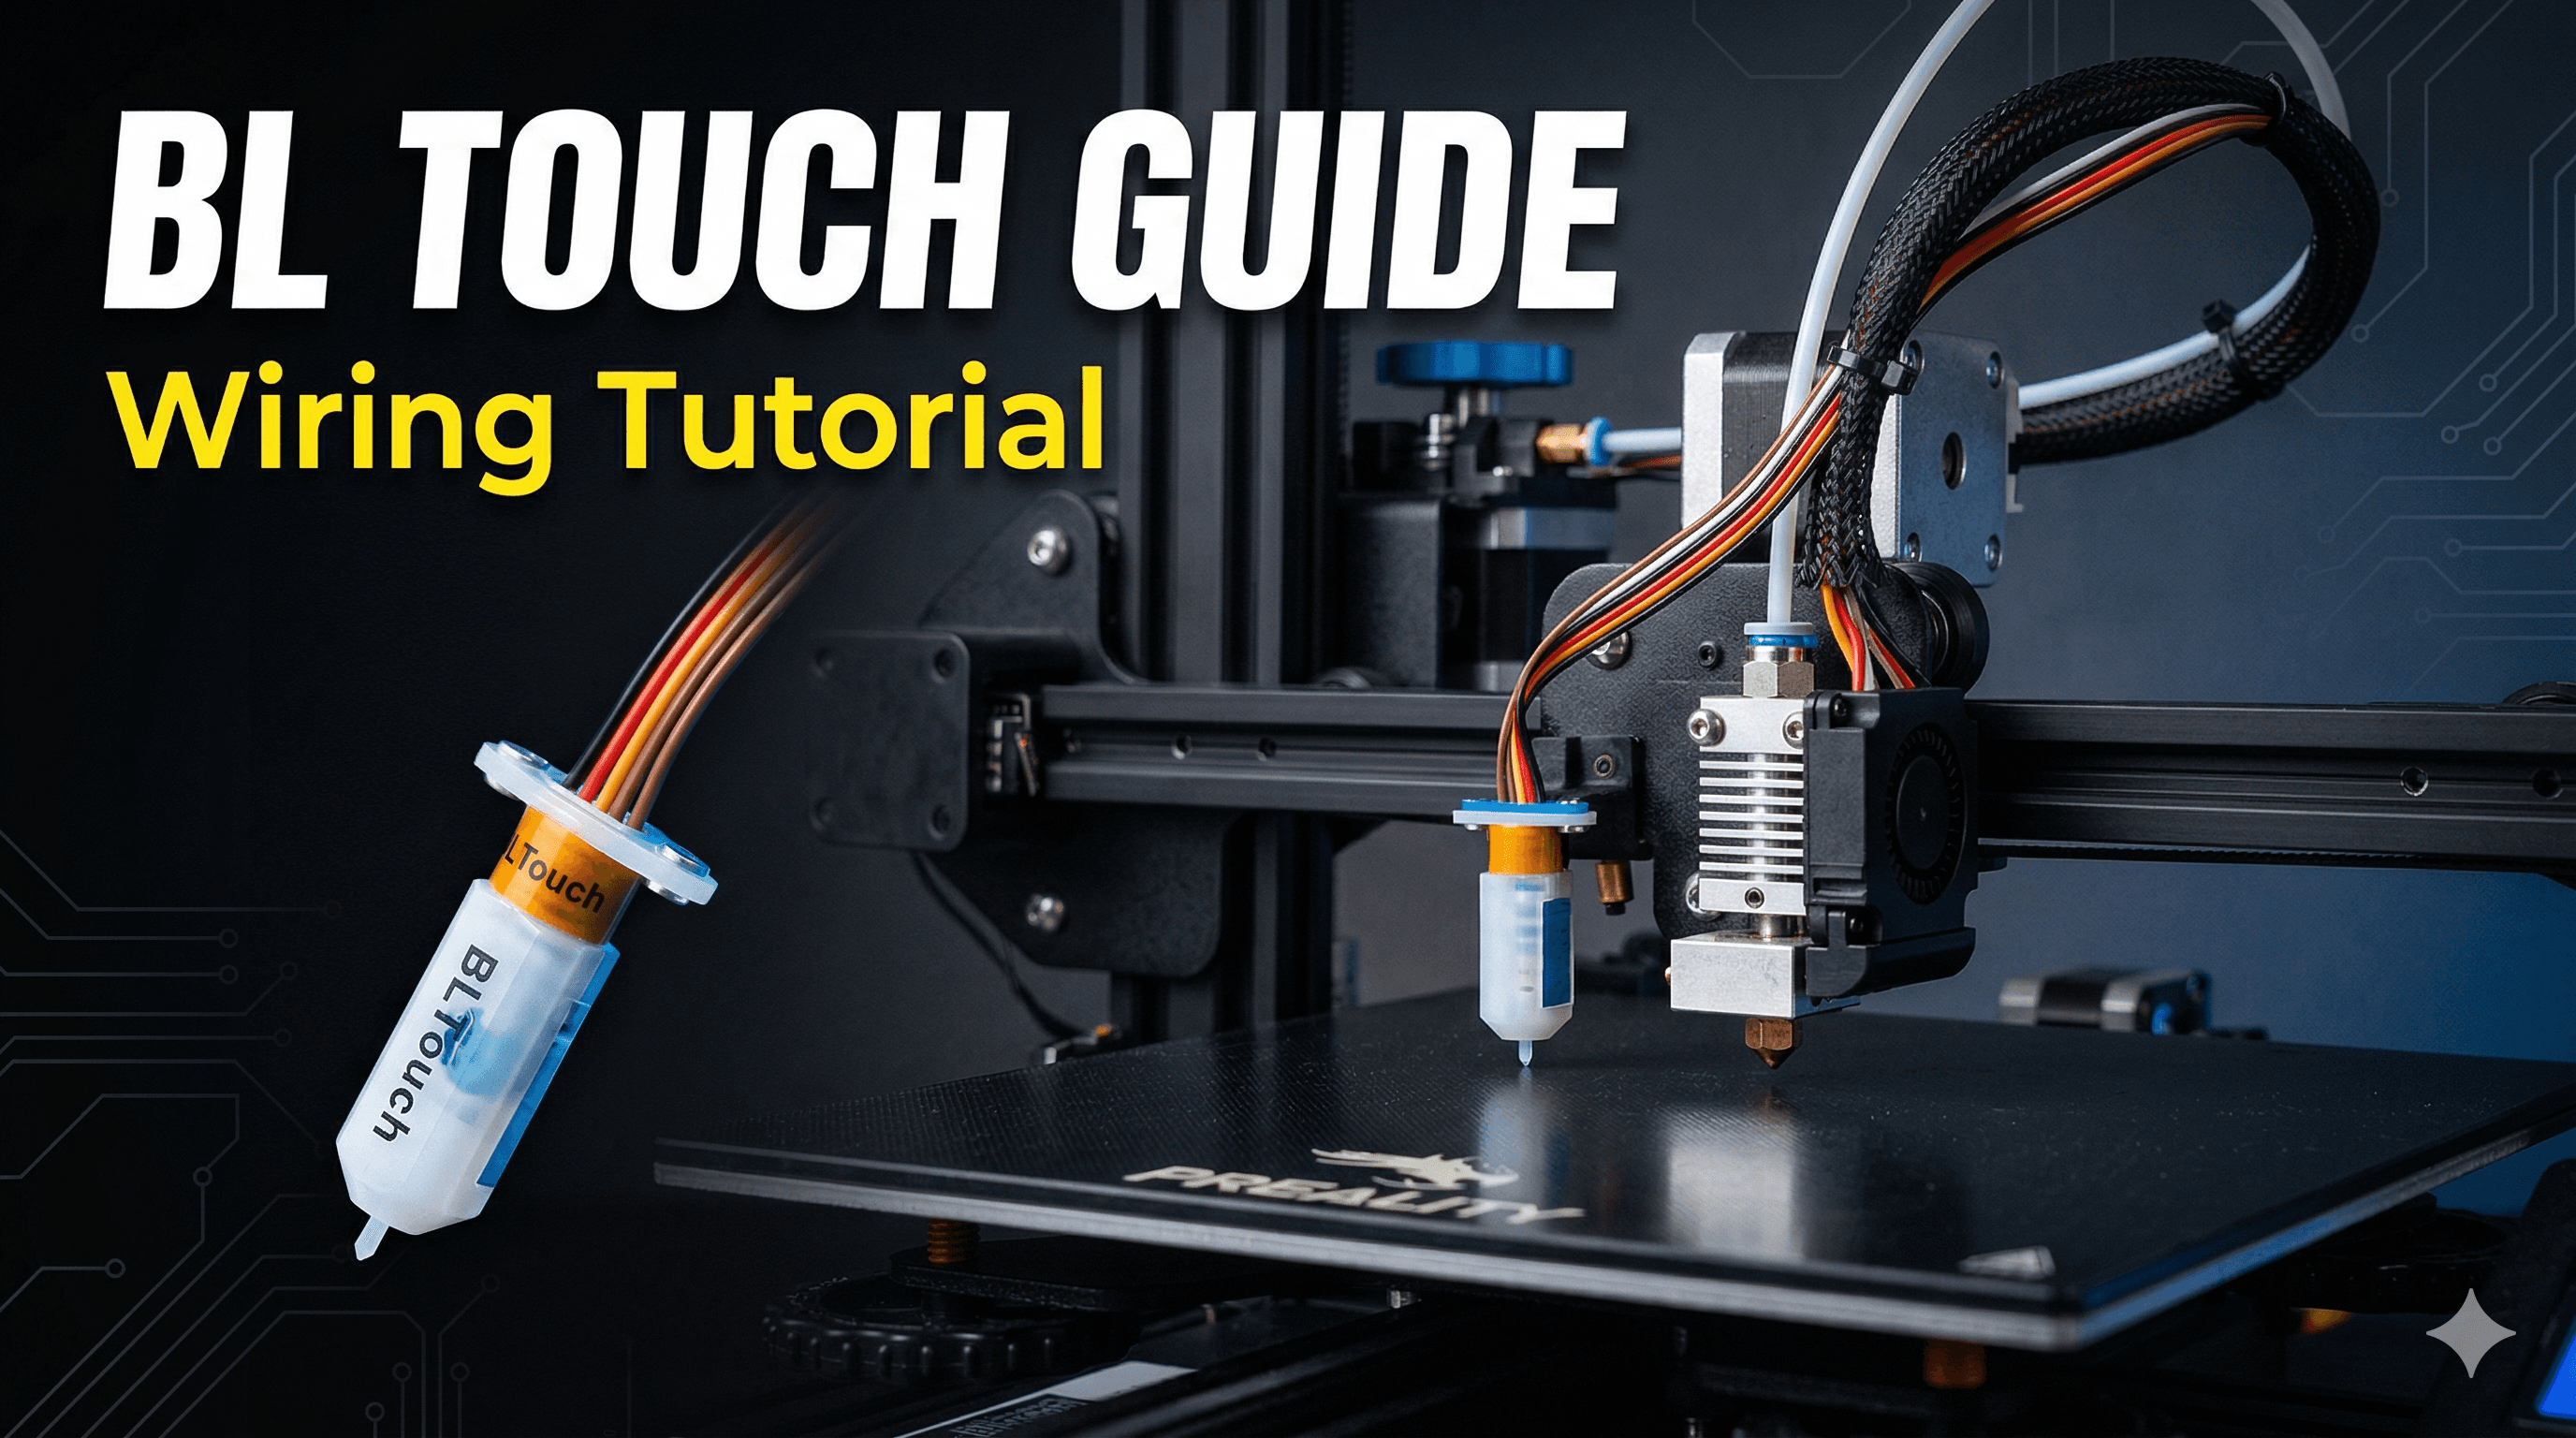
* `[probe]`: If you have a CR-Touch or
BLTouch. (If not, you'll need to define your Z-endstop).
* `[printer]`: Basic printer limits.
* `[safe_z_home]`: For homing if you have an ABL probe.
* **Careful!** Every Ender 3 V2 can be slightly different. Double-check all pin assignments in your copied config against common pinouts for your 4.2.2 or 4.2.7 board.
4. **Save and Restart:** Once you've populated your `printer.cfg`, save it and then click the "Restart Firmware" button in Mainsail/Fluidd. If everything's correct, your printer should now show as "Ready."
The First Print & Calibration: Don't Rush It!
You're almost there! But before you print your next masterpiece for a client, you *must* calibrate.
1. **Z-Offset is CRITICAL:** This is the most important step for your first print. Klipper doesn't store the Z-offset on the mainboard like Marlin. You'll need to find your perfect Z-offset in Klipper.
* Home your printer (G28).
* Move the nozzle to the center of the bed.
* Lower the nozzle until a piece of paper barely slides between the nozzle and the bed.
* In Mainsail/Fluidd, use the `Z-offset` tuning controls. Adjust it slowly until you get that perfect first layer squish. Save the config (`SAVE_CONFIG` command).
2.
PID Tuning: Your heaters need tuning for Klipper. Use the `PID_CALIBRATE` command for both your bed and hotend.
3.
Extruder Calibration: While Klipper technically uses rotation_distance instead of E-steps, you'll still need to ensure your extruder is pushing out the correct amount of filament.
4.
Input Shaping: This is the *real* magic of Klipper. You'll need an accelerometer (like an ADXL345, easily available online for around ₹1,000-₹1,500) to measure vibrations. It's a slightly advanced step, but it's what allows for those insane speeds with pristine quality. I'd recommend getting your basic prints working well first, then diving into Input Shaping.
My Life with Klipper: From Stress to Success
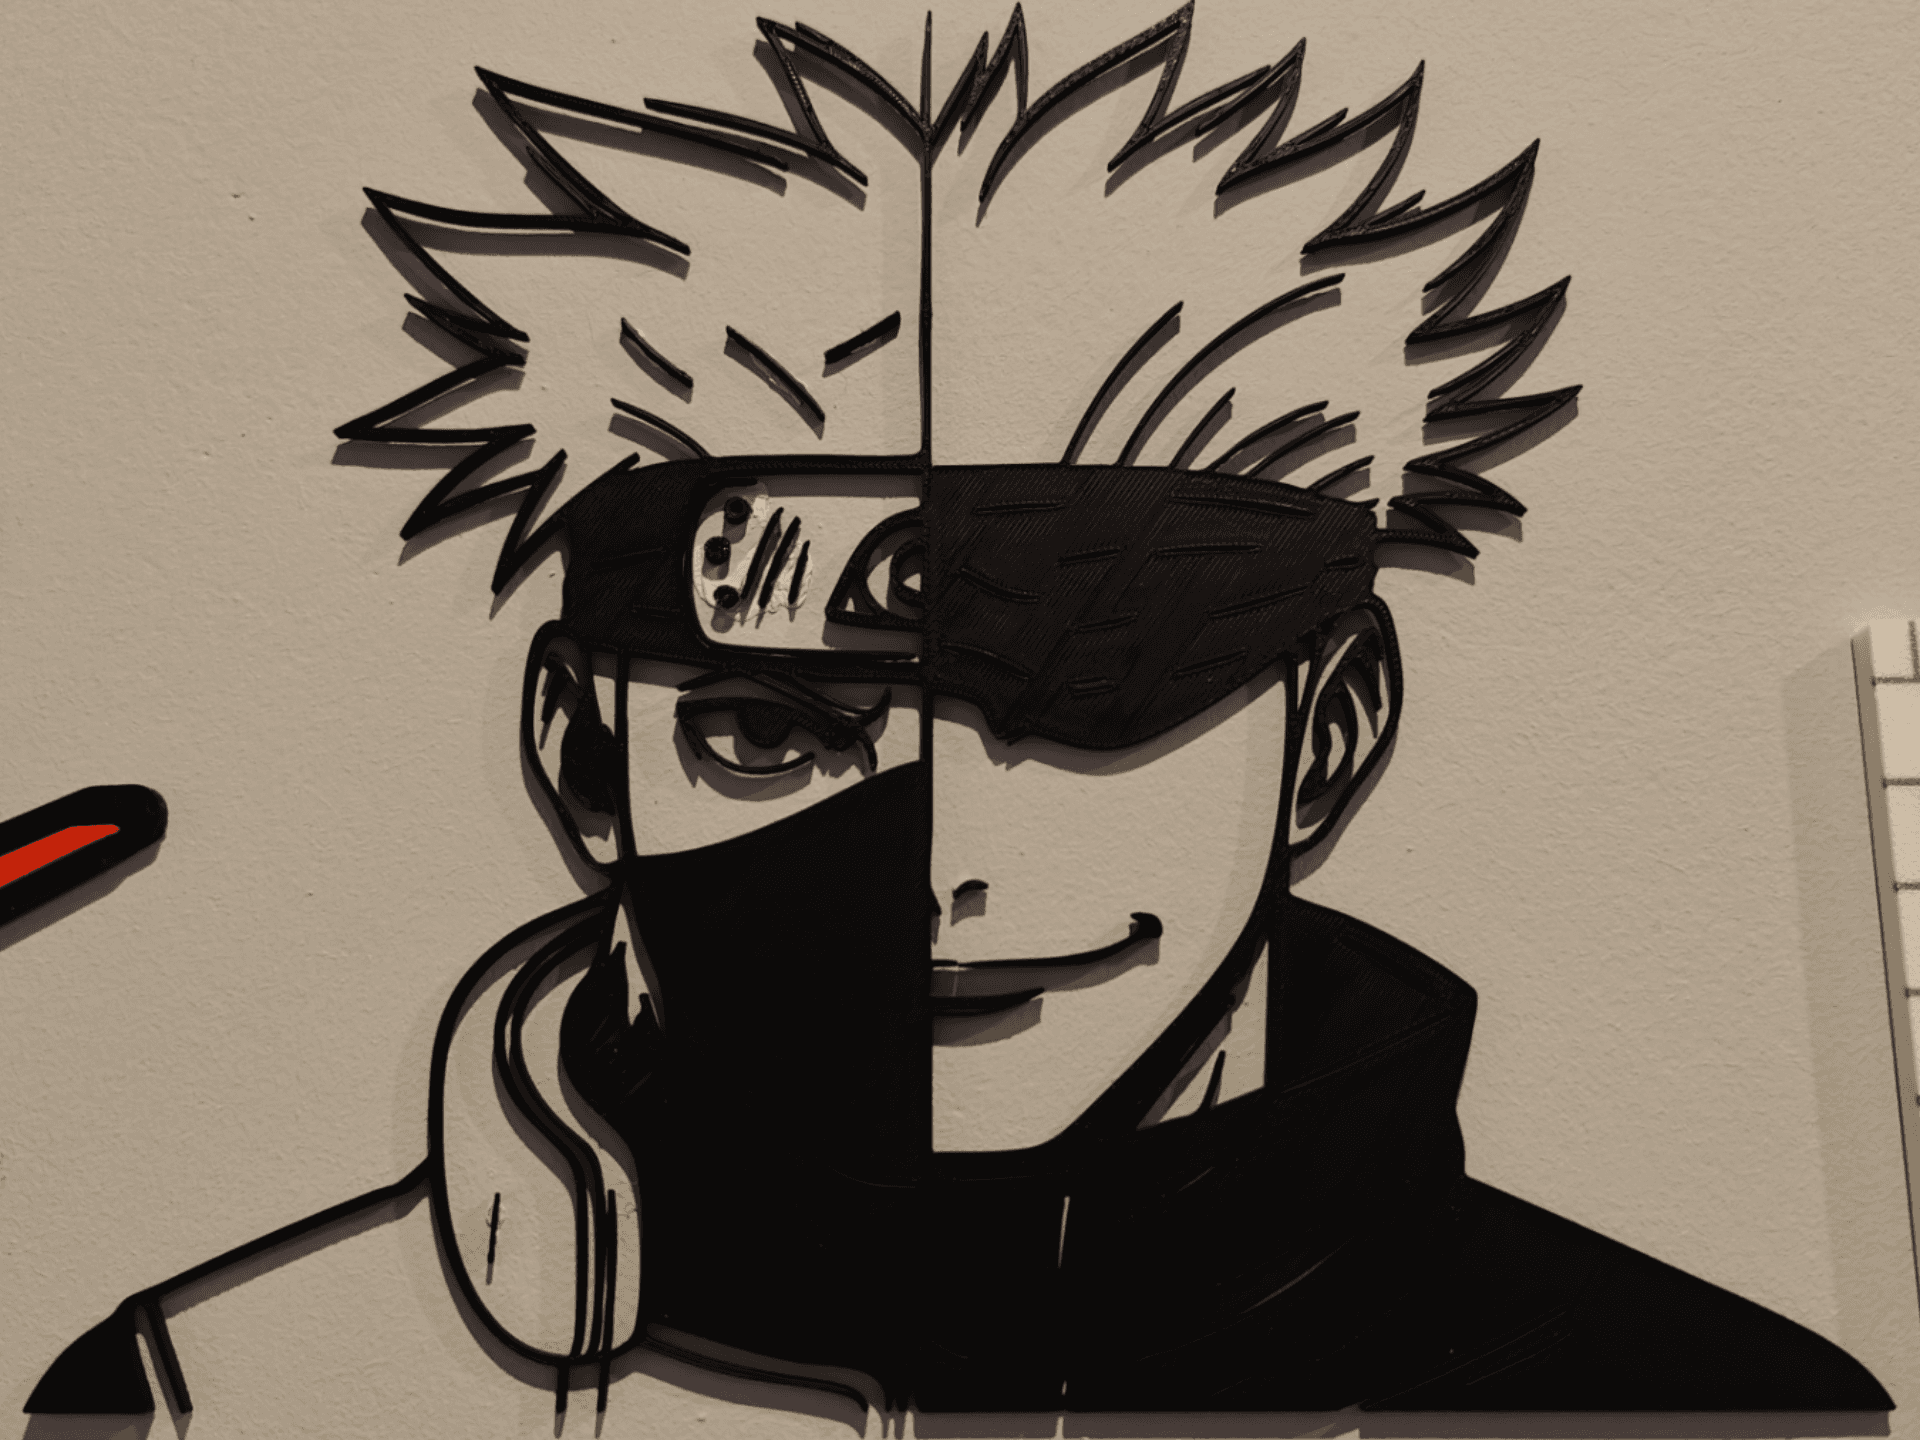
Honestly, migrating to Klipper was one of the best decisions I made for Artopia Collections. The print quality is just phenomenal now. I can confidently print intricate designs for my customers, like these
detailed lithophanes and architectural models, at speeds I could only dream of before. What used to take 6-8 hours for a complex part, I can now knock out in 3-4 hours, sometimes even less. This means I can fulfill orders faster, take on more custom projects, and ultimately, grow my business without needing to invest in a brand new, expensive printer.
The remote monitoring aspect is also a huge stress reliever. I can check on prints from my phone while I'm out picking up more
eSUN or Overture PLA filament (gotta keep those shelves stocked!). If there's ever an issue, I can pause or cancel the print from anywhere. The timelapses I capture with the webcam also make for great social media content, showing off the process behind my products.
And the noise? It's practically gone. The Ender 3 V2 is already fairly quiet, but Klipper optimizes motor movements to such an extent that it's just a gentle hum now. My sleep thanks me for it!
Look, I know it seems like a lot of steps, and it can feel daunting at first. But trust me, once you get past the initial setup, it's incredibly user-friendly and powerful. If you're passionate about 3D printing and want to push your Ender 3 V2 to its absolute limits, Klipper is the way to go. You won't regret it. It transformed my little setup here in India, and I'm sure it'll do wonders for yours too. Happy printing, my friends!