Ironing in 3D Printing: How to Get Glass-Smooth Top Surfaces
Achieve incredibly smooth, glass-like top surfaces on your 3D prints using the ironing technique. This guide will walk you through the essential settings and tips for flawless results.

Man, have you ever pulled a print off your bed, admiring the beautiful layers on the sides, the perfect first layer adhesion, and then⦠BAM! You look at the top surface and itâs just⦠*meh*. Not bad, but not exactly glass-smooth, is it? Itâs got those subtle ridges, those almost imperceptible lines that just scream, âYup, this was 3D printed!â If youâre anything like me, a fellow perfectionist chasing that elusive, silky-smooth finish, then youâve probably felt that pang of disappointment. But what if I told you thereâs a nearly magical trick that can transform those dull, ridged top layers into something so smooth, so reflective, youâd swear it was injection molded? Iâm talking about Ironing in 3D Printing, and trust me, itâs a game-changer.
I remember when I first heard about ironing. My immediate thought was, "What, am I supposed to take a steam iron to my prints now?" (Laughs). But no, no, no. It's nothing like that, thank goodness! It's an ingenious software trick, a feature in most modern slicers that essentially puts your nozzle back to work *after* the final top layer is laid down, using it like a tiny, super-heated squeegee. And the results? Oh, the results are simply divine, especially for things like product enclosures, decorative plaques, or any part where that top surface is going to be front and centre.
So, What Exactly IS This "Ironing" Magic?
Basically, after your printer has laid down the very last top layer of your print, instead of just lifting the nozzle and calling it a day, it does an extra pass. The nozzle, still hot, moves over this fresh top layer with a very, very tiny amount of extruded filament â or sometimes none at all, just using residual heat and pressure â to smooth out those microscopic ridges and gaps. It's like taking a hot trowel to wet cement, but on a super tiny scale. It pushes the softened plastic around, filling in any minuscule valleys and flattening out peaks, leaving behind a wonderfully uniform, often slightly glossy, surface. Honestly, when it works well, itâs breathtaking. Iâve had clients pick up prints and legitimately ask if I sanded and polished them. Nope, just a bit of software wizardry!
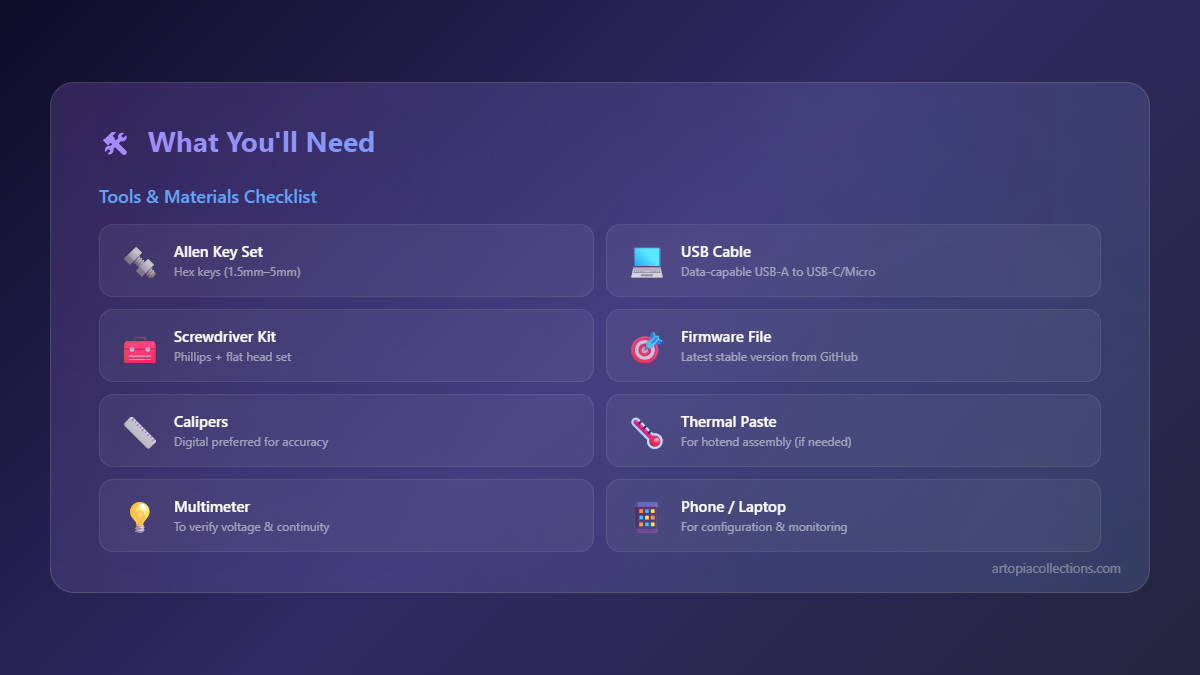
Now, why would you even bother with this, you ask? Well, for Artopia Collections, our small business right here in India, aesthetics are a big deal. We make a lot of custom prototypes, decorative pieces, and even some functional parts where the finish absolutely has to be top-notch. Imagine printing a custom dashboard component for a clientâs car, or a beautiful display stand for jewellery. Those little layer lines on the top can really cheapen the look. Ironing takes it from "obviously 3D printed" to "professionally manufactured," and that makes a huge difference in perceived value, especially when you're charging a decent amount for a custom print. We're talking the difference between a â¹500 print and a â¹1500 print, just because of that premium finish.
When to Break Out the Iron (and When Not To)
Here's the deal: ironing isn't for every print. And honestly, it's not always necessary. If you're printing a functional part that's going to be hidden away, or something where dimensional accuracy is absolutely critical on that top surface (because ironing can, at times, slightly affect tolerance if not dialed in perfectly), then you might want to skip it. Also, it adds print time, sometimes significantly, depending on the size of the top surface. So, for a quick prototype where speed is king, donât bother.
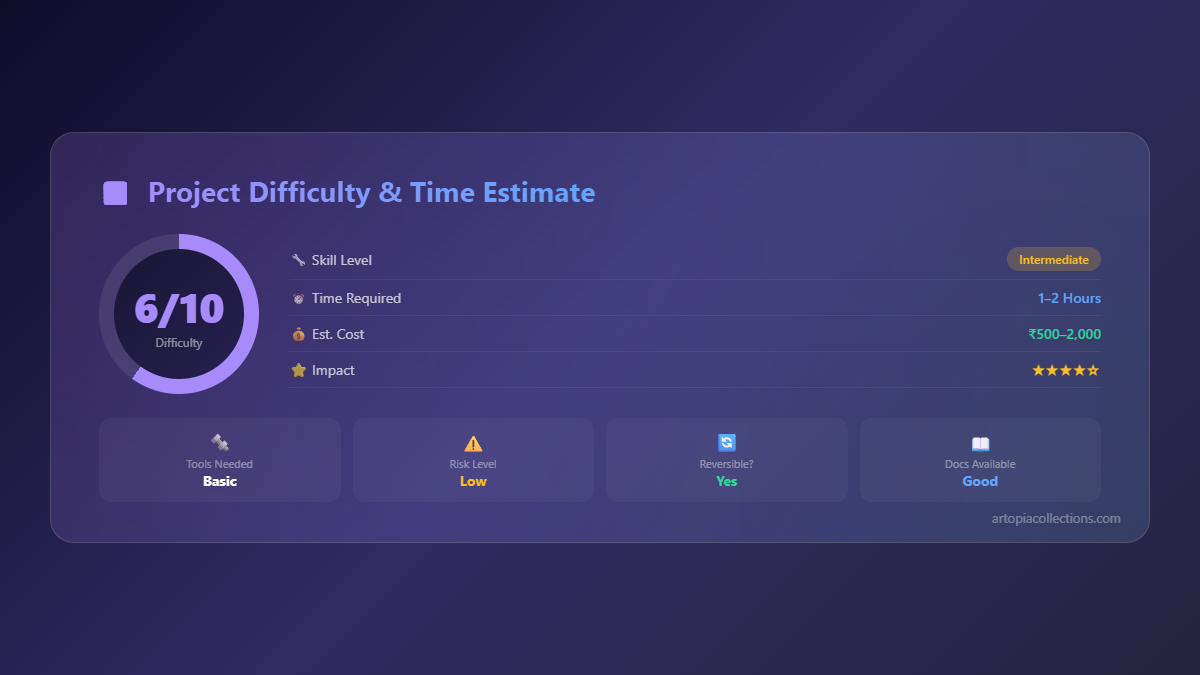
But for anything that needs to look polished, premium, and professional? Absolutely. Display models, enclosures for electronics, custom coasters, decorative pieces, even the top of a custom lithophane â these are all prime candidates. I personally use it a lot for our custom logo plaques and trophies we print for local businesses. The way light reflects off that smooth surface just makes the logo pop, you know? It elevates the entire piece.
Diving into the Slicer Settings: Your Digital Ironing Board
This is where the magic really happens. Youâll find the ironing settings in most popular slicers like PrusaSlicer and Cura. I mostly use PrusaSlicer these days, but the principles are pretty universal.
Enabling Ironing:
First things first, you need to turn it on! In PrusaSlicer, go to Print Settings > Quality > Ironing and tick the box. In Cura, it's usually under Experimental settings. Easy peasy.
Ironing Flow: The Heart of the Process
This is arguably the most crucial setting. It dictates how much filament, if any, the nozzle extrudes during its ironing pass.
- 0% Flow: This means the nozzle just moves over the top surface, using only its heat and pressure to smooth things out. It's great for getting a slightly matte, very uniform finish, but might not fill in larger gaps as effectively.
- 10-15% Flow (My Sweet Spot for PLA): This is where I usually start. A small amount of filament is pushed out, helping to fill micro-gaps and truly level the surface. It often results in a slightly shinier finish, which I love. For PETG, I might go a little lower, maybe 5-10%, as it tends to be gooier.
If you use too much flow, youâll end up with a gloopy, over-extruded mess on your top surface. Too little, and you wonât see much of a difference. Itâs a delicate balance, my friend, and will take some trial and error with your specific filament.
Ironing Speed: Patience is a Virtue
Think about ironing clothes. You donât just zip over it, right? You take your time. Same principle here.
- Slower Speeds (20-30 mm/s): My recommendation, especially when starting out. This gives the heat more time to transfer and the plastic more time to flow and smooth. It's often worth the extra time.
- Faster Speeds (40-50 mm/s): You *can* go faster, but you risk reducing the effectiveness of the smoothing, or even causing the nozzle to drag and leave marks. Experiment, but start slow.
Ironing Pattern: ZigZag vs. Concentric
Some slicers offer different patterns for how the nozzle moves during ironing.
- ZigZag: Most common and generally recommended. The nozzle moves back and forth in parallel lines. It's efficient and usually produces excellent results.
- Concentric: The nozzle follows the contours of your print. Can be good for circular objects, but sometimes leaves slight concentric lines that are harder to hide. I stick with ZigZag for 99% of my ironing jobs.
Top Surface Skin Layers: The Unsung Hero
This isn't strictly an ironing setting, but it's absolutely critical for getting great ironing results. If your top surface only has one or two layers, you might get infill patterns showing through, which ironing can't magically fix. I typically set my Top Solid Layers to at least 4 or 5. This creates a really robust, solid foundation for the ironing pass to work its magic on. If I'm using a 0.4mm nozzle, that means about 1.6mm to 2mm of solid plastic before the ironing even begins. Trust me on this one; it makes a huge difference.
My Personal Recipe for Glassy Smoothness (Mostly PLA)
Okay, so you want to know what works for me, with my Creality Ender 3 S1 Pro (what a workhorse, honestly!) or sometimes my Anycubic Kobra 2 Neo when I need something quick and reliable. I mostly print with good quality PLA, like eSun or Overture, which I usually snag from Amazon.in when there's a good deal â you can usually find a decent spool for around â¹1800-â¹2200 these days, sometimes even â¹1500 if you're lucky. Check out some PLA filaments here!
Hereâs my starting point for PLA, using a 0.4mm nozzle and a 0.2mm layer height:
- Enable Ironing: Yes
- Ironing Flow: 12-15% (for most PLAs, I tweak it by 1-2% based on the brand)
- Ironing Speed: 25 mm/s
- Ironing Pattern: ZigZag
- Top Solid Layers: 5 (absolute minimum, sometimes 6 for really premium pieces)
- Printing Temperature: Often I'll print the regular layers at, say, 205°C, but sometimes for ironing, I might bump the temperature *up* by 5°C just for the ironing pass if I'm struggling with adhesion or flow during ironing. This isn't a common setting in all slicers, but some advanced ones allow it, or you can manually add a temperature change G-code. Alternatively, just print the whole thing at the higher temp.
- Cooling: Full fan speed for the top layers and during ironing.
For PETG, itâs a bit different. PETG is inherently stickier and gooier. Iâd start with an Ironing Flow of 5-8% and keep the speed similar, maybe even a touch slower, like 20 mm/s. PETG requires more finessing, in my experience.
Tips & Tricks From the Trenches (and Mistakes I've Made!)
- Clean Nozzle is King: Seriously, a partially clogged or dirty nozzle will absolutely ruin your ironing. Before you even think about ironing, make sure your nozzle is spotless. A quick cold pull or a fresh nozzle can save you a lot of headache. Speaking of nozzles, I always keep a few spares handy. A nozzle kit like this one can be really useful to have.
- Perfect First Layer, Perfect Top Layer: Your entire print relies on that first layer. If itâs not perfect, the subsequent layers won't be either, and that can impact how well the ironing works. So, calibrate your bed level, adjust your Z-offset.
- Trial and Error (The Indian Jugaad Way): No two printers are exactly alike, and no two filament spools are either. You *will* need to print small calibration cubes or test swatches (a 20x20mm square, 2-3mm high, with ironing enabled) and tweak your flow and speed settings until you hit that sweet spot. Itâs part of the fun, really!
- Humidity Matters: Humid filament can cause all sorts of extrusion issues, leading to poor top surfaces and bad ironing. Store your filament properly, and if youâre in a high-humidity area like much of India, consider a filament dryer.
- E-Steps and Flow Rate Calibration: Before you even touch ironing, make sure your printerâs E-steps (extruder steps per mm) and overall flow rate are calibrated. If your printer isnât extruding the right amount of plastic consistently, ironing will just amplify those inconsistencies.
- Don't Be Afraid to Undo: If an ironing pass looks terrible, stop the print, adjust, and try again. Itâs better than wasting an entire print.
The Small Business Advantage: Why Ironing is Worth It for Artopia
For us at Artopia Collections, the ability to produce truly smooth top surfaces is a competitive edge. When a client sees a prototype or a finished product with that kind of finish, they're not just seeing a 3D print; they're seeing craftsmanship and attention to detail. It communicates quality, and in a market where everyone has access to a 3D printer now, that perception of quality is invaluable. It lets us differentiate ourselves and, frankly, charge a little more for the premium work we deliver.
And it's not just about business. It's about that personal satisfaction, too. You put in all that effort into designing something, printing it, dialing in all the settings⦠and then to see that perfect, silky top surface? That's pure joy, isn't it? Itâs what keeps me passionate about this technology.
So, if you havenât tried ironing yet, or if you tried it once and got frustrated, please, give it another shot. Start with conservative settings, print small tests, and be patient. The reward of that glass-smooth finish is absolutely worth the effort. It truly elevates your prints from hobbyist-level to professional-grade.
And hey, if youâre looking for some inspiration, or maybe even a custom print with that gorgeous, ironed finish, donât forget to check out some of the cool stuff we make over at Artpia Collections' products page. We're always experimenting and pushing the boundaries of what's possible with 3D printing right here in India!


