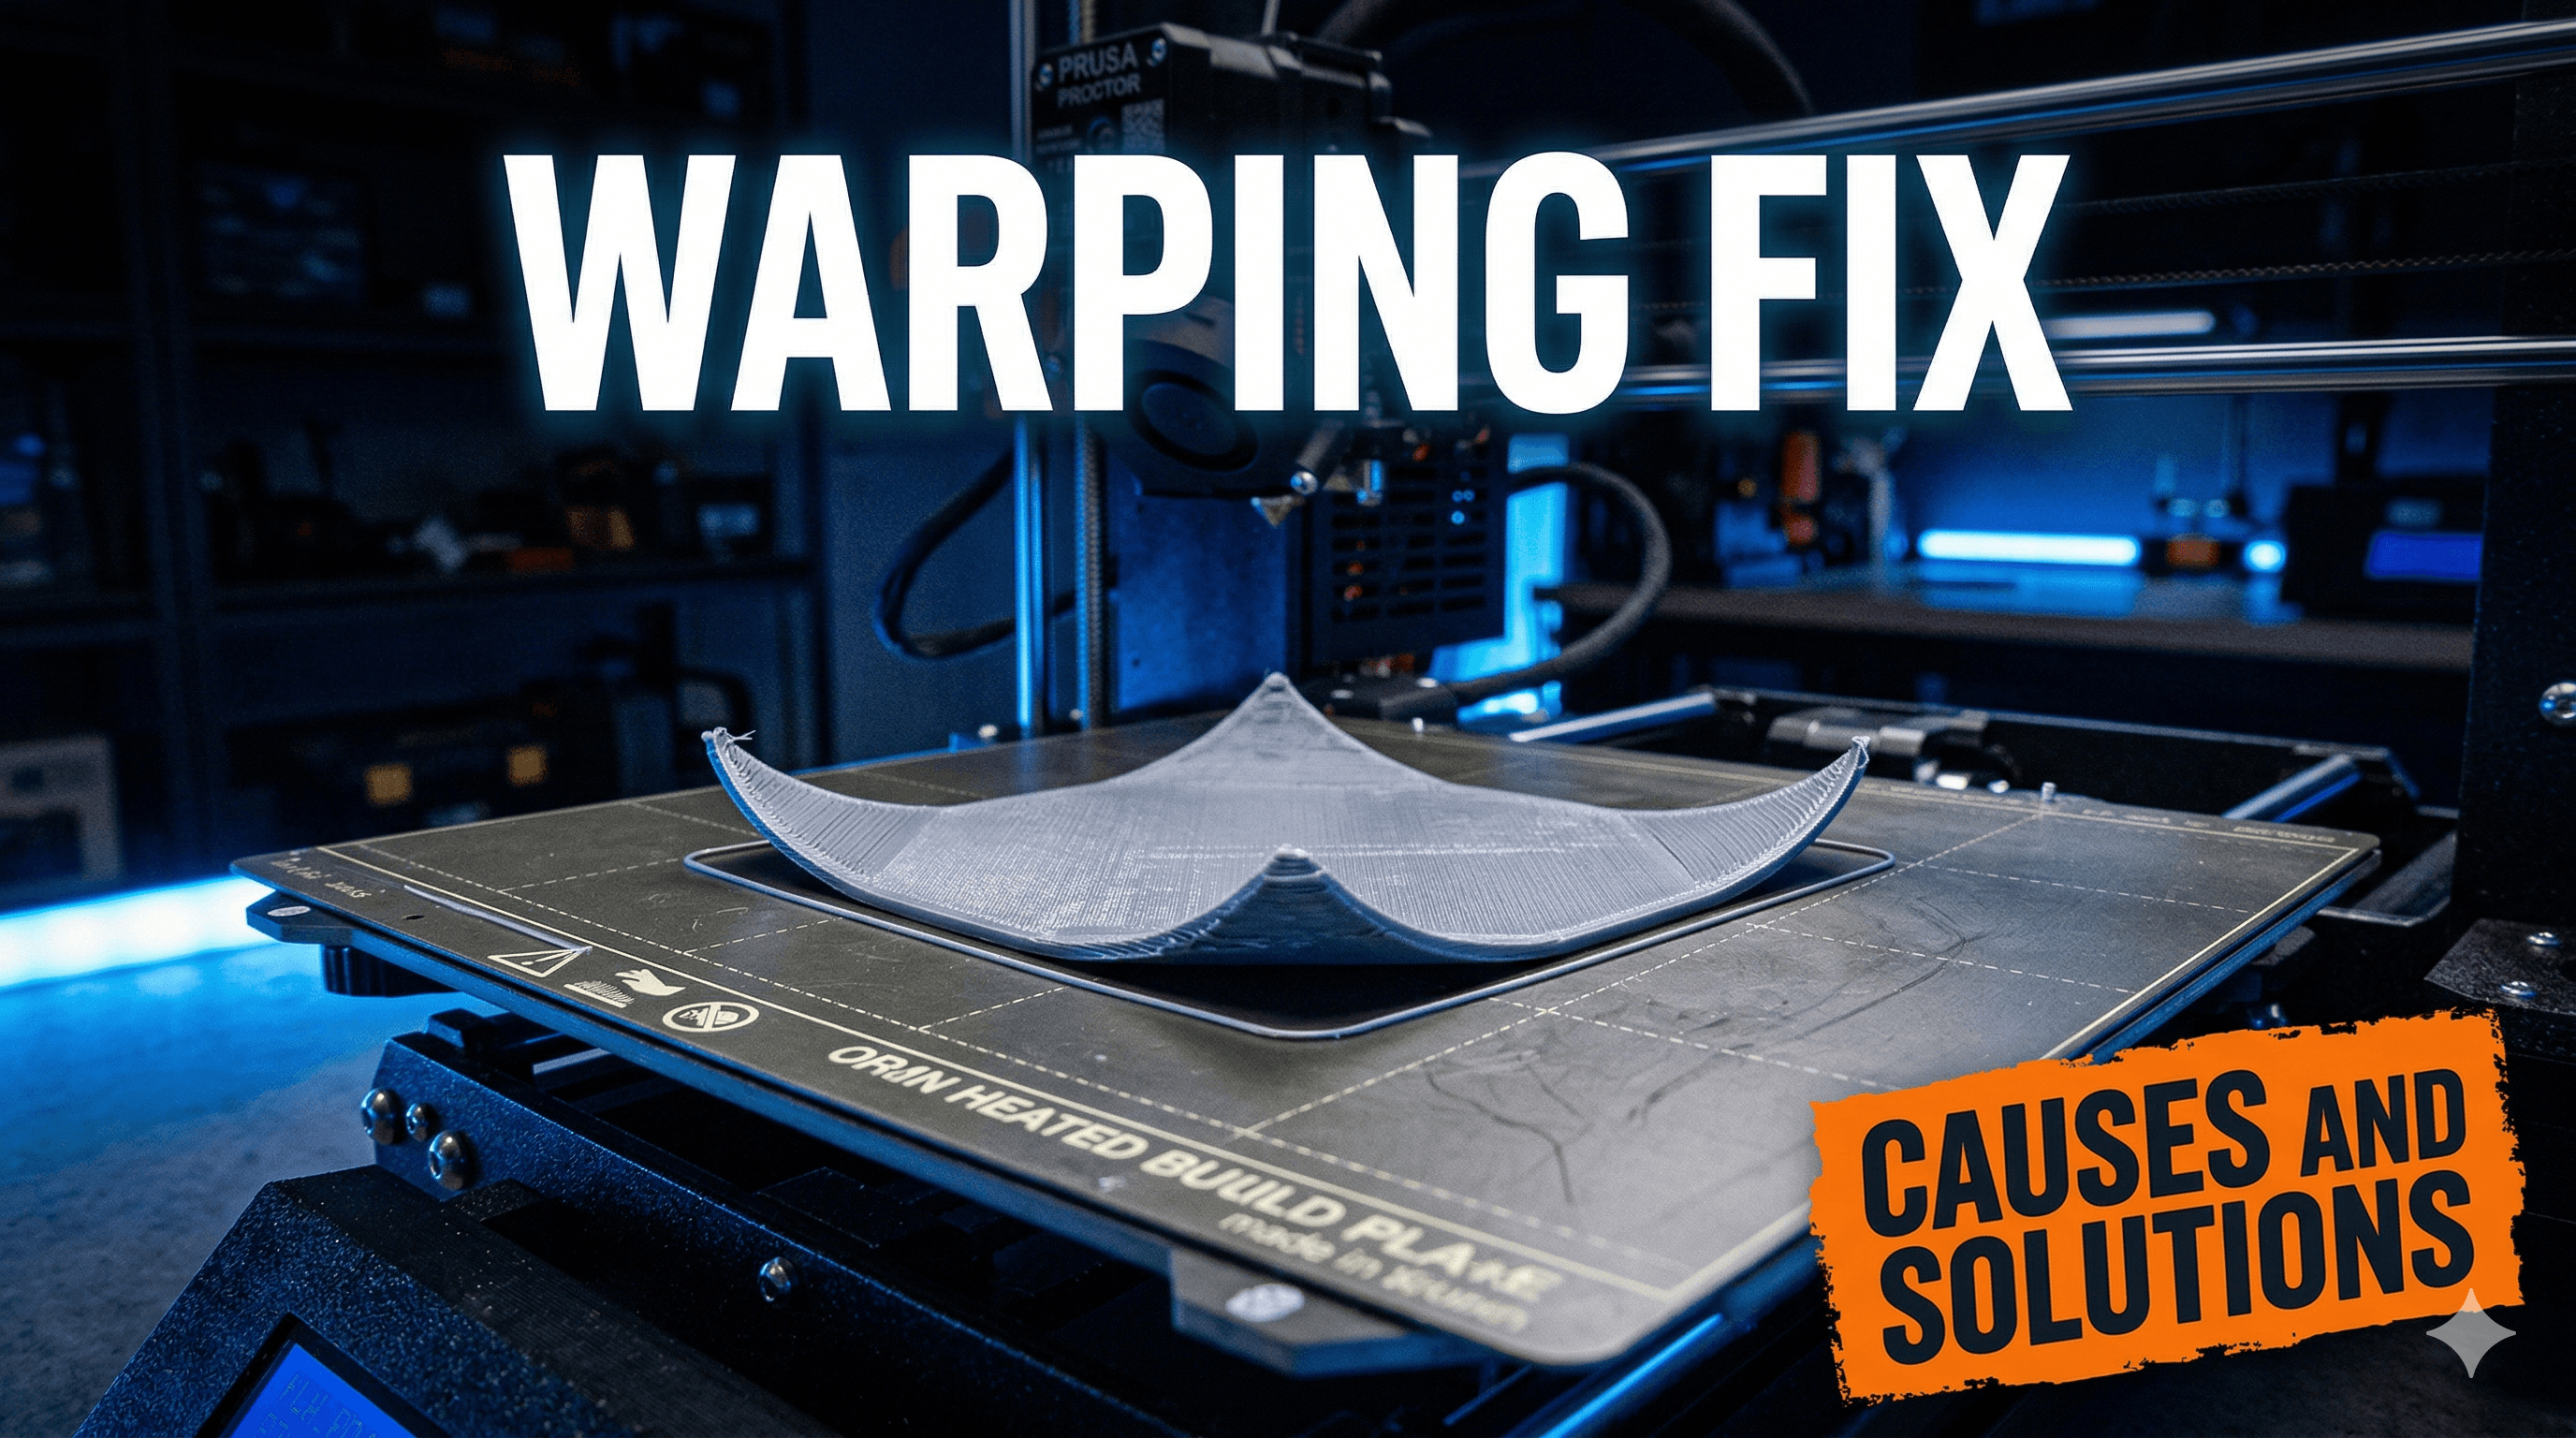
Why Does My 3D Print Keep Warping? Causes and Fixes
Tired of your 3D prints curling at the edges or lifting off the build plate? We break down the primary causes of 3D print warping and offer easy-to-implement solutions and tips to get perfect prints.
Artopia Collections Blog Team9 January 202611 min read
Why Does My 3D Print Keep Warping? The Battle Against Lifted Corners
Ugh. Tell me you know that feeling. You've been waiting patiently, the print seems to be going perfectly, you step away for a bit, come back, and boom â a corner has lifted off the print bed like it's trying to make a break for it. Or even worse, the whole damn thing has detached, leaving you with a spaghetti monster or a failed print you just want to launch across the room. I've been there, my friend, countless times. Running Artopia Collections here in India, where we churn out everything from intricate home decor to custom prototypes (check out some of our cool stuff at Artopia Collections!), battling print warping is just part of the daily grind. It's frustrating, it wastes filament â which, let's be honest, isn't always cheap here, a good roll of PLA can set you back anywhere from â¹800 to â¹1500 â and it eats into valuable production time. But here's the deal: warping isn't some mystical curse. It's science, and once you understand the "why," the "how to fix it" becomes a whole lot clearer. So, grab a chai, let's dive in.First Things First: What Exactly IS Warping?
Bas ically, warping is when your print's edges or corners lift up from the print bed, causing the base of your model to bend, curl, or deform. It happens because plastics shrink as they cool. When your printer lays down a hot layer of plastic, it starts to cool and contract. If the print cools unevenly â say, the top layers cool faster than the bottom, or the outer edges cool faster than the inner part â this creates internal stresses. The warmer, softer plastic is still adhered to the bed, but the shrinking, cooler plastic above it is trying to pull it inwards and upwards. If the adhesion to the bed isn't strong enough to resist this pulling force, *poof*, your print warps. It's like a tiny, plastic tug-of-war, and your bed adhesion just lost.
The Usual Suspects: Why Your Prints Are Lifting
In my experience, almost all warping issues boil down to a few key culprits. Let's break 'em down, cause by cause.1. The Chilling Effect: Uneven Cooling and Ambient Temperature
This, honestly, is probably the biggest offender, especially if you're printing with materials like ABS or even PETG, but PLA can also suffer. * The Problem: When your hot plastic meets a cool environment (or a draft), it cools too rapidly and unevenly. Think about a cold room, an open window, or even just your printer sitting in a breezy spot. These rapid temperature changes cause significant shrinkage and stress, leading to those pesky lifted corners. ABS, in particular, is notorious for this because it has a much higher thermal expansion and contraction rate compared to PLA. * My Take: I once had a big ABS print warp like crazy because I'd left a window open slightly during monsoon season â the humidity combined with the cool air was a disaster. I learned that day! * The Fixes: * Enclosures, Enclosures, Enclosures! If you're serious about printing materials prone to warping (like ABS, ASA, Nylon), an enclosure is non-negotiable. It creates a stable, warm environment around your print, allowing it to cool slowly and evenly. You can buy pre-made ones â Creality has some decent ones, though they can be a bit pricey, sometimes â¹8,000 to â¹15,000 depending on the size. Or, like many of us resourceful makers, you can DIY one! I've seen people use IKEA Lack tables, cardboard boxes (careful with fire!), or even just foam insulation boards. For a DIY enclosure, you're probably looking at â¹500 to â¹2000 for materials if you're clever. * No Drafts: Close windows, shut doors, keep ceiling fans off if your printer is nearby. Simple stuff, but often overlooked. * Increase Bed Temperature (Carefully): A hotter print bed keeps the bottom layers warmer for longer, reducing the temperature difference between the print and the bed. For PLA, I usually run my bed at 60-65°C. For PETG, 70-80°C. For ABS, 90-110°C is common, but you'll need a good heated bed for that. Don't go too high though, or your first layer might squish too much or even "elephant's foot."2. Bed Adhesion Woes: Your Print Bed Isn't Playing Nice
This is probably the most common beginner mistake, and honestly, even experienced folks like me can get caught out when we get complacent. * The Problem: If your first layer doesn't stick well to the print bed, it doesn't stand a chance against the forces of shrinking plastic. There are a few reasons for poor adhesion: * Dirty Bed: Oils from your fingers, dust, remnants of previous prints â anything can reduce stickiness. * Poor Bed Leveling: If your nozzle is too far from the bed, the plastic just won't adhere properly. Too close, and it can scratch the bed or block the nozzle. * Incorrect Z-Offset: Similar to leveling, this fine-tunes the nozzle height for that perfect "squish." * Wrong Bed Surface for Filament: Not all surfaces work equally well for all filaments. * My Take: I used to think my glass bed was magic. Then I started having random adhesion issues. Turns out, I wasn't cleaning it often enough. Now, after every 2-3 prints, it gets a good scrub. * The Fixes: * Cleanliness is Key: For glass or PEI sheets, a good wipe down with isopropyl alcohol (IPA) before *every* print is a must. If it's really grimy, wash it with dish soap and warm water, then rinse thoroughly. * Level Your Bed Like Your Life Depends On It: This is fundamental. Manual leveling with a piece of paper (or a feeler gauge if you're fancy) at each corner and the center. If you have ABL (Auto Bed Leveling) like on an Anycubic Kobra or higher-end Creality models, it helps, but you still need a good manual starting point. * Dial In Your Z-Offset: This is a game-changer for first layer adhesion. Get that nozzle just the right distance for a perfect "squish" â not too flat, not too round. * Adhesion Aids: * Glue Stick: My go-to for most PLA and PETG prints on glass. A thin, even layer of basic UHU or Fevicol MR glue stick works wonders. It's cheap too, a stick costs maybe â¹50-â¹100. * Hairspray: Some people swear by hairspray (like Livon or Godrej) on glass. It can be a bit messy, but it works for many. * PEI Sheets: Honestly, investing in a good PEI (Polyetherimide) spring steel sheet is one of the best upgrades you can make for adhesion and ease of print removal. Prints stick wonderfully when hot and pop right off when cool. You can find them on Amazon.in for around â¹1000-â¹2000 depending on your printer size. Check out some PEI sheets for common printer sizes here. * Kapton Tape/Blue Painter's Tape: Useful for specific filaments or if you're struggling with other methods.3. Slicer Settings Shenanigans: Your Digital Instructions Matter
Sometimes, the problem isn't the environment or the bed, but how you're telling your printer to lay down plastic. * The Problem: Incorrect settings can exacerbate warping. * First Layer Speed: If your first layer is too fast, the plastic doesn't have enough time to bond properly to the bed. * Part Cooling Fan: Too much fan on the first few layers can cool them too quickly. * Brim/Raft/Skirt: Not using these helpers when needed. * Infill Patterns/Density: High infill or certain infill patterns can create more internal stress. * My Take: When I was first starting out with my trusty Ender 3 Pro, I'd just use default slicer settings. Big mistake. I quickly learned that tweaking these settings made a massive difference. * The Fixes: * Slow Down That First Layer: I usually print my first layer at 10-20mm/s. This gives the plastic maximum time to adhere and properly squish into the bed. * Fan Off for First Layers: Disable your part cooling fan for at least the first 3-5 layers. For materials like ABS, I often keep the fan off entirely or at a very low percentage (10-20%) for the whole print. For PLA, you'll want it on after the first few layers. * Use a Brim: A brim is a lifesaver! It prints several extra lines around the base of your model, effectively increasing the surface area contacting the print bed. This vastly improves adhesion and helps counteract warping forces. I use a brim on almost all my functional prints, especially if they have small footprints. You can usually set the brim width (e.g., 5-10 lines) in your slicer. * Consider a Raft: A raft prints a whole sacrificial base under your model. It's great for really difficult materials or models with tiny first layer contact areas. The downside is it uses more filament and can leave a rougher finish on the bottom of your print. I tend to avoid rafts unless absolutely necessary because theyâre a bit wasteful. * Adjust Infill: For prints prone to warping, sometimes a lower infill percentage (e.g., 10-15%) can help reduce internal stresses. Also, certain infill patterns like Gyroid or Cubic are better at distributing stress than linear patterns. * Adjust First Layer Flow/Extrusion Multiplier: A slightly higher flow for the first layer (e.g., 105-110%) can help ensure you have enough plastic for a good squish, but be careful not to over-extrude.4. Filament Follies: Not All Plastic Is Created Equal
Sometimes, the problem isn't with your printer or settings, but with the material itself. * The Problem: * Moisture-Laden Filament: Humid conditions (hello, Indian monsoons!) can cause your filament to absorb moisture. Wet filament prints poorly, leading to weak layer adhesion, stringing, and yes, sometimes even warping due to inconsistent extrusion. * Cheap/Poor Quality Filament: Inconsistent filament diameter or poor material composition can lead to unpredictable extrusion and adhesion issues. * My Take: I've had rolls of "bargain basement" PLA that gave me nothing but headaches. Now, I stick to reputable brands like eSun, Overture, Hatchbox, or local Indian brands like 3DPrintronics that I've had good experiences with. It's worth paying a little extra for consistency. * The Fixes: * Dry Your Filament: If your filament is old or you suspect it's absorbed moisture, dry it out. You can use a dedicated filament dryer box (they're around â¹4,000-â¹7,000 online), a food dehydrator, or even your oven at a very low temperature (be careful, don't melt it!). For PLA, 45-50°C for 4-6 hours usually does the trick. * Store Filament Properly: Keep your filament in airtight containers or bags with desiccant packets when not in use. You can get vacuum-sealable bags specifically for filament. * Invest in Good Quality Filament: It sounds obvious, but a consistent diameter and good quality raw material make a huge difference. Don't skimp on filament if you want reliable prints. You can find good quality PLA from various brands on Amazon.in: Browse PLA filament options here.Putting It All Together: My Warping Checklist
Whe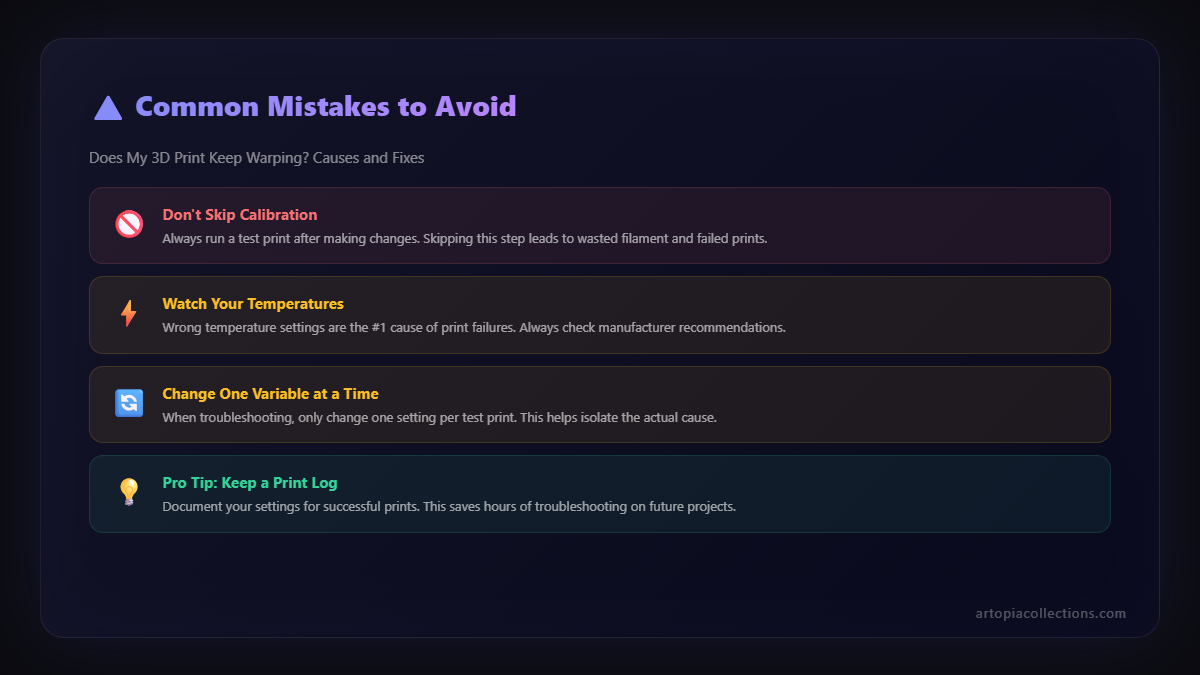 n a print warps for me, I mentally (or sometimes actually, on a notepad!) run through this quick checklist:
1. Bed Leveling: Is it perfectly level?
2. Bed Cleanliness: Did I clean the bed with IPA?
3. Adhesion Aid: Did I apply glue stick (if needed for the material)?
4. Bed Temperature: Is it right for my filament?
5. First Layer Speed: Is it slow enough (10-20mm/s)?
6. Fan Speed: Is the fan off for the first few layers?
7. Brim: Am I using a brim? (Often the easiest fix!)
8. Ambient Temperature/Drafts: Is the room too cold or breezy? Do I need an enclosure?
9. Filament Condition: Is my filament dry? Is it good quality?
n a print warps for me, I mentally (or sometimes actually, on a notepad!) run through this quick checklist:
1. Bed Leveling: Is it perfectly level?
2. Bed Cleanliness: Did I clean the bed with IPA?
3. Adhesion Aid: Did I apply glue stick (if needed for the material)?
4. Bed Temperature: Is it right for my filament?
5. First Layer Speed: Is it slow enough (10-20mm/s)?
6. Fan Speed: Is the fan off for the first few layers?
7. Brim: Am I using a brim? (Often the easiest fix!)
8. Ambient Temperature/Drafts: Is the room too cold or breezy? Do I need an enclosure?
9. Filament Condition: Is my filament dry? Is it good quality?