3D Scanning Architecture: Capturing Building Details for Scale Models
3D scanning offers an unparalleled method for capturing intricate architectural details with high precision. This technology is revolutionizing the creation of accurate scale models, crucial for design, preservation, and detailed visualization projects.

You know that feeling, right? You're walking past some incredible old building – maybe it's one of those beautiful, intricate havelis in Rajasthan, or a colonial-era bungalow with its unique trim, or even just a modern architectural marvel with its crazy angles. And you just stop, completely mesmerized by the details. You want to remember every single curve, every delicate carving, every window frame. You take photos, sure. But deep down, you wish you could actually *hold* a miniature version of it in your hand, perfectly scaled, perfectly detailed.
For me, that feeling is exactly what sparked my obsession with 3D scanning architecture. It’s not just about replicating a structure; it’s about preserving a piece of history, an artistic vision, or a memory, in a tangible, physical form. And honestly, for a guy like me running a small 3D printing business here in India, this whole process has been a game-changer. It’s opened up so many doors, from creating historical replicas to helping architects visualize their projects in a way that hand-built models just can’t compete with anymore.
The Old Way vs. The New Way: Why 3D Scanning is a Game-Changer
Traditionally, if you wanted a scale model of a building, you had a few options, none of them particularly easy or cheap for custom, one-off projects. You could hire a professional model maker, which, let's be real, is an art form in itself, but it takes ages and costs a bomb – we're talking tens of thousands, sometimes lakhs, for a really complex structure. Or you could try to build it yourself from blueprints and photos, meticulously cutting cardboard or balsa wood. I've been there, trust me, my fingers still remember the exact spot I super-glued them together trying to make tiny railing details! It's satisfying, but man, it's slow, and achieving true accuracy for intricate facades or highly decorated elements is borderline impossible without specialized tools.
Enter 3D scanning. This technology, in a nutshell, captures the real-world geometry of an object and turns it into a digital 3D model. For architecture, this means we can take a real building, scan it, and have a digital twin that we can then scale down and 3D print. The accuracy, the speed, the ability to capture even the smallest decorative elements – it’s just mind-blowing. And the thing is, the technology has become so much more accessible over the last few years. What used to be the domain of high-end industrial design or archaeology is now literally in the hands of enthusiasts like you and me.
What Kind of Scanners Are We Talking About?
So, you’re probably thinking, "Okay, sounds cool, but what kind of fancy equipment do I need?" Good question! The beauty of it is, there's a range of options, each with its own pros and cons, and more importantly, price tags that fit different budgets.
1. Photogrammetry (The Budget-Friendly Hero)
This is where many of us start, and it's surprisingly powerful. Basically, you take a whole bunch of overlapping photos of the building from different angles. Then, you feed these photos into specialized software (like Metashape, RealityCapture, or even some free ones like Meshroom), and it "stitches" them together, calculating the 3D geometry from the visual data. It's like magic, honestly.
- Pros:
- Cost: Potentially free if you already have a smartphone or a decent DSLR camera. The software can be expensive, but there are free or trial versions.
- Detail: Can capture incredible texture and color data if done right.
- Cons:
- Time-consuming: Taking hundreds of photos and processing them takes patience.
- Conditions: Needs consistent lighting (overcast days are your best friend, direct harsh sunlight is your enemy), and objects can't be moving. Reflective surfaces are a nightmare.
- Skill Curve: There's a definite learning curve to getting good results – understanding camera settings, photo overlap, and software parameters.
I personally started with just my phone and then upgraded to a basic DSLR. The initial results were… well, let's just say "artistic." But with practice, you can get some really decent models. I've even seen people use drones for larger structures, combining ground-level shots with aerial views for truly comprehensive scans. That's next level, but totally achievable!
2. Handheld 3D Scanners (The Accessible Workhorse)
Now, if you want something a bit more plug-and-play, handheld scanners are fantastic. These devices project structured light (patterns of light) or use laser triangulation to capture the surface geometry directly. They're becoming increasingly affordable and powerful.
- Pros:
- Speed: Much faster to capture data than photogrammetry.
- Ease of Use: Generally easier to operate, often with real-time feedback on your computer screen.
- Accuracy: Can achieve high levels of geometric accuracy.
- Cons:
- Cost: This is where you start needing to invest. Entry-level models like the Revopoint Pop 3 (just an example, there are others) might set you back ₹40,000 to ₹1,00,000. Professional ones go much higher.
- Range: Often better for smaller-to-medium objects or sections of buildings that you can walk around easily. Scanning an entire multi-story building can still be a challenge.
- Environmental factors: Still struggle with very reflective or transparent surfaces.
For my business, I recently invested in a mid-range structured light scanner. It cost me around ₹75,000, which, yeah, is a significant chunk of change, but it’s paid for itself multiple times over by allowing me to take on more complex projects faster. It’s especially good for intricate architectural details that might be too fiddly for photogrammetry to pick up perfectly without a gazillion photos.
3. Professional-Grade Scanners (The Heavyweights)
These are the big guns: high-accuracy laser scanners, LIDAR systems, and advanced structured light scanners designed for industrial use, large-scale construction, or surveying. They're incredibly precise and can cover huge areas quickly. But we're talking prices ranging from several lakhs to tens of lakhs. Unless you're running a massive architectural firm or a specialized surveying company, these are probably overkill for making scale models. But it's good to know they exist!
The Workflow: From Building to Your Hand
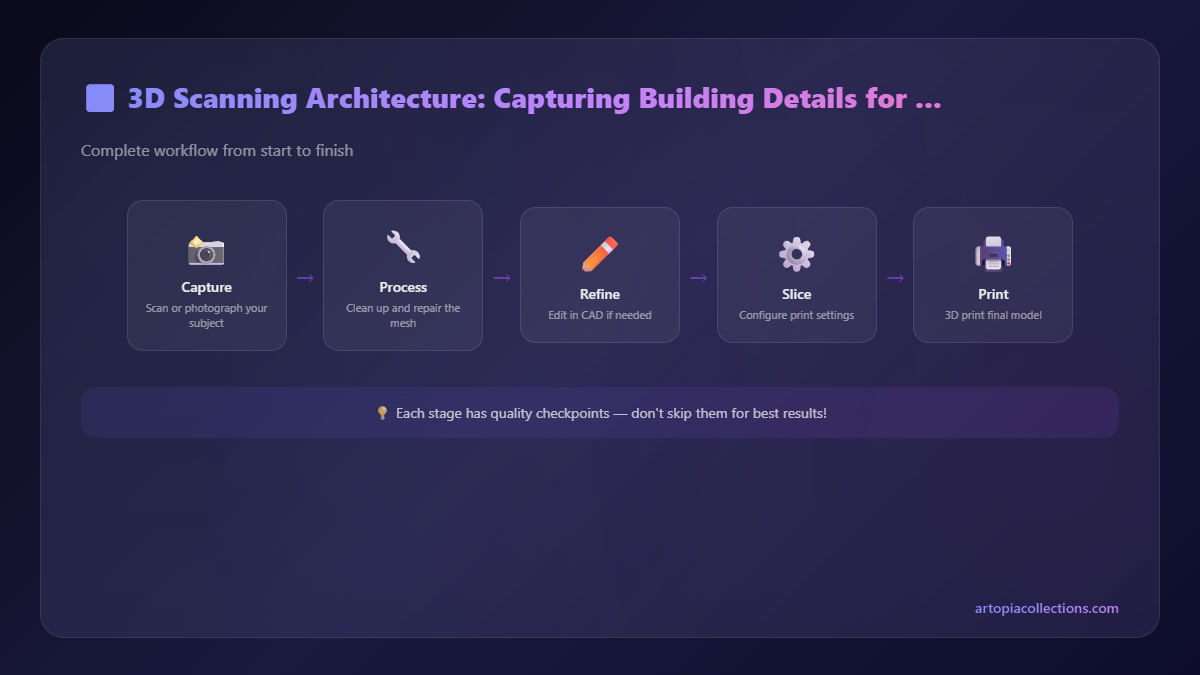
So, you’ve got your building, you’ve got your scanning method. What’s next? The basic process for turning a scanned building into a 3D printable model looks something like this:
- Scanning & Data Acquisition: This is where you go out and actually capture the data. For photogrammetry, it’s all about meticulous photo-taking. For handheld scanners, it's about smoothly sweeping the device over the surfaces, ensuring full coverage.
- Processing the Scan Data: Once you have your raw data (photos or point cloud/mesh files), you feed it into your software. This is where the magic happens – the software reconstructs the 3D model. This stage often involves a bit of clean-up: removing stray data points, filling small holes, aligning multiple scans if you had to do more than one. I spend a lot of time in MeshMixer or Blender at this stage, patching things up.
- Scaling and Repairing: Your raw scan might be massive and a bit messy. You'll need to scale it down to your desired model size (e.g., 1:50, 1:100). Crucially, you'll need to make sure the model is "watertight" – meaning it has no holes or gaps, which is essential for 3D printing. Most slicing software will try to fix minor issues, but it's best to pre-empt them.
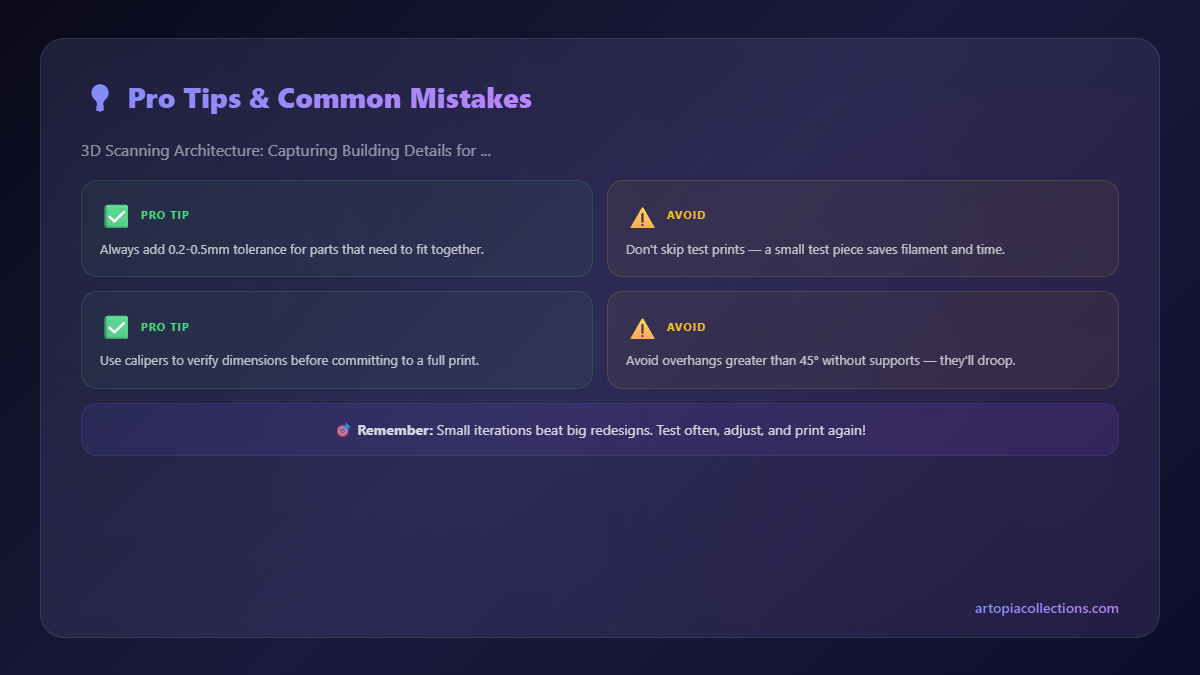
- Slicing for Printing: Now, you take your cleaned, scaled 3D model (usually an STL or OBJ file) and load it into your slicer software (like Cura, PrusaSlicer, or Simplify3D). Here, you tell your 3D printer exactly how to print it: layer height, infill, print speed, support structures, etc. For architectural models, I usually go for a fine layer height (0.1mm-0.12mm) to capture all those delicious details.
- 3D Printing: Finally, the moment of truth! You send the sliced file to your 3D printer. Depending on the size and complexity, this could take a few hours or even a few days. I primarily use my trusty Creality Ender 3 V3 SE for most FDM prints, but sometimes for super tiny, intricate details like miniature statues or extremely thin railings, I might use an SLA resin printer if the client needs that level of fidelity.
- Post-Processing & Finishing: Once printed, you remove supports, maybe do a bit of sanding, and then the fun part: painting! A well-painted model truly brings it to life. I love using acrylics for architectural models because they dry fast and offer a good range of colors.
The Challenges I've Faced (And How I Overcame Them)
Look, it's not all sunshine and perfect prints. There are definitely hurdles. For one, scanning large buildings can be a real pain. You can't just take one sweeping pass. You'll have to do multiple scans, often overlapping, and then stitch them together in software. And let me tell you, aligning those scans perfectly can test your patience! I remember one time, I was scanning a heritage building in Bengaluru, and the sunlight kept shifting, creating shadows that made photogrammetry almost impossible. Had to go back early morning another day. Lesson learned: pick your timing carefully!
Another big one is reflective surfaces – glass windows, polished stone, metallic accents. Scanners hate them. They scatter light and confuse the sensors. For these, sometimes you have to get creative. A temporary matte spray can help, or you just have to manually model those sections in software later. It's a bit of a cheat, but sometimes necessary for a clean print.
And then there's the sheer amount of data. A detailed scan of a moderately sized building can generate gigabytes of data. You need a decent computer to process all that without pulling your hair out. My desktop, which I custom-built for rendering, still chugs sometimes when I'm dealing with really dense meshes. But hey, it's all part of the journey, right?
Why It Matters: More Than Just Models
For me, and for my clients, 3D scanning architectural elements and printing them goes way beyond just making a cool toy. Think about it:
- Architectural Visualization: Architects can present their designs in a whole new dimension. Clients can literally pick up and examine a proposed building, understanding its scale and features far better than from drawings or even 3D renders on a screen. This has been a huge hit with some of my builder clients.
- Historical Preservation: Imagine scanning crumbling historical sites or intricate temple carvings before they degrade further. These digital models can be preserved forever, and physical replicas can be printed for museums or educational purposes. It's about protecting our heritage.
- Urban Planning: City planners can create accurate models of proposed developments within existing urban landscapes, helping them visualize impact and integration.
- Souvenirs and Gifts: For individuals, it can be a way to commemorate their ancestral home, their first office building, or a landmark that holds special meaning. I've done a few personalized house models, and the joy on people's faces when they see their home miniaturized is just priceless.
Honestly, the potential here is massive. As an Indian business owner, I see so much opportunity with our rich architectural history, from the ancient wonders to modern marvels. Being able to capture that and bring it into the digital and physical world with 3D printing is incredibly exciting.
If you're thinking about diving into this, my advice is simple: start small. Experiment with photogrammetry using your phone. Practice scanning smaller objects first to get a feel for the process. Watch tutorials, read blogs (like this one, hopefully!), and don't be afraid to make mistakes. We all do! The results are so incredibly rewarding, and the skills you pick up are genuinely valuable.
And hey, if you're ever in need of a custom architectural model, or just want to see some of the cool stuff we print, you can always check out some of my work and products right here at Artopia Collections. We're always experimenting and pushing the boundaries of what's possible with 3D printing and scanning.
So go on, find that building that inspires you, grab your phone or a scanner, and start capturing! The real world is just waiting to be 3D printed.


