Polycam vs Luma AI vs Kiri Engine: Best Phone 3D Scanning Apps Compared
Looking for the top 3D scanning app for your phone? This comprehensive comparison pits Polycam, Luma AI, and Kiri Engine against each other to reveal which one delivers the best results for mobile photogrammetry.

Polycam vs Luma AI vs Kiri Engine: Best Phone 3D Scanning Apps Compared (A Desi 3D Printer's Take!)
Ever look at a cool, intricate statue, a uniquely shaped stone, or even just your favourite coffee mug and think, "Man, I wish I could 3D print that exact thing"? Yeah, me too. All the time. That's basically how Artopia Collections started, honestly. You see something beautiful in the real world and your brain just automatically goes, "How do I make a digital twin of that so I can print it on my Ender 3 Pro?" For years, that meant expensive dedicated 3D scanners – the kind that cost more than a decent used car. But then, smartphones happened, and suddenly, this dream of turning real objects into printable digital models became way, way more accessible. And let me tell you, for a small business owner like me here in India, that's been an absolute game-changer. No more outsourcing expensive scanning jobs; I can do it right here in my workshop with the phone in my pocket!
Now, I've dabbled in a lot of software and hardware over the years. From painstakingly modelling in Blender (still do that, of course, for custom designs!) to experimenting with photogrammetry setups using my DSLR, I've tried it all. But the real revolution for quick, on-the-go scanning has been the rise of phone-based 3D scanning apps. Specifically, I've spent a lot of time, and some of my hard-earned rupees, comparing three big players: Polycam, Luma AI, and Kiri Engine. They all promise amazing results, but the truth is, they each have their quirks, their strengths, and their weaknesses, especially when you're looking to actually 3D print the output. So, let's dive deep into my personal experience with these apps, how they stack up, and which one might be best for your next project.
Why Phone 3D Scanning is a Big Deal for Makers (Especially in India)
Look, the biggest hurdle for many aspiring 3D printing enthusiasts or small businesses is the cost of entry. We can get a fantastic FDM printer like the Creality Ender 3 V2 Neo for a reasonable price these days, and good quality eSUN PLA+ filament isn't going to break the bank. But creating original 3D models can be a steep learning curve. And if you want to replicate an existing object? Forget about it without serious CAD skills or an expensive scanner. This is where phone apps come in.
Most modern iPhones (iPhone 12 Pro and newer) and some high-end Android phones come with LiDAR sensors, which are fantastic for depth sensing. But even without LiDAR, these apps use photogrammetry – basically, taking a gazillion photos from different angles and stitching them together to create a 3D model. It's magic, I tell you! And the best part? You already own the hardware. This accessibility means I can offer services like scanning a unique family heirloom for someone who wants to print miniatures of it, or even scan a damaged part to reverse-engineer and print a replacement. It's opened up a whole new world of possibilities for my Artopia Collections business.
Polycam: The LiDAR King, But With a Catch
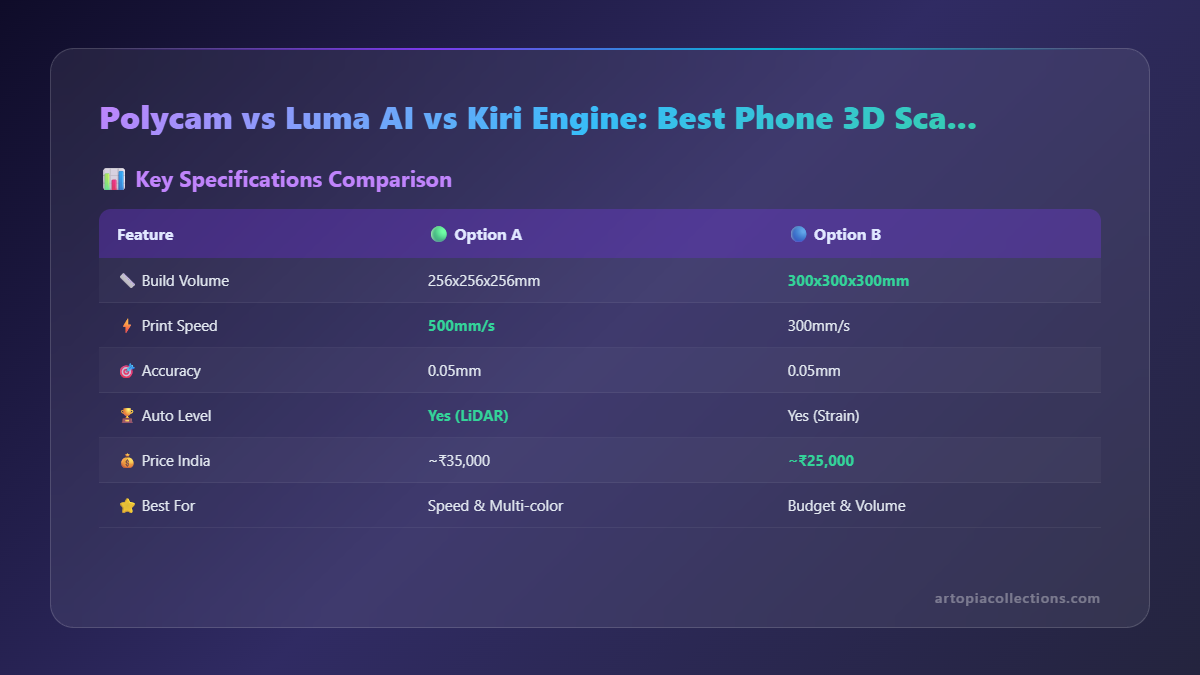 Okay, let's start with Polycam. This was one of the first apps that really blew my mind, especially when I upgraded to an iPhone with LiDAR. The promise of real-time 3D scanning, almost like painting with depth, was incredibly appealing. And honestly, for certain types of scans, it delivers.
My Experience with Polycam:
- LiDAR Mode: If you have a LiDAR-equipped phone, this is where Polycam shines. You literally just walk around an object or even a whole room, and it builds a mesh in real-time. It's fast, surprisingly accurate for large, simple objects, and great for capturing environments. I've used it to scan rooms to plan furniture layouts, which is neat. For capturing objects with clean, distinct geometries, it works well. The output is usually a dense mesh that often needs some clean-up, but it's a solid starting point.
- Photogrammetry Mode: For objects without super-clean geometry, or if you don't have LiDAR, Polycam also offers a photogrammetry mode. You take a series of photos, and it processes them in the cloud. This mode can capture more detail and texture than LiDAR, but it requires more careful photo-taking (even lighting, no reflections, good overlap).
The Good Stuff:
- Speed (LiDAR): In LiDAR mode, it's incredibly fast. You can scan a decent-sized object in minutes.
- Ease of Use: The interface is super intuitive. Even my wife, who barely knows what a hot end is, could pick it up and scan something.
- Versatile Export: You can export in pretty much any format you need: OBJ, FBX, GLB, STL (crucial for printing!), and even CAD formats like STEP or IGES if you pay a bit extra.
- Cloud Processing: Their cloud processing for photogrammetry is generally quite good, offloading the heavy lifting from your phone.
The Not-So-Good Stuff:
- Price: This is where Polycam hits you. It's a subscription model, and for us here in India, those monthly fees can add up. It's usually around ₹999-₹1200 per month or about ₹8000-₹9000 for a yearly subscription (prices fluctuate, so always check in-app). If you're doing a lot of scans, it might be worth it, but for occasional use, it's a pinch.
- LiDAR Limitations: While fast, LiDAR isn't great for small, intricate details or shiny/transparent objects. It struggles with sharp edges and fine textures. The resolution isn't as high as photogrammetry.
- Photogrammetry Processing Time: Cloud processing can take a while, especially for complex scans. Sometimes hours.
My Verdict on Polycam: If you have a LiDAR phone and need quick, decent scans of larger, less detailed objects or environments, and you're willing to pay the subscription, Polycam is fantastic. For small, highly detailed objects for printing, it's a bit of a mixed bag; you might get away with it, but don't expect miracles without a good amount of post-processing in Meshmixer or Blender to clean up the mesh and add detail back. I use it for scanning bigger things in my workshop, like a table or a specific corner, rather than a small figurine.
Luma AI: The NeRF Revolution and Pure Photogrammetry Power
Luma AI is a different beast altogether. While Polycam offers LiDAR and traditional photogrammetry, Luma is all about NeRF (Neural Radiance Fields) technology. Now, without getting too technical, NeRF basically creates a 3D scene from photos that can be viewed from any angle with incredible realism, including lighting and reflections. When it comes to 3D printing, Luma AI offers a distinct photogrammetry processing pipeline that's very different from Polycam's traditional approach.
My Experience with Luma AI:
- Pure Photogrammetry: Luma doesn't use LiDAR for its main scanning feature. It relies entirely on you taking a meticulously planned set of photos – usually a circular path, then a higher path, maybe a bottom path. This requires patience and good technique.
- NeRF and 3D Model: After taking photos, you upload them, and Luma processes them in the cloud. It first generates a NeRF, which is beautiful for video and virtual walkthroughs. Then, from that NeRF, it can generate a mesh for 3D printing.
The Good Stuff:
- Incredible Detail (Sometimes): When it works perfectly, Luma's photogrammetry can capture astonishing detail, especially textures and colours. The NeRFs themselves are breathtaking.
- Free Tier (with Credits): This is a huge plus for small businesses and hobbyists in India. You get a certain number of free scans (credits) when you start, and you can earn more by sharing or participating. You can also buy credit packs, which are generally more affordable than Polycam's subscription for occasional use. A pack of, say, 10-20 scans might cost around ₹400-₹800, depending on the current rates.
- Great for Organic Shapes: Objects with complex, organic, non-geometric shapes and rich textures often come out beautifully.
The Not-So-Good Stuff:
- Processing Time: Oh boy, this can be slow. Like, really slow. Sometimes it takes hours, sometimes even a full day for complex scenes, especially during peak usage. You need to be patient.
- Requires Meticulous Photo-Taking: You absolutely cannot rush this. Poor lighting, shaky hands, insufficient overlap between photos – all will lead to a failed or poor-quality scan. It has a guided mode, but it's still demanding.
- Mesh Quality for Printing: While the textures are great, the raw mesh generated from a NeRF for 3D printing often needs significant clean-up. It can be "blobby," have holes, or contain a lot of noise that needs filtering before it's printable. This is the biggest hurdle when using Luma for direct 3D printing.
- File Sizes: The resulting files can be massive, which can be an issue if you have limited storage or slower internet.
My Verdict on Luma AI: For creating stunning visual representations, virtual tours, or textured assets for games/CGI, Luma AI is phenomenal. And the free credits make it incredibly appealing to just try out. But for directly generating a clean, watertight mesh ready for 3D printing, it's a challenge. I find myself spending more time post-processing Luma's meshes than Polycam's, especially if I want a smooth, printable surface. I use Luma when I need really good texture maps or when the object is very organic and I don't mind the extra clean-up.
Kiri Engine: The Dedicated 3D Scan-to-Print App
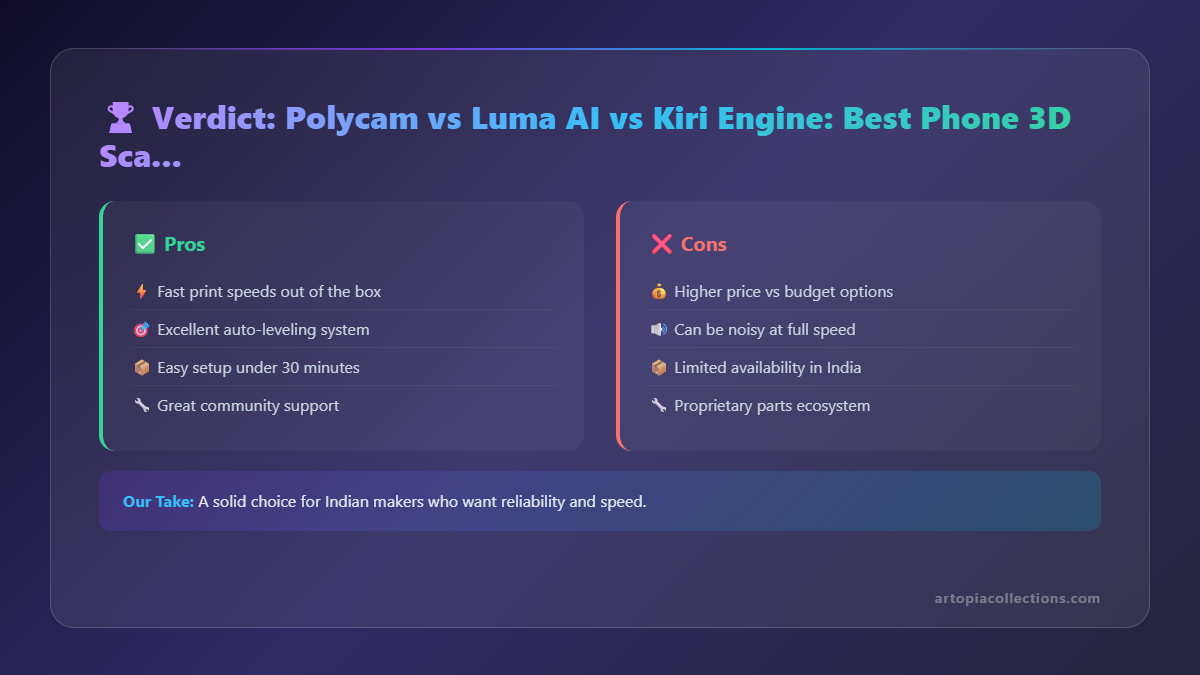 Kiri Engine feels like it was designed by someone who actually 3D prints. Unlike Luma's NeRF focus or Polycam's broader LiDAR/photogrammetry appeal, Kiri Engine is unapologetically geared towards getting you a printable 3D model from photos. It uses photogrammetry, similar to the other apps, but its processing and export options feel much more aligned with the maker community.
My Experience with Kiri Engine:
- Photogrammetry Focus: Just like Luma, Kiri Engine relies on you taking a good set of photos. It has a very helpful guiding system that shows you where to aim next, ensuring good overlap and coverage. This significantly reduces failed scans.
- Print-Ready Output: This is Kiri's strong suit. The meshes it generates are often cleaner, more robust, and more watertight than Luma's, and sometimes even Polycam's photogrammetry mode. It feels like it's optimised for this specific purpose.
The Good Stuff:
- Excellent Guiding System: The visual guides for photo capture are a lifesaver. It makes the process much less trial-and-error.
- Print-Optimised Meshes: My experience has been that Kiri Engine produces meshes that require less post-processing before slicing. They tend to have fewer holes and cleaner topology.
- Affordable Credits: Similar to Luma, it uses a credit system. You get some free scans, and additional credits are quite reasonably priced, often around ₹300-₹600 for a decent pack. This makes it very accessible.
- Good Detail Capture: It does a very good job of capturing intricate details and textures when the lighting and photo conditions are right.
The Not-So-Good Stuff:
- Processing Time: While often faster than Luma, it can still take a while for complex models to process in the cloud.
- No LiDAR Option: If you have a LiDAR phone, you can't leverage that speed for initial capture, which is a missed opportunity for some.
- Limited Export Options (Compared to Polycam): While it covers the essentials like OBJ and STL, Polycam generally offers a wider array of professional formats. For 3D printing, however, STL is king, so this isn't a huge drawback.
My Verdict on Kiri Engine: If your primary goal is to get a decent 3D model from your phone that you can then print on your FDM or resin printer (I also dabble with resin for fine details!), Kiri Engine is probably your best bet. Its user experience for photo capture is excellent, and the output meshes are consistently more print-friendly. It's become my go-to for scanning small to medium-sized objects that I intend to replicate or modify for printing.
General Tips for Phone 3D Scanning (No Matter Which App You Use)
No matter which app you pick, remember, the quality of your scan heavily depends on your capture technique. It's not just the app, it's you too!
- Lighting, Lighting, Lighting: Even, diffuse lighting is your best friend. Avoid harsh shadows or direct sunlight. A light tent (even a DIY one) can make a world of difference.
- Good Background: Use a simple, non-reflective background with contrasting colours to your object. A plain white or black sheet works wonders.
- Stable Hand & Overlap: Take many photos, ensuring about 70-80% overlap between each shot. Move slowly and steadily.
- Masking & Turntables: For really tricky objects, consider masking out the background in post-processing if the app allows. A simple manual turntable (even just a lazy Susan) can help ensure consistent rotation.
- Avoid Shiny/Transparent/Reflective Objects: These are the bane of photogrammetry. The light reflects weirdly, and the software struggles to find common points. You can try dusting them with an anti-glare spray (like matte varnish or even baby powder) if it's a non-precious object, but be careful.
- Post-Processing is Key: Rarely will a scan be perfect for printing straight out of the app. You'll almost always need to clean up the mesh. My go-to tools are Autodesk Meshmixer (free and excellent for sculpting, smoothing, and hole-filling) and Blender (more advanced for complex remodelling).
- Export as STL: For 3D printing, always export your final, cleaned-up model as an STL file. Your slicer (PrusaSlicer, Cura, etc.) will love it.
My Final Thoughts & Personal Pick
So, which one wins? Honestly, it depends on what I'm trying to do. It's not a one-size-fits-all solution for a multi-faceted business like Artopia Collections.
- For quick scans of larger, simpler objects or environments with my LiDAR iPhone, especially if I need speed and don't care too much about fine texture, Polycam's LiDAR mode is still incredibly useful, despite the subscription.
- If I need to capture a very organic object with complex textures for a visual model or rendering, and I don't mind a longer processing time or extensive mesh cleanup, Luma AI's photogrammetry/NeRF capabilities are astounding, especially for the free/credit model.
- But for the majority of my 3D printing needs – replicating a small statue, scanning a prototype, or creating custom miniatures where I need a clean, printable mesh with minimal fuss – Kiri Engine is my champion. The guiding system, the output quality for printing, and the accessible credit system just make it the most practical choice for day-to-day use in my workshop.
The beauty is, you don't have to pick just one! Many of these apps offer free trials or free credits, so you can test them out with your own phone and your own objects. See what works best for your workflow and your specific needs. It's an exciting time to be a 3D printing enthusiast, with so many powerful tools literally in our pockets.
So go on, give them a try! Scan something cool, clean it up, and get it printing. The possibilities are endless, and trust me, the feeling of holding a 3D printed replica of something you scanned yourself? Pure magic. And hey, if you need any custom 3D printing done, or want to discuss a scanning project, you know where to find me. Until next time, happy printing!


