Best Enclosure Options for Open-Frame 3D Printers in India
An effective enclosure can transform your open-frame 3D printer, offering crucial benefits like temperature stability, noise reduction, and enhanced safety. This guide explores the best options available for Indian makers, from DIY builds to ready-to-use solutions.
Ever walked into your print room – or corner of the living room, let’s be real – only to find that gorgeous 12-hour print of yours had decided to warp itself into a modern art sculpture halfway through? Or maybe you’ve had the joy of a stray draft from the window turning your perfectly smooth ABS part into a tangled mess of spaghetti? Been there, done that, and honestly, it used to drive me absolutely bonkers! Here in India, with our unpredictable weather, dust, and sometimes, just plain curious little fingers (both human and feline!), an open-frame 3D printer can feel like it’s just asking for trouble. That’s why, my friends, we need to talk about enclosures. Seriously, if you’re still printing on an exposed Ender 3, Prusa Mini, or any other fantastic open-frame machine, you’re leaving so much on the table. And trust me, I’ve tried everything, from make-shift cardboard boxes to fancy custom builds, to keep my prints consistent and my sanity intact.
Why Bother with an Enclosure in the First Place?
So, you’ve got your shiny new (or well-loved) FDM printer, maybe it’s an Ender 3 V2, a Creality CR-10, or even a Prusa i3 MK3S. They’re brilliant machines, no doubt. But they’re designed to be open, right? Well, that openness is fantastic for ease of access and quick adjustments, but it’s also their biggest Achilles' heel, especially when you start venturing beyond PLA. The thing is, an enclosure isn't just a fancy accessory; it's a game-changer for several crucial reasons.
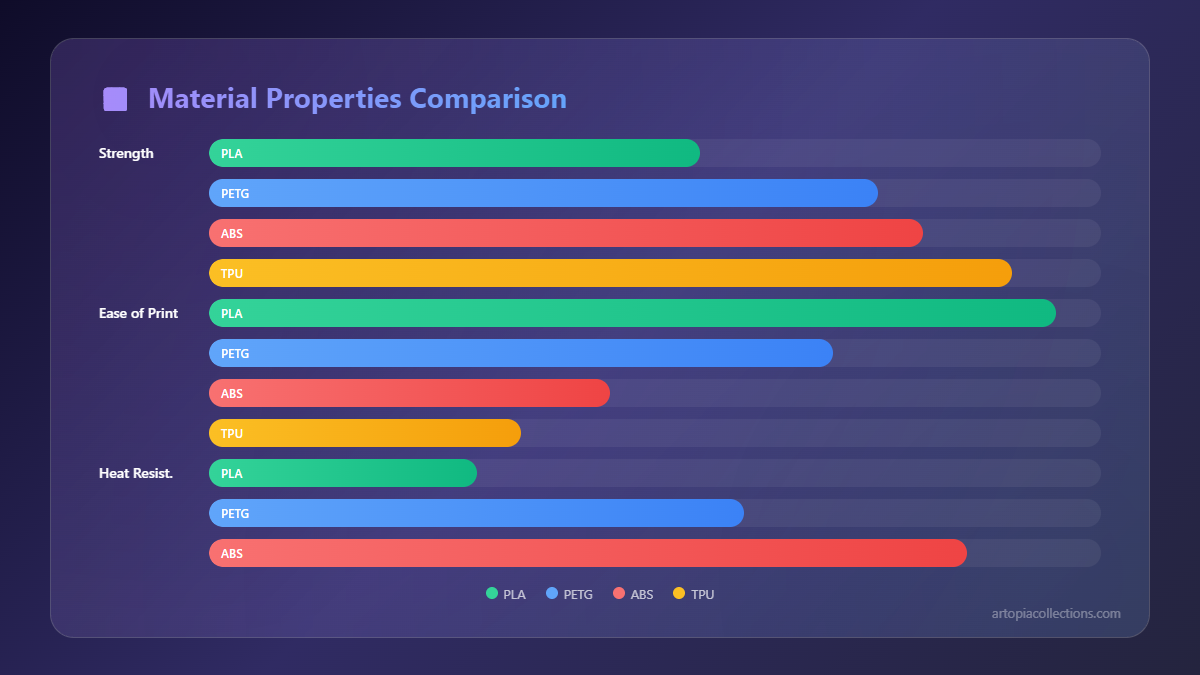
First and foremost, temperature stability. This is the big one, folks. Filaments like ABS, ASA, PC, and even some high-temp PETGs absolutely despise drafts and sudden temperature changes. They cool unevenly, causing internal stresses, and boom – layer separation, warping, ugly cracks. I’ve had so many projects ruined because of a gentle breeze from the ceiling fan or even just the AC kicking in. An enclosure creates a stable, warm environment around your print, which is vital for these trickier materials. It lets them cool down slowly and uniformly, resulting in significantly stronger, more accurate parts. And trust me, when you're making functional prototypes or parts for clients, consistency is everything.
Then there's the noise reduction. Oh my god, the noise! Stepper motors, fans, the gantry whizzing back and forth – it can get loud, especially if your printer is in a shared space or, like mine, in my home office. A good enclosure can dramatically dampen that sound, making long print jobs much more tolerable. My family can attest to how much calmer the house is now that my machines are all tucked away in their little sound-proofed cocoons.
Dust and debris protection is another huge plus. Our Indian environment, while beautiful, can be quite dusty. Even in a relatively clean room, dust particles can settle on your hotend, bed, or even get embedded in your prints. An enclosure acts as a protective barrier, keeping your printer cleaner and reducing the chances of print quality issues caused by contaminants. And let's not forget the occasional cat hair or curious insect!
Finally, and this is super important, safety. When you're printing materials like ABS or ASA, they release tiny particulate matter (UFPs) and volatile organic compounds (VOCs). While the exact long-term health effects are still being studied, it's generally a good idea to minimise exposure. An enclosure, especially one with a proper ventilation system (more on that later), helps contain these emissions, making your workspace much safer. Plus, it keeps curious hands (or paws!) away from hot parts and moving mechanisms.
My Journey with Enclosures: From DIY Hacks to Dedicated Solutions
When I first started out, money was tight, and my primary printer was a humble Ender 3. I quickly learned that PLA was fine, but if I wanted to make anything robust for my custom print business, I needed to print with other materials. And that's where the enclosure saga began. My initial attempts were, shall we say, "resourceful."
The DIY Route: Creativity on a Budget
Honestly, the DIY approach is where most of us start, and for good reason – it’s cost-effective and lets you customise. Here in India, we have access to some great materials that can be repurposed.
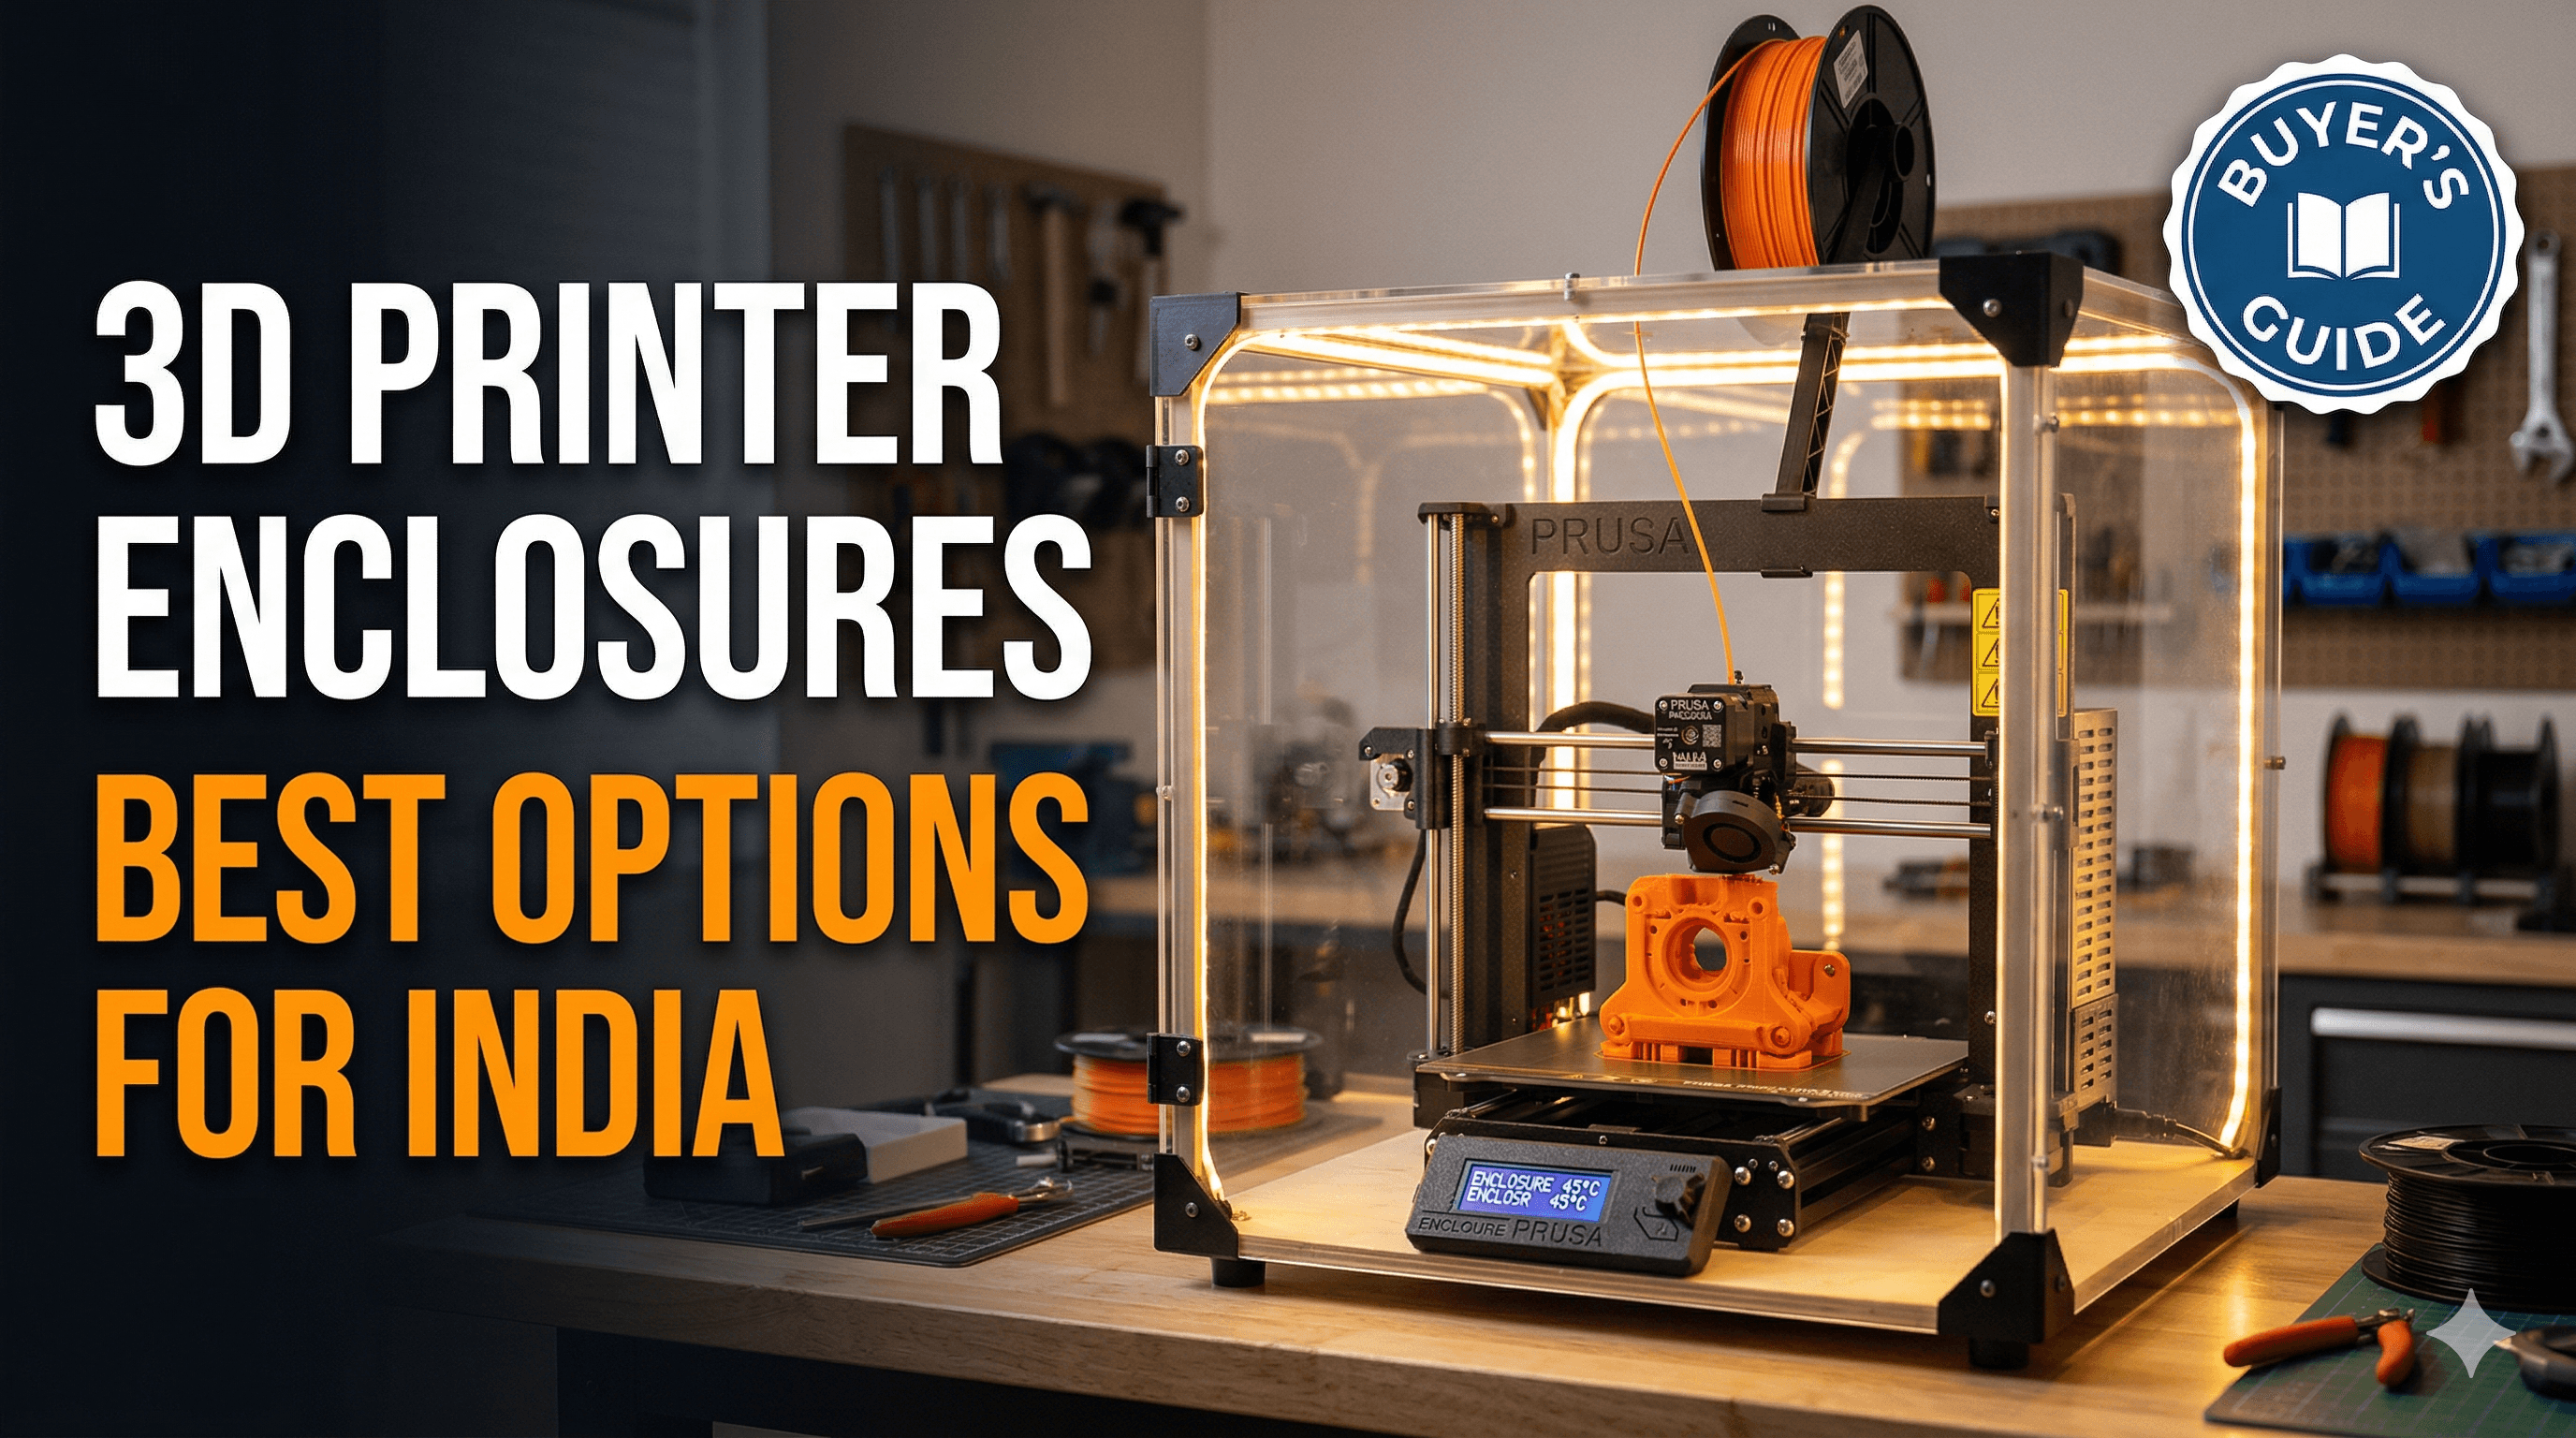
IKEA Lack Table Enclosure
This is a classic for a reason! The IKEA Lack table (yes, that ridiculously cheap side table) is the cornerstone of many DIY enclosures. You basically stack a couple of them, cut some acrylic or polycarbonate sheets for the sides, and boom, you have a fairly decent enclosure. It's surprisingly effective for printers like the Ender 3 or Prusa Mini. Pros:
- Super affordable: The tables themselves are pretty cheap, often under ₹1000 each.
- Easy to source materials: Acrylic sheets are readily available in most cities.
- Modular: You can expand it if you get a bigger printer down the line.
- Labour intensive: You need to measure, cut, drill, and assemble everything.
- Aesthetics: Can look a bit "DIY" if not done carefully.
- Limited insulation: Not the best for extremely high temperatures unless you add more insulation.
I built one of these for my first Ender 3, using acrylic sheets I got cut from a local vendor for about ₹1500-₹2000. Total cost was roughly ₹3500-₹4500, which was a steal. It worked wonders for ABS!
Custom Wood/Plywood/Aluminium Extrusion Enclosures
If you're handy with tools, building a custom enclosure from plywood or even aluminium extrusions can give you a really professional finish. I've seen some incredible designs from fellow makers in Bangalore and Pune. Plywood is relatively inexpensive, and you can get it cut to size at most timber yards. Aluminium extrusions offer a much sturdier frame, but they can get pricey.
Pros:
- Highly customizable: Design it exactly to your printer's size and your needs.
- Durable: A well-built wooden or aluminium enclosure can last forever.
- Better insulation: Wood naturally provides decent insulation.
- Higher cost: Especially if you go with aluminium extrusions (can easily run you ₹8000-₹15000+).
- Requires skill and tools: Not for the faint of heart if you don't enjoy carpentry.
- Takes up space: These are usually more robust and heavier.
I ended up upgrading one of my larger CR-10s into a custom plywood enclosure. The plywood itself cost me around ₹2500 for a couple of sheets, plus another ₹3000 for acrylic doors and ₹1000 for hinges and handles. Add in paint and some insulation, and it was probably ₹7000-₹8000 all in. It’s a beast, but it’s perfect.
Off-the-Shelf Solutions: Convenience at a Price
For those who either don't have the time, the tools, or the inclination for DIY, there are some excellent ready-made options available. And honestly, sometimes the convenience is worth the extra rupees.
Creality Enclosure Tent
This is probably the most popular choice for budget open-frame printers, especially the Ender series. It’s basically a fire-resistant tent made of an aluminium foil interior and a cloth exterior, with a metal frame. They come in various sizes.
Pros:
- Easy to assemble: Seriously, like setting up a camping tent.
- Relatively inexpensive: You can find them on Amazon.in for around ₹4000-₹7000 depending on size.
- Portable: Can be collapsed and stored if needed.
- Decent temperature retention: Good enough for most ABS/ASA prints.
- Aesthetics: It still looks like a tent.
- Durability: Not as robust as a rigid enclosure; zips can fail over time.
- Limited access: Can be a bit awkward to reach inside for maintenance.
I have one of these for an Ender 5 Pro, and it’s brilliant for quick setup and portability. It’s certainly a massive step up from no enclosure at all. You can find them right here on Amazon.in.
Klipper/Prusa Enclosure Kits
While Prusa offers a fantastic enclosure specifically for their MK3S+ (it's called the Original Prusa Enclosure and it’s brilliant, but designed for their specific machine), many companies offer similar styled modular enclosures, often using aluminium profiles and acrylic panels. Klipper, the popular firmware, also has a lot of community-designed enclosures that aim for this more robust, but still modular, approach.
Pros:
- Professional look: Often look very clean and well-integrated.
- Good insulation and rigidity: Excellent for maintaining consistent temperatures.
- Designed for specific printers: Often have thoughtful features like cable pass-throughs.
- Pricey: These can easily run upwards of ₹10,000-₹20,000, sometimes more.
- Assembly required: Though usually easier than a full DIY build.
- Less universal: May not fit all open-frame printers perfectly.
If you've got a Prusa, definitely consider their official enclosure. But for other printers, look for kits that mimic this style; they offer a great balance of DIY satisfaction and professional results, though they're not always easy to find directly from Indian suppliers.
Hybrid Solutions: The Best of Both Worlds
My personal favourite approach for many printers, especially the mid-sized ones, is a hybrid. Take a sturdy, inexpensive cabinet (like an old wardrobe or filing cabinet) and modify it. I actually took an old metal storage cupboard I had lying around, cleaned it up, cut out a viewing window, added some LED strips, and mounted a small exhaust fan. It's not pretty from the outside, but it’s incredibly functional.
Pros:
- Cost-effective: Reusing existing furniture can save a lot.
- Solid and insulated: Often better than tents.
- Unique: Can be customised to your heart’s content.
- Effort: Still requires some DIY work.
- Finding the right base: You need to hunt for a suitable piece of furniture.
This path has probably given me the most satisfaction, especially because I could control the budget and the exact features I wanted. And frankly, it sometimes ends up looking surprisingly good after a bit of paint and some TLC.
Key Features to Look For (Beyond Just the Box!)
So, you’ve decided on an enclosure type. Great! But the enclosure itself is just the beginning. To truly get the most out of it, here are a few other things to consider, especially relevant to our Indian context:
-
Ventilation: This is NON-NEGOTIABLE if you're printing materials that off-gas (ABS, ASA, etc.). You need a way to exhaust those fumes outside. A small exhaust fan (like a 120mm PC fan or a small exhaust blower) connected to a duct that goes out a window is ideal. I use a simple 120mm fan that cost me about ₹500, connected to a flexible duct pipe, and it makes a world of difference. Don't cheap out on this – your lungs will thank you!
-
Lighting: Printing in the dark is no fun. A simple LED strip, easily found for ₹200-₹500, can illuminate your print bed beautifully. It lets you monitor your prints without constantly opening the enclosure and disturbing the temperature.
-
Temperature Monitoring: A cheap digital thermometer/hygrometer inside your enclosure (available for ₹300-₹700) helps you keep an eye on the internal temperature. Sometimes, enclosures can get TOO hot, especially in Indian summers, which can cause heat creep issues with your hotend. Knowing the temp helps you adjust if needed.
-
Filament Spool Holder: Consider an external spool holder or one mounted inside but isolated. If your enclosure gets very hot, storing your filament inside can lead to moisture absorption or even softening, especially with PETG or Nylon. A dry box is even better! I personally use a sealed dry box for all my humidity-sensitive filaments (like eSun PETG or Overture Nylon), and it stays outside the enclosure.
-
Cable Management: Plan for where your power cables, USB/OctoPrint cables, and fan cables will exit the enclosure. Keep them neat and organised to prevent snags or damage.
Remember, the goal isn't just to trap heat; it's to create a controlled environment. Sometimes, in the peak of summer, you might actually need to *vent* heat *out* to prevent heat creep if your printer isn't designed for such high ambient temps.
My Personal Takeaway and Recommendations
For someone starting out with an open-frame printer like an Ender 3, honestly, the Creality tent enclosure is a fantastic, low-effort entry point. It’s cheap, effective, and gets the job done for most materials. If you’re a bit more adventurous and have a weekend to spare, the IKEA Lack hack is incredibly rewarding and offers better rigidity.
But if you're serious about your 3D printing business, or just want the best possible quality from exotic filaments, investing in a robust, rigid enclosure – whether it's a custom-built plywood box or an aluminium extrusion kit – is a game-changer. My large plywood enclosure for my CR-10 has been an absolute workhorse, consistently spitting out flawless ABS and ASA parts, even during Chennai’s humid monsoons. It’s truly made a difference in the quality and reliability of my prints, which in turn means happier clients and less wasted filament.
And hey, don't forget the small stuff – a good set of tools can make all the difference during the build. I've found a decent screwdriver set with various bits to be invaluable for assembling enclosures, especially those with small screws and tricky angles. A good pair of wire cutters and strippers also helps for the ventilation fan wiring.
Ultimately, an enclosure isn't just about making better prints; it's about making your 3D printing experience more enjoyable, safer, and less frustrating. So, if you're still on the fence, I wholeheartedly encourage you to take the plunge. Your printer, your lungs, and your finished projects will all thank you for it!