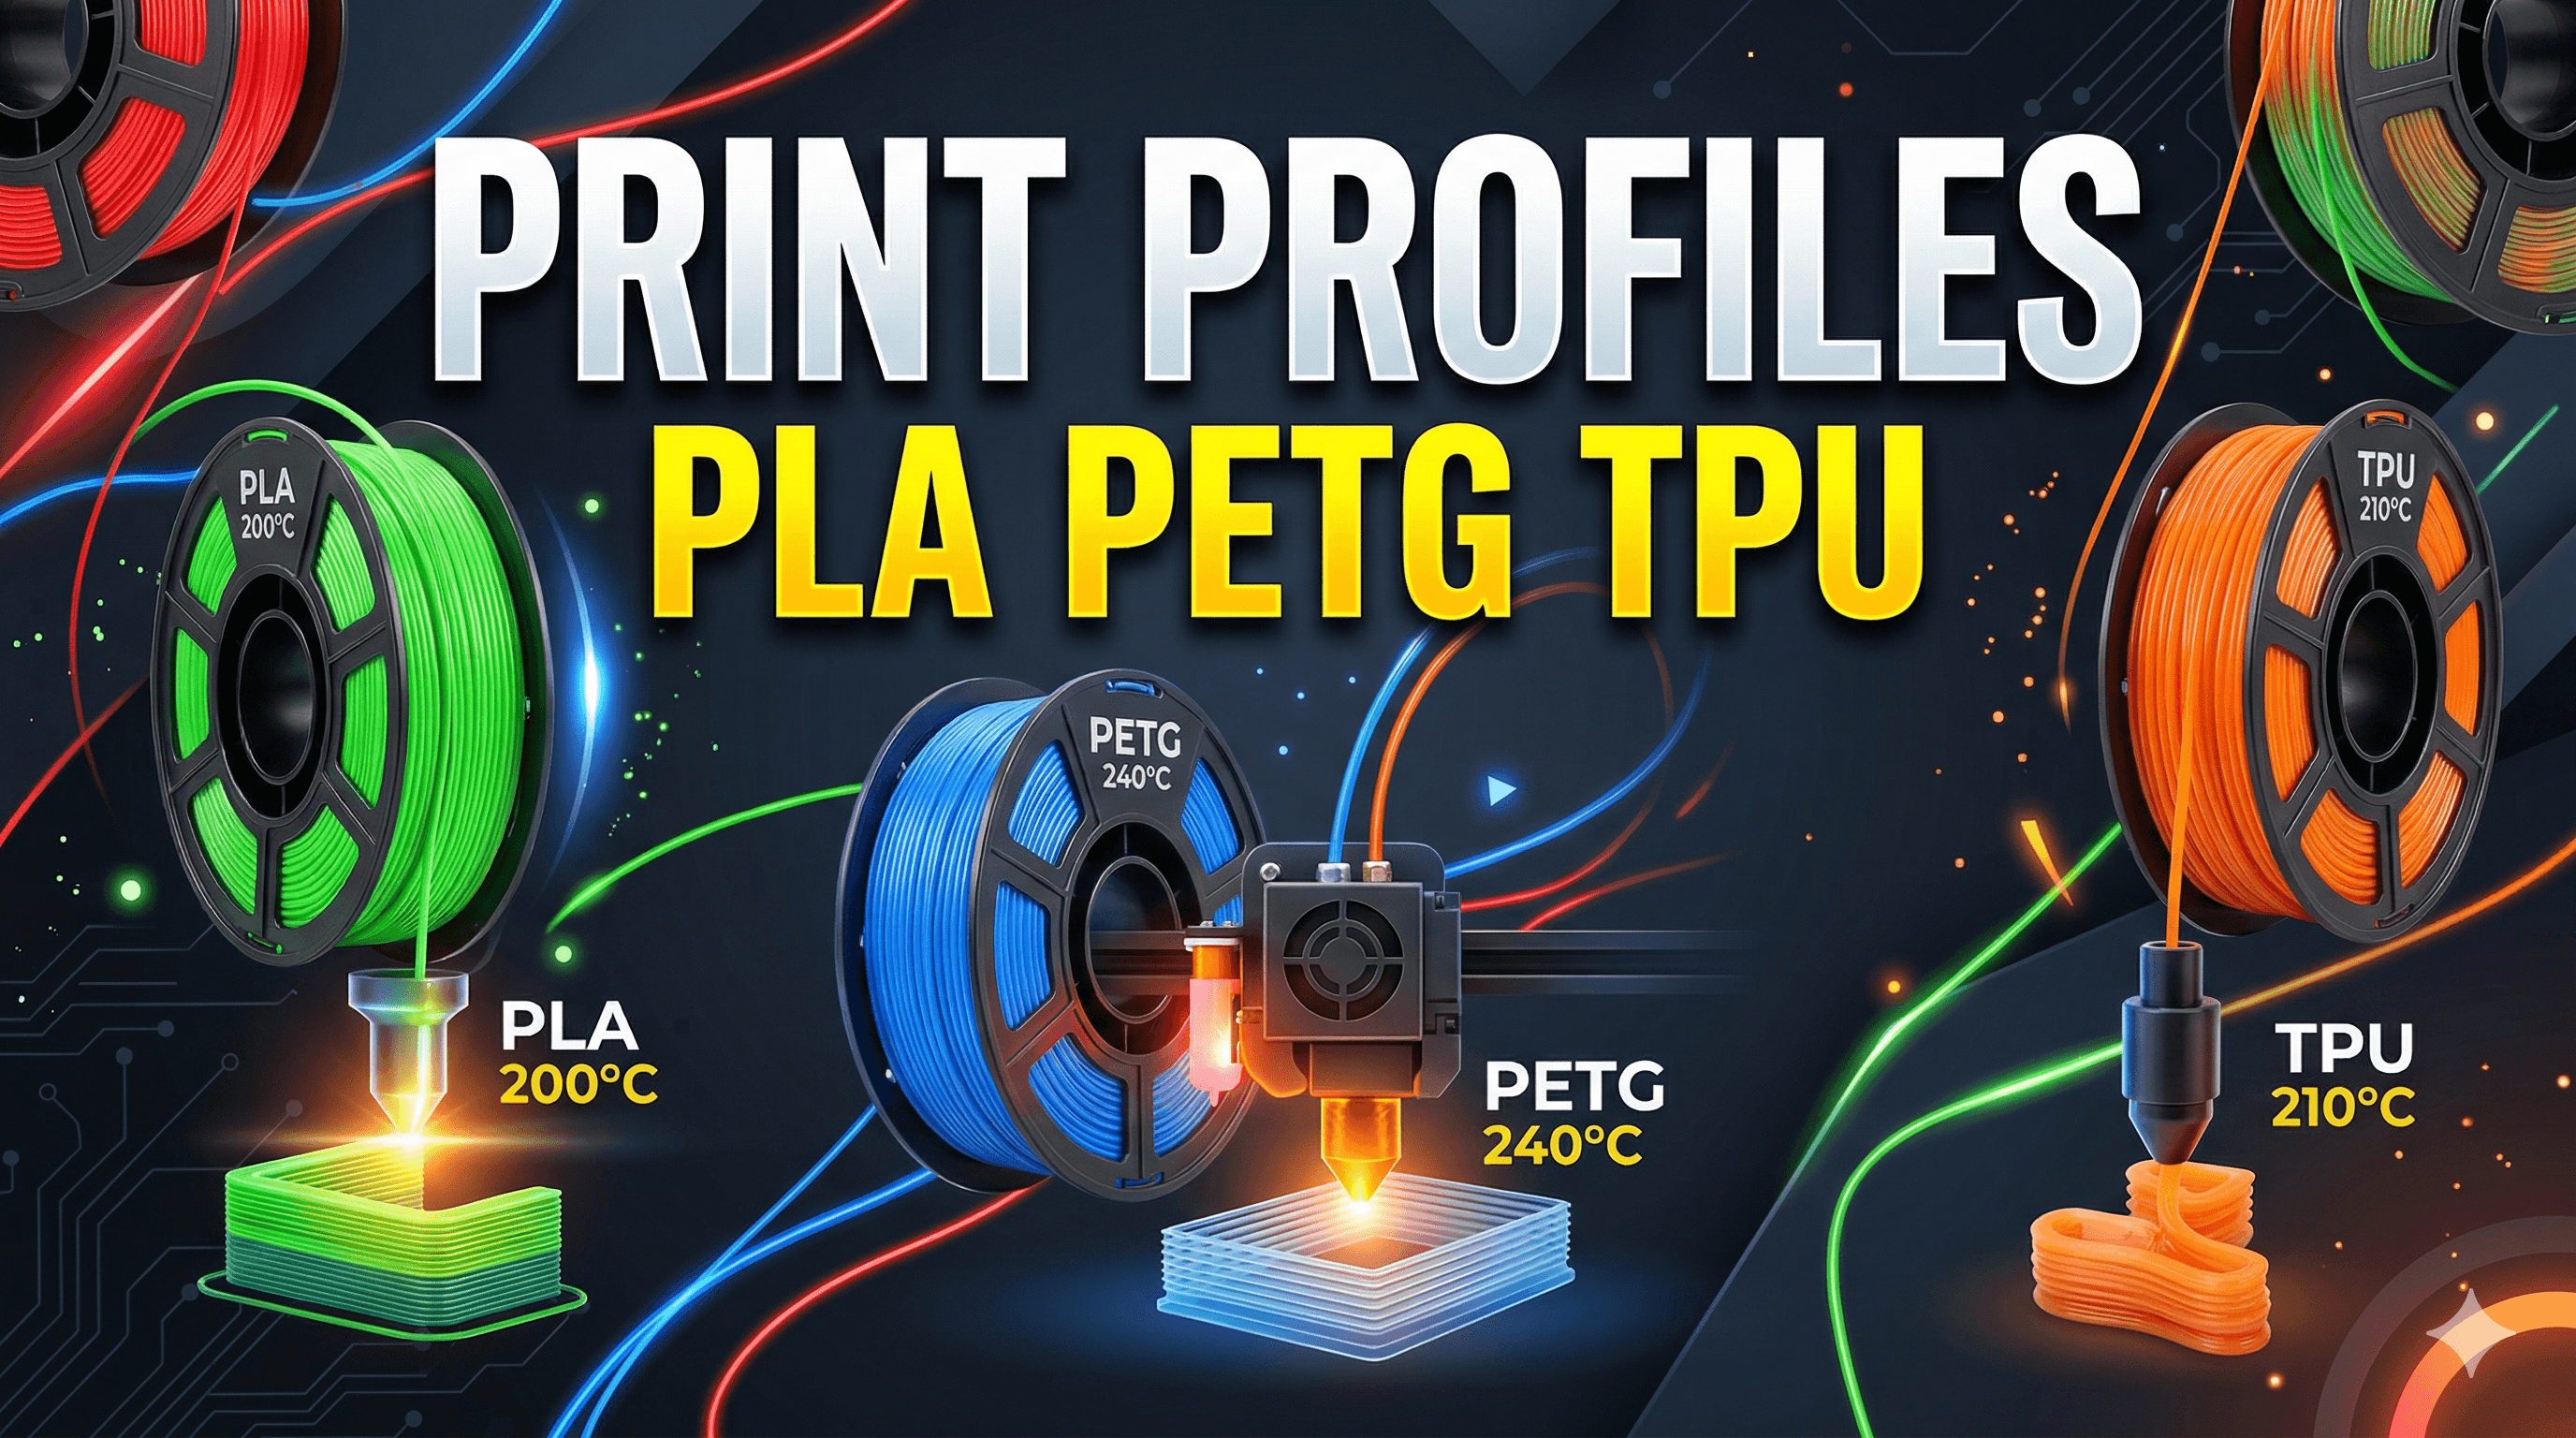
Best Ender 3 V3 SE Print Profiles for PLA, PETG, and TPU
Discover the ultimate print profiles for your Ender 3 V3 SE, tailored for PLA, PETG, and TPU filaments. Achieve flawless 3D prints and elevate your printing experience with our expert settings.
My Ender 3 V3 SE: Unlocking Perfect Prints (PLA, PETG, TPU) – A Desi 3D Printing Journey!
Alright folks, pull up a chai, because we need to talk shop. Specifically, about the machine that’s been humming away in my little workshop here in India, churning out everything from delicate prototypes to robust functional parts: the Creality Ender 3 V3 SE. Man, what a beast this printer is, especially for its price point – you can snag one for around ₹20,000 to ₹22,000, and honestly, that’s a steal for the features it packs. I mean, auto bed leveling with CR Touch, a direct drive extruder, decent print speeds right out of the box? It’s basically a cheat code for anyone getting into 3D printing, or even seasoned makers looking for a reliable workhorse without breaking the bank. But here’s the deal: having a great printer is just half the battle. The other, arguably more crucial half, is knowing your print profiles. It’s like having a high-performance car but not knowing how to tune its engine for different terrains. So today, I'm gonna spill the beans on my go-to print profiles for the Ender 3 V3 SE for the three most common filaments I use: PLA, PETG, and that finicky but oh-so-useful TPU. These are my battle-tested settings, refined through countless hours of trial and error (and a fair bit of head-scratching, I won’t lie!).PLA: The Friendly Giant (and My Daily Driver)
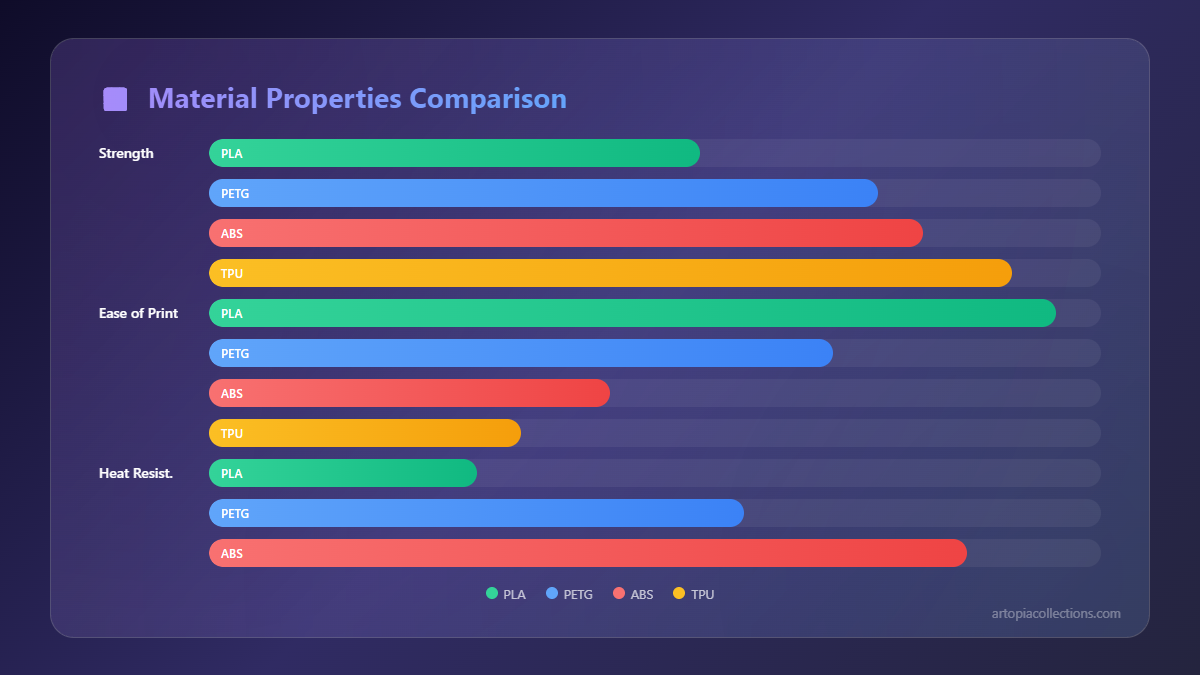
Let's start with good old PLA. If you're new to 3D printing, PLA is your best friend. It’s easy to print, forgiving, and the most common material out there. For my business, ArtOpia Collections, PLA is what I use for most of my artistic prints and prototypes. It just works.My Ender 3 V3 SE handles PLA like a champ, but getting those silky-smooth layers and perfect adhesion requires a little tweaking. Here’s what I typically run:
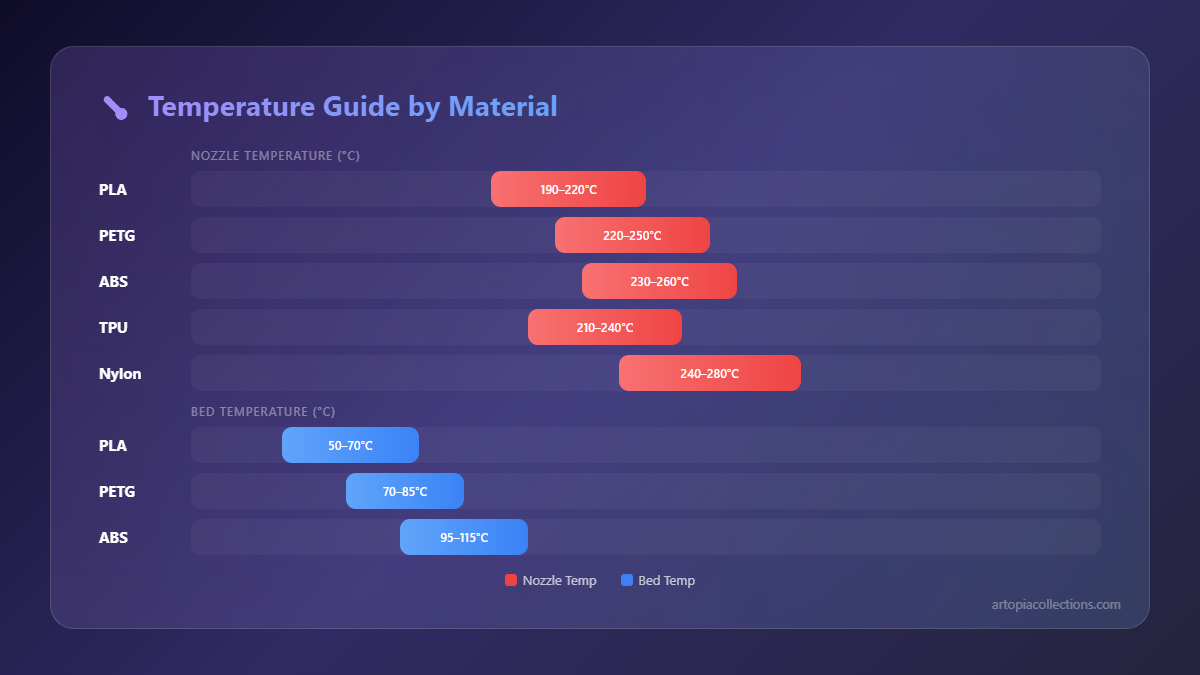
- Nozzle Temperature: 200-210°C. I usually lean towards 205°C for most brands like eSun or Overture PLA, which are easily available here for around ₹900-₹1200 per kg. If I’m using a fancy silk PLA, I might bump it up to 210°C for better sheen.
- Bed Temperature: 60°C. This is non-negotiable for me. It gives me consistent first layer adhesion without any warping issues. The stock PC spring steel sheet on the V3 SE is great for this, by the way.
- Print Speed: 80-100 mm/s. The V3 SE with its direct drive and Klipper-like firmware (it's not full Klipper, but it's fast) can handle these speeds really well. For inner walls and infill, I might even push it to 120 mm/s, but for outer walls, I stick to 80 mm/s to maintain quality.
- Retraction Distance: 0.8-1.0 mm. And here's why the direct drive is awesome – you need very little retraction. This minimizes stringing and blobbing, which is a common headache with Bowden setups.
- Retraction Speed: 40-50 mm/s. Fast enough to pull the filament back quickly but not so fast that it grinds.
- Cooling: 100% after the first few layers. PLA loves cooling, and that powerful fan on the V3 SE does a fantastic job preventing heat creep and improving bridging. I usually set the fan to kick in at 20% height for the first 2-3 layers, then ramp up to full.
Honestly, with these settings, I rarely have issues. The CR Touch on the V3 SE makes sure my first layer is almost always perfect, which is, like, 80% of the battle right there. And for general purpose PLA, you can't go wrong with something like good quality PLA filament available on Amazon India. It's affordable and consistent.
PETG: The Stronger, Smarter Sibling
Okay, so PLA is great, but sometimes you need something with a bit more oomph – more strength, a little flexibility, and better temperature resistance. That’s where PETG comes in. I use PETG for functional parts, tool holders, or anything that needs to withstand a bit more stress or heat. It’s a bit trickier than PLA, not gonna lie, but the V3 SE handles it surprisingly well.The main challenges with PETG are often stringing and bed adhesion. It just loves to stick *too* well to some surfaces, or not enough to others. Here are my go-to settings:
- Nozzle Temperature: 235-245°C. PETG likes it hot. I usually start at 240°C. For brands like eSun PETG (which costs around ₹1100-₹1400), this range works perfectly.
- Bed Temperature: 70-80°C. I mostly use 75°C. This helps with layer adhesion and reduces warping, which PETG can sometimes be prone to, though less than ABS.
- Print Speed: 50-70 mm/s. I slow it down significantly for PETG. Going too fast just leads to more stringing and less reliable layer bonding. Outer walls get printed at 40-50 mm/s for maximum strength and aesthetics.
- Retraction Distance: 0.8-1.2 mm. Slightly more than PLA, but still minimal thanks to the direct drive. The trick with PETG retraction is to find the sweet spot – too little and you get strings, too much and you get clogs or grinding.
- Retraction Speed: 30-40 mm/s. Slower retraction for PETG can sometimes help reduce stringing, as it gives the melted plastic a moment to "cool" or settle before being pulled back.
- Cooling: 20-50%. This is crucial! Unlike PLA, PETG doesn’t like a lot of cooling. Too much fan and you get brittle layers and poor adhesion between layers. I usually run my fan at 20-30% for overhangs and bridges, otherwise, I keep it low.
For bed adhesion with PETG, I've found that a thin layer of Fevicol dissolved in water (don't laugh, it's a classic Indian hack!) or a proper 3D printer bed adhesive spray works wonders on the V3 SE's PC surface. Just be careful when removing prints, as PETG can sometimes bond *too* well, potentially damaging the print surface. Wait for the bed to cool completely! Trust me, I learned that the hard way, almost ripping a chunk out of my build plate once.
TPU: The Flexible Friend (Tricky but Rewarding!)
Ah, TPU. The bane of many a 3D printer owner's existence, but a lifesaver for specific functional prints. Need a phone case, flexible feet for a device, or a bumper? TPU is your guy. And because the Ender 3 V3 SE has a direct drive extruder, printing TPU is actually… manageable! On older Bowden setups, it was a nightmare of tangles and failed prints. Not here!Printing TPU requires a completely different mindset. It's all about patience and going slow. Like, really slow. Here are my settings:
- Nozzle Temperature: 220-230°C. Different TPUs can vary a lot, so I usually start at 225°C and adjust based on how it's extruding. Too low and it won't flow, too high and you get a stringy mess.
- Bed Temperature: 40-50°C. TPU doesn't need a super hot bed. Too hot and it can stick *too* well. 45°C is my sweet spot.
- Print Speed: 20-30 mm/s. Seriously, slow down! This is where most people fail with TPU. For inner walls and infill, I might push it to 35 mm/s, but never more than that for external features.
- Retraction Distance: 0-0.5 mm. And here's the biggest difference: almost no retraction, or very minimal. TPU is like a rubber band – if you retract it too much, it just stretches and jams in the nozzle or extruder. For my V3 SE, I usually disable retraction entirely or set it to 0.2mm if absolutely necessary for a specific model.
- Retraction Speed: 10-20 mm/s (if used). If I do use retraction, it's very slow to avoid stretching the filament.
- Cooling: 0-30%. Similar to PETG, TPU doesn’t love excessive cooling. I keep it minimal, just enough to help with very steep overhangs. Too much cooling can lead to poor layer adhesion and a more brittle print.
Another massive tip for TPU: keep your filament dry! TPU is incredibly hygroscopic, meaning it absorbs moisture from the air like a sponge. Wet TPU will give you bubbles, inconsistent extrusion, and weak prints. I always store my TPU in a sealed bag with desiccant or use a dry box. If I've left it out for a while, I'll dry it in a filament dryer (or even a food dehydrator if I'm feeling adventurous, though I'd recommend a dedicated dryer for safety and consistency). You can find TPU filament for anywhere from ₹1500 to ₹2000 per kg in India.
Beyond the Profile: Crucial Tips for Any Filament!
Look, having the right settings is paramount, but a good print profile won't save you if your machine isn't dialed in. Here are a few non-negotiable checks I do regularly:- First Layer Calibration: The Ender 3 V3 SE has CR Touch, which is amazing, but it's still worth watching your first layer like a hawk. Adjust your Z-offset manually during the first layer if needed to get that perfect "squish." It should look like a smooth, semi-transparent layer, not too thin (gaps) and not too thick (ridges).
- E-Steps & Flow Calibration: While the V3 SE comes pretty well calibrated, it's always good to check your E-steps (extruder steps per mm) and then calibrate your flow (or extrusion multiplier) for each new filament brand. This ensures you're putting out *exactly* the right amount of plastic.
- Clean Your Build Plate: Seriously, this is so simple but so often overlooked. A quick wipe down with isopropyl alcohol before every print, or at least every few prints, makes a world of difference for adhesion.
- Filament Storage: I mentioned it for TPU, but it applies to all filaments. Humidity is the enemy. Invest in some airtight containers and desiccant packs. Even PLA can get "wet" and print poorly.
- Slicer Choice: I personally use PrusaSlicer for most things, but Creality Print (the V3 SE specific slicer) is actually quite decent and has good default profiles. Cura is also a solid option. Find what works for you and learn it inside out.
- Nozzle Maintenance: Keep an eye on your nozzles. Over time, they wear down, especially with abrasive filaments. A pack of replacement nozzles is cheap (maybe ₹500 for a decent set of brass nozzles) and can save you a lot of print quality headaches.
Ultimately, 3D printing is a journey of continuous learning and experimentation. These profiles are excellent starting points, but every printer is slightly different, every batch of filament has its quirks, and your environment (humidity, ambient temperature) also plays a role. Don't be afraid to tweak, test, and take notes. That's how you truly master your machine.
And hey, if you're looking for some cool stuff printed right here in India, maybe even using some of these very profiles, check out what we're cooking up over at ArtOpia Collections. We put a lot of love into every print, pushing the boundaries of what these amazing machines can do.
Happy printing, fellow makers! May your layers be smooth and your beds be level!