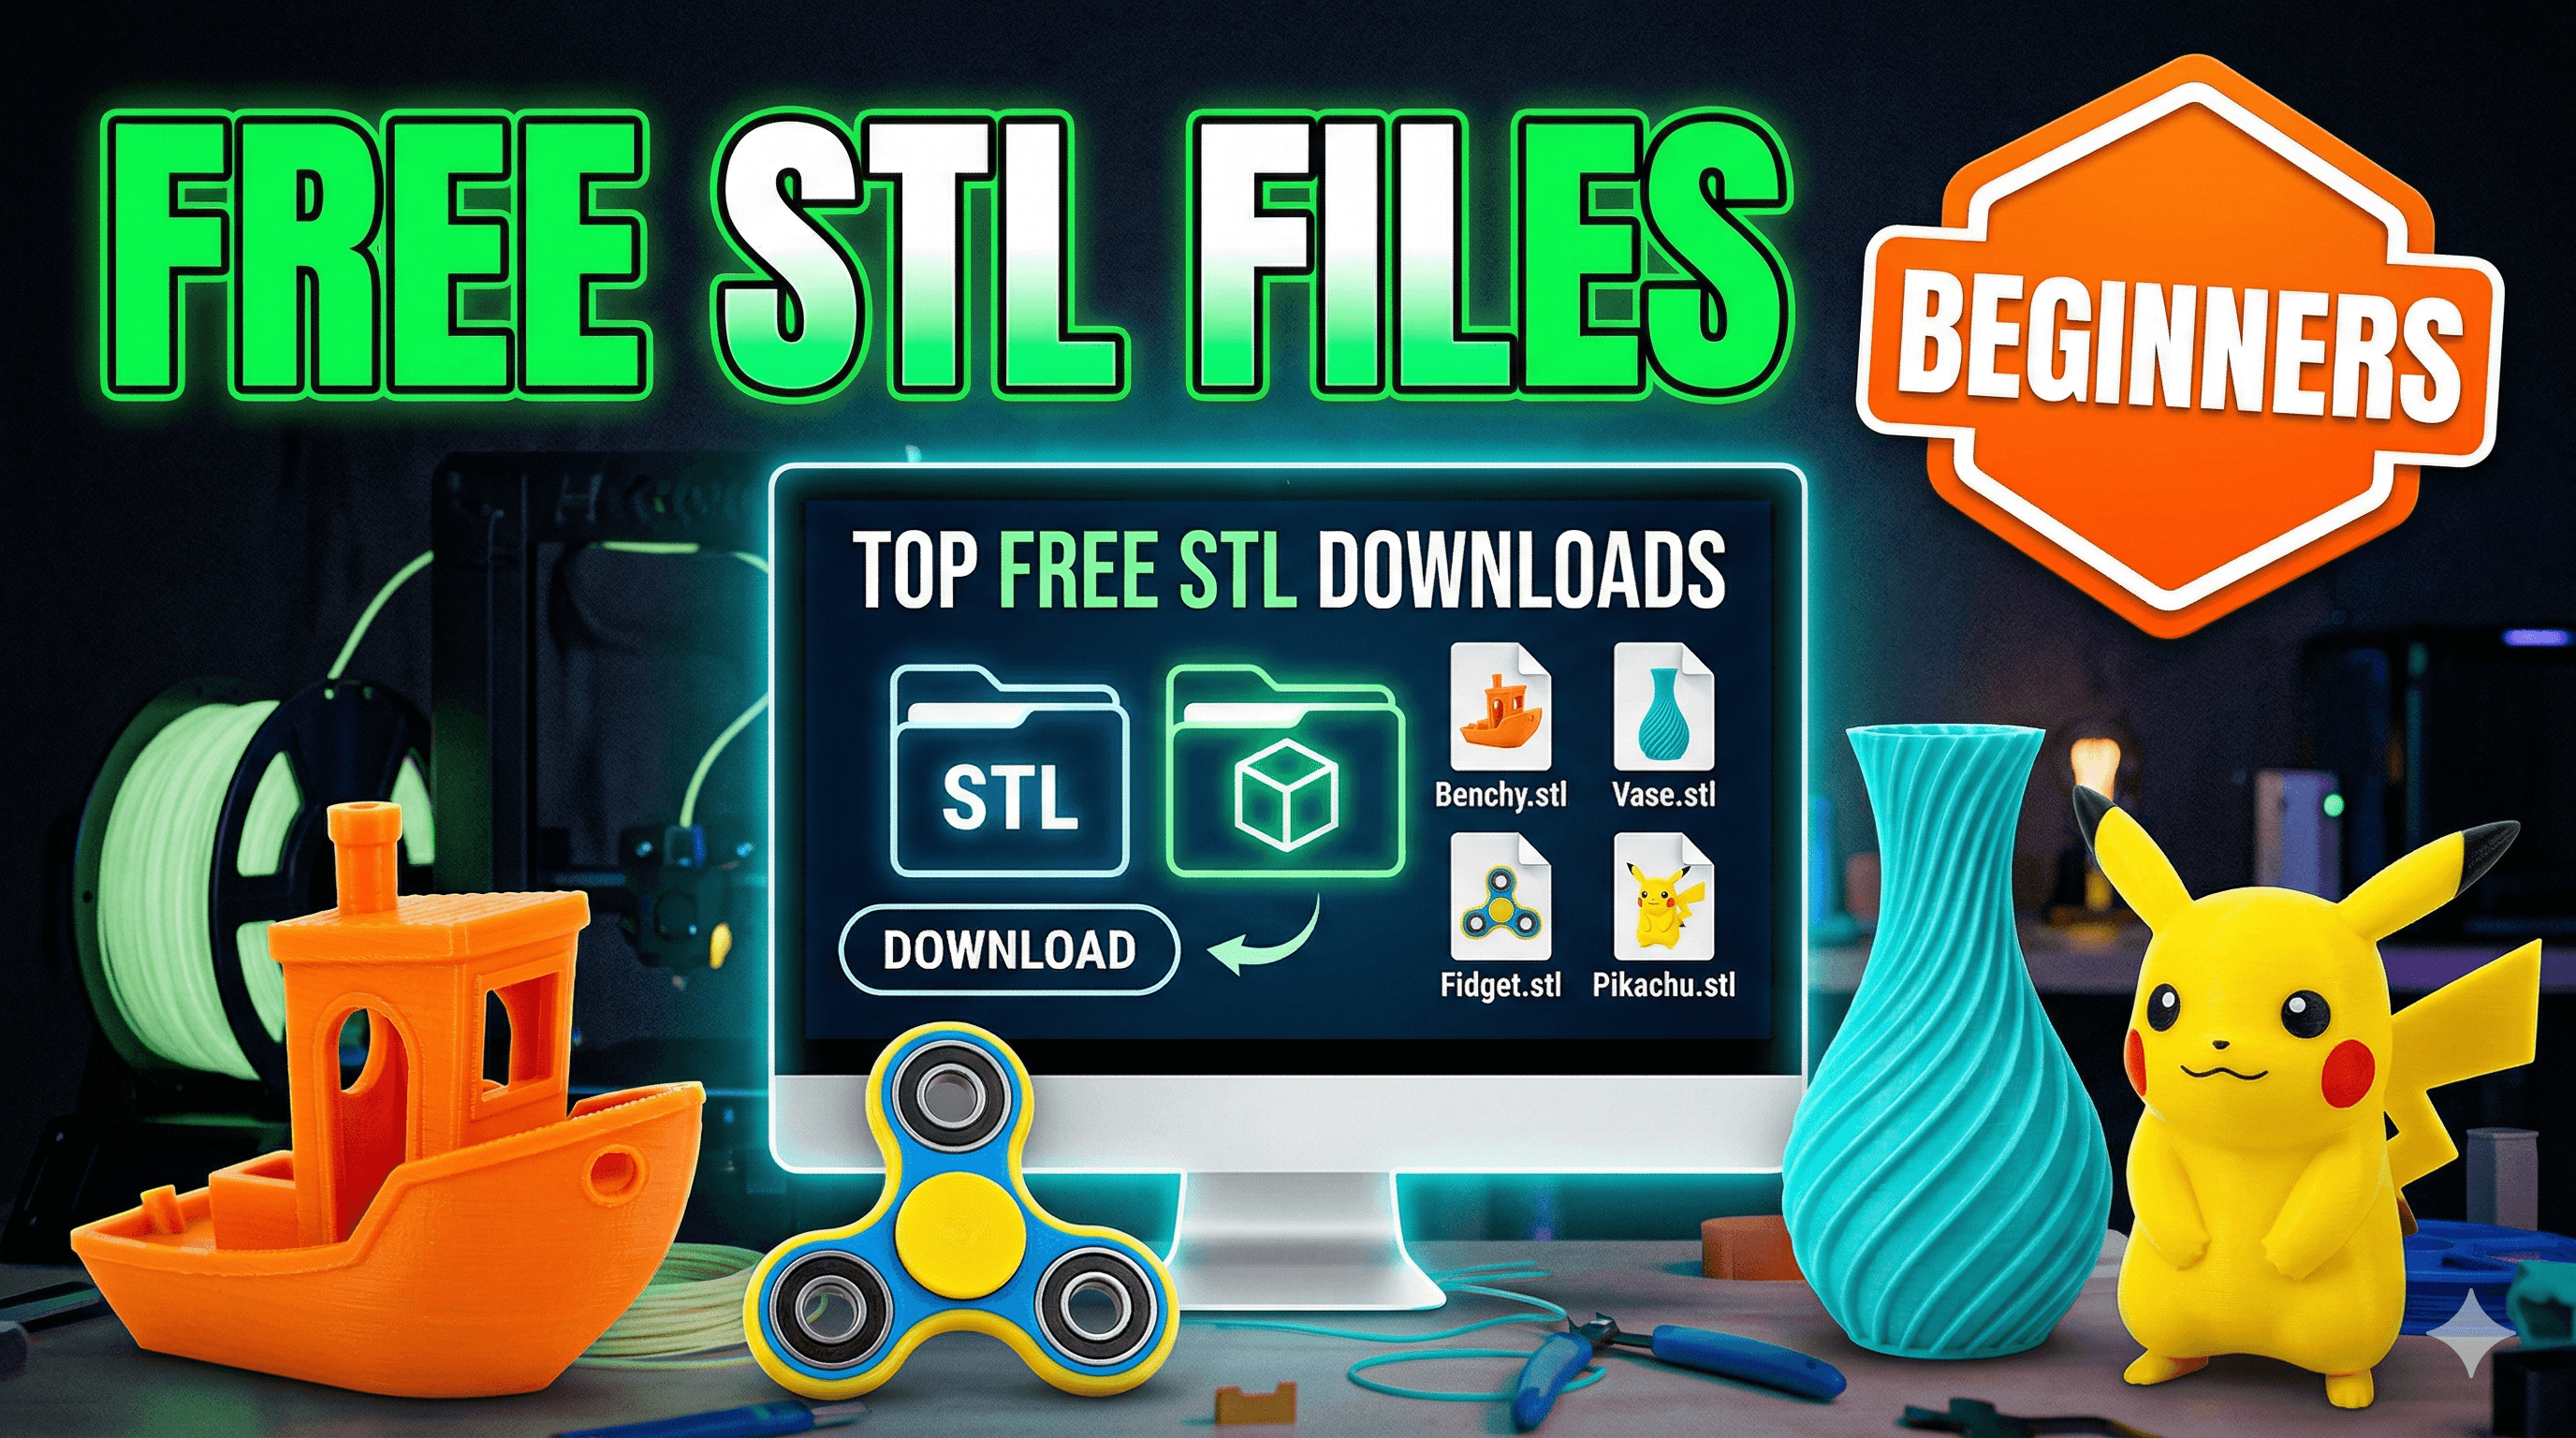
Best Free STL Files for Beginners: Where to Find and How to Download
New to 3D printing? Discover the best free STL files specifically chosen for beginners. Learn exactly where to find them and simple steps to download them for your first projects.
So, you finally did it, huh? You pulled the trigger, unboxed that beautiful machine â maybe an Ender 3, or a Creality K1, or even a fancy Prusa if youâre feeling extra boujee â and now itâs sitting there, humming softly, practically begging you to make something. But then comes the big question, the one that hits everyone, and I mean *everyone*, right after the initial setup: âOkay, what the heck do I print first?â
I know that feeling, trust me. Itâs like getting the keys to a brand-new sports car and then realizing you donât know any cool roads to drive on. Youâve got this incredible technology, capable of bringing anything from your imagination into the real world, and suddenly your mind just goes⦠blank. Or, worse, you find a cool model, try to print it, and then it turns into a spaghetti monster because it was way too complex for a beginner. Been there, done that, bought the T-shirt (and then probably printed a better one).
Thatâs why, in my experience, the absolute best place to start your 3D printing journey, especially when youâre still learning the ropes of slicing, bed adhesion, and avoiding stringing, is with free STL files. And look, there are *tons* of them out there. Honestly, it's a treasure trove!
Why Free STL Files are Your Best Friend (Especially in India!)
Before we dive into *where* to find these gems, let's talk about *why* they're so crucial for beginners. First off, and this is a big one for us here in India, it saves you money. A good kilo of PLA filament, like eSun or Overture (which I personally love for its consistency), can set you back anywhere from â¹1000 to â¹1800, sometimes more for specialty stuff. And while that might not sound like a lot, when youâre learning, youâre going to mess up. A lot. Youâll have failed prints, supports that wonât come off, and prints that just⦠detach mid-way. Every failed print is a little bit of that precious filament (and your hard-earned cash) going into the bin.
So, starting with free models means you can experiment without the added pressure of having paid for the design itself. You can try different settings, mess around with infill, play with retraction, and basically just learn your printerâs quirks without feeling like youâre wasting â¹500 on a model that didn't even print right. It's about freedom to fail, which is honestly the fastest way to learn in 3D printing.
Plus, many free models are specifically designed with beginners in mind. They might be simpler shapes, require no supports, or have clear instructions from the designer on recommended settings. Itâs like having a friendly guide holding your hand through the initial steps.
The Big Three (and a Few More) for Finding Free STLs
Alright, enough gyaan! Let's get down to business. Where do you actually *find* these magical free STL files? In my opinion, there are a few undisputed champions, and then some niche spots worth exploring.
1. Thingiverse: The OG (But Sometimes a Bit Quirky)
Thingiverse has been around forever, and itâs basically the grandaddy of all free STL repositories. It's got an absolutely enormous library of models â I'm talking millions. You can find anything from cool practical prints, like cable organizers or tool holders, to fun little trinkets and figurines. The community aspect is strong, with users often sharing their makes and modifications.
How to use it: Just head over to Thingiverse.com, and use the search bar. My advice for beginners? Don't just type "cool stuff." Be specific. Try things like "phone stand," "calibration cube," "Benchy" (the famous 3D print boat, a must-do for any beginner!), "cable clip," or "fidget toy." And here's a pro-tip: always look at the "Makes" section for any model. That's where other users show off their prints and often share their settings or any issues they faced. It's super helpful for gauging if a model is actually printable for a newbie.
The thing is, Thingiverse can sometimes feel a bit⦠unpolished. The search function isn't always perfect, and the website can be a little slow or buggy at times. But don't let that deter you; the sheer volume of free files makes it indispensable.
2. Printables.com: The New Kid on the Block (and Seriously Good)
Run by Prusa Research (the makers of those amazing Prusa printers), Printables.com has quickly become my go-to for quality free models. It's much newer than Thingiverse, and it feels it â the interface is clean, modern, and very user-friendly. Designers here are often rewarded with Prusa filament for popular designs, which encourages high-quality uploads and excellent documentation.
Why I love it for beginners: Many models on Printables come with very detailed instructions, recommended print settings, and even specific filament types they were tested with. This is a godsend when you're just starting out and every setting feels like a mystery. You can filter by "easy to print," "no supports needed," or even "print-in-place" designs, which are super cool because they print as one piece with moving parts straight off the build plate.
Seriously, if you're feeling overwhelmed by Thingiverse's chaos, start with Printables. You'll likely find more success and less frustration.
3. MyMiniFactory: Curated Quality
MyMiniFactory is another fantastic resource, known for its curated collection of 3D models. While it does have a significant number of paid models, it also offers a huge section of free STLs. The key here is "curated." This means that generally, the models you find on MyMiniFactory are of higher quality and have been tested to ensure printability.
Great for more specific searches: If youâre looking for something a bit more artistic, character-based, or just generally well-designed, MyMiniFactory is a great place to check. Again, look for beginner-friendly tags, check the comments, and don't be afraid to try something simple first. They also have a very active community, so you can often find helpful advice if you get stuck.
A Few Others Worth a Quick Look:
- Cults3D: Similar to MyMiniFactory, a mix of free and paid, with a good quality standard. Filter by "free" to see what's available.
- Thangs: This one is more of a universal search engine for 3D models. It indexes models from various sites, which can be useful if you're looking for a specific object and want to see if it exists across platforms.
- Yeggi: Another 3D model search engine, aggregates results from many sites. Good for quick searches across multiple repositories.
Downloading, Slicing, and Your First Print!
Okay, so you've found a cool model â maybe a small planter, or a simple keycap, or even that iconic Benchy boat. Now what?
- Download the STL: Most sites will have a big "Download" button. Click it, and save the .STL file to a memorable location on your computer. An STL file is basically the 3D model data, a mesh of triangles that your printer can understand.
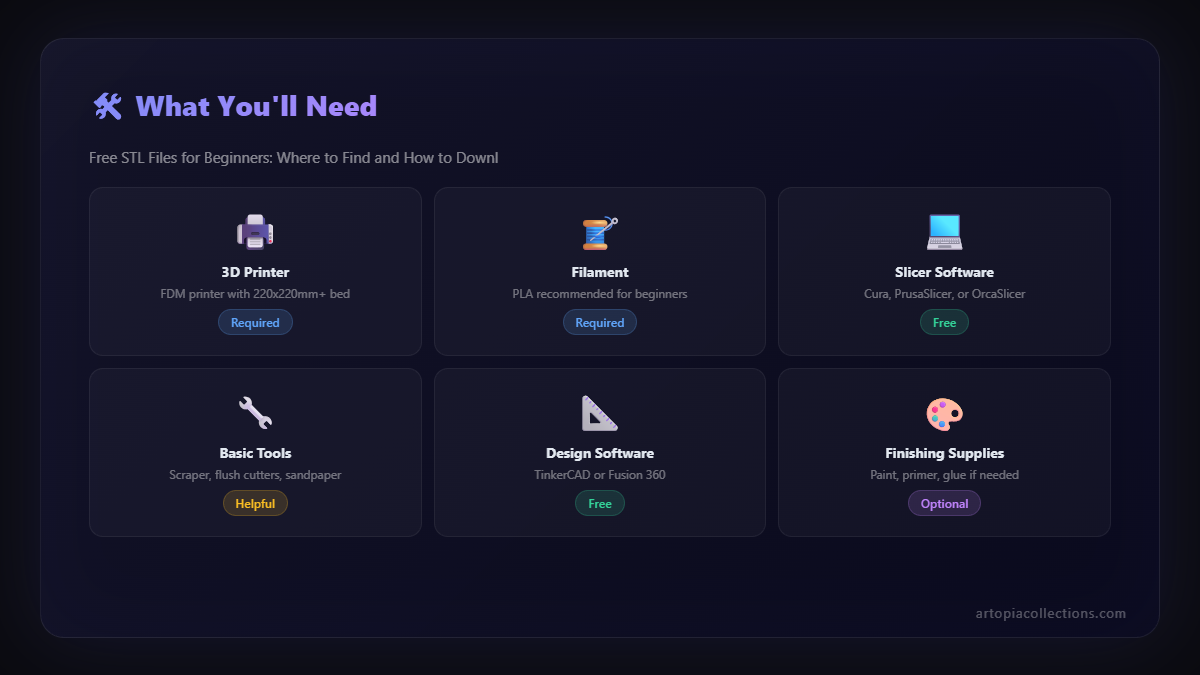
- Open in Your Slicer: Your 3D printer needs a translator, something to convert that STL file into a language it understands (G-code). This is where your slicing software comes in. Common ones include Ultimaker Cura (free and widely used), PrusaSlicer (also free, and excellent), or Simplify3D (paid, but powerful). Open your chosen slicer, and then open the STL file you just downloaded.
-
Configure Settings: This is where the magic (and sometimes the frustration) happens. For beginners, honestly, just start with your slicerâs default "Standard" or "Draft" profile for PLA filament. It's usually a good starting point. As you get more experienced, you'll tweak things like layer height (thicker layers print faster but are less detailed, thinner layers are slower but smoother), infill (how dense the inside of your print is), supports (if your model has overhangs that need temporary scaffolding), and raft/brim (for better bed adhesion). Don't worry too much about all of it now. Just stick to the basics.
A personal tip: if the designer has provided specific settings, try those first! They've already done the hard work of testing.
- Slice It: Once you're happy with the settings (or just going with the defaults), hit the "Slice" button. The slicer will process the model and tell you how long it will take to print and how much filament it will use. This is where you can see if your 10-hour print is actually going to consume half a roll of filament (and maybe decide against it for now!).
- Save to SD Card (or Transfer): Your slicer will output a .gcode file. Save this onto an SD card (or USB stick, depending on your printer), safely eject it, and pop it into your printer.
- Print! Select the G-code file on your printerâs screen, hit print, and watch the magic unfold. And trust me, that first successful print, even if it's just a tiny calibration cube, feels like youâve conquered the world.
Essential Beginner Tips & My Go-To Filament
Here are a few quick tips, forged in the fires of many failed prints in my own workshop:
- Start Simple: I cannot stress this enough. Don't go for that insanely detailed dragon right away. Start with a flat coaster, a simple box, or a tiny figurine. Build confidence.
- Level Your Bed: This is the absolute cornerstone of successful 3D printing. A properly leveled bed means your first layer sticks beautifully, preventing half your issues. There are tons of YouTube videos on this for every printer model.
- PLA is Your Best Friend: For beginners, stick to PLA filament. It's easy to print, less prone to warping, and doesn't smell much. I personally recommend brands like eSun PLA+ or Overture PLA, which are readily available on Amazon.in. You can check out good quality PLA filaments here. They generally cost between â¹1000-â¹1500 for a 1kg spool.
- Keep Your Bed Clean: Fingerprints and dust are the enemy of bed adhesion. Clean your build plate with isopropyl alcohol before every print.
- Don't Be Afraid to Fail: It's part of the process. Every failed print teaches you something. Keep a little notebook of what went wrong and what you tried to fix it.
- Get the Right Tools: A good spatula (for prying off prints), some flush cutters (for trimming supports), and a caliper (for measuring prints accurately) are indispensable. You can find useful 3D printing toolkits on Amazon that are pretty affordable.
Beyond the Basics: What's Next?
Once you get comfortable printing free STLs, you'll naturally start to want more. Maybe you'll want to modify existing models, or even design your own from scratch using software like Tinkercad (super easy for beginners) or Fusion 360 (more advanced, but free for hobbyists). The world of 3D printing is truly limitless!
And who knows, maybe one day you'll even turn this hobby into a small business, like we've done with Artopia Collections, creating custom prints, unique products, or offering printing services. The skills you learn by fiddling with those free models are the very same ones that power professional 3D printing. It all starts with that first download and that satisfying hum of your printer.
Go Forth and Print!
Honestly, the best advice I can give you is just to jump in. Don't be intimidated by all the settings and jargon. Pick a simple, free STL, follow the steps, and watch your printer bring it to life. That feeling of holding something you *made* with your own hands (and a little help from a machine) is absolutely priceless.
Happy printing, my friend! And may your first layers always be perfect.