Clogged Nozzle? How to Clean and Unclog Your 3D Printer Hotend
Don't let a clogged 3D printer nozzle ruin your prints. This guide provides step-by-step instructions to clean and unclog your hotend, restoring smooth operation and print quality.
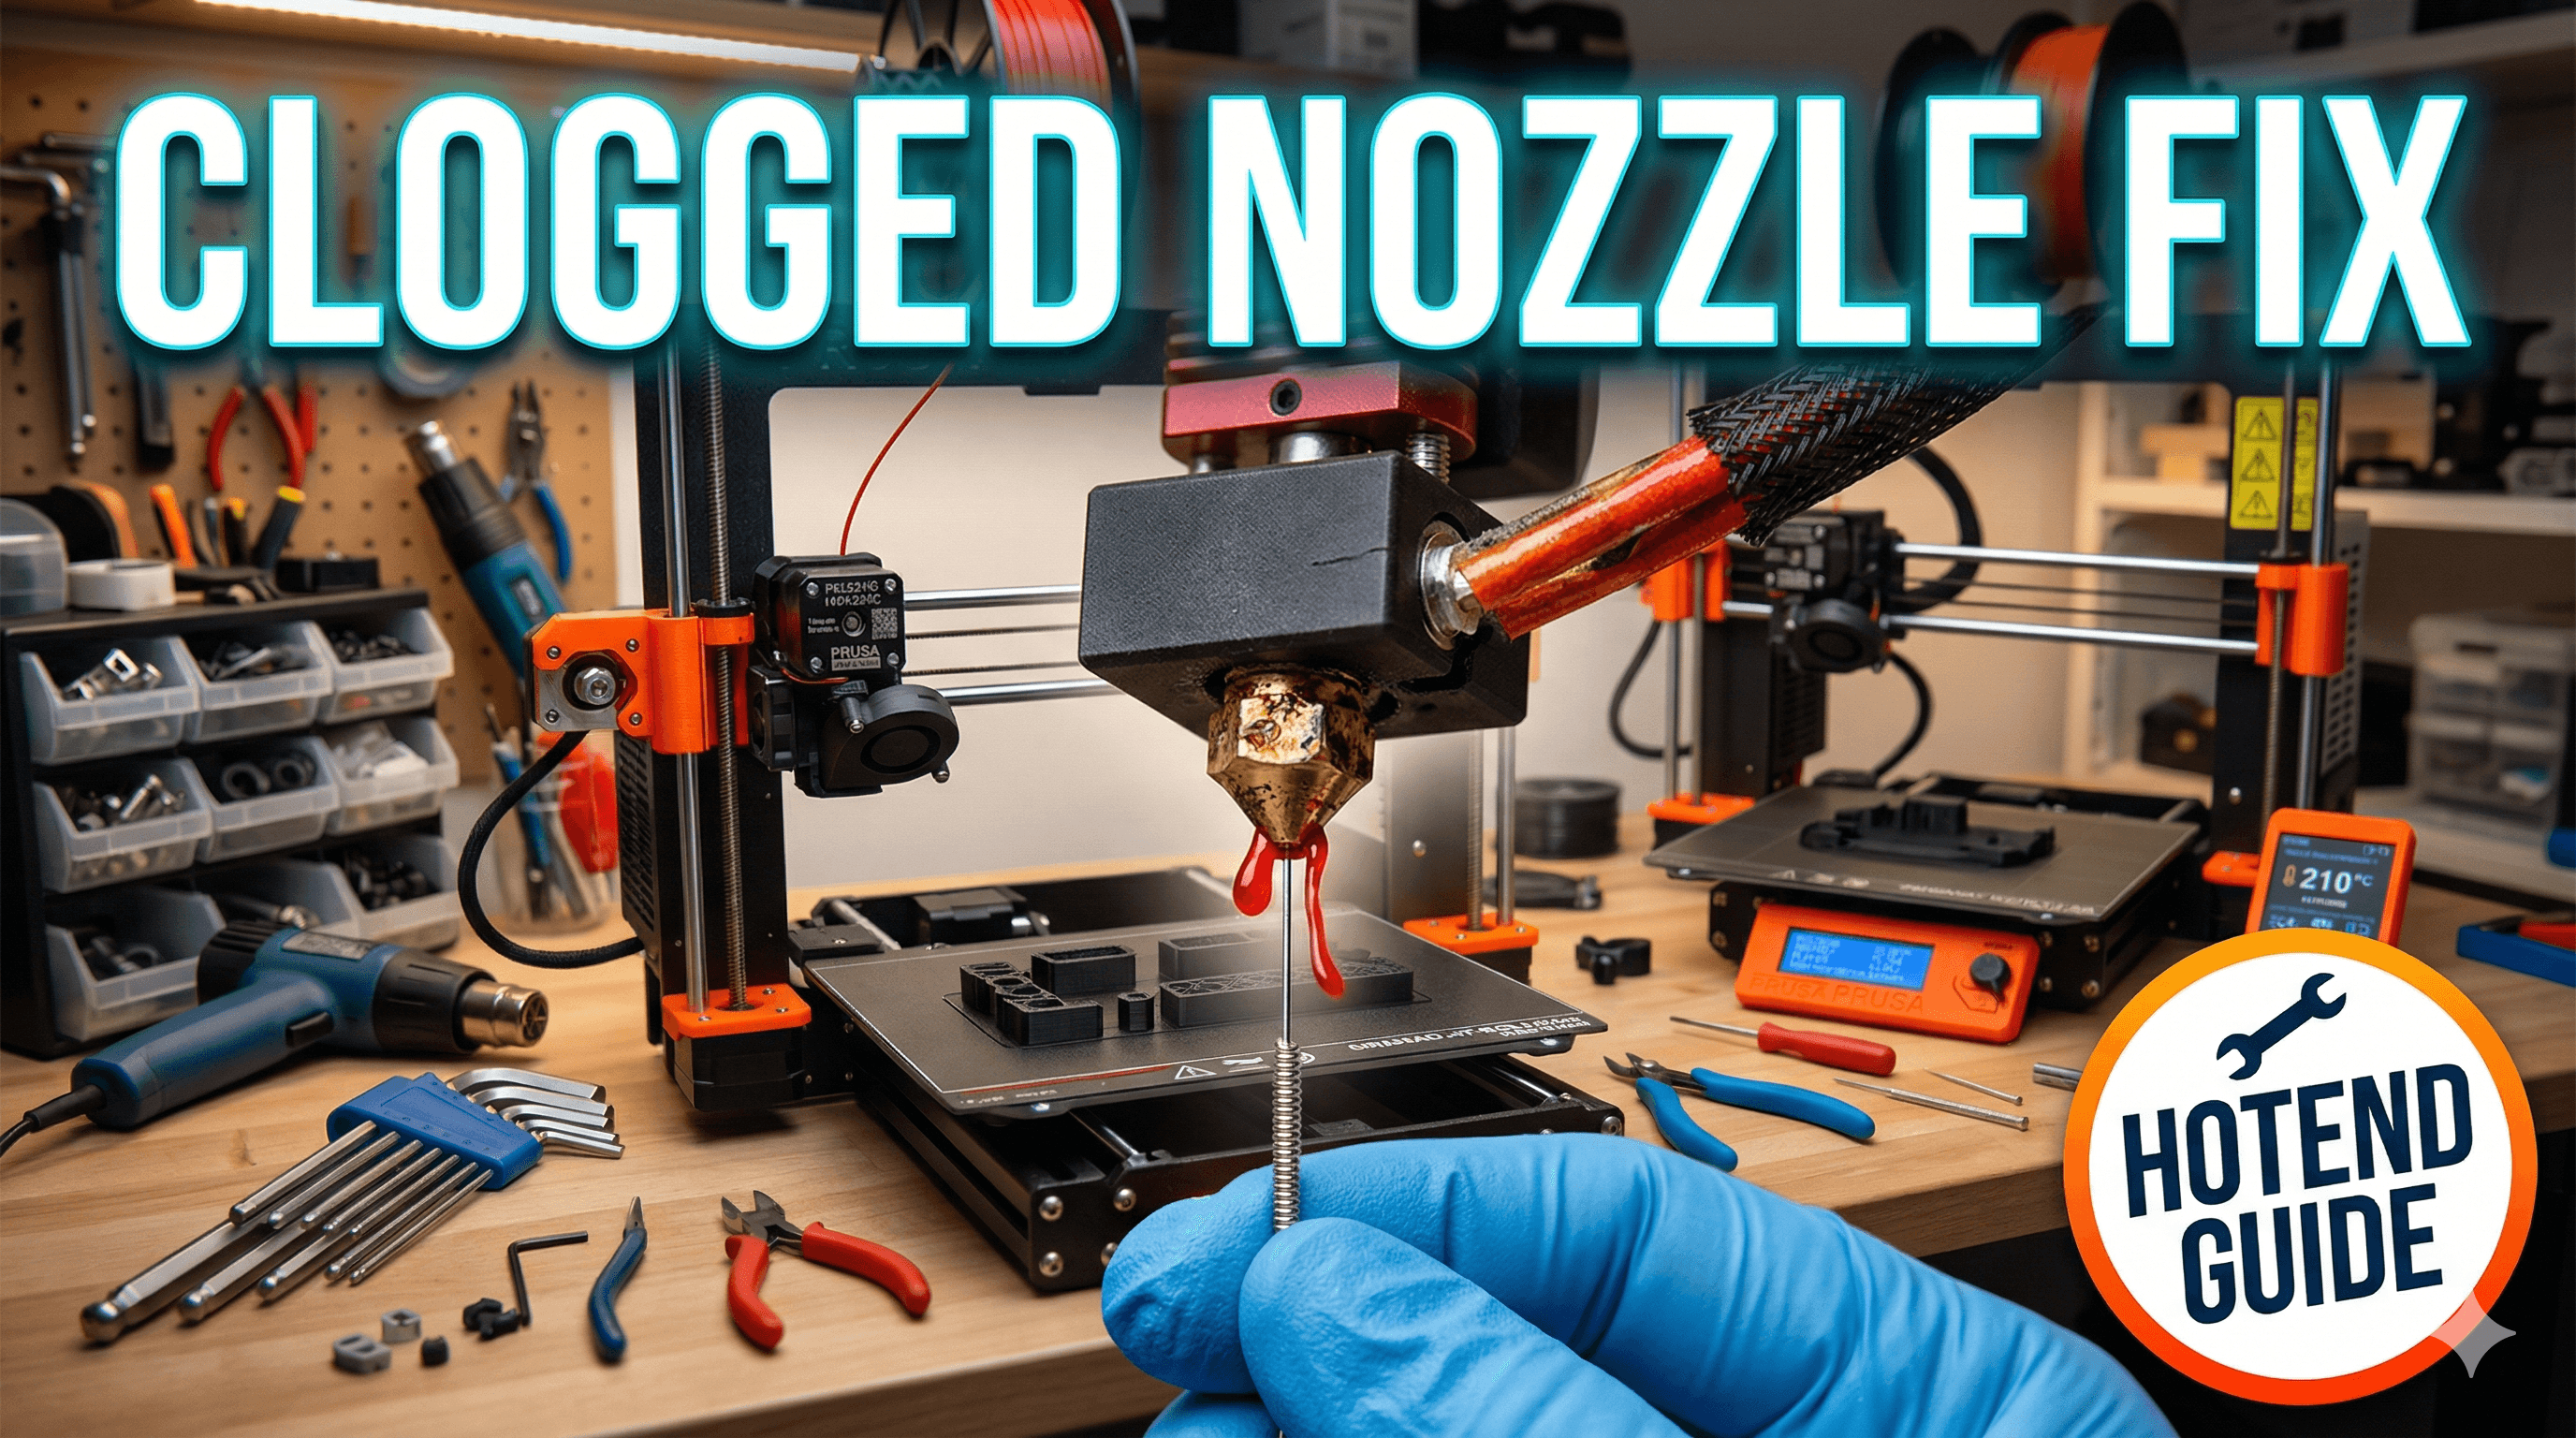
Oh, the dread! You've just prepped your printer, spent ages slicing that intricate model you've been itching to make, you hit 'print', and then... nothing. Or worse, it starts, lays down a few perfect lines, and then suddenly, the filament stops flowing. You peek at the nozzle, and there it is â a grumpy, solid blob, or just an empty, silent hole where plastic should be gushing. A clogged nozzle. It's probably the most common, most frustrating, and honestly, most disheartening problem any 3D printer enthusiast faces. I swear, it feels like a personal attack every single time!
My name is Vidyut, and I run ArtOpia Collections, my small 3D printing business right here in India. We make all sorts of cool stuff, from custom figurines to functional prints, and believe me, I've seen my fair share of clogs. Brass nozzles, hardened steel, you name it â they all decide to throw a tantrum now and then. But the good news? It's almost always fixable, and usually, you don't even need to replace your entire hotend. We're going to dive deep into how to clean and unclog your 3D printer hotend, so you can get back to printing your masterpieces without pulling your hair out. Trust me, I've been there, staring at a half-printed Benchy, wondering what I did wrong. But it's usually not you, it's just, you know, a bit of bad luck or a tiny speck of dust.
Why Do Nozzles Clog Anyway? The Usual Suspects
Before we jump into the fixes, let's quickly understand why these pesky clogs happen. Knowing the 'why' can help you prevent them in the future. And honestly, prevention is always better than cure, especially when it saves you a good hour of fiddling with tiny tools.
1. Dust and Debris: This is a big one, especially in India where dust is practically a national treasure. Tiny particles can settle on your filament, get sucked into the hotend, and then... boom, blockage. Keeping your filament clean and covered is super important. I personally always keep my filament rolls in dry boxes, especially during monsoon season. Humidity is another silent killer, making filament brittle and more prone to snapping and leaving bits behind.
2. Low-Quality Filament: Look, I get it. We all love a good deal. But really cheap filament, sometimes from unknown brands, can often have inconsistent diameters, impurities, or even tiny chunks of foreign material mixed in. These are absolute clog magnets. In my experience, sticking to reputable brands like eSun, Overture, or even some of the better Indian brands like 3D Printz or FilamentKart, pays off in the long run. The few extra rupees per kilo (like going from â¹800 to â¹1200 for a kilo of PLA) is totally worth avoiding the headaches.
3. Retraction Settings Gone Wild: Retraction is when your printer pulls the filament back slightly to prevent stringing during travel moves. Too much retraction, or retracting too fast, can pull molten plastic up into the cold zone of your hotend. This plastic then cools and solidifies, forming a plug. It's called "heat creep," and it's a real pain. Finding the sweet spot for retraction is key for each filament type and printer.
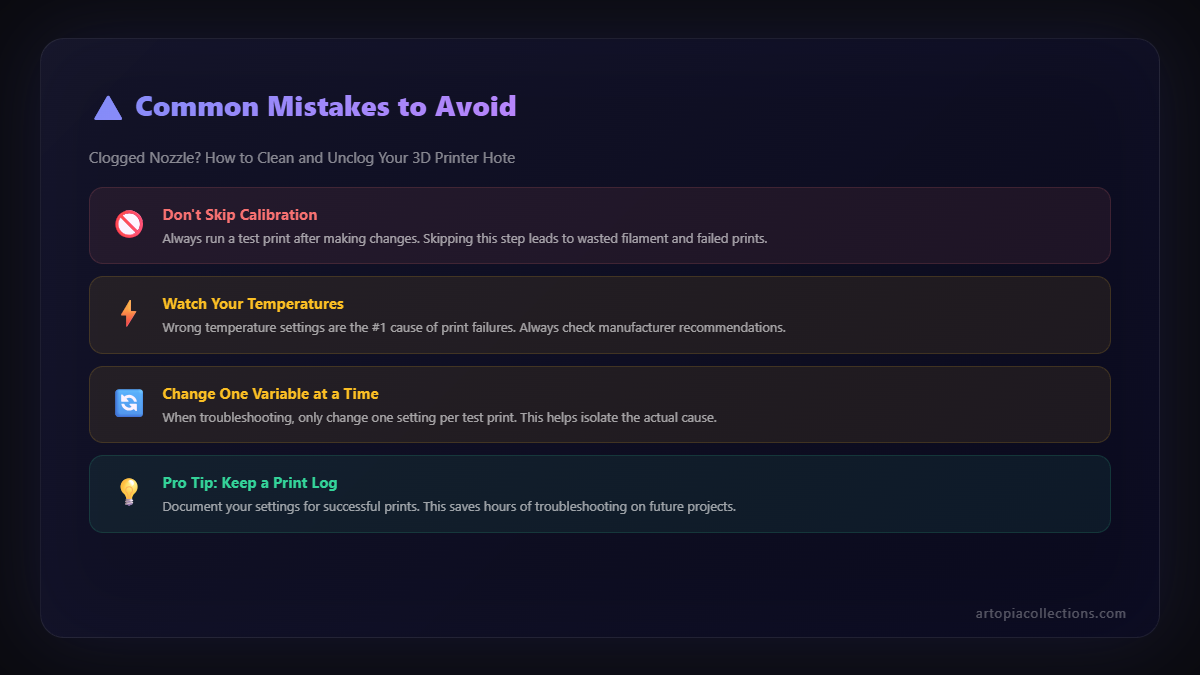
4. Printing Too Cold: If your print temperature is too low for your filament, it won't melt properly and won't flow smoothly. This can lead to a gradual build-up and eventually, a clog. Always check the recommended temperature range for your filament and maybe even do a temperature tower test.
5. Leaving Filament in the Hotend for Too Long: If you leave your printer idle with filament loaded and the hotend still hot, the plastic can "cook" and degrade, forming carbonized bits that can then clog your nozzle. I always unload my filament if I know the printer's going to be off for more than an hour or so, especially if it's PETG or ABS.
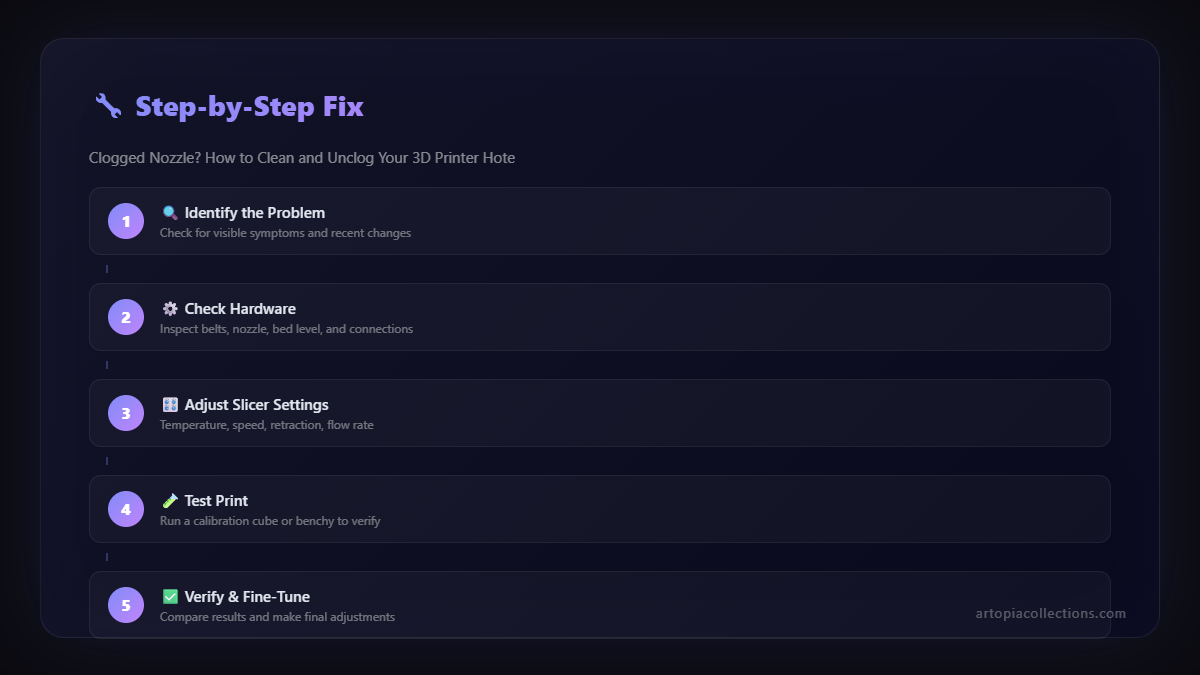
Is It Really a Clog? Diagnosing the Problem
Before you start tearing apart your hotend, let's make sure it's actually a clog and not something else. Sometimes, what looks like a clog is actually under-extrusion due to a partially stripped extruder gear or even a software issue. Here's what to look for:
- No Filament Coming Out: This is the most obvious sign. The extruder gear is pushing, but nothing's happening.
- Clicking Extruder: If your extruder motor is making a clicking sound, it means it's trying to push filament but can't. The resistance is too high, usually due to a clog.
- Severely Under-Extruded Prints: Your prints look weak, have gaps, or are full of holes. Basically, not enough plastic is coming out.
- Filament Grinding: The extruder gear might be grinding away at the filament, creating a flat spot, rather than pushing it through. This is a common symptom.
If you're seeing any of these, chances are you've got a blockage. Don't worry, we've got this.
The Arsenal: Tools You'll Need
Before you begin, gather your tools. You don't need a whole workshop, but a few specific items make the job much easier and safer. Here's my go-to kit:
- Nozzle Wrenches: The ones that came with your printer are usually fine, but a good quality spanner set (â¹150-â¹300 for a small set) or even a socket wrench for nozzles can be a lifesaver.
- Pliers: Needle-nose pliers are great for grabbing tiny bits.
- Nozzle Cleaning Needles: These thin needles are specifically designed to poke into the nozzle hole. You can get a set for about â¹100-â¹250 on Amazon.in.
- Heat-Resistant Gloves: Seriously, your hotend gets *hot*. Don't skimp on safety.
- Spare Nozzles: Always keep a few spare brass nozzles (around â¹50-â¹100 each for a pack of 10) on hand. Sometimes replacement is the easiest option.
- Wire Brush: For cleaning excess plastic from the hotend block.
- A small piece of PTFE tubing: If you have a Bowden setup (like many Ender 3s or Creality CR-10s), this can be useful.
Unclogging Methods: Let's Get Dirty (Carefully!)
Alright, time for the main event. We'll start with the least invasive methods and move towards the more drastic ones. Always proceed with caution, especially when dealing with hot components.
Method 1: The "Cold Pull" or "Atomic Pull" (My Go-To First Step)
This is probably the most effective and least destructive method for removing partial clogs or stubborn bits of carbonized filament. I swear by it for general maintenance too.
Here's how you do it:
- Heat it Up: Load some PLA (it's generally best for cold pulls due to its lower melting point and good rigidity once cooled) and heat your hotend to a temperature slightly above its normal printing temperature. So, if you usually print PLA at 200°C, go for 220°C. Let it sit there for a minute or two to ensure everything is molten.
- Push Some Filament: Manually push some filament through the hotend until it flows out smoothly and cleanly. This helps push any fresh, clean filament into the nozzle.
- Cool Down (The Tricky Part): Now, slowly lower the temperature. For PLA, I usually go down to around 90-100°C. For PETG, maybe 120-140°C. This is the critical step. You want the plastic inside the nozzle to solidify just enough to grab onto any debris, but not so much that it's fused solid.
- Pull It Out! Once it reaches your target temperature, firmly (but not forcefully, remember we want to pull, not snap) pull the filament straight up and out of the hotend. You should feel a slight resistance, and then it should pop out.
- Inspect the Filament: Look at the end of the pulled filament. It should have the shape of the nozzle tip, and ideally, you'll see a small blob or some dark residue â that's the clog!
- Repeat if Necessary: If the pulled tip looks rough or you still see debris, repeat the process a couple more times until the tip comes out clean and perfectly shaped.
This method is brilliant because it pulls the entire obstruction out in one go. It's gentle, and you're not poking around with metal tools inside your precious nozzle.
Method 2: The Nozzle Cleaning Needle Attack
If the cold pull isn't doing the trick, or if you suspect a very small, hard blockage right at the tip, a nozzle cleaning needle is your next best friend. I've used these countless times, especially on my older Ender 3 Pro.
Here's the drill:
- Heat It Up: Heat your hotend to the printing temperature of the filament that clogged it, or even 10-20°C higher. You want the plastic inside to be molten.
- Remove Filament: Unload the filament completely from the hotend.
- Poke and Prod: From underneath the nozzle, carefully insert the appropriate sized needle (usually 0.4mm for most standard nozzles) into the nozzle opening. Gently push it up and down, and rotate it a bit. You're trying to dislodge or break up the blockage.
- Push from Above (Optional, for stubborn clogs): If you have a Bowden setup, remove the PTFE tube from the hotend. Now, with the needle still in the nozzle, try to manually push a fresh piece of filament from the top of the hotend through. The needle helps guide it and break up the obstruction.
- Clean and Test: Once you feel the needle go all the way through or the filament pushes through easily, remove the needle. Push some fresh filament through to clear any remaining debris. Then try a test print.
Just be careful not to push the needle too hard and damage the inside of the nozzle or the heat break. A light touch is key here.
Method 3: The "Deep Clean" - Removing and Cleaning the Nozzle
Sometimes, the clog is just too stubborn, or it's further up in the hotend. This is when you might need to remove the nozzle itself. This is a bit more involved, but still very doable.
Steps:
- Heat It Up (Again!): Heat your hotend to printing temperature (e.g., 200°C for PLA). This helps loosen any plastic around the nozzle threads.
- Unload Filament: Make sure there's no filament loaded.
- Carefully Remove Nozzle: Using your hotend wrench to hold the heater block steady (this is crucial to avoid damaging the heat break!), use another wrench to unscrew the nozzle. Be careful, it's hot! I always wear my heat-resistant gloves for this. The nozzle should come off fairly easily.
- Inspect and Clean: Once the nozzle is off, you can inspect it. You might see the blockage right inside. You can try to clean it with a nozzle cleaning needle, or for really tough clogs, you can use a small torch or heat gun to burn out the plastic. I've done this a few times with a small butane torch (got one for about â¹400 from a local hardware shop), but you need to be extremely careful not to overheat and damage the brass. Always do this in a well-ventilated area and away from anything flammable. Be prepared for some smoke! After burning, use the needle to clear out the carbonized residue.
- Clean the Hotend: While the nozzle is off, you can also use a piece of PTFE tubing or a cleaning filament to push any softened plastic out from the top of the hotend, ensuring the path is clear.
- Reinstall Nozzle: Screw the clean (or new) nozzle back in. Make sure it's snug, but don't overtighten it. You'll want to do a "hot tightening" â once it's finger tight, heat the hotend back up to temperature, and then give it a final quarter turn with your wrench. This ensures a good seal and prevents leaks.
Remember, if you're using a Bowden setup, always make sure your PTFE tube is pushed all the way down into the hotend, flush against the nozzle. Gaps here are a major cause of clogs!
Method 4: Nozzle Replacement (When All Else Fails)
Sometimes, after all that effort, the nozzle is just too far gone. Maybe it's irrevocably damaged, or maybe it's been worn down from abrasive filaments. That's when it's time for a fresh start. And honestly, for the price of a brass nozzle (â¹50-â¹100), it's often not worth the headache of trying to resurrect a truly stubborn one.
To replace a nozzle:
- Follow steps 1-3 from Method 3 to remove the old nozzle.
- Take a brand new nozzle (make sure it's the correct size and type for your printer â 0.4mm brass is standard for most, but you might use hardened steel for abrasive filaments like carbon fiber PLA, which costs about â¹200-â¹500 per nozzle on Amazon.in).
- Screw it in following step 5 from Method 3 (finger tight, then hot tighten).
- Do a test print!
It's quick, simple, and often the most satisfying solution after a frustrating battle with a clog.
Prevention is Key: My Tips for a Clog-Free Life
Look, I've said it before, but it bears repeating: an ounce of prevention is worth a pound of cure. Here are a few things I do religiously to keep my ArtOpia Collections printers running smoothly:
- Dry Boxes for Filament: Seriously, get some. Or make some. My DIY ones cost me maybe â¹200-â¹300 per box using old plastic containers and some silica gel packets. Humid filament is a primary cause of issues.
- Filament Filter: A small piece of sponge or foam wrapped around the filament right before it enters the extruder can catch dust and debris. Easy and cheap!
- Regular Cold Pulls: I do a cold pull every few weeks, or whenever I switch filament types, even if I'm not experiencing a clog. It helps clear out any tiny bits before they become a problem.
- Proper Retraction Settings: Calibrate your retraction. Too much is bad, too little is bad. Find the sweet spot for your printer and filament.
- Don't Print Too Cold: Always stay within the recommended temperature range for your filament.
- Clean Your Extruder Gears: Filament dust can build up on your extruder gears, reducing their grip. A quick brush off every now and then helps a lot.
- Don't Leave Filament "Cooking": Unload filament if your printer is going to be idle for an extended period after a print.
It sounds like a lot, but once you get into the routine, it just becomes second nature. And trust me, the joy of a perfect print is worth a little bit of proactive maintenance.
Final Thoughts From ArtOpia
Dealing with a clogged nozzle is part and parcel of the 3D printing journey. Every single one of us has been there, cursing our machines under our breath. But it's also a great learning experience. Each time you fix a clog, you understand your printer a little bit better, and you gain more confidence in troubleshooting. Don't be afraid to get your hands a little dirty (safely, of course!).
I hope this detailed guide helps you tackle your next clog with confidence. If you've got any tips or tricks that have worked for you, or if you're struggling with a particularly stubborn clog, drop a comment below! We're all part of this incredible 3D printing community, and sharing knowledge is how we all grow.
And hey, if you're looking for some cool, custom 3D printed goodies, or even if you need some help bringing your own ideas to life, check out what we're cooking up at ArtOpia Collections. We love making things, and we're always happy to chat about 3D printing, clogs and all!
Happy printing, everyone!