TinkerCAD Shape Generators: Creating Complex Forms Without Advanced CAD
TinkerCAD's Shape Generators empower you to design incredibly complex 3D forms without needing advanced CAD software. Learn how these powerful tools can transform your modeling experience, making intricate designs accessible to everyone.
You know that feeling, right? You've got this amazing idea for a 3D print – maybe a custom bracket for your desk, a unique gift for a friend, or even a fancy patterned piece for your burgeoning small business. You fire up your CAD software, stare at that intimidating blank screen, and suddenly, that brilliant idea feels like it’s miles away, trapped behind a wall of complex tools and endless menus. I’ve been there, countless times, especially in the early days of ArtOpia Collections. It's a common hurdle, a mental block that can stop creativity dead in its tracks. But what if I told you there’s a way to bypass a lot of that initial frustration, to conjure complex forms with surprising ease, all without needing a degree in engineering or spending a fortune on high-end software? Well, let me introduce you to my secret weapon, especially for those quick, intricate jobs: TinkerCAD’s Shape Generators. And honestly, they're nothing short of magic!
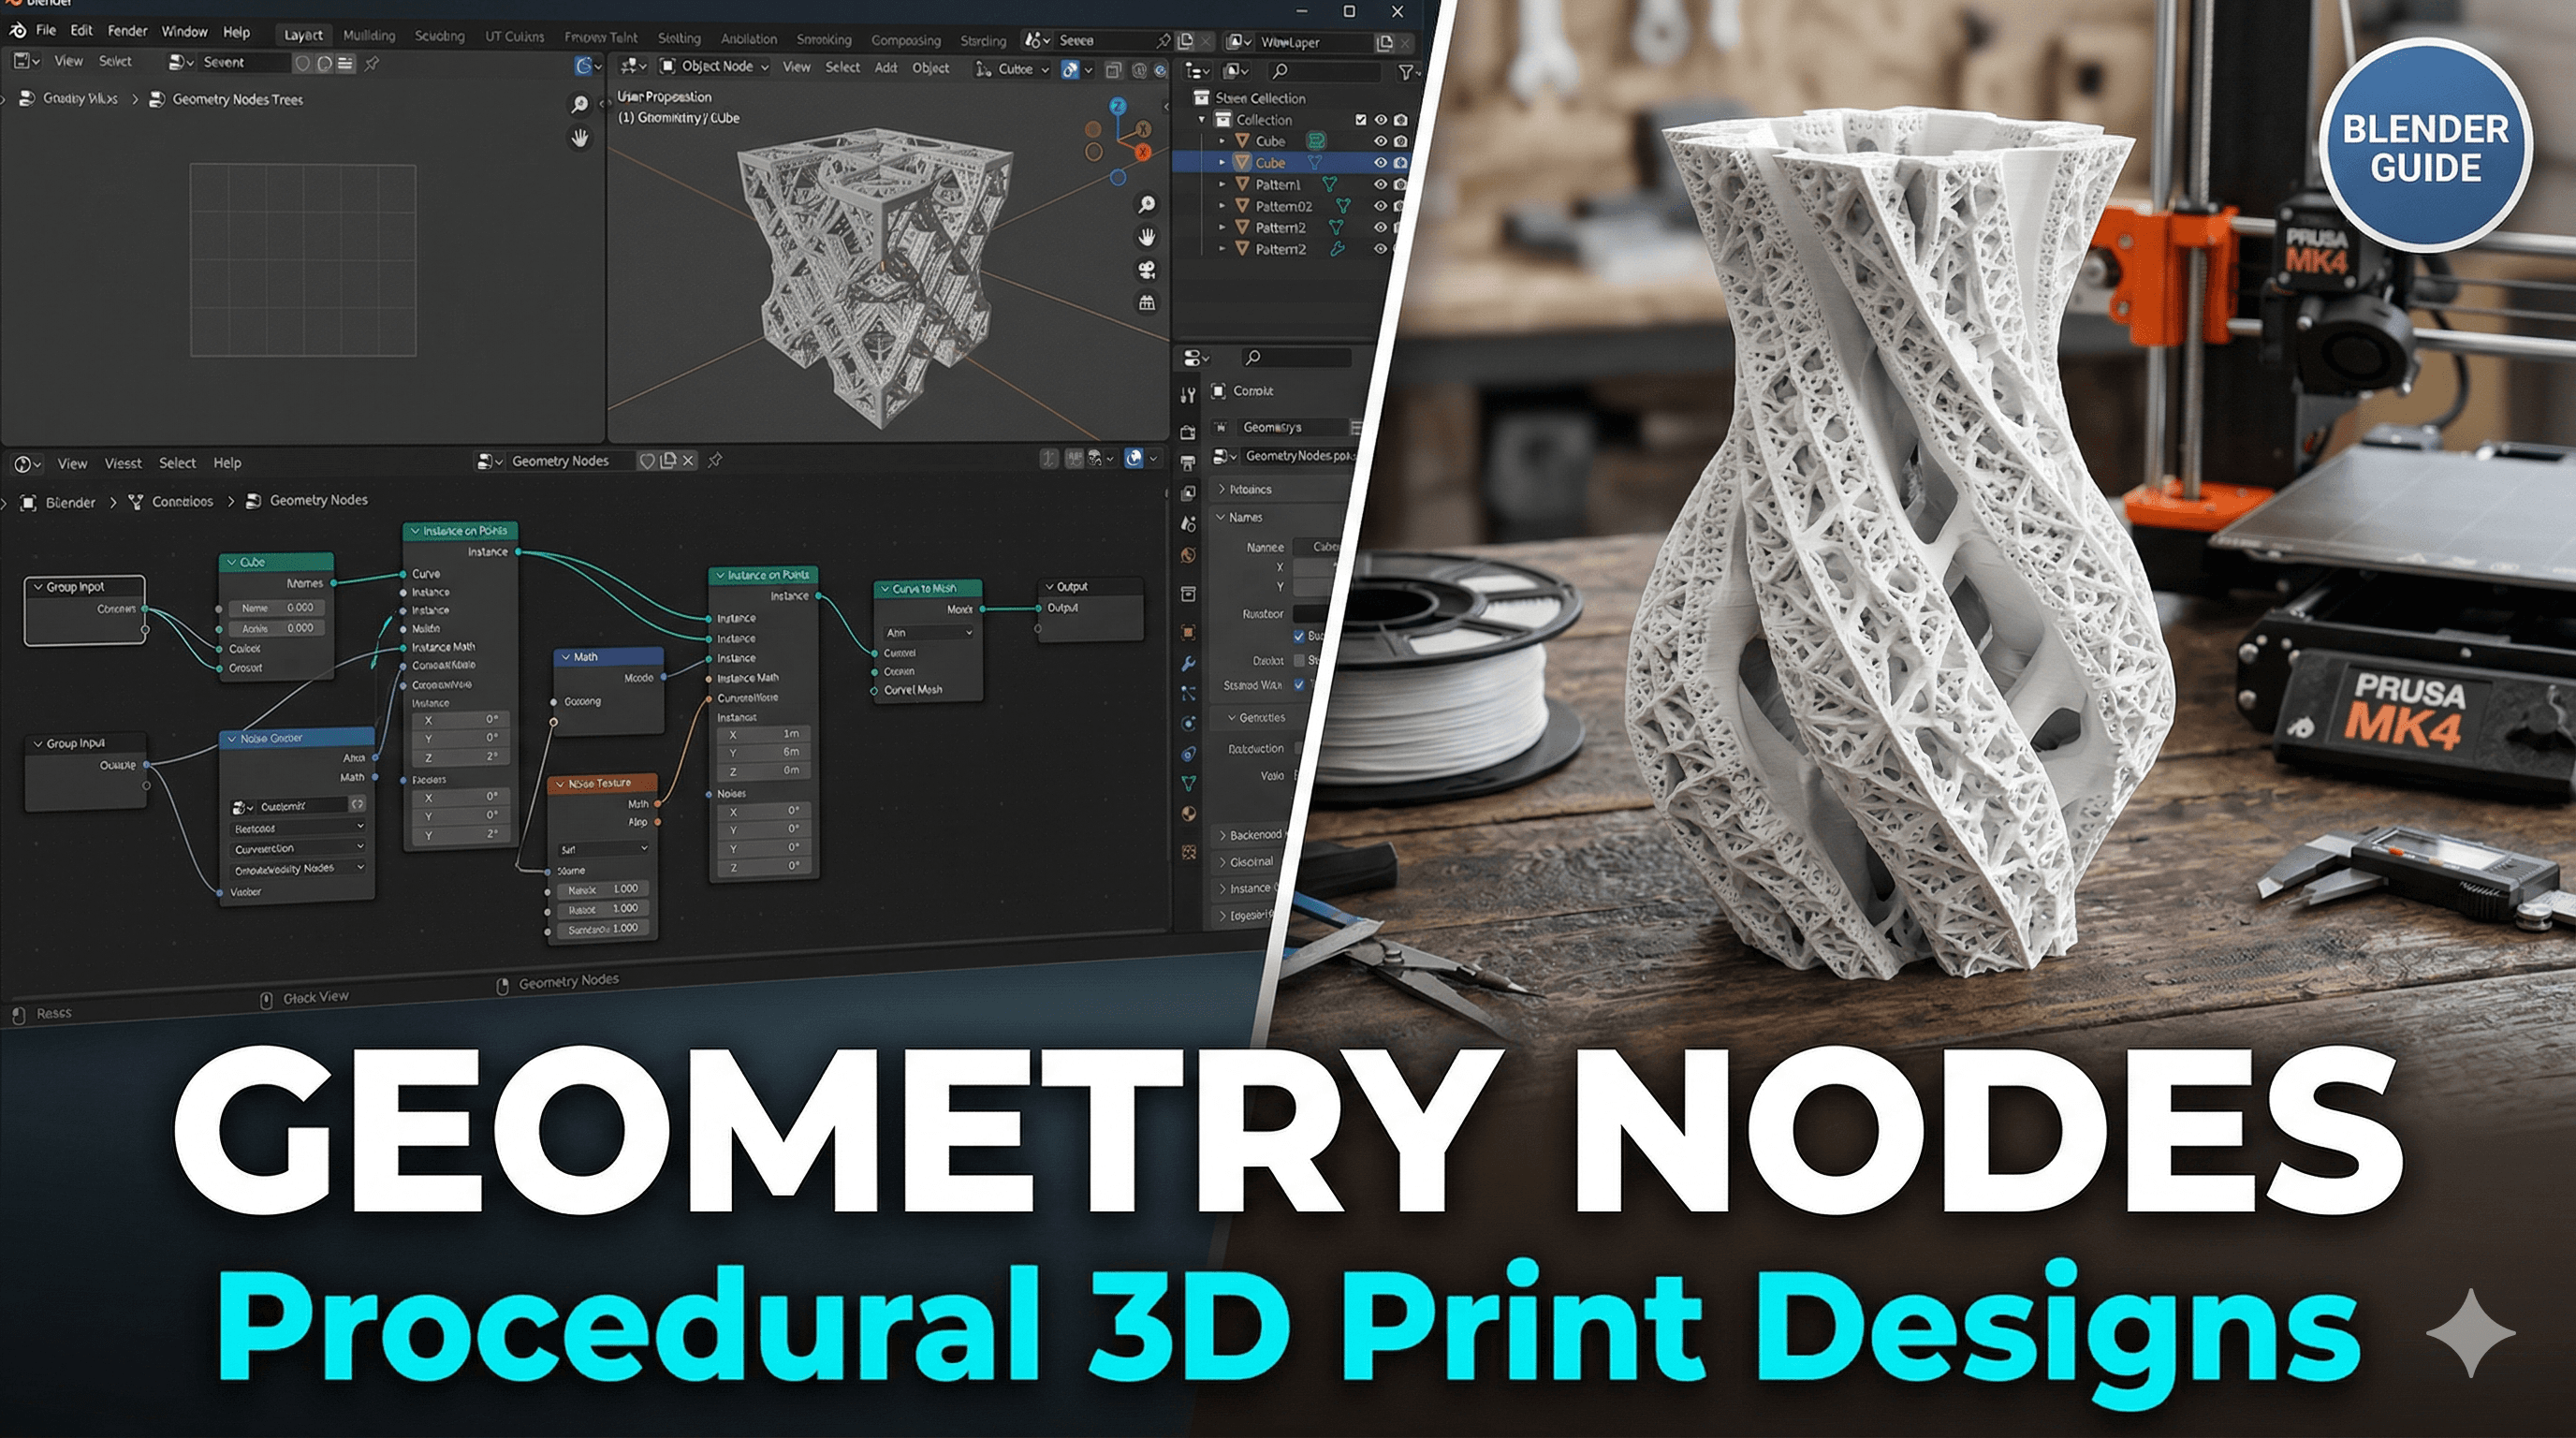
For those who might not be familiar, TinkerCAD is this incredible, free, web-based 3D design software by Autodesk. It’s often touted for kids or absolute beginners, and yeah, it’s fantastic for that. My nieces and nephews love playing with it. But don't let its simplicity fool you. Underneath that friendly, block-based interface lies some serious power, and the Shape Generators are where that power truly shines. Think of them as pre-programmed mini-designers, ready to instantly create complex geometries based on a few simple parameters you input. It’s like having a team of tiny engineers inside your browser, waiting for your commands. And trust me, for a small business owner in India, trying to make every rupee and every minute count, this kind of efficiency is priceless.
What Exactly Are These "Shape Generators," Yaar?
Basically, a Shape Generator is a pre-made tool within TinkerCAD that lets you create intricate shapes by simply adjusting sliders and inputting numbers, rather than manually drawing every single line or curve. Instead of painstakingly designing each tooth of a gear, for instance, you just drag a "Gear" generator onto your workspace, and then tell it how many teeth you want, the diameter, the thickness, and boom – a perfect gear appears! It's an absolute game-changer, I tell you. I personally think they're one of TinkerCAD's most underrated features.
There are two main types of Shape Generators you'll encounter in TinkerCAD: the official ones provided by Autodesk and the community-contributed ones. The official ones are usually found under the "Shape Generators" dropdown in your basic shapes menu. These include incredibly useful tools like the gear generator, screw thread generator, customizable text, spring creator, and many more. Then, you've got the vibrant community generators – these are user-created tools, often far more specialized and sometimes wonderfully quirky. You can find them under "All" or "Featured" in the Shape Generators menu. It's like an ever-expanding library of design superpowers, right at your fingertips.
Why They're a Lifesaver for My Business (and Yours!)

In my experience, running ArtOpia Collections, time is always of the essence. I'm often juggling custom orders, prototyping new designs, and trying to keep up with my social media (that’s a whole other story!). This is where Shape Generators become an invaluable asset. Let me give you a few real-world examples:
- Custom Enclosures and Brackets: A client once needed a very specific enclosure for a circuit board, with precisely placed mounting holes and vent patterns. Instead of drawing each vent slat or drilling guide manually in a more complex CAD, I used a custom "Grille" generator and a "Hole with Countersink" generator. I just punched in the dimensions, adjusted the spacing, and in minutes, I had a perfect fit. Total design time? Less than an hour. The client was super impressed, and I saved myself hours of painstaking work.
- Personalized Gifts: For personalized keychains or plaques, the "Text" generator is brilliant. You can quickly add names, dates, or messages, adjust fonts, sizes, and even bend the text along a curve using other generators. It makes quick customisations a breeze, and these are always popular items on my ArtOpia Collections product page.
- Functional Parts with Threads: Need to screw two 3D printed parts together? The "Screw Thread" generator is your best friend. You specify the diameter, pitch, and length, and it generates an accurate thread. I’ve used it for bottle caps, threaded mounts for cameras, and even custom adapters. Trying to model a thread from scratch is a nightmare in any CAD software, but here, it’s literally a few clicks.
- Decorative Patterns and Textures: This is where the community generators really shine. I’ve found generators for honeycomb patterns, Voronoi textures (you know, those cool organic, cell-like patterns), and even intricate lattice structures. These are fantastic for adding unique aesthetic flair to my decorative pieces. Imagine creating a lampshade with a complex geometric pattern in minutes – that’s the power we’re talking about!
And honestly, sometimes I even surprise myself with what I can churn out using these tools. It's not about being a CAD wizard; it's about being clever with the tools available.
TinkerCAD vs. Advanced CAD: The Indian Entrepreneur's Perspective
Now, I know what some of you might be thinking: "But Vidyut, shouldn't you be using Fusion 360 or SolidWorks for your business?" And you're not wrong! For highly precise mechanical engineering, complex assemblies with motion studies, or truly organic, sculpted designs, yes, those advanced software packages are indispensable. I do use Fusion 360 for certain projects, especially when I need parametric control or intricate surfacing. But here's the deal, especially in our Indian market where every penny counts:
- Cost: Fusion 360, while having a free personal-use license, can get expensive for commercial use (though there are startup programs). SolidWorks is even pricier. TinkerCAD? Absolutely free. This means zero overheads for design software, which is a huge win for small businesses like mine. That money saved can go into better filament, printer maintenance, or even just keeping the lights on!
- Learning Curve: Advanced CAD software has a steep, steep learning curve. It can take months, even years, to become truly proficient. TinkerCAD, on the other hand, is intuitive. You can pick up the basics in an afternoon. Shape Generators amplify this ease of use exponentially.
- Speed for Prototyping: When a client calls with a quick request, I can often design, slice, and start printing a prototype with TinkerCAD and its generators faster than I could even open and navigate Fusion 360 for the same task. The immediate visual feedback from adjusting sliders is just incredibly efficient.
So, it’s not about one being "better" than the other. It's about using the right tool for the right job. For quick iterations, custom functional parts, and aesthetically complex but parametrically controlled designs, TinkerCAD with its Shape Generators is simply unbeatable. It’s my go-to for probably 70% of my design needs.
Diving Deeper: Tips and Tricks for Harnessing Shape Generators
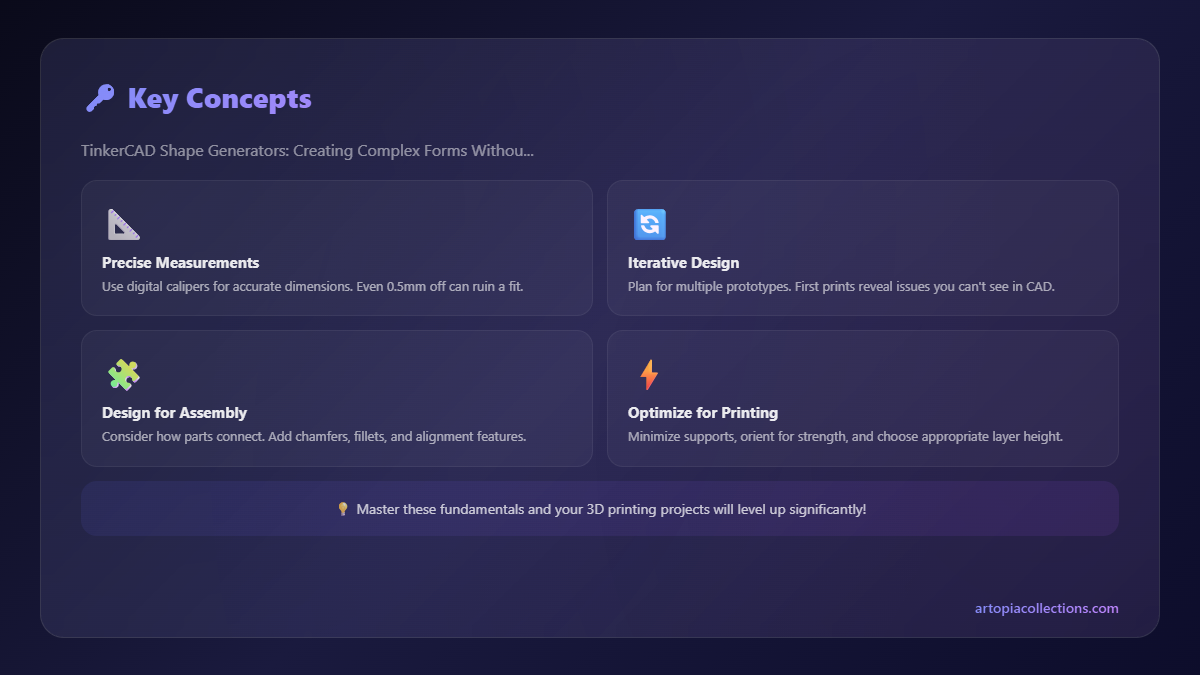
Ready to give them a try? Here are a few tips I've picked up that will help you get the most out of TinkerCAD's Shape Generators:
- Explore, Explore, Explore! Don't just stick to the basic ones. Click on "Shape Generators" and then "All" or "Featured" in the dropdown. There’s a treasure trove of community-created gems waiting to be discovered. Spend some time just dragging them onto the workspace and playing with their parameters. You’ll be amazed at what people have created.
- Combine and Conquer: The real power comes when you combine these generators with TinkerCAD's basic shapes and Boolean operations (group, ungroup, hole). For instance, create a gear, then drag a "box hole" through its center to create a specific keyway. Or use a "pattern" generator on a basic cylinder to create a textured grip. The possibilities are genuinely endless.
- Learn to Love the "Codeblocks": (Okay, this is slightly more advanced, but still within TinkerCAD!) For those who want even more control, TinkerCAD has a "Codeblocks" feature where you can actually program your own Shape Generators using a block-based coding interface, similar to Scratch. This lets you create highly specific, repeatable designs that aren't available off the shelf. It’s a bit of a rabbit hole, but a very rewarding one if you have the patience. It's how many of the community generators are made!
- Don’t Forget Duplication and Mirroring: Once you've perfected one part of a symmetrical design with a generator, use TinkerCAD's duplicate and mirror functions to quickly replicate and arrange elements. This is super handy for creating complex patterns or assemblies.
What You Need to Get Started (The Basics for My Indian Mates)
So, if you’re inspired and want to dive into 3D printing with TinkerCAD, what do you need? Honestly, not much to start designing, but for printing, here’s the lowdown:
1. A Computer with Internet: TinkerCAD is web-based, so any decent laptop or desktop will do. No need for a super-powerful gaming rig.
2. A 3D Printer: This is your biggest initial investment, but prices have dropped dramatically. For beginners and small businesses, I always recommend something like the Creality Ender 3 V2 or the Anycubic Kobra. They're reliable, have huge online communities (which is vital for troubleshooting!), and offer excellent print quality for their price. You can find a good Creality Ender 3 V2 on Amazon.in for around ₹20,000 to ₹25,000, sometimes even less during sales. It’s an investment, yes, but it quickly pays for itself if you're serious about creating or selling.
3. Filament: This is your raw material. For most projects, especially functional prototypes and decorative items, PLA (Polylactic Acid) is your best bet. It’s easy to print with, biodegradable, and comes in a zillion colours. A good quality 1kg spool of PLA will typically cost you anywhere from ₹800 to ₹1200 here in India, depending on the brand. I often use Voxelab PLA or some local Indian brands I've found to be reliable. You can easily find various colours and brands of 3D printer PLA filament on Amazon.in.
That’s basically it! Once you have these, the world of 3D printing and design is truly open to you. The beauty of TinkerCAD and its generators is that they remove so many of the initial barriers to entry, letting you focus on the creative aspect without getting bogged down in technicalities.
Final Thoughts: Just Jump In!
Look, I started ArtOpia Collections with a simple dream: to create cool stuff and share it with people. And TinkerCAD, especially its Shape Generators, has been an indispensable tool on that journey. It's allowed me to prototype quickly, fulfill custom orders efficiently, and keep my costs low – all crucial for a small business trying to make its mark in a competitive market like India.
So, if you've been on the fence about 3D design, or if you've felt intimidated by more complex CAD software, please, give TinkerCAD Shape Generators a try. It’s free, it’s fun, and it’s incredibly powerful. You’ll be amazed at how quickly you can bring those complex ideas in your head to life, ready to be printed on your trusty machine. Happy tinkering, my friends!