Cloud-Based 3D Scanning: How to Use Meshroom for Free Photogrammetry
Explore the world of free cloud-based 3D scanning with Meshroom. This post provides a comprehensive guide to using photogrammetry for your 3D modeling projects.

Chalo, let's be real for a minute. You know that feeling, right? You've got a brilliant idea for a 3D print, maybe a custom part for something broken around the house, or a unique figurine for a client. You open up your CAD software, ready to model, and then BAM! You realize getting that complex, organic shape from the real world into your computer is a whole different beast. It's not just a block or a cylinder. It's got curves, details, textures. And suddenly, your brain starts doing the math for a dedicated 3D scanner, and you see numbers like ₹50,000, ₹1 lakh, even more, just flashing before your eyes. Ouch. For a small business like mine, or for any hobbyist, that kind of investment is just... well, it’s a dream, mostly. But what if I told you there's a way to get incredibly detailed 3D scans, practically for free, using tools you might already have? No, I'm not pulling your leg! I’m talking about diving into the magical world of photogrammetry with a fantastic open-source software called Meshroom.
Now, when you hear "Cloud-Based 3D Scanning," your mind might jump to some super-expensive subscription service running on a massive server farm in another country. And honestly, for some applications, those services are amazing. But here's the deal: Meshroom, while it runs right on your computer, brings that same kind of high-powered computational magic to your desktop, for absolutely zero cost. It democratizes 3D scanning in a way that truly feels revolutionary. You're using your own hardware, yes, but you're leveraging years of open-source development and cutting-edge algorithms that would normally be locked behind a hefty price tag or hidden away in a "cloud" somewhere. It's basically like having a supercomputer's brain for photogrammetry, right there in your studio!
What Even IS Photogrammetry, Yaar?
Okay, let's break it down simply. Photogrammetry sounds fancy, but it's actually pretty intuitive. Imagine you take a bunch of photos of an object from every single angle you can think of. Literally hundreds, sometimes thousands, of pictures. Now, your computer, using some seriously clever algorithms, looks at all these photos. It finds common points across different images, figures out where your camera was positioned for each shot, and then reconstructs the 3D geometry of the object based on how those points appear from different perspectives. It's like your brain does when you look at something with both eyes and perceive depth, but on a much grander, more precise scale. The end result? A highly detailed 3D model, complete with textures, that you can then import into Blender, Meshmixer, or directly into your slicer for printing.
And that's where Meshroom comes in. It's the free, open-source software that does all that heavy lifting for you. Developed by AliceVision, it’s a powerful tool that, in my experience, gives results comparable to some commercial software that costs a pretty penny. It’s a total game-changer for someone like me, who's always looking to offer more services to clients without breaking the bank.
Why Meshroom is Your New Best Friend (Especially if You're on a Budget)
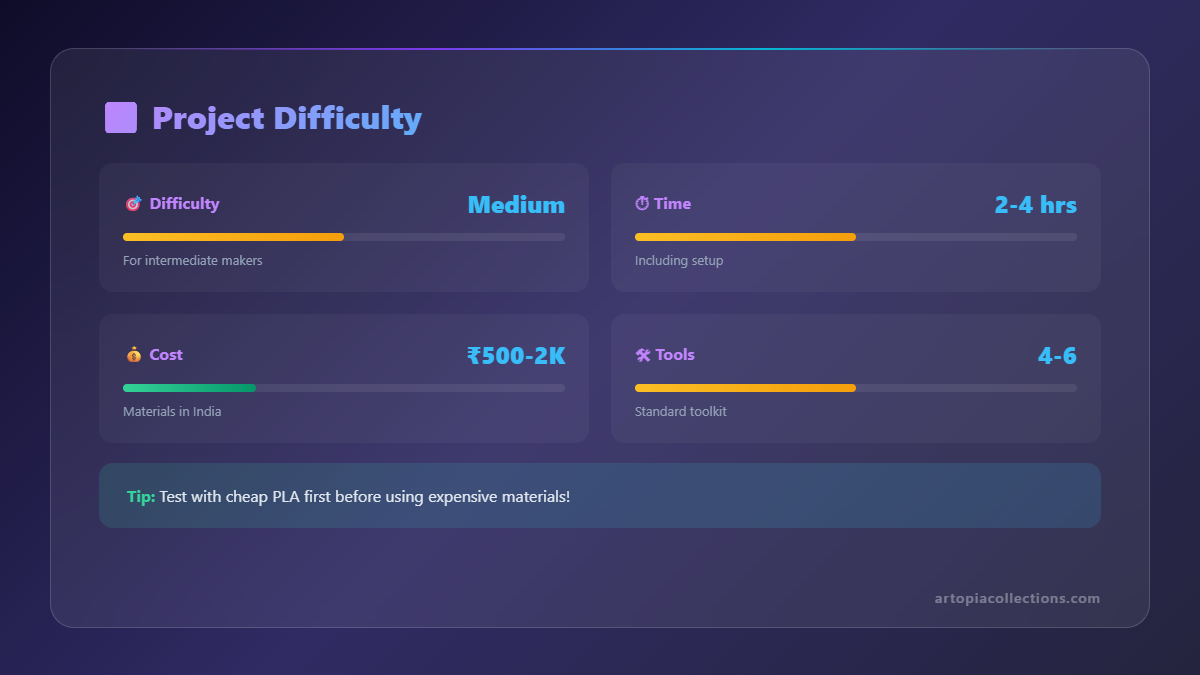
I mean, the biggest, most obvious reason is that it's FREE. You don't need a subscription. You don't need to pay per scan. You download it, install it, and you're good to go. This alone is a huge win for anyone in India, where every rupee counts, especially when you're starting or running a small business. Think about it: a decent entry-level handheld 3D scanner like an Artec or a Revopoint could set you back anywhere from ₹50,000 to ₹300,000 or more. And that's not even counting the software licenses! With Meshroom, your main investment is your time, patience, and maybe an upgrade to your computer's GPU if it's struggling. A good mid-range NVIDIA GPU, which is pretty much essential for Meshroom, can be had for anywhere from ₹20,000-₹40,000, and chances are you might already have one if you're into gaming or graphic design.
But it's not just about the money. Meshroom is also incredibly versatile. You can scan anything from a tiny trinket to a larger statue, an architectural detail, or even a person (though that comes with its own set of challenges, like staying perfectly still!). And the quality? Man, when done right, the results are simply stunning. I've used it to recreate broken plastic parts for clients who couldn't find replacements, to make custom busts, and even to bring some ancient-looking artifacts into the digital realm for display on my own Artopia Collections store. It adds a whole new dimension to what a small 3D printing business can offer, expanding beyond just designing from scratch.
Getting Started: Your Photogrammetry Journey with Meshroom
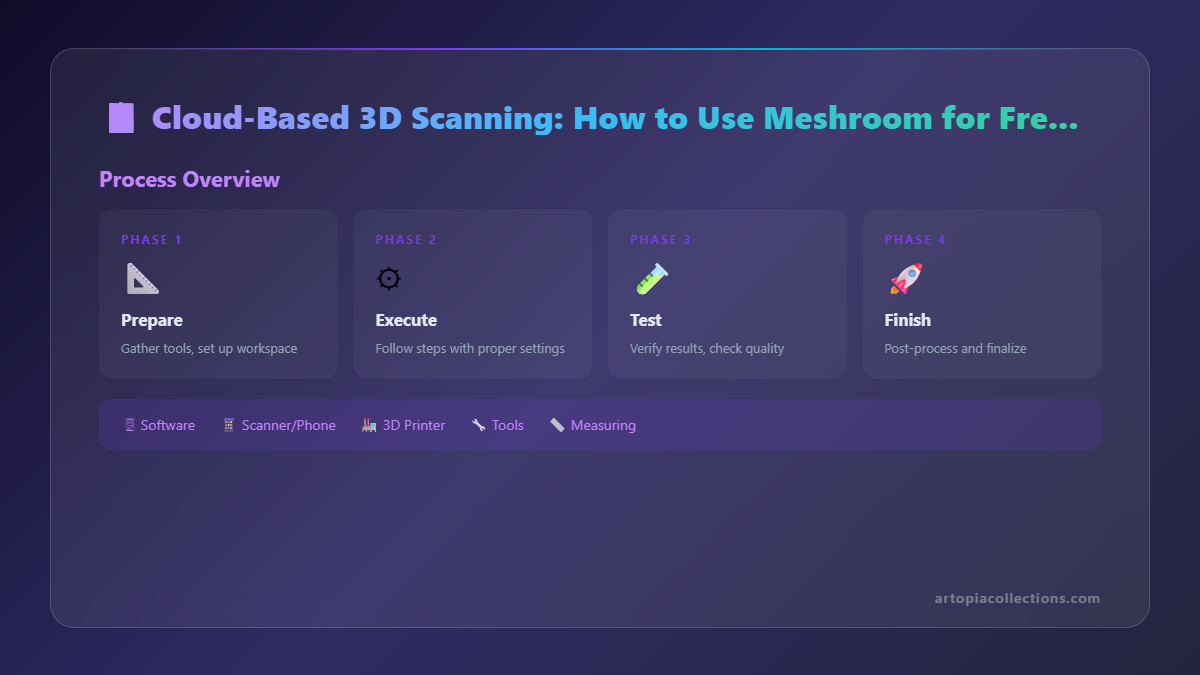
Alright, enough gushing! Let’s get into the practical bits. How do you actually use this magic tool? It's basically a three-phase process: capturing images, processing with Meshroom, and then cleaning up your model.
Phase 1: Capturing the Perfect Photos (This is CRUCIAL!)
 This is where most people either succeed or fail. It all starts with good data. Garbage in, garbage out, right? Here’s what you need to focus on:
- Your Camera: Honestly, a good smartphone camera (like a recent iPhone or a Google Pixel, or even a decent Samsung or OnePlus) can do wonders these days. If you have a DSLR or mirrorless camera with a prime lens, even better, but it's not strictly necessary to start. The key is consistent focus and good resolution.
- Lighting, Lighting, Lighting: This is arguably the most important factor. You want soft, even, diffuse lighting from all directions. Avoid harsh shadows or direct sunlight. Why? Because shadows move as you take photos from different angles, confusing the software. I personally use a couple of inexpensive LED panel lights with diffusers (you can find these for around ₹2,000-₹5,000 each online) and sometimes even a simple DIY softbox made from a cardboard box and some tracing paper. The goal is to eliminate strong highlights and shadows as much as possible.
- Background: Keep it clean and uncluttered. A plain white or black sheet works best. You want the software to focus on your object, not the noisy background elements.
- Object Type: Meshroom struggles with highly reflective, transparent, or featureless objects. Think shiny metal, clear glass, or a plain, untextured white sphere. These don't give enough unique "points" for the software to track. If you absolutely MUST scan something like this, you can try temporarily dulling reflective surfaces with a matte spray (like a developer spray for engineering, or even just talcum powder mixed with water applied thinly) or by applying removable painter's tape with some texture.
- Taking the Shots:
- Overlap: This is key. Each photo needs to overlap with the previous one by at least 60-70%. Imagine you're drawing a circle around your object, taking photos as you go. Then, do another circle, but a bit higher or lower.
- Coverage: Get every single angle. Top, bottom, sides, diagonal views. Don't leave any gaps. If you miss a spot, Meshroom won't be able to reconstruct it. I usually aim for 3-5 rings around the object, plus some shots from above and below, and diagonal shots. For a medium-sized object (say, the size of a water bottle), you might end up with 100-300 photos. For something more complex or larger, it could be 500-1000+!
- Focus and Aperture: Keep your focus consistent throughout the shoot. If using a DSLR, a higher aperture (f/8 to f/16) will give you a deeper depth of field, ensuring more of your object is in focus.
- Stability: Use a tripod if possible, or at least keep your hands very steady. Any blur will affect the quality.
- Turntable Magic: For smaller objects, a simple manual turntable can be a lifesaver. You can even rig one up with a lazy Susan from your kitchen! Just place your object on it, rotate it slightly between each shot, and keep your camera stationary. This ensures consistent distance and lighting. I've even seen people use an old record player for this!
Honestly, the more photos, the better, generally speaking. Just make sure they are good photos!
Phase 2: Meshroom Setup and Processing (The Waiting Game)
So, you've got your hundreds of photos. Now for the Meshroom part.
- Download & Install: Head over to the official AliceVision Meshroom website and download the latest version. It's usually a straightforward zip file. Just extract it and run the executable.
- System Requirements: You absolutely, positively need an NVIDIA GPU for Meshroom to work efficiently. It leverages CUDA cores for its processing, so AMD graphics cards won't cut it (or will be extremely slow). The more VRAM, the better. I wouldn't recommend trying this with anything less than 4GB VRAM, and 8GB+ is ideal for complex scans. A good CPU helps too, but the GPU is the real workhorse here. If your system is a bit older, you might consider an upgrade. You can find solid GPUs like the RTX 3050 or RX 6600 (though RX won't work for Meshroom, only NVIDIA) around the ₹20,000 - ₹30,000 mark on Amazon.in if you're looking for a budget-friendly option.
- The Interface: When you open Meshroom, it looks a bit technical, but it's surprisingly simple. You'll see a graph editor with different nodes. Don't panic! For a basic scan, you mostly just drag and drop your images.
- Importing Images: Drag all your captured photos directly into the "Images" pane on the left side. Meshroom will automatically add them to your project.
- Hit Start: Click the "Start" button (usually a green play icon). And then... you wait. This is where your GPU earns its keep. For 100-200 photos, this could take anywhere from 30 minutes to a few hours, depending on your system. For 500+ photos, prepare to let it run overnight. Seriously. Go grab some chai, maybe watch a movie, or work on another project (I usually fire up my Ender 3 S1 Pro with some eSUN PLA+ filament, which you can find here, for another order while Meshroom crunches data).
- The Graph Nodes: As it processes, you'll see the nodes in the graph turn green. Each node represents a step: "StructureFromMotion" aligns the cameras, "DepthMap" calculates depth for each view, "Meshing" creates the 3D surface, and "Texturing" applies the photos back onto the model.
- Troubleshooting (A Quick Aside): If a node fails or turns red, don't despair. The most common reasons are not enough overlap in your photos, poor lighting, or trying to scan a difficult object. Sometimes, if one photo is particularly bad (blurry, weird lighting), Meshroom might choke on it. You might need to remove a few problematic photos and try again.
Phase 3: Post-Processing and Exporting for Printing
 Once Meshroom finishes, you'll have a shiny new 3D model! But it won't be perfect, usually. There might be some noise, floating bits, or holes.
- Viewing Your Model: You can view the generated mesh within Meshroom's 3D viewer. It's usually a good idea to check it for obvious errors.
- Exporting: The final node, "Texturing," will give you the option to export your model. You'll typically get an OBJ file (which includes the texture information) and potentially an MTL file and image textures. For 3D printing, you'll want an STL, which is just the geometry. You can export as OBJ and then convert/clean it in another software.
- Cleaning Up the Mesh: This is where software like Blender (free and open-source!) or Meshmixer (free from Autodesk) comes in handy. You’ll want to:
- Remove floating geometry: Get rid of any random bits that aren't part of your main object.
- Fill holes: Photogrammetry often leaves holes, especially on the underside of an object or where coverage was poor. These programs have tools to automatically or manually fill them.
- Decimate (Reduce Polygon Count): Scanned models can be incredibly dense, sometimes millions of polygons. This can be too much for your slicer or even your computer to handle. Decimating reduces the polygon count while trying to maintain detail.
- Make Watertight: For 3D printing, your model needs to be a "watertight" solid. Meshroom's output is often not perfectly watertight, so you might need to use the "Make Solid" or "Inspector" tools in Meshmixer to fix this.
Once it's clean and watertight, you can export it as an STL and send it to your favorite slicer (PrusaSlicer, Cura, Simplify3D) for printing!
My Experience and Business Impact
Honestly, discovering Meshroom was a revelation for Artopia Collections. Before it, any client request for replicating an existing physical object was a major headache. I'd either have to decline, or spend hours manually measuring and modeling, which was often not accurate enough for complex shapes. Now, I can confidently take on projects that involve scanning. For example, a client recently wanted to recreate a small, intricately carved wooden deity that had a broken arm. Scanning it with my phone and Meshroom, then cleaning it up in Blender, allowed me to accurately model and print a replacement arm. The client was thrilled, and it was a service I could offer at a reasonable price (say, ₹2,000-₹5,000 depending on complexity, whereas a dedicated scanner service might charge ₹10,000+). The print itself was done on my Anycubic Kobra Go using some locally sourced PETG filament because the client wanted something durable.
It's also opened up avenues for creating custom gifts and artistic pieces. Imagine scanning a unique flower from your garden, printing it, and then painting it. Or scanning a beloved (but fragile) family heirloom to create a more robust replica. The possibilities are truly endless. And because the initial software cost is zero, my overheads remain low, allowing me to be more competitive in the market.
Final Thoughts and Encouragement
Look, photogrammetry isn't perfect. It has its quirks and limitations, and there's definitely a learning curve. But for the price of free, Meshroom offers an incredible amount of power and flexibility. It takes patience, attention to detail in your photo capture, and a willingness to learn some basic 3D model cleanup. But the rewards? Oh, the rewards are immense.
So, if you've been eyeing 3D scanning but feeling daunted by the cost, I urge you to give Meshroom a shot. Grab your smartphone, find an interesting object, ensure some good, even lighting, and start clicking away. You might be amazed at what you can achieve. And when you've got your first successful scan, trust me, that feeling is almost as good as watching your first successful 3D print pop off the build plate.
Let me know in the comments if you've tried Meshroom or have any tips for fellow enthusiasts. Happy scanning, and even happier printing!


