Creality Ferret 3D Scanner Review: Worth It for Home Use?
The Creality Ferret 3D scanner promises affordable 3D scanning for hobbyists. We put it to the test to see if it delivers reliable results and true value for typical home projects.
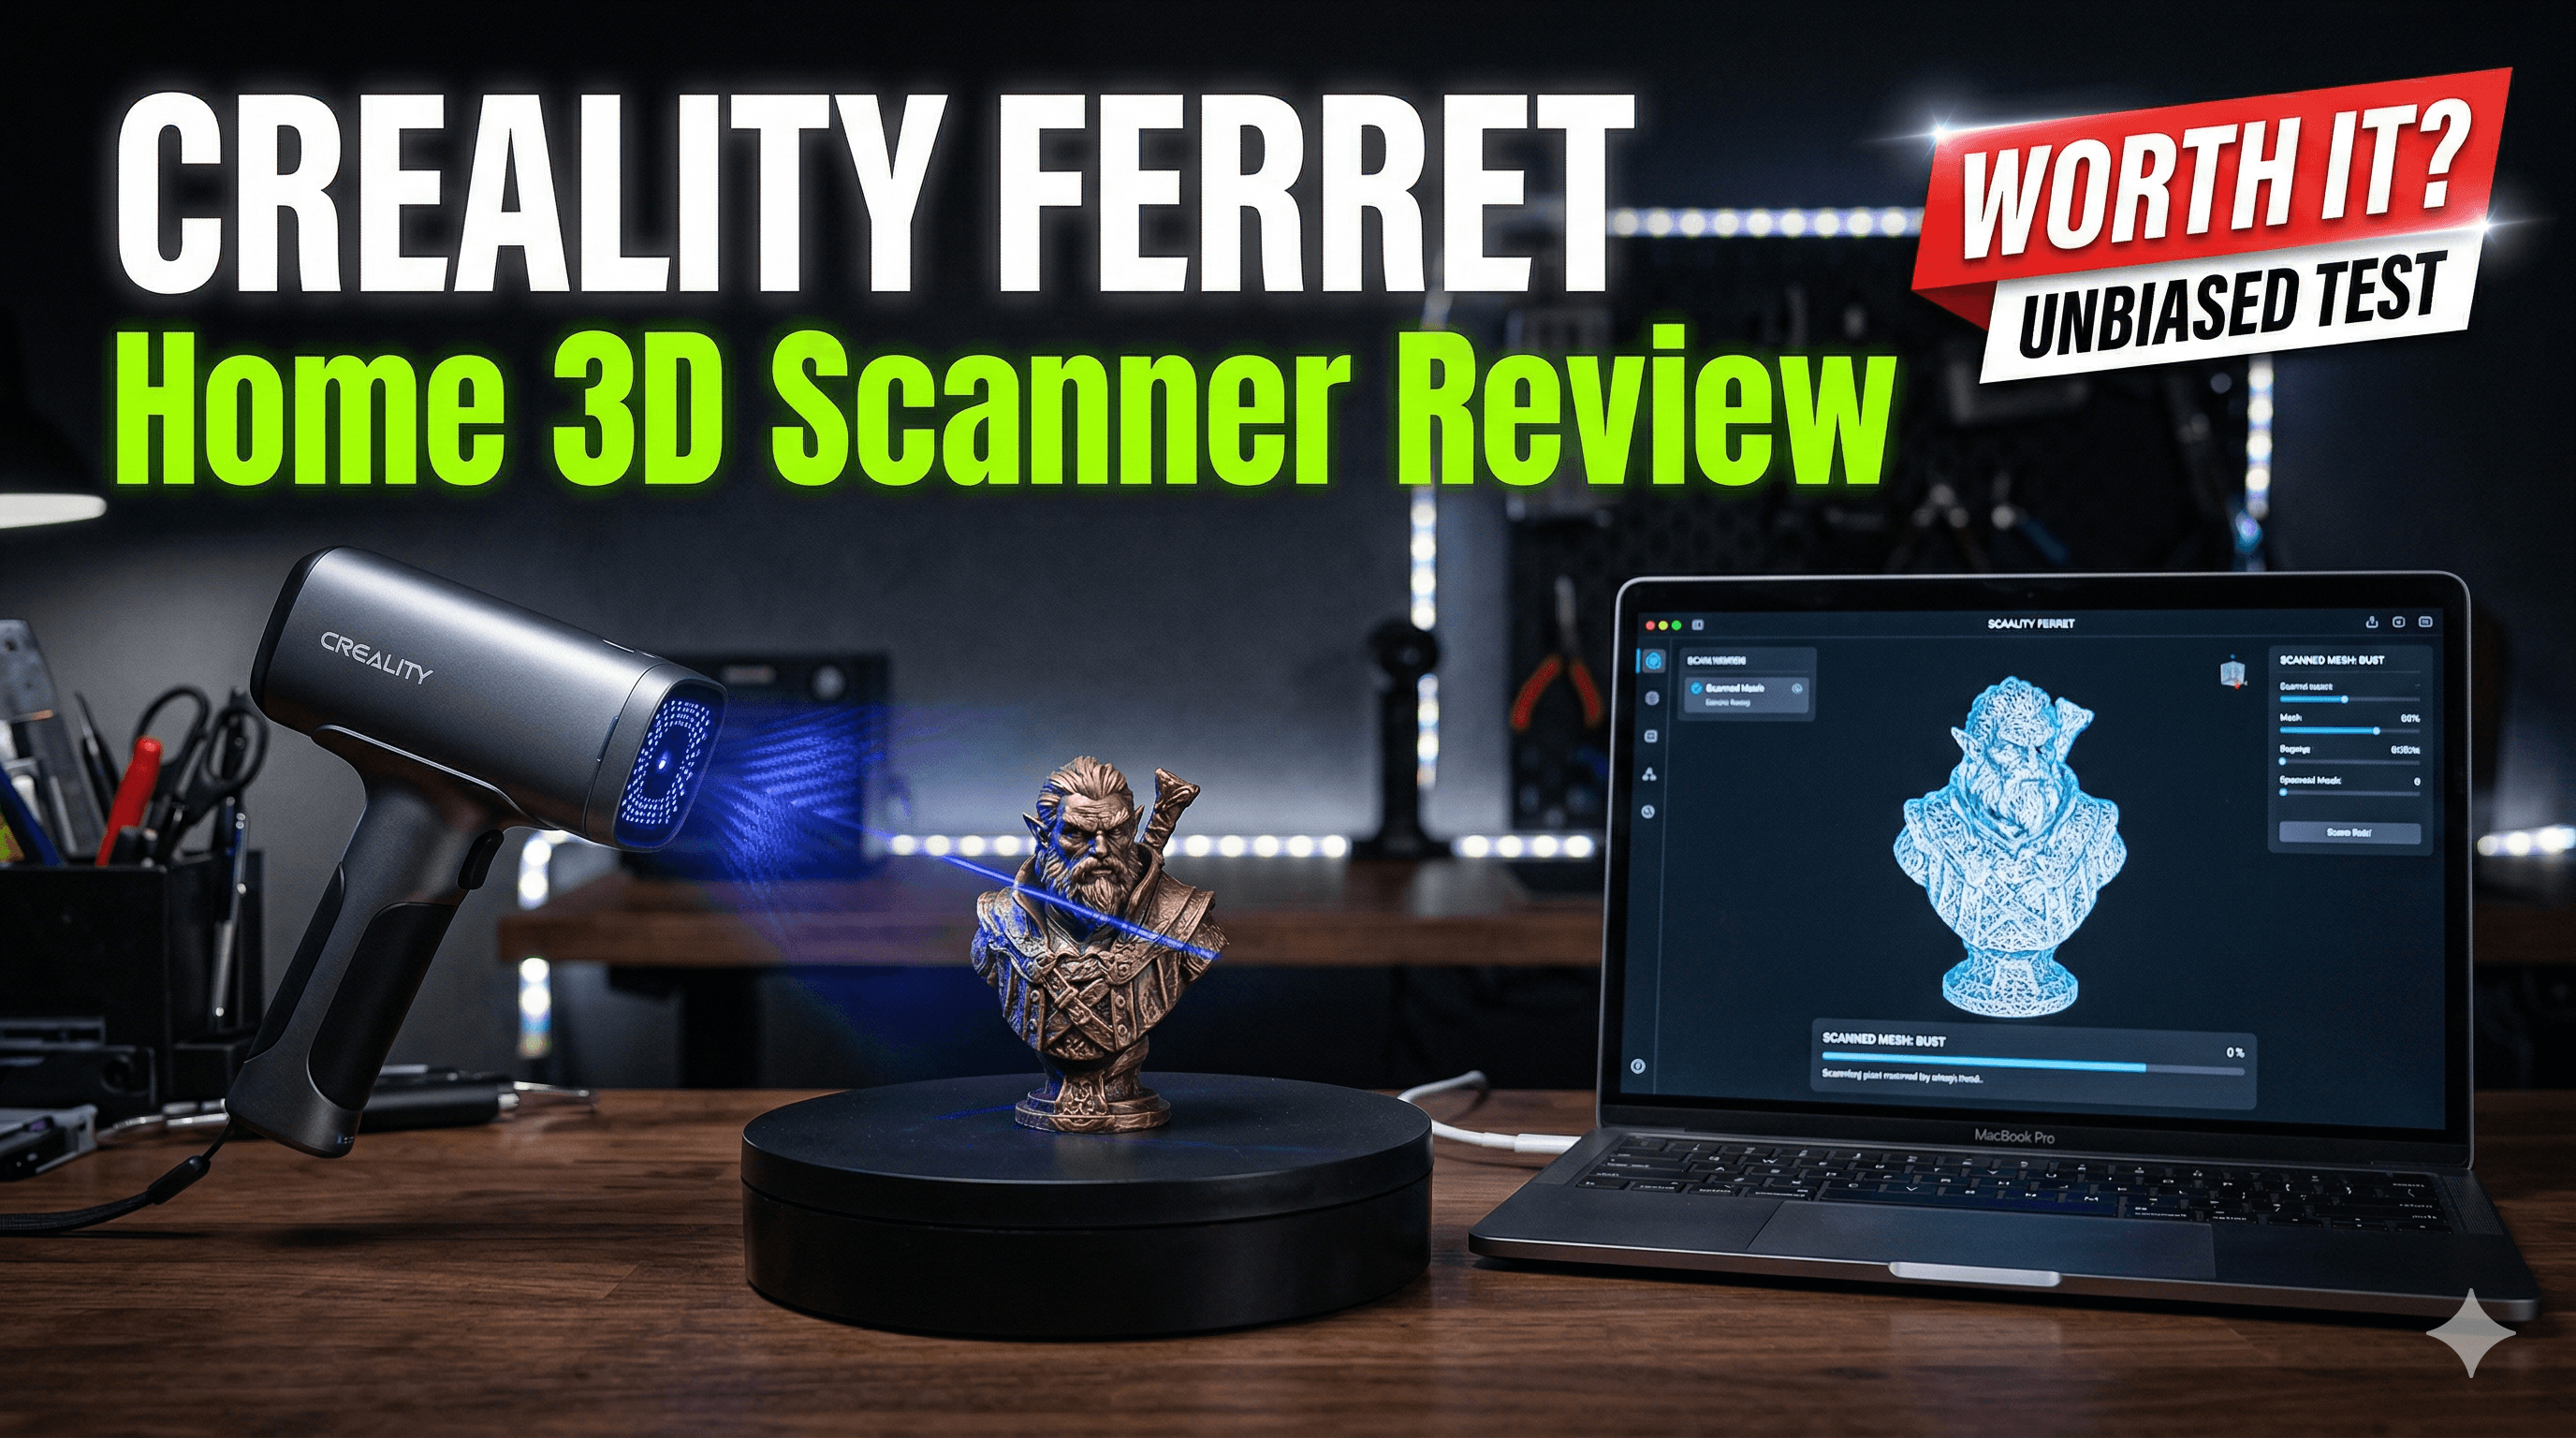
Creality Ferret 3D Scanner Review: Worth It for Home Use? A Real-World Take from an Indian Maker!
Alright folks, gather 'round, because today we're diving deep into something that's been both a dream and a bit of a headache for makers everywhere: affordable 3D scanning. You know the drill – you've got an old, broken part, or a unique artifact, and you just wish you could zap it into existence on your 3D printer. For years, that was either a pipe dream, a ridiculously expensive industrial setup, or a painstaking session of photogrammetry that often left you tearing your hair out. But then, Creality, bless their hearts, threw the Ferret 3D scanner into the mix. I snatched one up a while back for my small 3D printing business here in India, Artipia Collections (yes, that’s us!), and I've been putting it through its paces. The big question is: for us home users, us small business hustlers, is the Creality Ferret actually worth it? Or is it just another shiny gadget gathering dust?My Journey to 3D Scanning – A History of Hope and Hassle
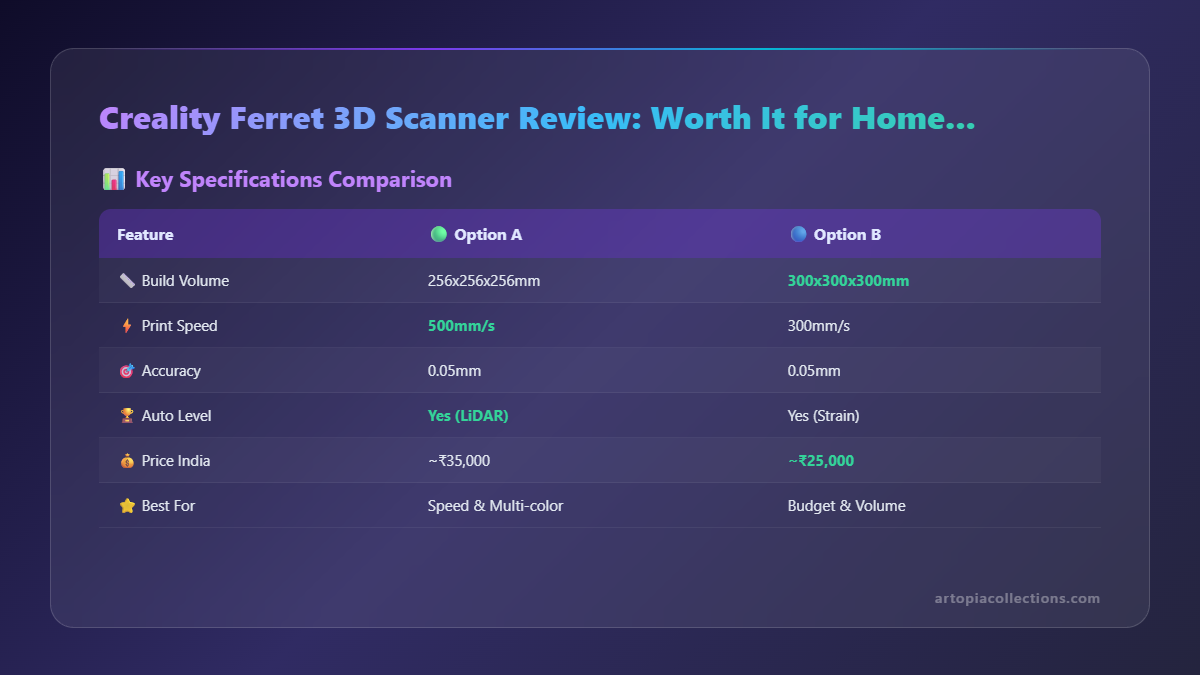
Honestly, the idea of 3D scanning always felt like the Holy Grail for me. Imagine the possibilities! Custom enclosures for electronics without endless measuring, replicating sentimental objects for friends and family, or even reverse-engineering that irreplaceable broken part from an old appliance. Before the Ferret, my attempts were… let’s just say *heroic failures* mixed with *occasional triumphs*. I dabbled in photogrammetry quite a bit. You know, taking hundreds of photos from every angle, feeding them into software like Meshroom, and praying to the software gods for a usable mesh. Sometimes it worked, especially for larger, textured objects. But small, smooth, or intricate parts? Forget about it. The processing time alone was enough to make you reconsider your life choices. And the cleanup? Oh, the cleanup! Hours spent in Blender or Meshmixer, patching holes, smoothing out noise, and generally wrestling with a point cloud that looked more like a digital dust bunny than an actual object. It was cheap, yes, but the time investment was astronomical for anything beyond a simple sphere or a rock. I even looked at some of the "entry-level" industrial scanners a few years back, but when the price tag started at ₹2 lakhs and went rapidly upwards, I just laughed and went back to my tape measure and calipers. My wallet definitely wasn't ready for that kind of commitment. So, when Creality announced the Ferret, with its handheld design, its promise of easy scanning, and a price point that actually felt attainable – around the ₹30,000 to ₹35,000 mark here in India, depending on where you snag it and if there’s a sale – my curiosity was piqued. Could this be it? Could this be the affordable, practical solution I'd been dreaming of for my workshop? I had to find out.Unboxing and First Impressions: Small But Mighty?
The Ferret arrived in a pretty compact box, and inside, it's just as minimalist. You get the scanner itself, which is surprisingly small and light, fitting comfortably in your hand. There's a USB cable (USB-C on the scanner side, which is nice), a tripod – a tiny, basic one, but hey, it's there – and a calibration board. No fancy carrying case, no extra bells and whistles, just the essentials. And honestly, for the price, that's what I expected and appreciated. I mean, who needs more packaging to throw away, right? Connecting it up was straightforward. It's basically plug-and-play with your laptop or even your phone if you get the right adapter. (Pro tip: make sure your phone is reasonably powerful, otherwise, things can get a bit sluggish. My older Redmi struggled, but my newer Samsung handled it fine.) The initial software download and installation were painless enough, though I did have to mess with some driver settings on my Windows machine to get it recognized perfectly. Nothing too complicated, but it wasn't *just* plug it in and go for me, which, to be fair, is often the case with new tech.The Scanning Experience: Where the Magic (and the Frustration) Happens
This is where the rubber meets the road. The Ferret uses a combination of structured light and optical tracking. Basically, it projects a pattern onto the object and uses cameras to interpret the distortions, creating a 3D map. For tracking, it looks for unique features on the object itself. This is a crucial point, and we’ll get back to it.Software & Workflow
The Creality Scan software is… functional. It’s not Fusion 360 or Blender, but it does the job. It’s reasonably intuitive, with clear buttons for starting, pausing, and stopping scans. You can adjust exposure, brightness, and some other basic parameters. It also shows you a live preview of the scan data as it's being captured, which is incredibly helpful for understanding what the scanner is seeing (or *not* seeing). The workflow generally goes like this:- Place your object on a stable surface.
- Open the software, choose your scanning mode (body scan, object scan).
- Hit start and slowly move the scanner around the object.
- Monitor the live preview, trying to keep a good tracking lock.
- Once you've captured everything, stop the scan.
- The software then processes the data, stitching it together.
- You can then perform some basic cleanup – deleting stray points, smoothing, filling small holes.
- Finally, export as an STL or OBJ.
What It Scans Well (and What Makes it Fretful)
The Good Stuff: The Ferret absolutely shines with small to medium-sized, matte, light-colored objects with decent geometric features. Think of a roughly textured ceramic mug, a moderately detailed plastic toy, a wooden figurine, or even a human face (yes, it does face/body scans, which is super cool for cosplay or custom masks!). I've had great success scanning various prototype parts for our custom 3D printed creations – things like bespoke brackets or enclosures for LED strips. The level of detail it can capture for objects in its sweet spot is genuinely impressive for the price, often down to 0.1mm resolution. My Ender 3 V2 and Anycubic Kobra Neo usually print with 0.2mm layer height, so that's plenty of detail for additive manufacturing. The Fretful Stuff: Now, here's where we get real. The Ferret (like almost all structured light scanners, especially at this price point) struggles with a few things:- Shiny or Transparent Objects: This is the arch-nemesis of 3D scanners. A glossy black phone case? A clear glass bottle? Nope, it just reflects the light weirdly and confuses the scanner. For these, you absolutely need a scanning spray (a matte, washable coating) or even just some matte spray paint or talcum powder to dull the surface.
- Very Dark or Very Bright Objects: Similar to shiny objects, extreme colors can mess with the light capture.
- Featureless Objects: A perfectly smooth, uniformly colored sphere is surprisingly hard to scan because the scanner has nothing unique to "track" as you move around it. This is where tracking markers come in handy, small adhesive dots you place on the object or the scanning area to give the scanner reference points. The Ferret Pro has a stronger tracking algorithm, but the original Ferret definitely benefits from markers for challenging shapes.
- Very Small or Very Thin Objects: While the resolution is good, extremely thin features (like a paper-thin edge) can be difficult to capture cleanly without a lot of noise.
- Large Objects: While it *can* scan larger items, maintaining tracking over a big area is tough. It’s really optimized for desktop-sized objects. Trying to scan something bigger than, say, a microwave, becomes an exercise in patience and frustration.
Post-Processing: From Point Cloud to Printable Model
After the scan, the mesh often isn't perfect. There might be some floating bits, small holes, or jagged edges. The Creality Scan software has some basic tools to clean this up – you can crop, fill holes, and smooth the mesh. These are good for quick fixes. However, for anything serious, I usually export the raw STL or OBJ and take it into dedicated mesh editing software like Meshmixer (free!) or Blender. Here, you can do more robust cleanup, sculpt out imperfections, merge meshes, or prepare the model for 3D printing. Often, I'll decimate the mesh a bit (reduce polygon count) because the scanner can generate a very dense mesh, which is great for detail but can make slicing software struggle or create unnecessarily large files. This step is crucial if you want a clean, printable model. It's not a one-button solution from scan to print, but it significantly cuts down on the manual modeling time if you have a complex organic shape.Pros of the Creality Ferret (for Home & Small Business Use)
 So, after using it for a good few months, here's what I really appreciate about the Ferret:
- Affordability: This is, without a doubt, its biggest selling point. For around ₹30,000 to ₹35,000, you're getting a genuinely capable 3D scanner. That's a game-changer for hobbyists and small businesses who couldn't justify industrial prices.
- Portability & Ease of Use: It's small, lightweight, and can be used on the go with a laptop or even a smartphone. This is fantastic for fieldwork or if you need to scan something in a client's workshop. The software, while not perfect, is easy to pick up.
- Decent Accuracy and Resolution: For its price point, the 0.1mm resolution and accuracy are more than enough for most 3D printing applications, especially if you're working with FDM printers like my trusty Ender 3.
- Time-Saving for Complex Shapes: Trying to model an organic, free-form shape from scratch is incredibly difficult and time-consuming. The Ferret drastically reduces that time, giving you a solid base mesh to work from. For my business, this means faster prototyping and more custom solutions.
- Versatility: Object scanning, face scanning, body scanning – it covers a good range for personal projects and small commercial ventures.
Cons & Limitations: It’s Not a Magic Wand
 But let's be realistic, it's not perfect. Here are the things that occasionally make me pull my hair out:
- Challenging Surfaces: As mentioned, shiny, transparent, very dark, or very featureless objects are a headache. You *will* need scanning spray or matte paint. Don't expect miracles on these without prep.
- Tracking Issues: Lost tracking is the bane of my existence sometimes. A slight wobble, an unlit area, or just a featureless part of an object can make it lose its bearings, forcing you to restart that section. It requires a steady hand and a good environment.
- Software Quirks: While functional, the Creality Scan software can be a bit basic. The post-processing tools are minimal, and sometimes it can be a bit buggy, crashing occasionally. Make sure to save your scans often!
- Not for Industrial Precision: If you need micron-level accuracy for engineering or metrology, look elsewhere. This is not a professional measurement tool, it's a tool for makers and designers.
- No Built-in Turntable: The original Ferret doesn't come with an automatic turntable, which means you're doing all the object rotation manually (or buying a separate one). The Ferret Pro does offer this, but it's a higher price point.
So, Is the Creality Ferret Worth It for Home Use? And for my Small Business?
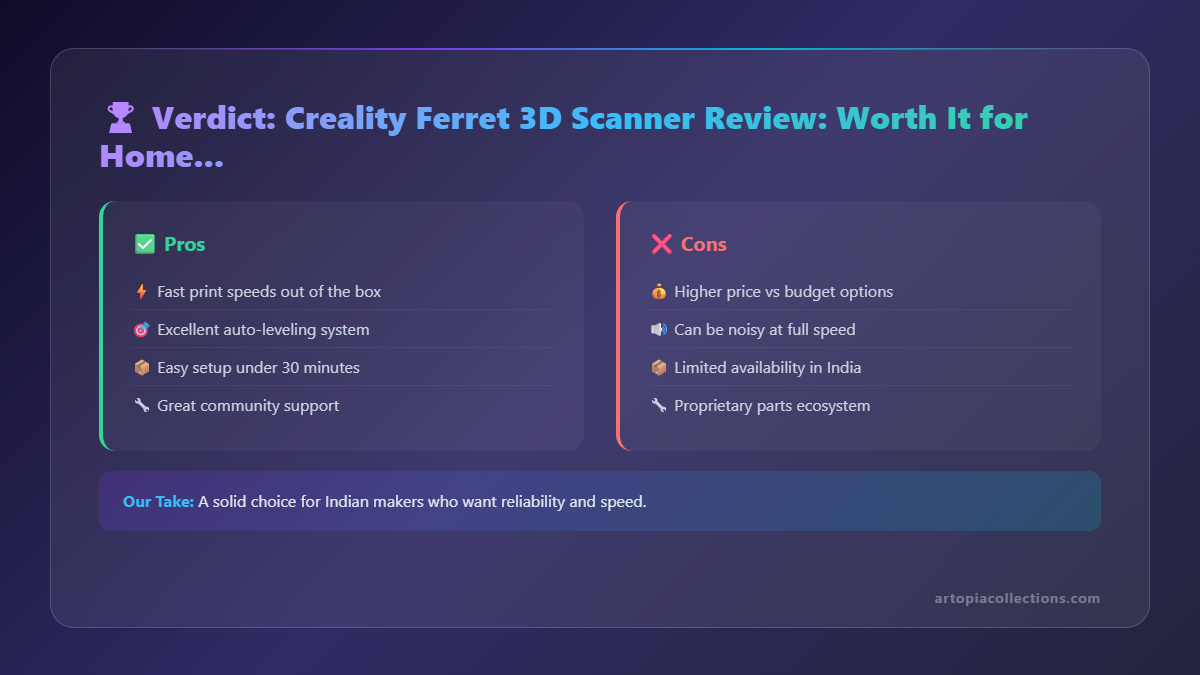
Here’s the deal: if you’re a hobbyist, a DIY enthusiast, a small business owner like me, or someone who frequently wishes they could just "copy" a physical object into a digital file for 3D printing, then yes, absolutely. The Creality Ferret is a fantastic entry point into the world of 3D scanning. It democratizes a technology that was once prohibitively expensive. For my business, Artopia Collections, it has been invaluable. I’ve used it to reverse-engineer broken plastic clips for customers, design custom housings that perfectly fit existing circuit boards, and even create digital archives of small sculptures that we then scale and print for unique orders. It saves me hours of meticulous measurement and guesswork, allowing me to deliver custom solutions much faster. It's not a tool I use *every single day*, but when I need it, it's a lifesaver. If your primary goal is to scan small to medium-sized objects, replicate parts, or create unique digital assets for your 3D printer, the Ferret is a brilliant investment. Just be prepared for the learning curve, understand its limitations, and be ready to do a bit of post-processing. It won't instantly turn every physical object into a perfect printable model, but it provides a phenomenal starting point that was previously unattainable for most of us. For its price, the value it offers is immense. It's not perfect, mind you, but for the price? Absolutely brilliant. If you're looking to jump into 3D scanning without breaking the bank, the Creality Ferret (or even the newer Ferret Pro, if your budget allows) is definitely worth a very serious look.You can find high-quality PLA filament on Amazon.in to print your scanned models, and check out some essential 3D printing tools and accessories that complement a scanner perfectly.
What are your thoughts? Have you tried the Ferret or another budget 3D scanner? Share your experiences in the comments below! And don't forget to check out our custom 3D printed creations at Artopia Collections!