Nozzle Nerves? A Real Human's Guide to Creality K1 Nozzle Replacement (and Why It's Not Your Ender 3 Anymore!)
Alright, K1 owners, let's be real for a second. That hotend on our Creality K1 or K1 Max? It's a beast. Super fast, awesome prints, a true workhorse in our small business here at ArtOptia Collections. But then comes the day, and it *always* comes, when you need to swap out that nozzle. And if you're like me, the first time you peeked under that magnetic lid, you probably thought, "Whoa, this isn't my trusty Ender 3! Where's the standard V6 nozzle?"
Yeah, my friend, the K1 is a different animal. Its hotend, while designed for speed and efficiency, also means a slightly different approach to maintenance. For us running a small 3D printing business here in India, where every print counts and downtime means lost opportunities, knowing how to quickly and correctly change that nozzle is absolutely crucial. Trust me, I've had my share of late-night "chai-and-cursing" sessions trying to figure out a clog, only to realise a simple nozzle swap was the solution all along. So, let's get you sorted, so you can keep those K1s humming and your customers happy!
Why Even Bother Swapping Your K1 Nozzle? (Besides the Obvious Clog)
First off, why are we even having this conversation? I mean, besides the dreaded clog that ruins your day and that beautiful print you've been working on for hours. Well, there are a few solid reasons:
1.
Wear and Tear: This is the big one, especially if you're printing with anything even slightly abrasive. Think carbon fiber PLA (which we use a lot for robust prototypes), glow-in-the-dark filaments, or even just some heavily pigmented matte filaments. They act like
sandpaper on your brass nozzle, slowly enlarging the hole. And an enlarged hole means sloppy prints, poor detail, and generally just a bad time.
2.
Material Specifics: Sometimes, you need a different nozzle material. Printing with PETG or ABS? Brass is usually fine. But if you're diving into engineering materials like PC-CF or PA-CF, you *need* a hardened steel or even a ruby nozzle to prevent rapid wear. Trying to print those with brass is just asking for trouble, and honestly, money wasted.
3.
Performance Upgrades: Maybe you want higher flow for even faster prints? Or perhaps you need a different nozzle diameter for specific detail work or chunky, strong parts. A 0.6mm nozzle can really speed things up for larger models, while a 0.2mm is perfect for intricate miniatures – though I've found the K1's stock setup is often good enough for most fine details, to be honest.
Understanding the K1's Unique Hotend (It's Not Your Daddy's Hotend!)
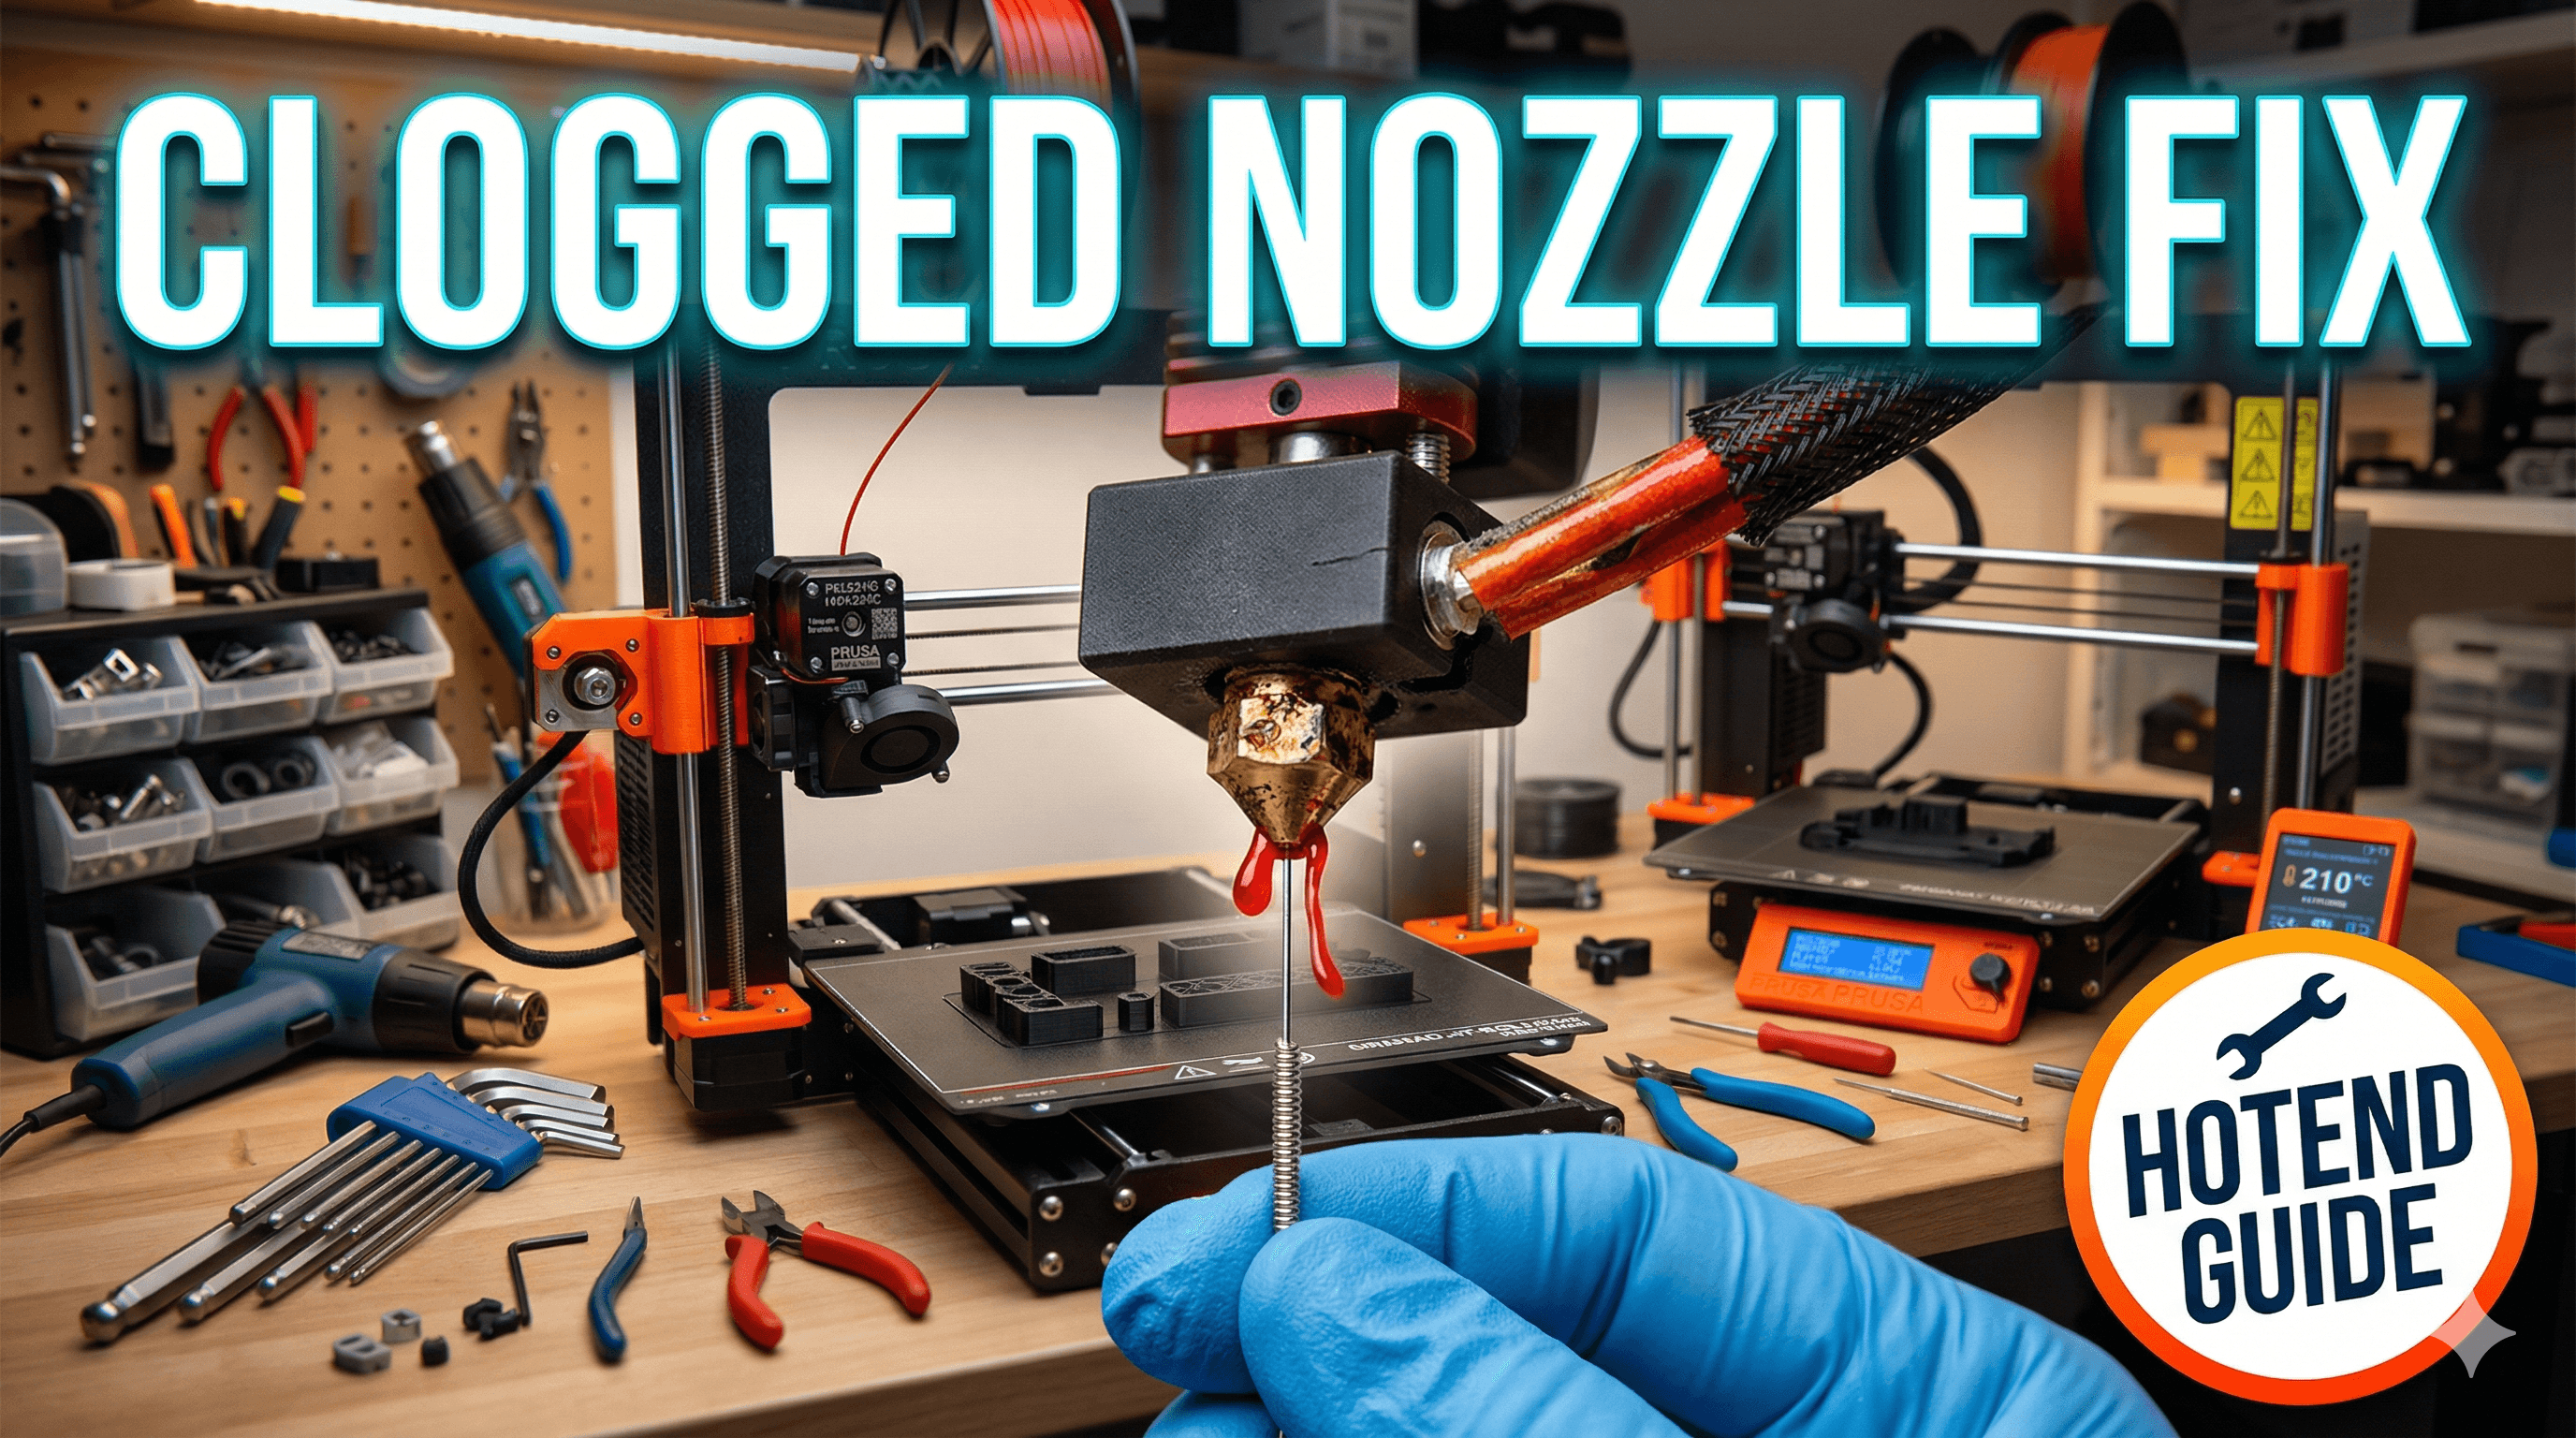
This is the most critical part, so listen up, okay? The Creality K1 hotend isn't like the standard V6 or MK8 hotends you might be familiar with from an Ender 3 or Prusa. On those older machines, the nozzle is a separate brass tip that screws into a heat block, and above that, you have a heat break. Simple.
The K1, however, uses an integrated nozzle and heat break assembly. This entire piece threads into the ceramic heater block, which itself contains the heating element and thermistor. So, when we talk about changing the "nozzle" on a K1, we're actually changing this entire integrated assembly. It's a clever design for speed and thermal efficiency, but it does mean a slightly different removal and installation process. You're not just unscrewing a little brass tip; you're replacing a small, complete unit.
Gather Your Tools, My Friend!
Before we get our hands dirty (or hopefully, not too dirty!), let's make sure you have everything you need. There's nothing worse than getting halfway through a job and realizing you're missing a crucial tool.
1.
Wrenches: You'll need a small crescent wrench or an open-ended spanner (usually around 6mm to 7mm for the nozzle, and maybe one for the heat block if you need to hold it steady). Some K1s even come with a tiny spanner.
2.
Pliers: Needle-nose pliers can be super handy for carefully manipulating wires or pulling out any filament gunk.
3.
Wire Cutters/Strippers (Optional but good to have): In case you accidentally damage a wire, which, let's be honest, can happen when you're fumbling around in a hot, cramped space. But usually, you won't need these.
4.
Brass Brush: For cleaning off any filament residue from the heat block area.
5.
New Nozzle Assembly: Obviously! Make sure it's specifically for the Creality K1/K1 Max.
6.
Gloves: Heat-resistant gloves are a *very* good idea. You'll be working with a hot component, and burnt fingers are no fun at all.
7.
Paper Towels or a Rag: For wiping up any oozing filament.
8.
Good Lighting: Seriously, good lighting makes a world of difference. Your phone flashlight just doesn't cut it sometimes.
Step-by-Step: Replacing That K1 Nozzle Like a Pro!
Alright, take a deep breath. We've got this. Follow these steps carefully, and you'll be back to printing in no time.
1.
Pre-Heat Your Hotend: First things first, we need to pre-heat the hotend. Why? Because it makes removing the old nozzle much easier. Residual filament will soften, preventing it from seizing the threads. Set your printer to about 240°C for PLA or PETG. Let it sit there for a minute or two once it reaches temperature.
2.
Power Down and Safety First: Once heated, immediately power off your printer and unplug it from the wall. This is non-negotiable. You’re working with electrical components, and even a low voltage can give you a nasty shock, not to mention shorting something. Always prioritize safety. Wait a minute or two for things to cool slightly, but not entirely cold. It needs to be warm enough to be pliable, but not scalding.
3.
Remove the Silicone Sock: Carefully peel off the silicone sock that surrounds the hotend. It protects the heater block and keeps things thermally stable. It might be a bit sticky or have some melted filament on it. Set it aside.
4.
Locate the Nozzle Assembly: Now you'll see the ceramic heater block. The nozzle assembly, with its integrated heat break, threads directly into the bottom of this ceramic block. You'll likely see a bit of exposed heat break tube coming out from the top of the nozzle assembly, going into the ceramic heater block.
5.
The Tricky Part - Loosening the Old Nozzle: This is where you need those wrenches. Use one wrench to firmly grip the flats of the ceramic heater block itself (be careful not to damage the wires coming out of it!). Then, use your other wrench on the hexagonal part of the nozzle assembly (the brass part if it's a stock nozzle). Gently, but firmly, turn counter-clockwise to loosen the nozzle. It might require a bit of force initially, but it should start to turn.
*
Self-correction moment: I've seen some guides suggest holding the *entire print head* to prevent it from moving. Honestly, just holding the ceramic block itself is usually enough, but just be mindful of the delicate wires coming out of the top of that block. They are fragile, so a gentle hand is key. Don't yank on them!
6.
Remove the Old Nozzle: Once it's loose, you should be able to unscrew the old nozzle assembly by hand (or with pliers if it's still too hot). Be ready for a bit of melted filament to ooze out, so have your rag handy.
7.
Clean the Hotend Area: While the hotend is still warm, take your brass brush and gently clean around the threads of the ceramic heater block. Remove any old filament residue or carbonised bits. You want a clean mating surface for the new nozzle. This helps ensure a good seal.
8.
Install the New Nozzle: Carefully take your new Creality K1 nozzle assembly. Screw it into the ceramic heater block by hand, turning clockwise, until it's finger-tight. Don't force it.
9.
Hot Tighten (Crucial Step!): Now, plug your printer back in and power it on. Go back to the pre-heat menu and heat the hotend to your target printing temperature (e.g., 240°C for PLA). Once it reaches temperature, *carefully* use your wrenches again. Hold the ceramic heater block steady with one wrench, and tighten the new nozzle assembly firmly with the other. This "hot tightening" is absolutely crucial. As the metals expand when hot, tightening it at temperature ensures a good, leak-free seal when it cools down and heats up repeatedly during printing. If you tighten it cold, it can loosen when hot and leak. Just don't overtighten; snug is good.
10.
Replace Silicone Sock and Test: Once tightened, power off and unplug again. Let it cool a bit, then replace the silicone sock. Power on your printer, do a quick bed leveling or Z-offset calibration just to be safe, and then run a test print. I usually do a quick calibration cube or a small test model just to confirm everything is working as it should.
And there you have it! A perfectly replaced K1 nozzle. See? Not so scary when you know the drill, right?
Recommended Nozzles for Your K1 (And Where to Find Them in India!)
Now that you're a pro at swapping nozzles, let's talk about *which* nozzles to use. For a business like ArtOptia Collections, having the right nozzle for the job is non-negotiable.
1.
Stock Brass Nozzles: These are your workhorses. Good for PLA, PETG, TPU, and ABS. They offer excellent thermal conductivity and are relatively inexpensive.
*
Price in India: You can usually find a pack of 3-5 Creality K1 brass nozzles for around ₹300-₹500. They're widely available online.
*
Check out brass nozzles for Creality K1 on Amazon.in.
2.
Hardened Steel Nozzles: My personal go-to for pretty much any client project involving engineering filaments or anything with additives. If you print with carbon fiber, glow-in-the-dark, wood-filled, or other abrasive filaments, these are a must. They last significantly longer than brass, saving you money and hassle in the long run. The slight trade-off is often slightly lower thermal conductivity, meaning you might need to print a few degrees hotter.
*
Price in India: These are pricier. Expect to pay anywhere from ₹800 to ₹1500 per nozzle for good quality hardened steel K1 nozzles from brands like Trianglelab or even Creality's own hardened versions.
*
Take a look at Creality K1 Hardened Steel Nozzles on Amazon.in.
3.
CHT-Style/High-Flow Nozzles: If you're pushing the limits of speed on your K1, a CHT-style nozzle (like those originally designed by Bondtech, but now available from various manufacturers) can significantly increase your volumetric flow rate. They achieve this by having internal channels that increase the surface area for melting filament. Great for maximum speed and large prints.
*
Price in India: These can range from ₹1000 to ₹2500 per nozzle, depending on the brand and material (e.g., hardened steel CHT versions are even more).
For us at ArtOptia Collections, having a mix is essential. We keep brass for general prototypes, but hardened steel K1 nozzles are always loaded when we're doing serious work with carbon fiber or for clients who need really durable parts. Honestly, reliable nozzles are the backbone of our operation; we can't afford clogs or bad prints when clients are waiting for their custom designs and demanding high quality. That's why we focus on making sure every piece, right down to the nozzle, contributes to the perfection of our
3D printed products.
A Few Last Tips to Keep Your Nozzles Happy!
*
Cold Pulls: Regularly perform cold pulls to clean out any gunk from inside your hotend. It's like a deep clean for your nozzle and heat break.
*
Filament Storage: Keep your filaments dry! Moisture can cause bubbling and clogs. Invest in a dry box or sealed containers with desiccant.
*
Brass Brush After Every Print (or two): A quick brush of the nozzle tip after your print finishes and before it cools down can keep the outside clean and prevent carbonised bits from embedding themselves.
Changing the nozzle on your Creality K1 might seem a bit daunting at first, especially coming from simpler machines, but once you understand its unique design, it's really just another maintenance task. And knowing how to do it confidently means you're always ready for anything your 3D printing journey throws at you. Keep those printers humming, my friends, and happy printing!
Got any questions or your own K1 nozzle swapping tips? Drop them in the comments below! I'd love to hear from you.