How to 3D Scan and Reproduce Cultural Artifacts and Antiques
Discover the complete process of 3D scanning cultural artifacts and antiques. Learn how to create precise digital models and reproduce these invaluable objects for study, preservation, or replication.

Bring History Home: How We're 3D Scanning and Reproducing India's Cultural Treasures!
Ever walked through a dusty old museum, or maybe just stumbled upon an ancient coin in your grandparent's attic, and wished you could just… hold onto that piece of history a little tighter? Or even better, share it with everyone? Honestly, that's exactly how I feel every single day. Here in India, we're swimming in a sea of incredible heritage – temples, sculptures, intricate jewelry, forgotten tools. And the thing is, so many of these artifacts are fragile, irreplaceable, and often locked away behind glass. But what if I told you there’s a way to not just admire them from afar, but to truly interact with them, study them, and even create perfect, durable replicas? That's where the magic of 3D scanning and printing comes in, and trust me, it’s a game-changer for preserving our culture.My name’s Vidyut, and I run a small 3D printing business right here in India. We’re passionate about bringing ideas to life, but lately, our biggest passion has become breathing new, accessible life into our ancient heritage. It's not just about making cool stuff; it's about making history tangible for everyone, from researchers to school kids, and even just curious folks like you and me. I personally think this technology offers an unprecedented opportunity to safeguard and share our rich past, making it a living, breathing part of our present and future.
Why Even Bother with 3D Scanning Old Stuff?
You might be thinking, "Vidyut, isn't this really complicated? And why would I want a printed replica when I can see the real thing?" And yeah, sometimes it is a bit complicated, but it's totally worth it. The reasons are pretty compelling:
- Preservation, Baby! Imagine a precious sculpture, thousands of years old. A digital 3D scan is like creating an indestructible, perfect blueprint. If the original ever gets damaged – God forbid, but accidents happen – we have a precise record to work from, maybe even to reconstruct it. It’s a digital archive for eternity.
- Education and Research: Museums can't let every student or researcher handle delicate artifacts. But a high-fidelity 3D print? That's a whole different story. Students can touch, feel, and examine intricate details without risking the original. Imagine a history class where kids can hold a replica of an Indus Valley seal! It makes learning so much more engaging.
- Accessibility: This is a big one for me. What about visually impaired individuals who can't appreciate a painting or a sculpture through sight? A 3D printed tactile model opens up a whole new world of understanding for them. It’s about making culture accessible to everyone.
- Sharing and Exhibition: Not every museum can afford to ship priceless artifacts around the world. But 3D printed replicas? They’re much easier and safer to transport for traveling exhibitions, allowing our heritage to reach a wider global audience.
- Commercial & Personal: And yeah, for a business like mine, it opens up avenues for creating beautiful, culturally significant pieces for people who appreciate them. Think about a miniature replica of a temple carving for your home shrine, or a historically accurate chess set based on ancient designs. Look, the possibilities are endless!
The Nitty-Gritty: How Do We Actually 3D Scan These Treasures?
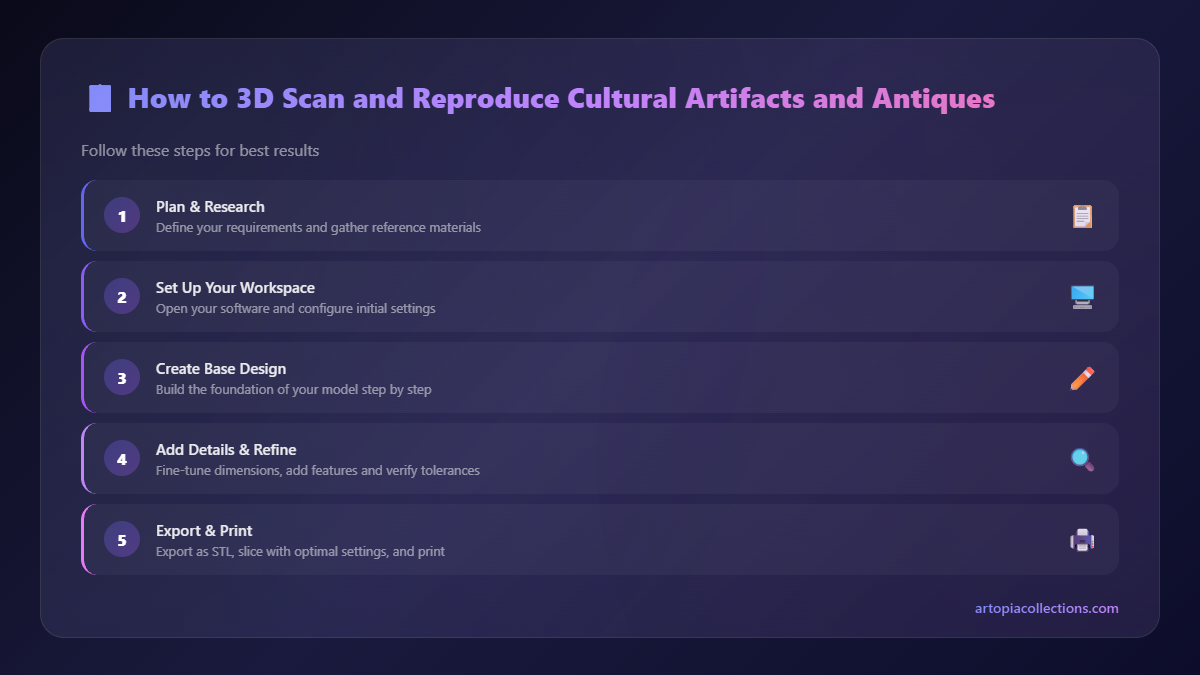
Okay, so you're onboard with the why. Now for the how. The core idea is simple: capture the physical dimensions of an object and turn it into a digital 3D model. But the execution? That’s where the fun (and sometimes the headaches!) begins.
Choosing Your Weapon: 3D Scanner Options
This is probably the biggest decision. Just like printers, 3D scanners come in all shapes, sizes, and price points. In my experience, for cultural artifacts, you need something that can capture fine details.
1. Photogrammetry (Budget-Friendly, High Detail): This is basically taking a gazillion photos from every conceivable angle and then stitching them together with specialized software. You can use a good DSLR camera (even a high-end smartphone can work for smaller objects!) and software like Meshroom (free) or Agisoft Metashape (paid, starts around ₹12,000 for a hobby license, more for pro). For an entire setup – a decent camera, a tripod, good lighting, and software – you're looking at anywhere from ₹20,000 to ₹50,000 to get started. It's fantastic for texture and color, and honestly, the results can be stunning if you know what you’re doing. The drawback? It needs consistent lighting, lots of photos, and can be tricky with very smooth or reflective surfaces.
2. Handheld 3D Scanners (Mid-Range, Versatile): This is what I often lean on for medium-to-large artifacts. Devices like the Revopoint POP series or the EinScan H are incredible. You hold them and simply wave them around the object, and they project light patterns to capture the geometry. They're much faster than photogrammetry and often better at handling tricky surfaces. A good entry-level professional handheld scanner like a Revopoint POP 3D Scanner can set you back anywhere from ₹70,000 to ₹1,50,000. EinScan models can go even higher, well into the ₹2,00,000+ range. They offer a great balance of speed, detail, and ease of use, making them ideal for field work or larger pieces.
3. Structured Light & Laser Scanners (Professional Grade, High Accuracy): These are the big guns, often found in dedicated scanning services or high-end labs. They offer incredibly high accuracy and detail, but they come with a hefty price tag – easily upwards of ₹5,00,000 to ₹20,00,000 or more. While fantastic, they're usually overkill for most small businesses like mine unless you're doing highly specialized conservation work.
The Scanning Workflow: It's Not Just Point-and-Shoot
Once you have your scanner, here’s the basic gist:
- Preparation: This is crucial. Clean the artifact gently, ensuring no dust or debris. For photogrammetry, consistent, diffused lighting is key – no harsh shadows. Sometimes, we'll use a matte spray for very shiny or reflective objects (but always test it on a non-critical area first, or use a sacrificial piece!). For handheld scanners, sometimes tiny tracking markers are applied to help the scanner maintain its position, though many modern scanners are marker-less.
- Executing the Scan: Whether you're taking photos or moving a handheld scanner, you need to capture *everything*. I'm talking top, bottom, sides, inside, outside – every nook and cranny. For photogrammetry, I usually take hundreds of photos, overlapping significantly. With a handheld, it’s a smooth, steady motion, ensuring the software registers all angles.
- Post-Processing Software: This is where the raw data becomes a usable 3D model. The software takes your photos or scanner data and reconstructs a mesh – basically a surface made of tiny triangles. Then comes the cleanup: removing stray data, filling small holes, smoothing rough edges. For textures, you project the original photos onto the 3D model, giving it color and realism. This phase is quite meticulous, but a clean model is essential for a good print.
From Digital Model to Physical Replica: The 3D Printing Part
Alright, you've got your beautiful, cleaned-up 3D model. Now, let’s bring it to life! This is my favorite part because it’s where history literally takes shape in your hands.
Slicing Software: The Brains Behind the Print
Before you hit print, you need a 'slicer'. This software (like Ultimaker Cura or PrusaSlicer) takes your 3D model and slices it into hundreds, sometimes thousands, of thin layers. It also generates the toolpath for your printer, telling it exactly where to put material. This is where you set your print quality, infill density, supports, and all those critical parameters.
Choosing Your Printer: FDM vs. Resin
The type of printer largely depends on the artifact's size and required detail.
1. FDM Printers (Fused Deposition Modeling): These are the workhorses. They melt a plastic filament and extrude it layer by layer. Great for larger artifacts, sturdy replicas, and general prototypes. An Creality Ender 3 S1 or an Anycubic Kobra 2 are excellent choices, typically costing between ₹25,000 to ₹40,000. They’re relatively easy to use, and filament is quite affordable.
2. Resin Printers (SLA/DLP/LCD): For intricate details, delicate features, and smaller artifacts, resin printers are unbeatable. They use UV light to cure liquid resin layer by layer. Think about capturing the fine lines on a miniature sculpture or the intricate patterns on ancient jewelry. An Anycubic Photon Mono X or an Elegoo Mars 3 Pro can be found for around ₹20,000 to ₹40,000. The prints are incredibly smooth, but the post-processing (washing, curing) is a bit messier, and resin is more expensive than filament.
Filament and Resin Choices: More Than Just Plastic!
This is where you can really start to mimic the original materials.
- PLA (Polylactic Acid): My go-to for most projects. It's easy to print, biodegradable, and comes in a huge range of colors. A 1kg spool of good quality eSUN PLA+ filament usually costs around ₹1,800 to ₹2,500.
- Specialty Filaments: This is where it gets exciting! You can get PLA infused with wood particles (for a wood-like finish), stone powder (for a gritty, stony feel), or even metal powders. These are fantastic for aesthetic replicas, especially after some post-processing. They cost a bit more, maybe ₹2,500 to ₹4,000 per spool.
- Resin: Standard resins offer incredible detail. But you can also find tough resins, flexible resins, and even castable resins if you want to go further and mold metal reproductions (though that's a whole different ball game!). A liter of standard resin typically costs ₹2,500 to ₹4,000.
Printing Tips for Artifacts:
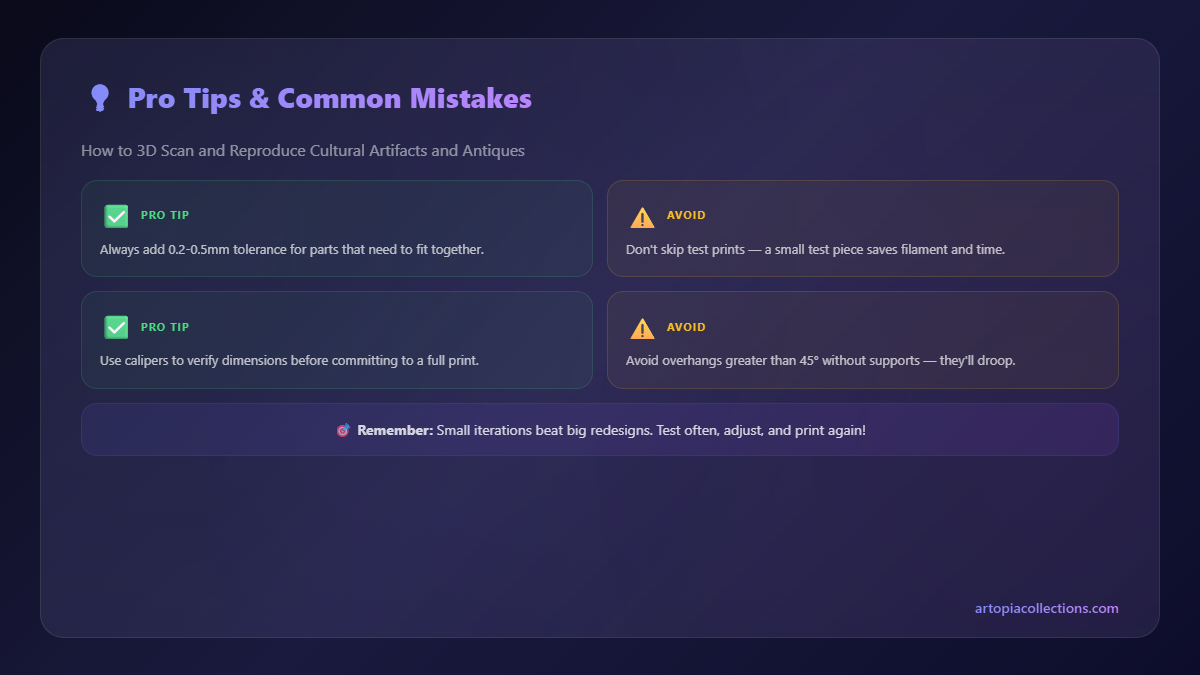
- Layer Height: For fine details, use a smaller layer height (e.g., 0.1mm for FDM, 0.05mm or less for resin). This means longer print times, but smoother results.
- Infill: You usually don't need 100% infill. For display pieces, 10-20% is often sufficient, saving time and material.
- Supports: Artifacts often have overhangs. Use supports to ensure these areas print correctly. Just be careful with their placement to minimize marks on critical surfaces.
- Orientation: Think about how the object will print best. Sometimes, orienting it in a specific way can reduce the need for supports or improve surface finish on visible parts.
The Finishing Touches: Making it Look Ancient
A raw 3D print, even a detailed one, often looks too "plastic-y." The real magic comes in the post-processing and finishing to make it look like an authentic, aged artifact.
- Sanding and Filling: FDM prints will have layer lines. Fine grit sanding (starting from 200 grit, going up to 1000 or 2000) can smooth these out. For larger imperfections, use wood filler or a specialized 3D print filler.
- Priming: A good primer (spray-on or brush-on) creates a uniform surface for paint and helps reveal any remaining imperfections.
- Painting: Acrylic paints are your best friend here. Layering is key! Start with a base coat, then dry-brush lighter tones to pick out details, and use washes (thinned paint) to settle into crevices and create shadows, mimicking age and patina. For metallic finishes, use metallic acrylics, then perhaps a dark wash for an antique look.
- Weathering and Patina: This is where you really sell the "antique" look. Sponging on lighter colors to simulate wear, adding green or blue washes for verdigris on bronze replicas, or dusting with pigments to simulate dirt and grime. It's an art in itself!
- Sealing: Once you're happy, a clear matte or satin varnish will protect your paint job and give it a professional finish, preventing chipping or fading.
Challenges and Ethical Considerations
While this all sounds amazing, it’s not without its challenges. The most important one, especially when dealing with cultural artifacts, is ethics. We always have to be respectful of the original object, its owners (whether an individual, a museum, or a community), and its cultural significance. Copyright and intellectual property are serious considerations. We only scan and reproduce objects with explicit permission, ensuring we're respecting heritage and not exploiting it.
Another challenge is simply the sheer complexity of some artifacts. Reflective surfaces, deeply undercut areas, or extremely fragile pieces can make scanning incredibly difficult. Sometimes, a combination of scanning techniques is needed, or even manual digital sculpting to fill in gaps. And let’s not forget the time investment – a detailed scan and print can take dozens, sometimes hundreds, of hours from start to finish. It’s a labor of love, but it’s definitely not a quick cash grab, if that makes sense.
Bringing History Home with My Business
At my little venture, ArtOPIA Collections, we've taken on several exciting projects. One time, we worked with a local historian who had found fragments of an old terracotta figurine. Using a combination of careful photogrammetry and some clever digital sculpting to reconstruct the missing pieces, we were able to create a complete replica. The look on his face when he held the full figure was absolutely priceless! That's the kind of moment that makes all the effort worth it.
We're dedicated to helping individuals, researchers, and institutions preserve and share India's incredible stories. If you have an antique or an artifact you're curious about scanning, or if you're interested in some of the unique cultural replicas we've already created, don't hesitate to reach out. We even have some really cool reproductions available right on our site, which you can check out at artopiacollections.com/products. You might find something truly special there!
So, what do you think? Isn't it incredible how modern technology can help us connect with our past in such a tangible way? It's more than just plastic or resin; it's about holding a piece of history in your hand, inspiring new generations, and ensuring our rich cultural tapestry never fades. Keep dreaming, keep creating, and keep exploring!


