How to Calibrate Retraction Settings for Any FDM Printer
Tired of stringing and blobs ruining your 3D prints? This guide will walk you through the precise steps to calibrate retraction settings for any FDM printer, ensuring smoother, cleaner results every time.
Say Goodbye to Stringing! How to Perfectly Calibrate Retraction Settings for Any FDM Printer
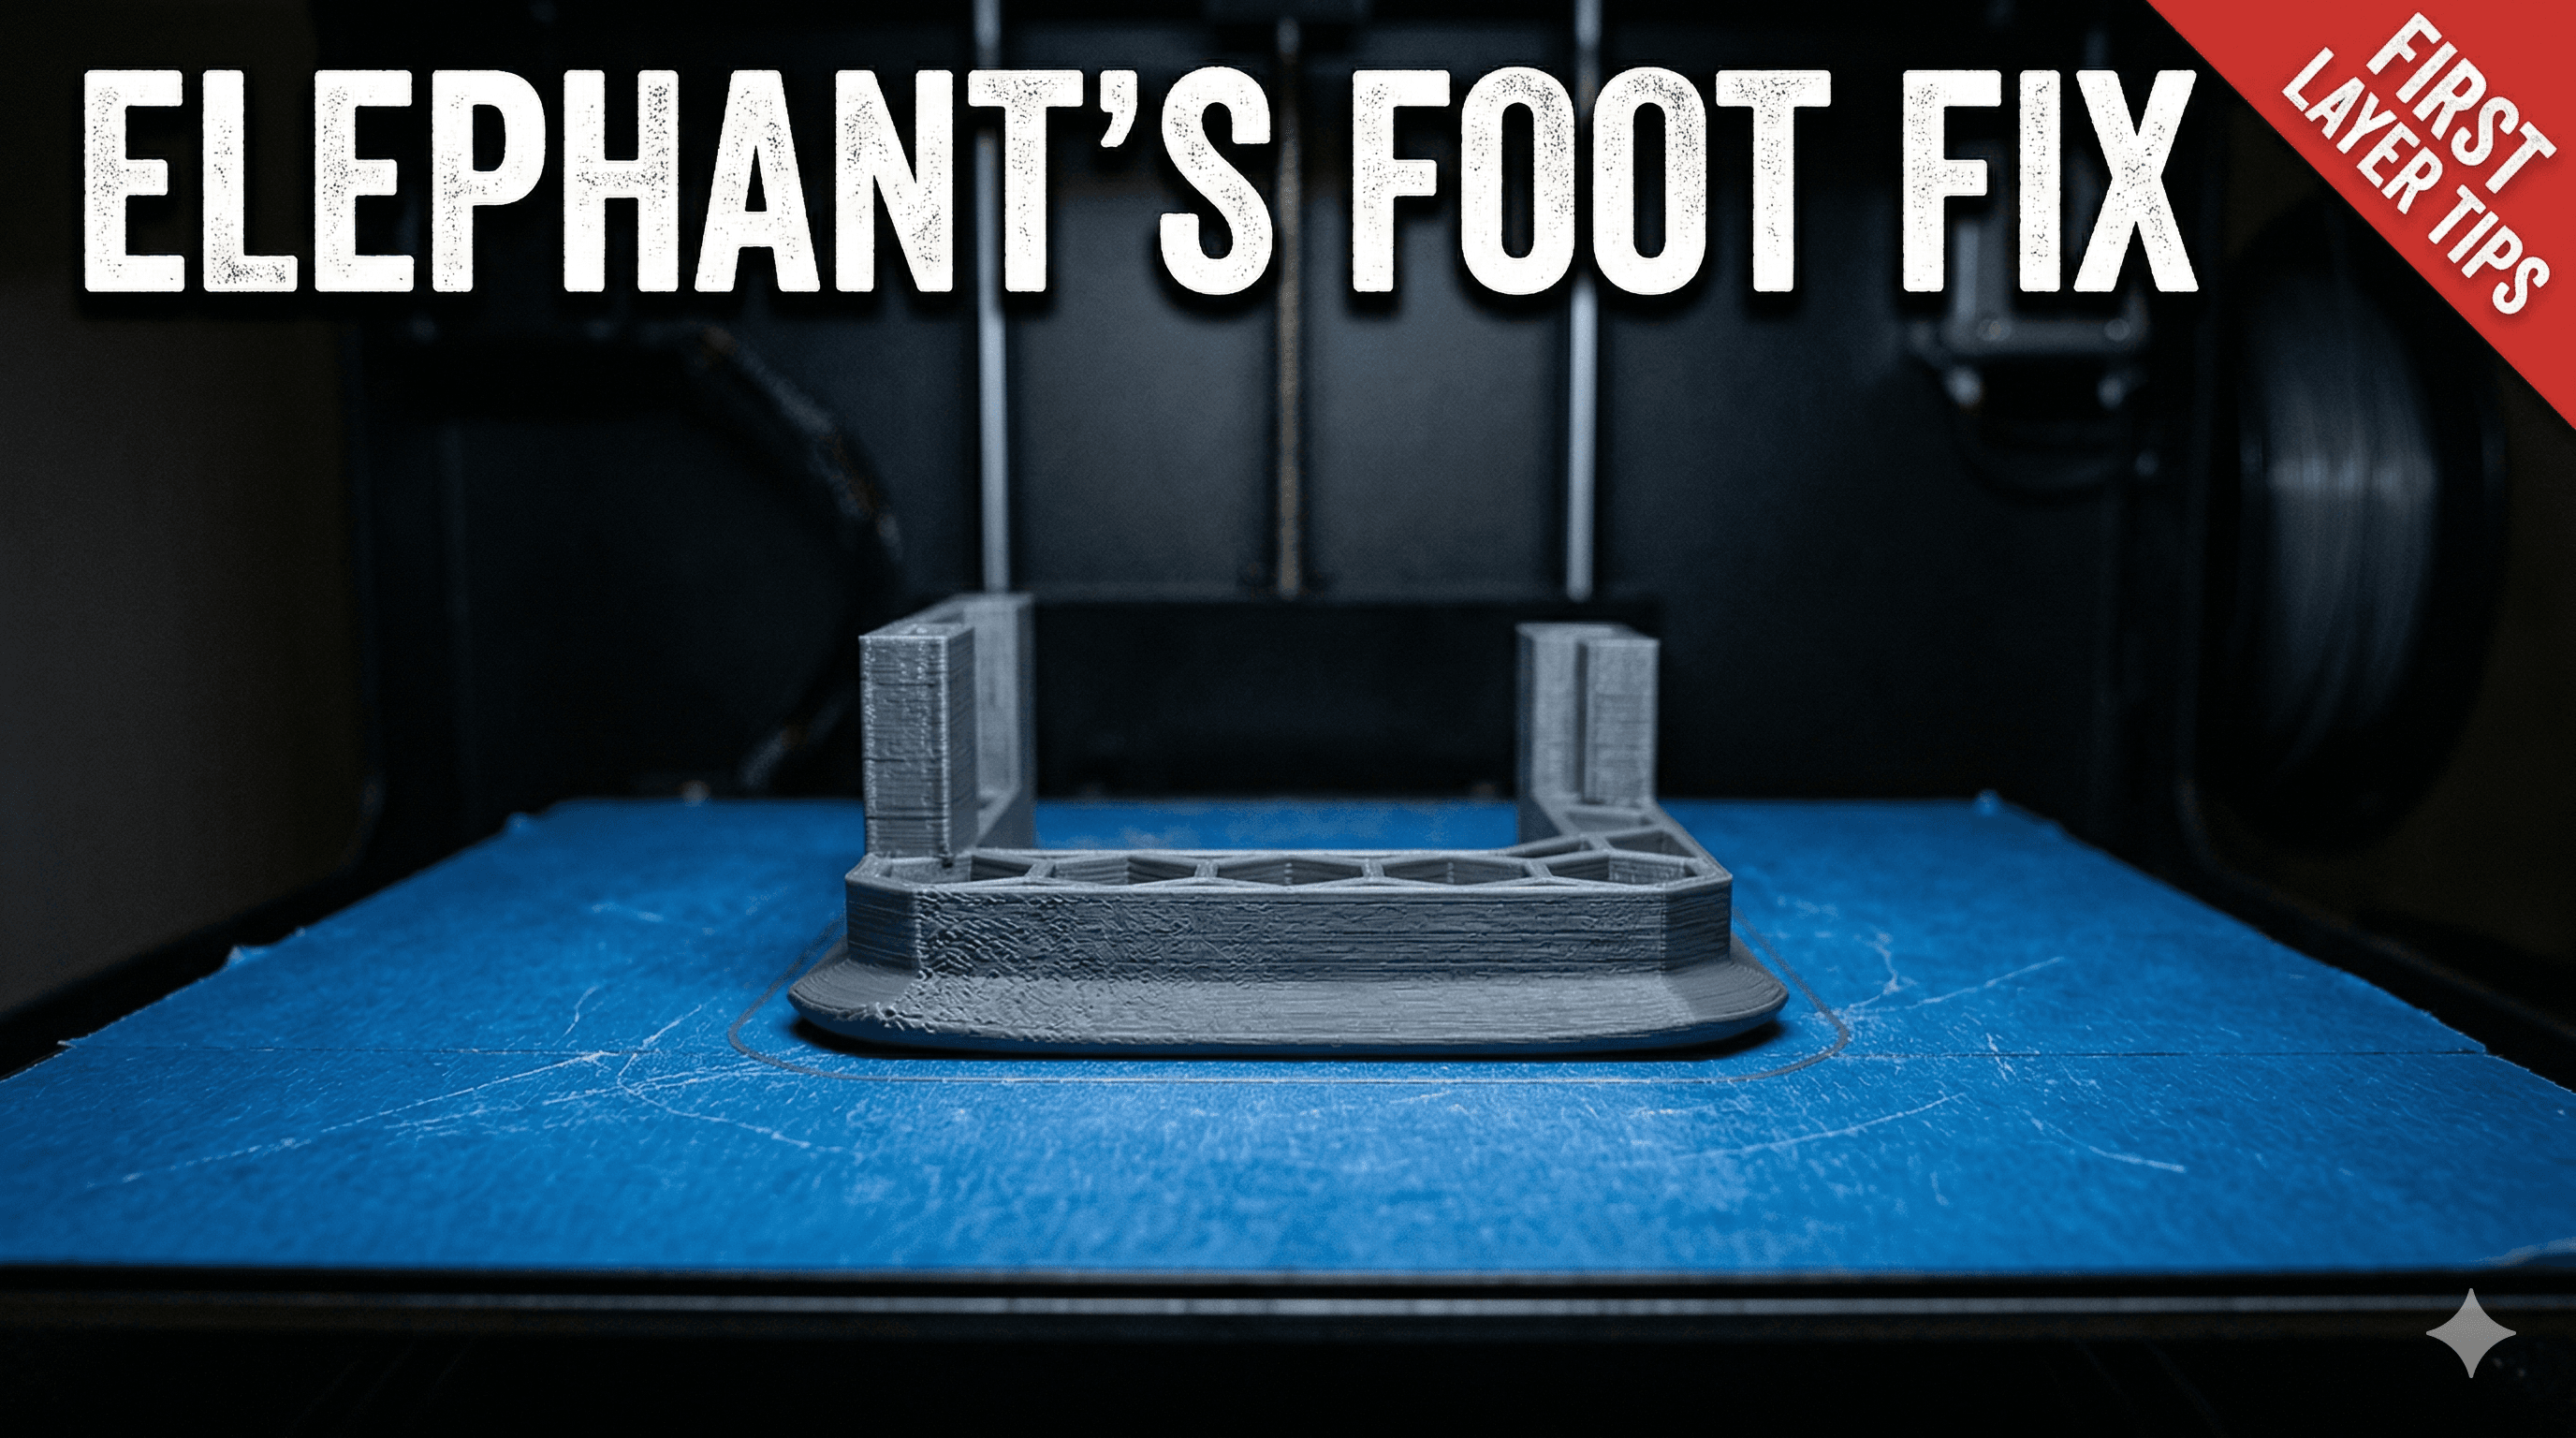
Ugh, stringing! You know that feeling, right? You pull a print off the bed, all excited, only to find it looks like a spider decided to host a rave inside your model. Little wisps of plastic everywhere, connecting every tiny detail. And then you spend ages with a heat gun or a craft knife, trying to clean it all up. Honestly, it's one of the most frustrating things in 3D printing, especially when you're trying to deliver a perfect piece for a client or even just for your own display shelf. Here at Artopia Collections, we deal with a lot of intricate designs, and let me tell you, poor retraction settings can turn a masterpiece into a messy nightmare faster than you can say "filament jam."But what if I told you there's a way to significantly reduce, if not completely eliminate, that pesky stringing? We're talking about calibrating your retraction settings, my friend. It's one of those fundamental tweaks that can make a monumental difference in print quality, and yet so many folks either ignore it or get overwhelmed by it. Don't worry, I've been there. I remember my early days with my first printer, a trusty Creality Ender 3 V2 (still running strong, by the way!), just blindly accepting whatever the slicer threw at me. My prints looked like they'd been through a plastic spaghetti factory. But once I got a handle on retraction, it was like unlocking a cheat code for cleaner prints. And today, I'm going to walk you through exactly how to master it, step by step, for pretty much any FDM printer out there.
What Even IS Retraction, and Why Does It Matter So Much?
Okay, let's get down to basics. Imagine your printer nozzle is moving from one point to another without printing. If the melted plastic inside just oozes out during this "travel" move, you get strings. Simple, right? Retraction is basically the printer's way of pulling the filament back up into the hot end very slightly, just enough to relieve the pressure in the nozzle. Think of it like a tiny vacuum cleaner, sucking back the molten plastic so it doesn't dribble out where it shouldn't. When the nozzle reaches its new printing spot, the filament is pushed back down, ready to extrude again.
It sounds straightforward, but it's a delicate dance. Too little retraction, and you get stringing, oozing, and general messiness. Too much, and you're inviting a whole new set of problems: clogged nozzles from heat creep, grinding filament (that awful clicking sound!), or even gaps and weak spots in your prints because the filament isn't pushed back down fast enough or consistently enough. It's a Goldilocks situation – you need it just right. And "just right" can vary wildly depending on your printer setup, the type of filament you're using (PLA, PETG, ABS, flexibles – oh my!), and even the specific brand of filament.
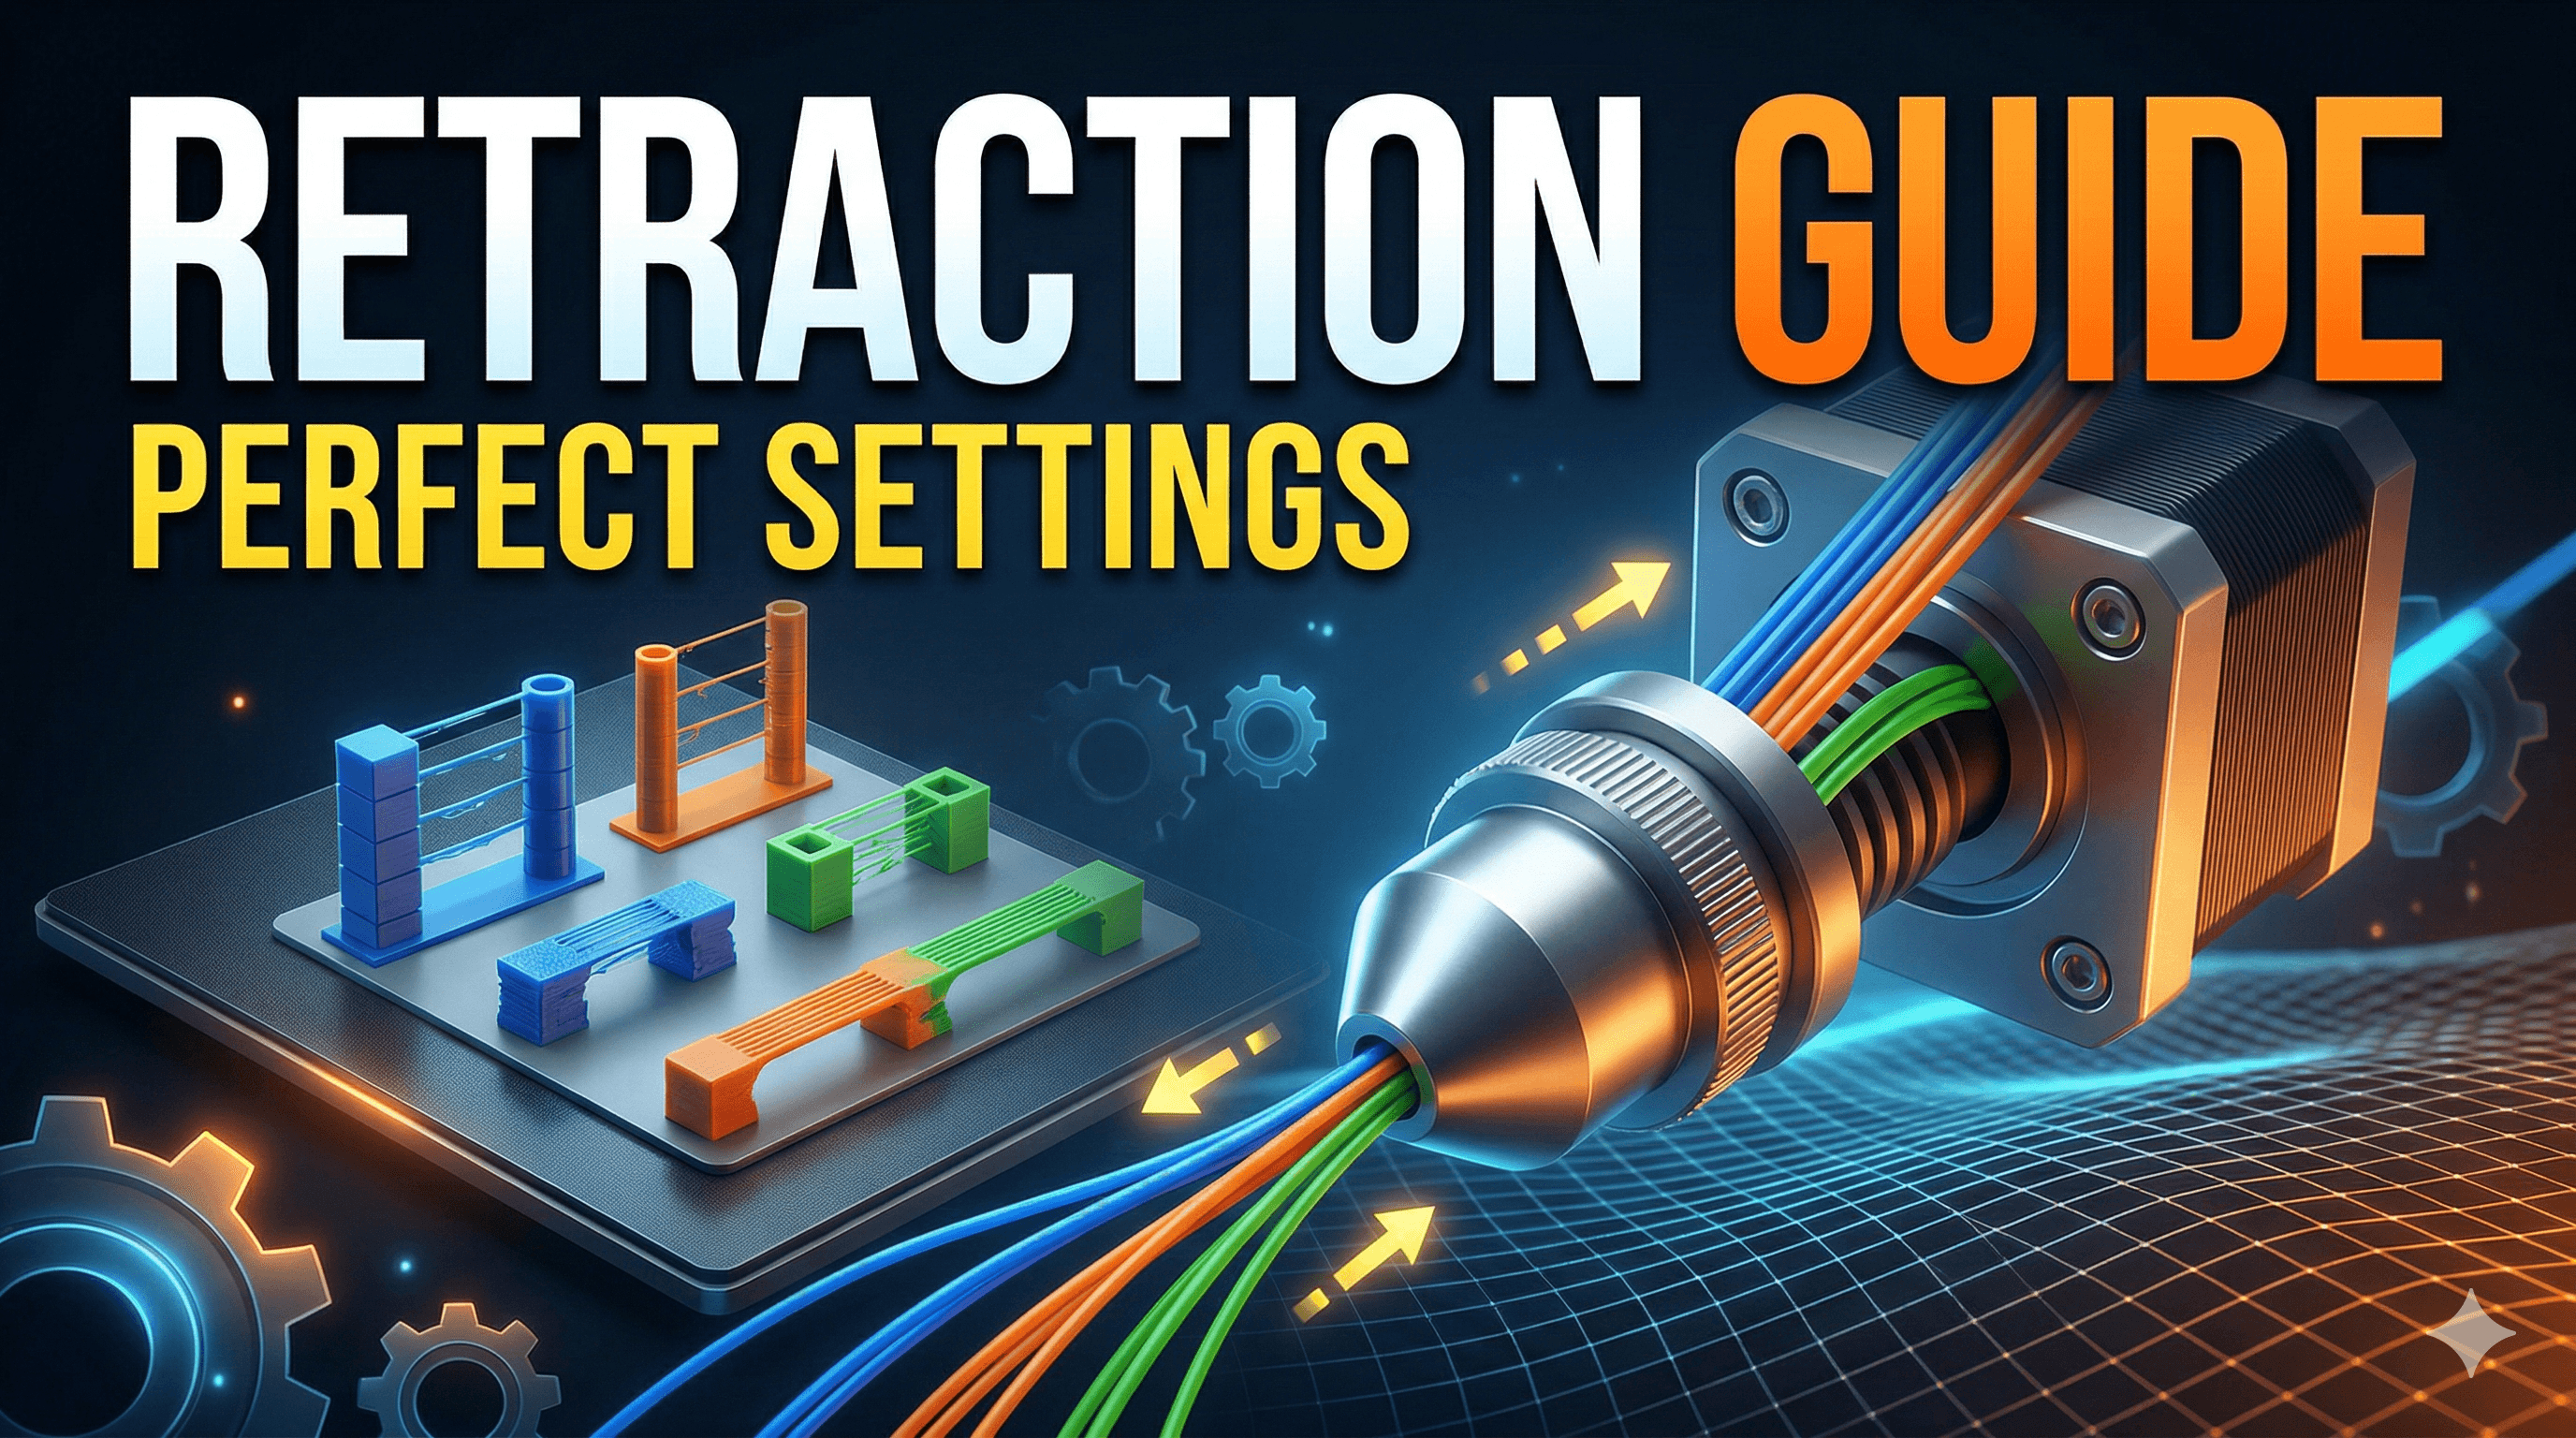
The Two Big Players: Retraction Distance & Retraction Speed
 When you dive into your slicer settings, you'll primarily be looking at two values under the "Retraction" section:
- Retraction Distance: How far back the filament is pulled.
- Retraction Speed: How fast the filament is pulled back and then pushed forward.
These two are the dynamic duo of anti-stringing. Get them tuned in, and you're halfway to printing perfection. But how do you actually find those sweet spots? Well, you don't just guess. We use test prints, my friend! Specifically, stringing towers or retraction towers. These are designed to highlight stringing issues at different retraction settings, making calibration a visual, iterative process.
Setting Up Your Slicer for the Big Test (and What to Expect)
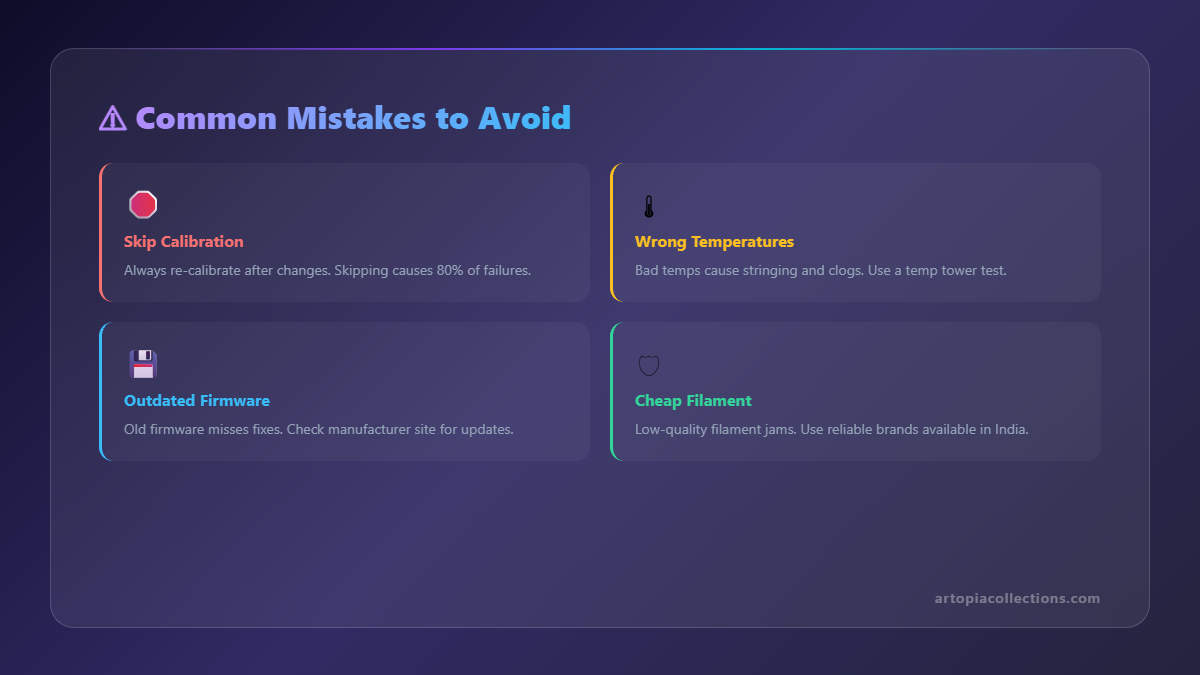
First things first, make sure your printer is in good working order. Nozzle isn't clogged, hot end is clean, bed is leveled. All those usual suspects, you know? Then, fire up your favourite slicer – whether it's PrusaSlicer, Cura, or even a fancy Klipper setup. I personally use PrusaSlicer for most of my work at Artopia, but the principles are universal.
You'll need a retraction test model. There are tons of free ones on Printables or Thingiverse. Just search for "retraction test" or "stringing tower." I usually go for one with multiple small pillars or spikes, as these create a lot of travel moves and are great for showing off even subtle stringing. Just download the STL and load it into your slicer.
Before we start tweaking, here are some generally good starting points for most common filaments:
- PLA (Bowden setup like an Ender 3): Retraction Distance: 4-6mm, Retraction Speed: 40-60mm/s.
- PLA (Direct Drive setup like a Prusa Mini or Ender 3 with direct drive mod): Retraction Distance: 0.5-2mm, Retraction Speed: 20-40mm/s.
- PETG (Bowden): Retraction Distance: 6-8mm, Retraction Speed: 25-45mm/s. PETG is notoriously stringy, so be prepared for a bit more trial and error.
- PETG (Direct Drive): Retraction Distance: 0.8-1.5mm, Retraction Speed: 15-30mm/s.
Keep these in mind, but remember, they are just starting points! Your mileage *will* vary.
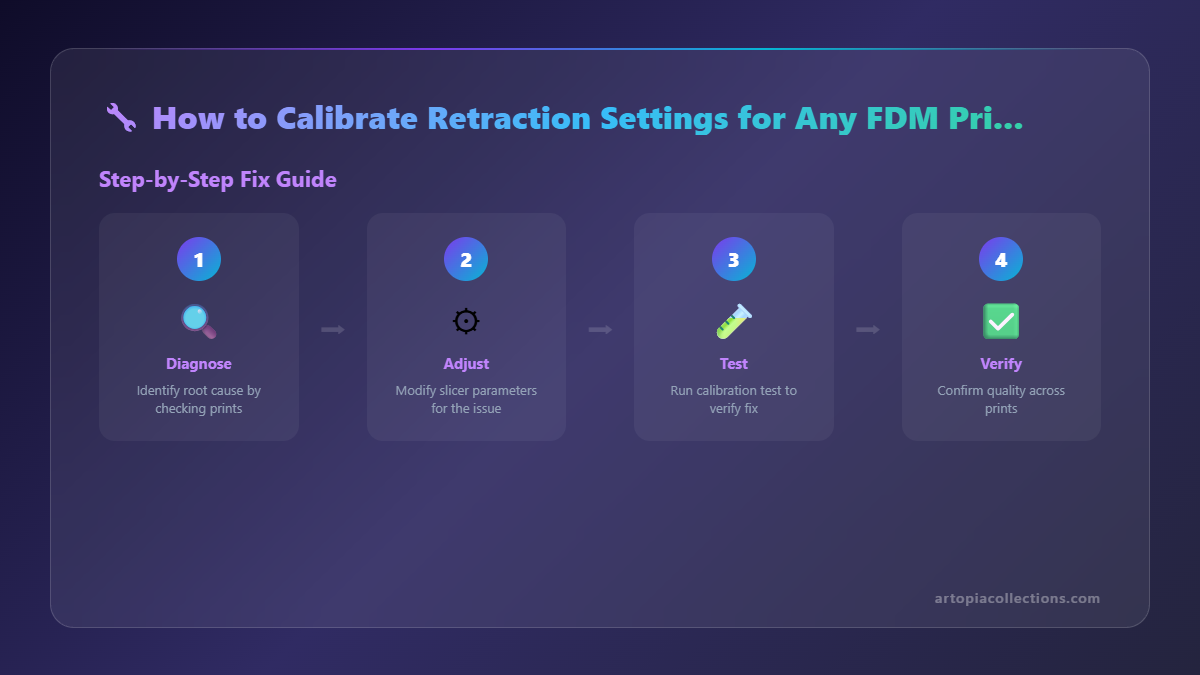
Step-by-Step Calibration: Distance First!
1. Initial Print with Baseline Settings
Load your chosen retraction tower STL. Set your initial retraction distance to a conservative value, say 5mm for a Bowden printer with PLA (or 1mm for direct drive). Set your retraction speed to 40mm/s (or 25mm/s for direct drive). Make sure you're using the specific filament you want to calibrate for. I usually grab a fresh roll of eSun PLA+ or Overture PETG – you can find them easily on Amazon.in if you search for 3D printer PLA filament. Prices vary, but a good quality 1kg spool usually runs me about ₹1800-₹2500.
Slice it and print it. Observe the print as it's happening, but don't obsess too much. The real analysis comes after.
2. Evaluate and Adjust Retraction Distance
Once the print is done, let it cool. Carefully remove it from the print bed. Now, inspect it closely. Do you see strings? Little wisps between the pillars? If yes, then your retraction distance is likely too low.
- If you have stringing: Increase your retraction distance by 0.5mm.
- If you see gaps, grinding, or clicking sounds during retraction: Your distance might be too high. Decrease it by 0.5mm.
The beauty of these test towers is that some slicers let you print one tower with varying retraction distances built right into the G-code – super handy! If your slicer doesn't, you'll need to manually change the setting, reslice, and reprint. It sounds tedious, and honestly, it can be, but it's worth it.
Keep iterating, changing by small increments (0.2mm-0.5mm) until you find the distance where stringing is minimized without introducing other issues. For my Bowden setup, I've found 6.5mm to be a sweet spot for most PLAs, but for some translucent ones, I've had to go up to 7mm. (Sometimes I get a bit carried away tweaking, but it really makes a difference for our customers looking at the finished Art Collection pieces we print!)
Next Up: Retraction Speed
 Once you've nailed down a good retraction distance that minimizes stringing, it's time to tackle speed. This is also crucial because too slow and the plastic will still ooze during travel; too fast and you risk stripping the filament or causing blockages due to the sudden pressure change.
1. Set Your Best Distance, Adjust Speed
Take that retraction distance you just found. Now, go back to your slicer. Keep that distance fixed. We're now going to vary the retraction speed.
- Initial Speed Test: If your prints are still stringing even with good distance, try increasing the speed by 5-10mm/s.
- If you hear grinding, clicking, or see gaps/clogs: Decrease the speed by 5-10mm/s.
Print another retraction tower, but this time, keep an ear out for those grinding sounds. A digital caliper, by the way, is super helpful for checking print dimensions if you suspect under-extrusion due to retraction issues. You can grab a decent one for about ₹500-₹1000 from Amazon.in; it's an indispensable tool for any 3D printer owner.
For most PLAs on my Bowden setup, I find 50-60mm/s works beautifully. For PETG, I tend to go a bit slower, around 35-45mm/s, because it's more flexible and prone to grinding at higher speeds. It's a balance. You want it fast enough to prevent oozing, but not so fast that it causes mechanical issues.
Advanced Tweaks (For the Obsessive Among Us)
Once you have your distance and speed dialed in, there are a couple of other settings that can make a difference:
- Travel Speed: This isn't directly retraction, but it affects how much time the nozzle spends traveling between points. Faster travel = less time for oozing. So, if you've got your retraction good but still see *some* slight wisps, try bumping up your travel speed. Just make sure your printer can handle it without shaking itself apart!
- Wipe: Some slicers have a "wipe" or "nozzle wipe" setting. This makes the nozzle move a tiny bit after extrusion ends but before retraction. It helps clean off any leftover plastic from the nozzle tip. I personally find it useful for PETG.
- Combing Mode (Cura): This is a big one! Combing tells the printer to try and travel over already printed parts of the model instead of making external travel moves. This means any oozing happens over existing plastic, not in mid-air. It can drastically reduce visible strings, but sometimes leads to surface blemishes. Experiment with "Not in Skin" or "All" modes.
Filament Specifics: It's Not a One-Size-Fits-All Deal
I cannot stress this enough: Every filament is different. Even two different colours of PLA from the same brand can behave slightly differently. That's why I always recommend calibrating retraction whenever you switch to a new type or brand of filament. My settings for a silky black PLA are usually different from my transparent green PETG. PETG is inherently stickier and more prone to stringing, so it often needs higher retraction distances and sometimes slightly slower speeds to prevent snapping or grinding.
Flexible filaments like TPU are a whole other beast. They usually require very low retraction distances (0.5-2mm, even on Bowden setups) and very slow speeds (10-25mm/s). And sometimes, honestly, you just turn retraction off for TPU and accept a bit of wispy mess, because the alternative is a constant clog. It’s all about compromise, isn't it?
Bowden vs. Direct Drive: A Quick Explainer
You might have noticed I kept mentioning Bowden and Direct Drive. Here's the deal:
- Bowden Setup: The extruder motor is mounted away from the hot end (usually on the frame), and a long PTFE tube guides the filament to the nozzle. Because of this long tube, there's a lot of friction and "play" in the system. So, Bowden setups generally need higher retraction distances (4-8mm) to compensate for the slack in the tube. Most budget-friendly printers like the Ender 3 series, Anycubic Kobra, and similar models are Bowden.
- Direct Drive Setup: The extruder motor is mounted directly on top of the hot end, right next to the nozzle. This means the filament path is very short. Less distance, less play. So, direct drive setups need much lower retraction distances (0.5-2mm). Printers like the Prusa i3 MK3S or modded direct drive Ender 3s fall into this category.
It's important to know what kind of setup you have because it dictates your starting point for retraction distance. Trying a Bowden distance on a direct drive will almost certainly cause clogs and frustration!
Keep a Log, My Friend!
After all this testing, you're going to have a bunch of numbers in your head. Do yourself a favour and write them down! I keep a little notepad next to my main workstation where I jot down filament brand, type, nozzle temp, bed temp, and crucially, my optimal retraction distance and speed for that specific roll. It saves so much time later when I switch filaments, and helps me maintain consistency for our Artopia customers. It's a small business, so every minute saved is a rupee earned, right?
Wrapping It Up (Pun Intended, Maybe?)
Calibrating retraction isn't a one-and-done kind of thing. It's an ongoing process, a dance between your filament, your printer, and your slicer settings. But honestly, it's one of the most rewarding calibrations you can do. The satisfaction of pulling a perfectly clean, string-free print off the build plate? Priceless! It makes all those hours of fiddling with settings completely worth it.
So, don't be afraid to experiment. Start with those baseline settings, print a few towers, and fine-tune until your prints are as clean as a whistle. You'll not only get better looking models, but you'll also reduce post-processing time, which is a massive win whether you're printing for fun or running a small business like us here at Artopia Collections. Happy printing, and may your prints always be string-free!