How to Calibrate Your 3D Scanner for Maximum Accuracy
This post details a comprehensive guide on how to calibrate your 3D scanner effectively. Learn essential techniques to ensure your scans achieve maximum accuracy and precision for professional results.
Ever look at a 3D scan you just spent ages capturing and think, "What on earth is this blob? This isn't what I scanned!" Yeah, I've been there. More times than I'd like to admit, especially in the early days of my ArtOptia Collections journey. You spend good money on a scanner – maybe a budget-friendly Revopoint Mini or something more robust like an EinScan – you set everything up, patiently move the object or the scanner, and then... *poof*, a distorted mess. It's frustrating, right? And honestly, it often comes down to one crucial, often overlooked step: calibration. This isn't some mystical dark art, my friend; it's basic maintenance that can save you hours of wasted time and a whole lot of mental agony. Let's dive in and fix those wonky scans!
Why Calibration Isn't Just a "Nice-to-Have," It's a "Must-Have"
Look, I'm a passionate guy about 3D printing and scanning. For my small business here in India, where every rupee and every minute counts, accuracy isn't just a buzzword; it's the bedrock of my reputation. When a client brings me a delicate artifact they want replicated, or a complex engineering part that needs to be perfectly mirrored, I can't afford to deliver a scan that's off by even a millimeter or two. Think about it: a slightly inaccurate scan means more time spent in Meshmixer or Blender trying to fix geometry, potentially wasted PLA filament (which, let's be real, isn't always cheap, especially good quality stuff from eSun or Overture), and ultimately, a less-than-perfect final print from my trusty Creality Ender-3 Pro or Anycubic Kobra. And that's just bad for business. Bad for me, bad for the client. So, what is calibration, really?
Basically, when you calibrate your 3D scanner, you're teaching it how to see the world accurately again. Just like how you adjust your camera's focus, or get your car's wheels aligned, a 3D scanner needs to know precisely where its projector is relative to its cameras. The system needs to understand the optical distortions, the exact distance between its components, and how to translate the light patterns it projects onto an object back into accurate 3D coordinates. If this relationship is off, even slightly, everything else gets skewed. It's like trying to draw a straight line with a wobbly ruler – it's just not going to happen, yaar.
When Should You Calibrate Your 3D Scanner?

This isn't a "set it and forget it" kind of thing, unfortunately. There are a few key times you absolutely, positively *must* calibrate:
- When you first get your scanner: Don't even think about scanning your first object without doing a fresh calibration right out of the box.
- If you move your scanner: Even just shifting it from one table to another can sometimes be enough to knock its internal alignment off.
- If you drop or bump it: Self-explanatory, really. Any physical impact can affect optical components.
- If your scans start looking "off": This is your scanner screaming for attention. Distorted geometry, misaligned point clouds, weird artifacts – these are all red flags.
- Regularly, as a best practice: I personally try to calibrate my primary scanner at least once a month, or before any really critical, high-accuracy job. It takes maybe 5-10 minutes, and it's totally worth the peace of mind.
- After a software update: Sometimes, new firmware or software can subtly change how the scanner interprets data, making a fresh calibration a good idea.
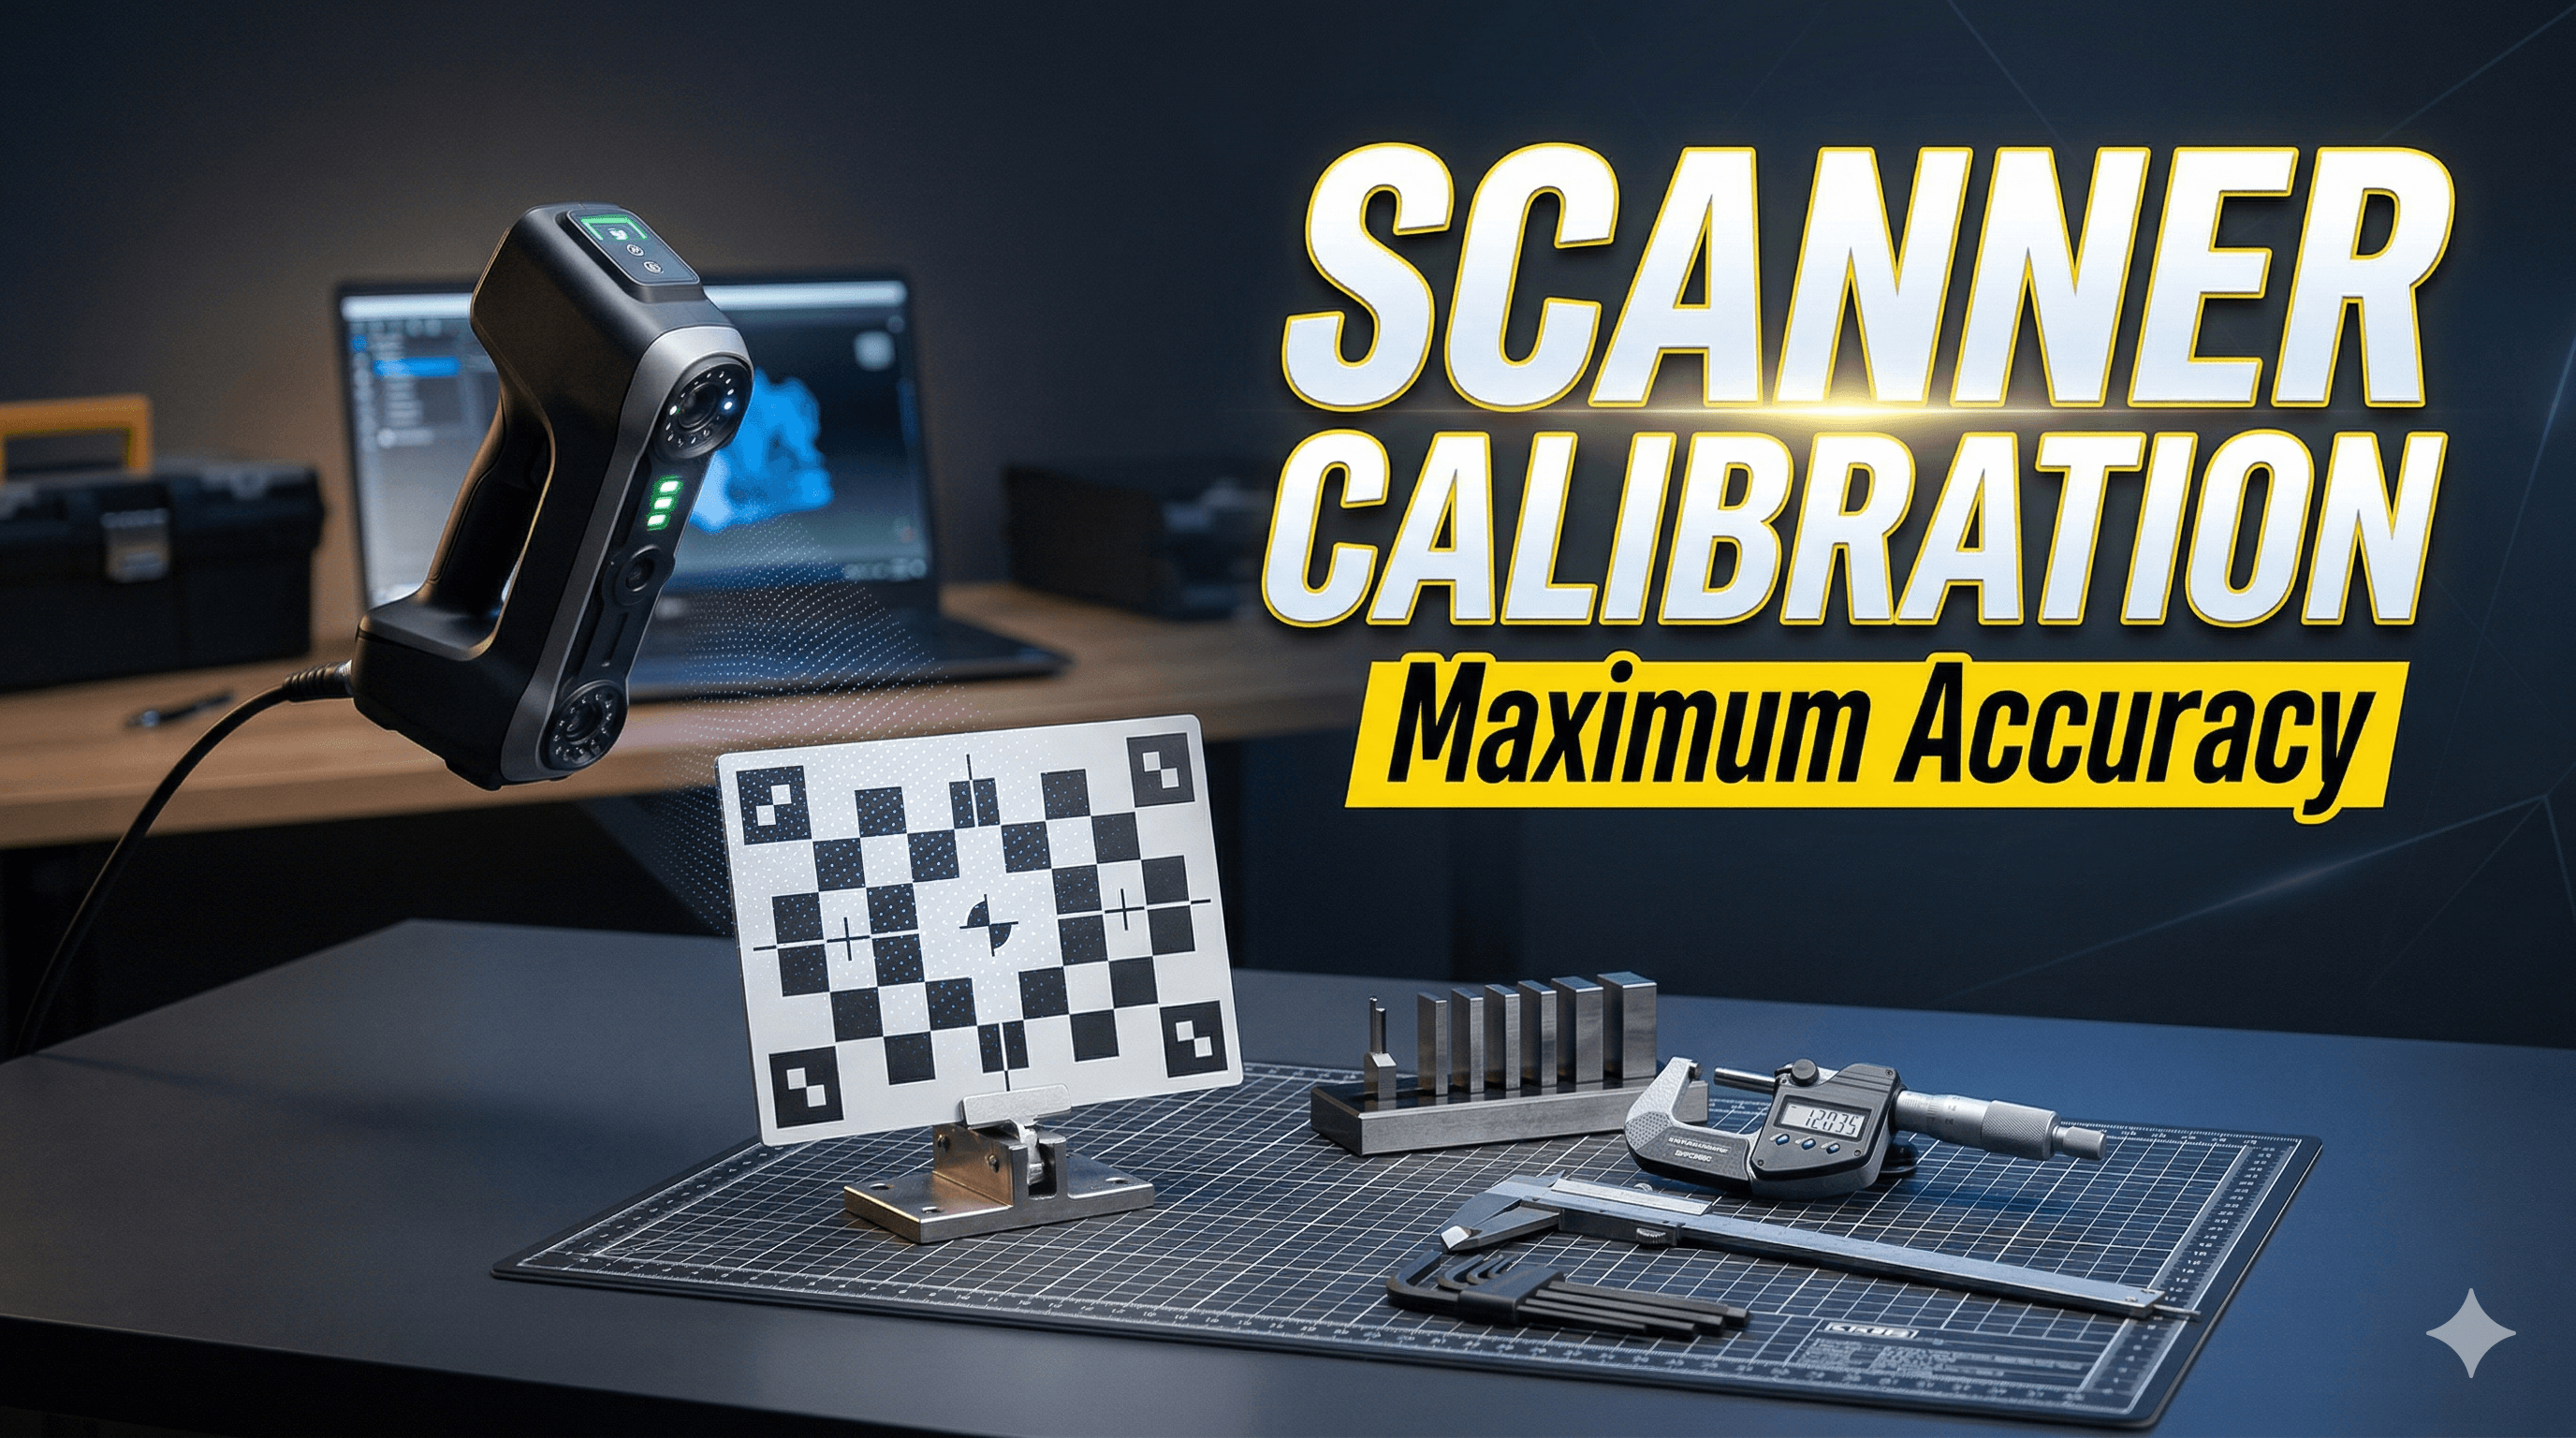
The Heart of Calibration: Your Calibration Target
So, how do you do it? You'll need a special piece of equipment called a "calibration target" or "calibration board." This is typically a flat, rigid board with a very precise pattern printed on it – usually a checkerboard grid, a series of dots, or some other geometric design. The scanner knows exactly what this pattern *should* look like, and when you present the target to it, the scanner's software measures how the projected light patterns are distorted and uses that information to correct its internal parameters.
You can find these targets for specific scanners, or sometimes generic ones that work with various software. They aren't super expensive, usually ranging from about ₹1000 for a basic paper one mounted on rigid board to ₹5000 or more for a high-precision ceramic or glass one. You can sometimes even print your own, but honestly, for serious work, investing in a proper one is crucial. A good quality, flat calibration board is paramount. Any warps or inaccuracies in the board itself will translate directly into inaccuracies in your scans. You can find some options by searching for 3D scanner calibration targets on Amazon.in.
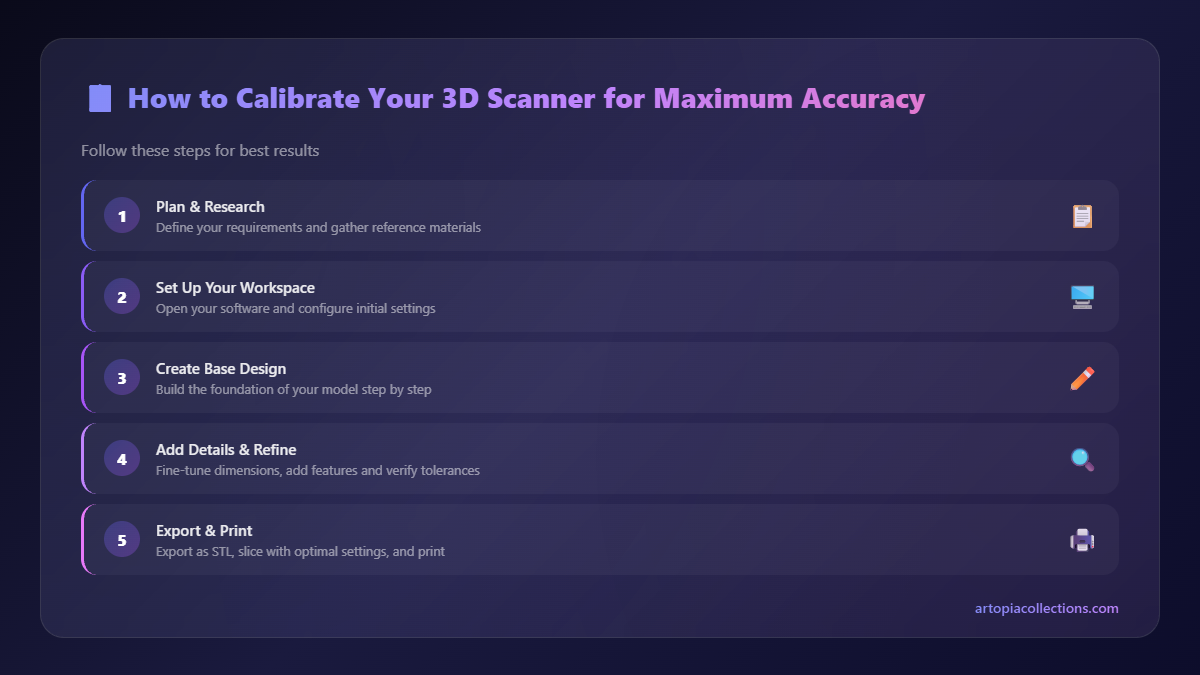
Step-by-Step Calibration (General Guide for Structured Light Scanners)
While the exact steps might vary slightly depending on your scanner model (whether it's an industrial-grade scanner for large objects we sometimes use or a small handheld one), the basic principles are the same. I'm going to outline the general process for a structured light scanner, which is what most of us hobbyists and small businesses are probably using.
1. Prep Your Workspace (and Your Scanner!)
- Cleanliness is next to godliness: Seriously, this is huge. Make sure your scanner's lenses and projector window are absolutely spotless. Dust, fingerprints, smudges – they all interfere with the light path and will mess up your calibration. Use a microfibre cloth and a lens cleaning solution, just like you would for a camera.
- Stable surface: Place your scanner on a very stable, vibration-free surface. A heavy workbench is ideal. If it's a handheld, make sure your hands are steady or, even better, use a tripod if your scanner supports it.
- Optimal lighting: Minimize ambient light as much as possible. Too much external light can interfere with the scanner's projected patterns. A dimly lit room is usually best. Avoid direct sunlight or harsh overhead lights.
- Clean calibration target: Ensure your calibration board is clean, dust-free, and undamaged. If it's bent, warped, or has scratches on the pattern, it's time for a new one.
2. Launch the Calibration Software
Open your scanner's dedicated software (e.g., Revopoint Studio, EinScan Software, etc.). There will be a specific "Calibration" or "Settings" menu option. Click it.
3. Follow the On-Screen Prompts
This is where it gets a bit specific to your scanner, but generally, the software will guide you. It'll typically ask you to:
- Position the calibration target: Place the target board in front of the scanner. The software will usually show you an outline or a live view indicating where the target should be in the frame. Make sure it fills a good portion of the view but isn't cut off.
- Capture multiple poses/angles: This is the most critical part. The software will ask you to present the target at various angles and distances. Usually, it's something like:
- Target straight on.
- Target slightly tilted to the left.
- Target slightly tilted to the right.
- Target slightly tilted up.
- Target slightly tilted down.
- Target closer.
- Target further away.
- Maintain stability: During each capture, make sure the target and the scanner are absolutely still. Any movement will introduce errors.
4. Review and Confirm
Once all the required captures are done, the software will process the data. It might show you a "calibration quality" score or some metrics. Ideally, you want a high score or a green indicator. If it looks good, save the calibration profile. If the software flags it as poor, or if you just don't feel confident, repeat the process. Don't be shy about doing it a couple of times until you get a perfect score. It's better to spend an extra 10 minutes now than hours fixing a bad scan later.
Common Calibration Pitfalls and How to Avoid Them
I've made almost all these mistakes, so learn from my blunders, folks!
- Dirty Lenses: We already talked about this, but it's such a common one, it bears repeating. Clean those lenses!
- Poor Lighting: Too bright, too dim, inconsistent – all bad. Stick to consistent, indirect, minimal ambient light.
- Wobbly Setup: If your scanner or the target moves during capture, even slightly, the calibration data will be inaccurate. Use a sturdy tripod for the scanner and make sure the target is firmly held or placed.
- Damaged Target: A bent, scratched, or dirty calibration board is useless. Treat it like gold. Keep it in a protective sleeve when not in use.
- Rushing the Process: The software asks for multiple angles for a reason. Don't just point it generally; make sure each capture is deliberate and confirmed by the software.
- Ignoring Software Feedback: If your software says "Bad Pose" or gives a low confidence score, listen to it! Recapture that pose.
- Temperature Changes: Believe it or not, significant temperature fluctuations can slightly affect optical components. Try to calibrate in a stable environment.
The Payoff: Beautiful, Accurate Scans
Once you've calibrated your scanner properly, you'll immediately notice the difference. Your point clouds will be denser, cleaner, and more accurate. Meshes will be smoother, with fewer artifacts. And when you send those files to your 3D printer, whether it's an FDM machine or an SLA resin printer, the resulting physical print will be a far more faithful reproduction of the original object. For my business, where I often create custom collectibles, miniatures, and industrial prototypes for clients, this accuracy is non-negotiable.
Honestly, learning to properly calibrate my scanners was one of the biggest leaps in quality for ArtOptia Collections. It's not a glamorous part of 3D scanning, but it's foundational. It's the silent hero working behind the scenes, ensuring that what your scanner sees is truly what's there. So, next time you're about to fire up your 3D scanner, take those extra few minutes. Your future self, and your clients, will thank you for it!