How to Design 3D Printed Jigs and Fixtures for Your Workshop
Learn to design custom 3D printed jigs and fixtures to enhance your workshop's precision and safety. Discover practical steps to create custom tools that optimize your workflow and improve project outcomes.
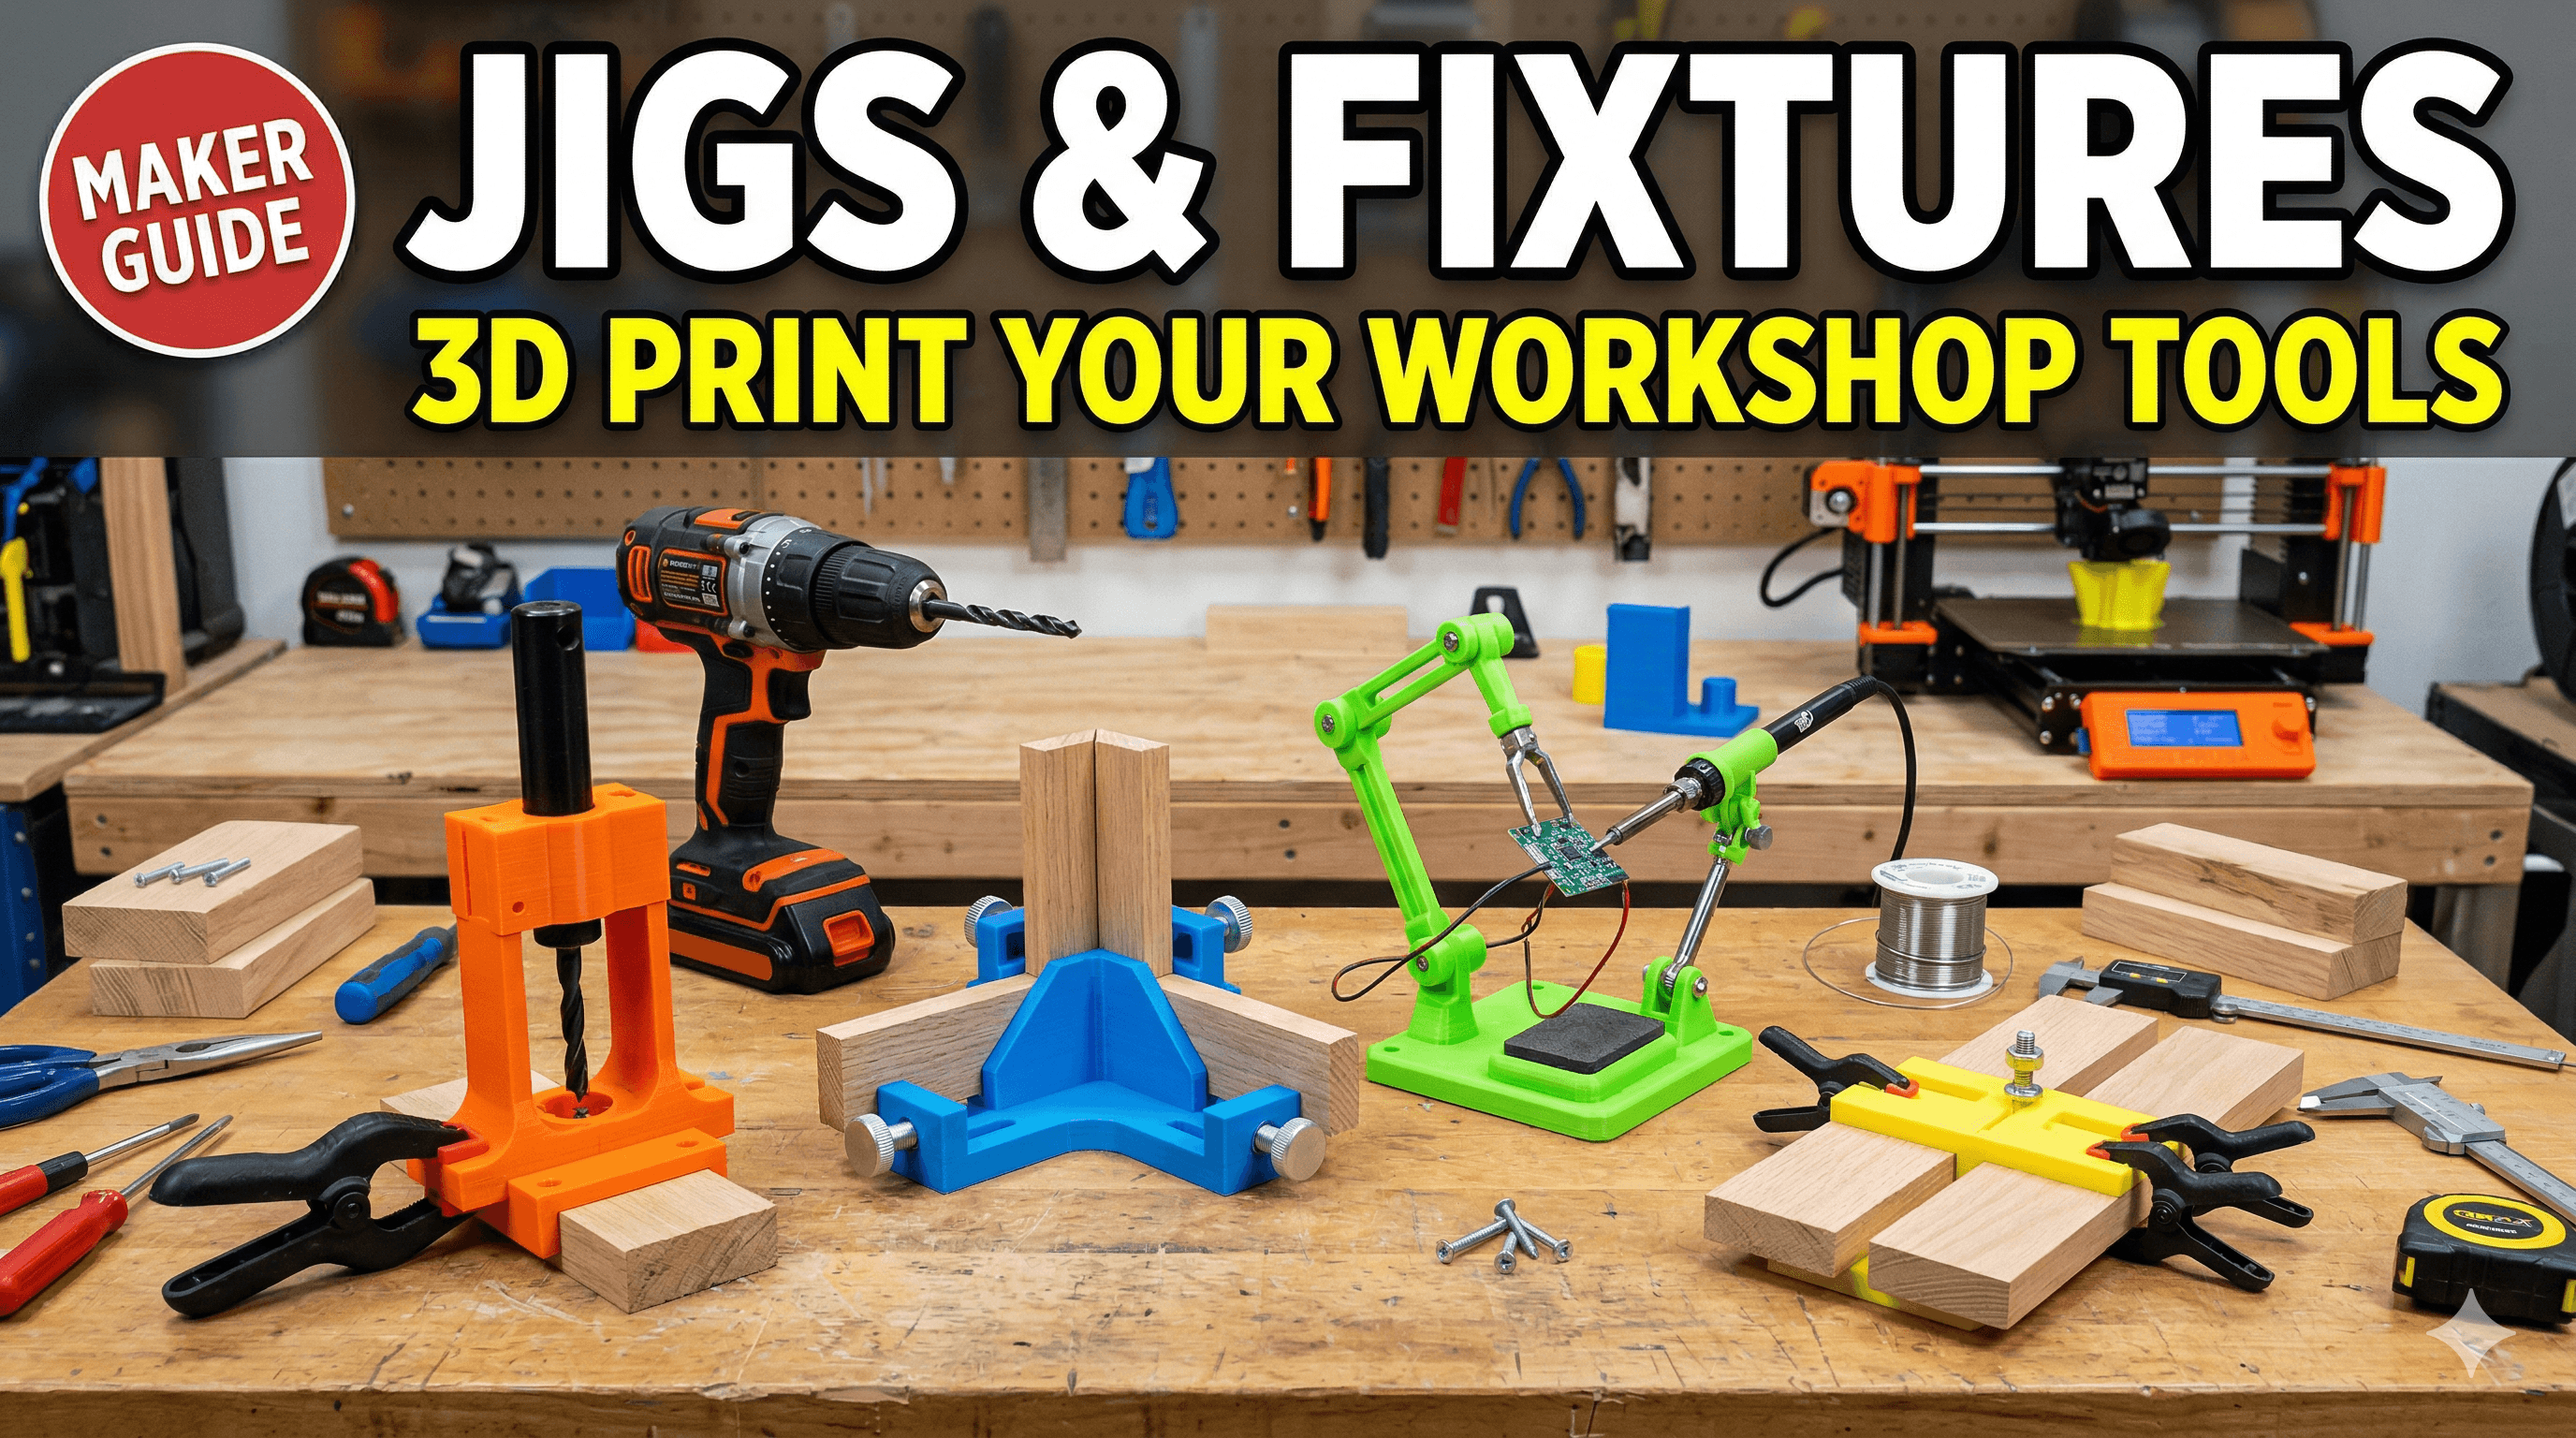
Ever found yourself wrestling with a workpiece in your workshop, trying to hold it just right for that one precise cut or drill, and thinking, "Ugh, there *has* to be a better way"? Yeah, that's me, practically every other day. And honestly, for the longest time, my workshop was a chaotic symphony of clamps, makeshift blocks of wood, and muttered curses under my breath. But then, a few years ago, after I started Artopia Collections and got serious with my 3D printing business, I had this massive "aha!" moment. Why am I struggling like this when I have a magical box that can create almost anything I can dream up, right here on my desk? That's when I dove headfirst into the world of 3D printing jigs and fixtures, and trust me, it's been a game-changer. It's not just about making things look pretty; it's about making your workshop smarter, your work faster, and your precision infinitely better. So, if you're a fellow maker, woodworker, tinkerer, or even just someone who occasionally glues things together, buckle up, because I'm going to walk you through how to design and 3D print your own custom jigs and fixtures.
Why Bother with 3D Printed Jigs & Fixtures, Yaar?
Okay, let's be real. If you're running a small workshop, whether it's for hobby or a small business like mine, every rupee and every minute counts. Traditional jigs can be expensive, right? Getting something custom machined out of metal? Forget about it for small batches unless you're rolling in cash. Even making them out of wood or MDF takes time, precise cuts, and can often warp or wear out faster than you'd like. This is where 3D printing swoops in like a superhero in a cheap plastic cape.
The thing is, 3D printing allows for unparalleled customization. You need a jig that perfectly cradles a weirdly shaped part? No problem. A drilling guide with an odd angle? Done. A fixture that holds multiple components for assembly with specific clearances? You got it. And the best part? The cost. Printing a jig out of PLA or PETG often costs just a few rupees in filament. We're talking maybe ₹20 to ₹100 for a decent-sized, functional jig. Compare that to buying a generic one for ₹500-₹1500 or more, and suddenly, you're saving big bucks. Plus, if it breaks or you need a slightly different version, you just print another one. Iteration is so easy it's almost cheating!
First Things First: Identify the Pain Point
Before you even open your CAD software, you need to understand the problem. What exactly are you trying to achieve? Are you:
- Holding a workpiece steady for drilling?
- Guiding a cutting tool for a straight or angled cut?
- Aligning multiple parts precisely for assembly?
- Creating a repeatable setup for a series of tasks?
- Protecting a delicate surface during clamping?
Honestly, don't rush this step. Grab a chai, sit down, and really think about the operation. Sketch it out on paper. Think about the forces involved, the clearances needed, and how the jig will interact with your tools and workpiece. Sometimes, the simplest solution is the best, but you won't know until you brainstorm a bit.
Measure Twice, Design Once (and Print Thrice, maybe!)
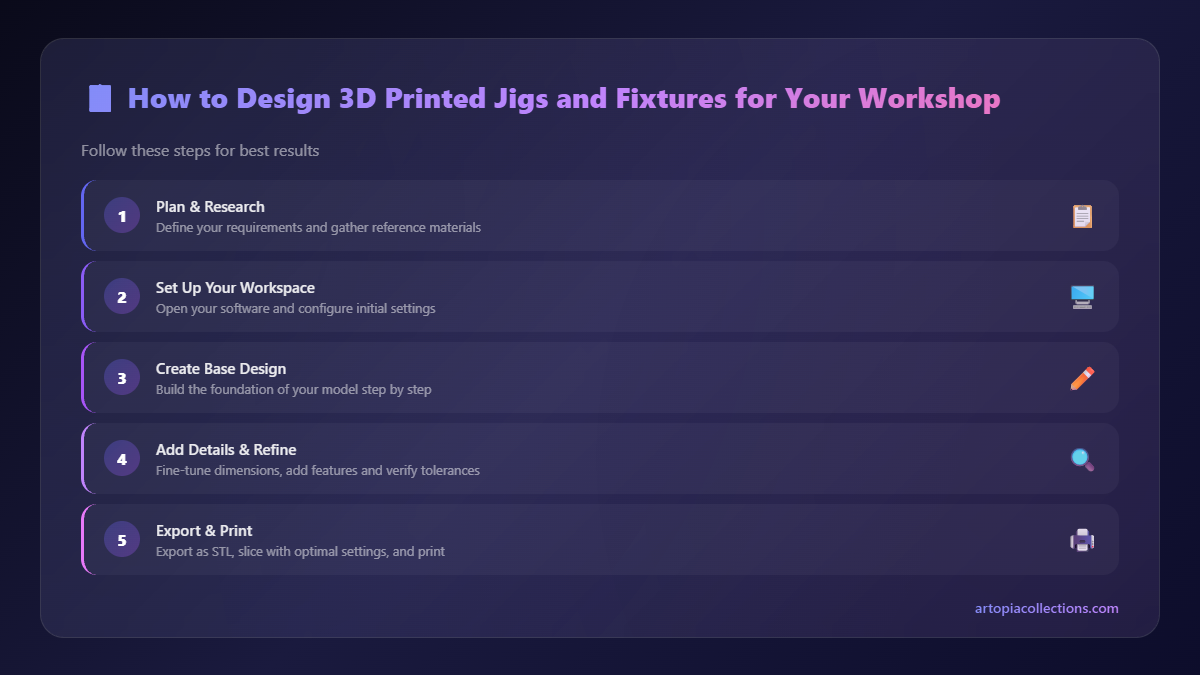
This is probably the most crucial step, especially in 3D printing where tolerances can sometimes be a bit... finicky. You need accurate measurements of your workpiece, your tools, and any existing components the jig will interact with. And by accurate, I mean down to the millimeter, often even less. I personally swear by my digital calipers. You can grab a decent one online for around ₹300-₹1000, and it's an absolute workshop essential. Seriously, if you don't have one, get one. You'll thank me later. Here's a quick link to find some good options: Digital Calipers on Amazon.in.
Measure everything: length, width, height, diameters, distances between holes, angles – the whole nine yards. Write it all down. And then measure it again. Trust me, it saves so much headache down the line. Nothing is more frustrating than printing a jig for two hours only to find out it's off by half a millimeter because you eyeballed something.
Choosing Your Design Software
Okay, so you know your problem, and you have your measurements. Now, how do you translate that into a 3D model? There are a bunch of options, and your choice will depend on your comfort level and the complexity of the design:
- Tinkercad: If you're a complete beginner, Tinkercad is fantastic. It's browser-based, free, and uses simple block-building logic. Great for basic shapes, cutouts, and simple guides.
- Fusion 360: This is my personal go-to, and what I use for most of my Artopia Collections products and workshop tools. It's incredibly powerful, professional-grade, and best of all, free for hobbyists and small businesses (with some limitations, but totally fine for jigs). It has a steeper learning curve, but there are tons of tutorials on YouTube. It's parametric, meaning you can easily change dimensions later, which is super helpful for jigs.
- FreeCAD: Another open-source, free option. Similar power to Fusion 360 but has its own quirks. Some people love it, some find it a bit clunky. Worth exploring if you're against cloud-based software.
I honestly recommend starting with Tinkercad if you've never done CAD before, just to get a feel for 3D space. But as soon as you're comfortable, jump into Fusion 360. It's an investment of time, but it pays off exponentially.
Key Design Considerations for Jigs
Alright, you're in your CAD software, ready to rock. Here are some things you absolutely need to keep in mind:
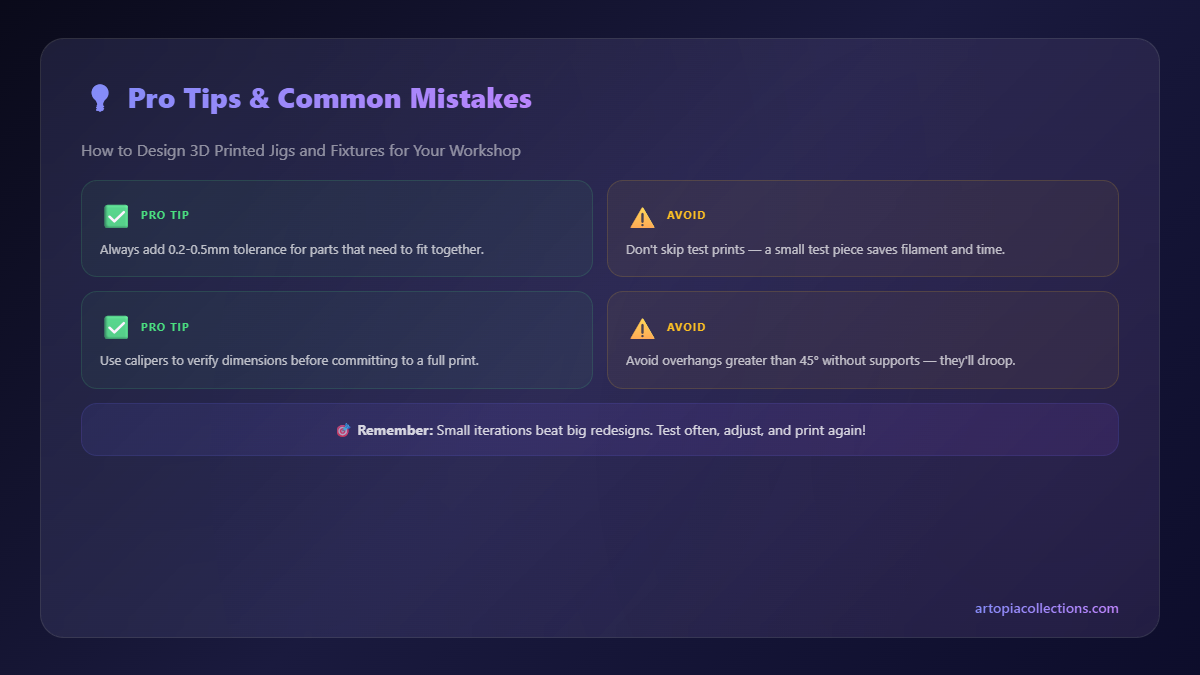
1. Tolerances, Tolerances, Tolerances!
This is probably the biggest learning curve with 3D printing. A hole you design at 10mm might come out as 9.8mm or 10.2mm depending on your printer, filament, and settings. Generally, for a snug fit (like a dowel or screw), design holes slightly larger than the actual component. For example, a 6mm drill bit will likely fit best in a hole designed at 6.2mm or 6.3mm. For a loose fit, go even wider. Always, always, *always* do a small test print of the critical fitting parts before printing the whole jig. Just a small cube with a hole, or a block with a peg. It saves so much filament and time.
2. Strength and Infill
Jigs need to be strong enough to withstand the forces you'll apply to them. You don't want them flexing or breaking mid-operation. For typical jigs, I generally aim for:
- Wall thickness: At least 2-3 walls (usually 0.8mm to 1.2mm total).
- Infill: 20-40% for most applications. If it's going to take a lot of force or act as a hammer guide (don't recommend, but you get the idea), maybe up to 60-80%. Use infill patterns like Grid, Cubic, or Gyroid for good strength.
- Material: We'll get to this in a sec, but PETG is usually my go-to for durable jigs.
3. Material Choice (Filament)
This is super important for durability and functionality.
- PLA (Polylactic Acid): The most common and easiest to print. It's cheap (around ₹800-₹1200 per kg for brands like eSun, Oros, or Overture in India). Great for prototypes, light-duty jigs, alignment guides where there isn't much stress, or jigs that won't see much heat. The downside is it can deform under heat (like if you leave it in direct sun) and isn't as impact resistant as others. But honestly, for many jigs, it's perfectly fine.
- PETG (Polyethylene Terephthalate Glycol): My absolute workhorse for jigs and fixtures. It's stronger, more flexible, and more temperature resistant than PLA (can handle up to 70-80°C without softening much). It's also more durable and less brittle. A bit trickier to print than PLA (requires slightly higher temps, can string more), but totally manageable once you dial in your settings. Prices range from ₹1000-₹1500 per kg. Most of my critical jigs are PETG.
- ABS (Acrylonitrile Butadiene Styrene): Even stronger and more temperature resistant than PETG, but a nightmare to print without an enclosure. It warps like crazy and releases some fumes. I generally avoid it for jigs unless I need very specific properties and have the right setup.
- TPU (Thermoplastic Polyurethane): This is a flexible filament. Not for structural jigs, but excellent for adding grippy pads to a jig, or making a flexible sleeve to protect a delicate part from clamping pressure. Prints slower, can be a bit challenging, but super useful for specific applications.
For most of your jigs, you'll be choosing between PLA and PETG. If you're just starting, grab some good quality PLA like this on Amazon.in and experiment. Once you're comfortable, level up to PETG.
4. Modularity and Adjustability
Think about whether your jig needs to be fixed or adjustable. Sometimes, designing a jig with slots for bolts or integrated thumb screws (which you can also 3D print!) makes it much more versatile. You can also design separate components that snap or bolt together, allowing for future upgrades or modifications without reprinting the entire thing.
5. Ergonomics and User Experience
Don't forget that you'll be using this jig! Add chamfers or fillets to sharp edges for comfort. Think about where your hands will go, how you'll clamp it, and how easy it is to insert and remove the workpiece. A well-designed jig isn't just functional; it's also pleasant to use.
Slicing and Printing Your Masterpiece
Once your design is ready, it's time to slice it! I use PrusaSlicer and sometimes Ultimaker Cura. Here are some quick tips:
- Layer Height: For most jigs, 0.2mm layer height is a good balance of speed and strength. If extreme precision is needed for critical surfaces, go down to 0.16mm or 0.12mm.
- Supports: Try to design your jig to minimize or eliminate the need for supports. Overhangs of up to 45-60 degrees are usually fine. If you *must* use supports, make sure they are easy to remove and don't scar critical surfaces.
- Orientation: Print your jig in an orientation that maximizes strength in the direction of the forces it will experience. For example, if a jig is holding a part that will be pushed downwards, print it so the layers are stacked against that force, not parallel to it. This usually means printing it upright or on its side, depending on the geometry.
- Brim/Raft: For jigs with a small footprint or those prone to warping (especially with PETG), a brim can help adhesion. I rarely use rafts unless the base is super intricate.
And remember, test prints are your friend! Print a small, critical section of your jig first to check dimensions, fit, and strength before committing to a full, long print. My Creality Ender 3 V2 and Anycubic Kobra 2 Neo work tirelessly in my shop, spitting out these test pieces all day, saving me tons of headaches (and filament!).
Post-Processing and Integration
Sometimes, your 3D printed jig needs a little extra love:
- Sanding: Smooth out any rough edges or support scars.
- Inserts: For screw holes that will see frequent use, consider adding heat-set threaded inserts. These brass inserts melt into the plastic, providing incredibly strong and repeatable threads. A small investment, but totally worth it.
- Hardware: Don't forget to design for standard nuts, bolts, springs, magnets, or clamps that you might integrate. Often, a combination of 3D printed parts and off-the-shelf hardware makes for the best jigs.
A Personal Anecdote: The Drill Press Table Saver
I once needed to drill a perfect 45-degree hole through dozens of small wooden dowels for a custom order (yeah, those fancy custom orders I talk about on Artopia Collections!). Doing it freehand on the drill press was a nightmare, inconsistent and dangerous. I sketched a V-block with a 45-degree angle channel and a perpendicular hole for a drill bushing. Measured my dowels, measured my drill bits. Designed it in Fusion 360, adding bolt holes to secure it to my drill press table. Printed it in grey PETG with 35% infill. The first version was a tad tight on the dowel, so I adjusted the channel width by 0.2mm in Fusion, printed a small test section, and then the final piece. Cost me about ₹50 in filament, took a couple of hours to design, and maybe three hours to print. The result? Every single dowel drilled perfectly, safely, and repeatedly. That single jig saved me hours of frustration and probably paid for itself in reduced scrap material on that one order alone. That's the power of 3D printed jigs, my friends!
Go Forth and Make Your Workshop Smarter!
Designing and 3D printing jigs and fixtures is one of the most practical and rewarding uses of a 3D printer for any maker. It truly transforms your workflow, makes repetitive tasks a breeze, and improves the quality and consistency of your work. It's a skill that builds on itself, too; the more jigs you make, the better you get at identifying problems and designing elegant solutions.
So, don't just stare at that complicated assembly or that tricky cut anymore. Take a moment, identify the problem, measure carefully, and unleash the power of your 3D printer. You'll be amazed at what you can create, and how much smoother your workshop operations become. And hey, if you design something cool, share it! We're all in this maker journey together. Happy printing, everyone!