How to Design Dovetail Joints for 3D Printed Assemblies
Master the art of designing dovetail joints tailored for 3D printed assemblies. This guide will show you how to create strong, precise, and easily printable interlocking parts.
Chalo yaar, let's be honest for a second. We've all been there, right? You've spent hours designing this killer 3D model, printed it out perfectly, and then... it's assembly time. And suddenly, your beautiful creation feels like a bad school project. The parts don't quite align, the superglue looks like a five-year-old went wild with it, or worse, you're trying to hide screws that completely ruin the aesthetic. It's frustrating, man. Absolutely frustrating.
I know, because I've lived it. Running a small 3D printing business here in India, Artopia Collections – (you should totally check out our stuff, by the way!) – I'm constantly pushing the boundaries of what we can do with our machines. And the thing is, presentation matters. A lot. Especially when you're trying to sell something. That's why I've become a total fanatic about designing smart, sturdy joints for my 3D printed assemblies. And honestly, for a clean, strong, and often glueless connection, nothing beats a well-designed dovetail joint.
Why Dovetails, You Ask? Because They're Awesome, That's Why!
Look, when you first get into 3D printing, you often think about simple peg-and-hole joints, or maybe just flat surfaces to glue together. And for some things, that's totally fine. But when you need real mechanical strength, especially in one direction, and a professional finish without visible fasteners, dovetails are your best friend. Seriously. They're like the unsung heroes of strong, modular 3D printed designs.
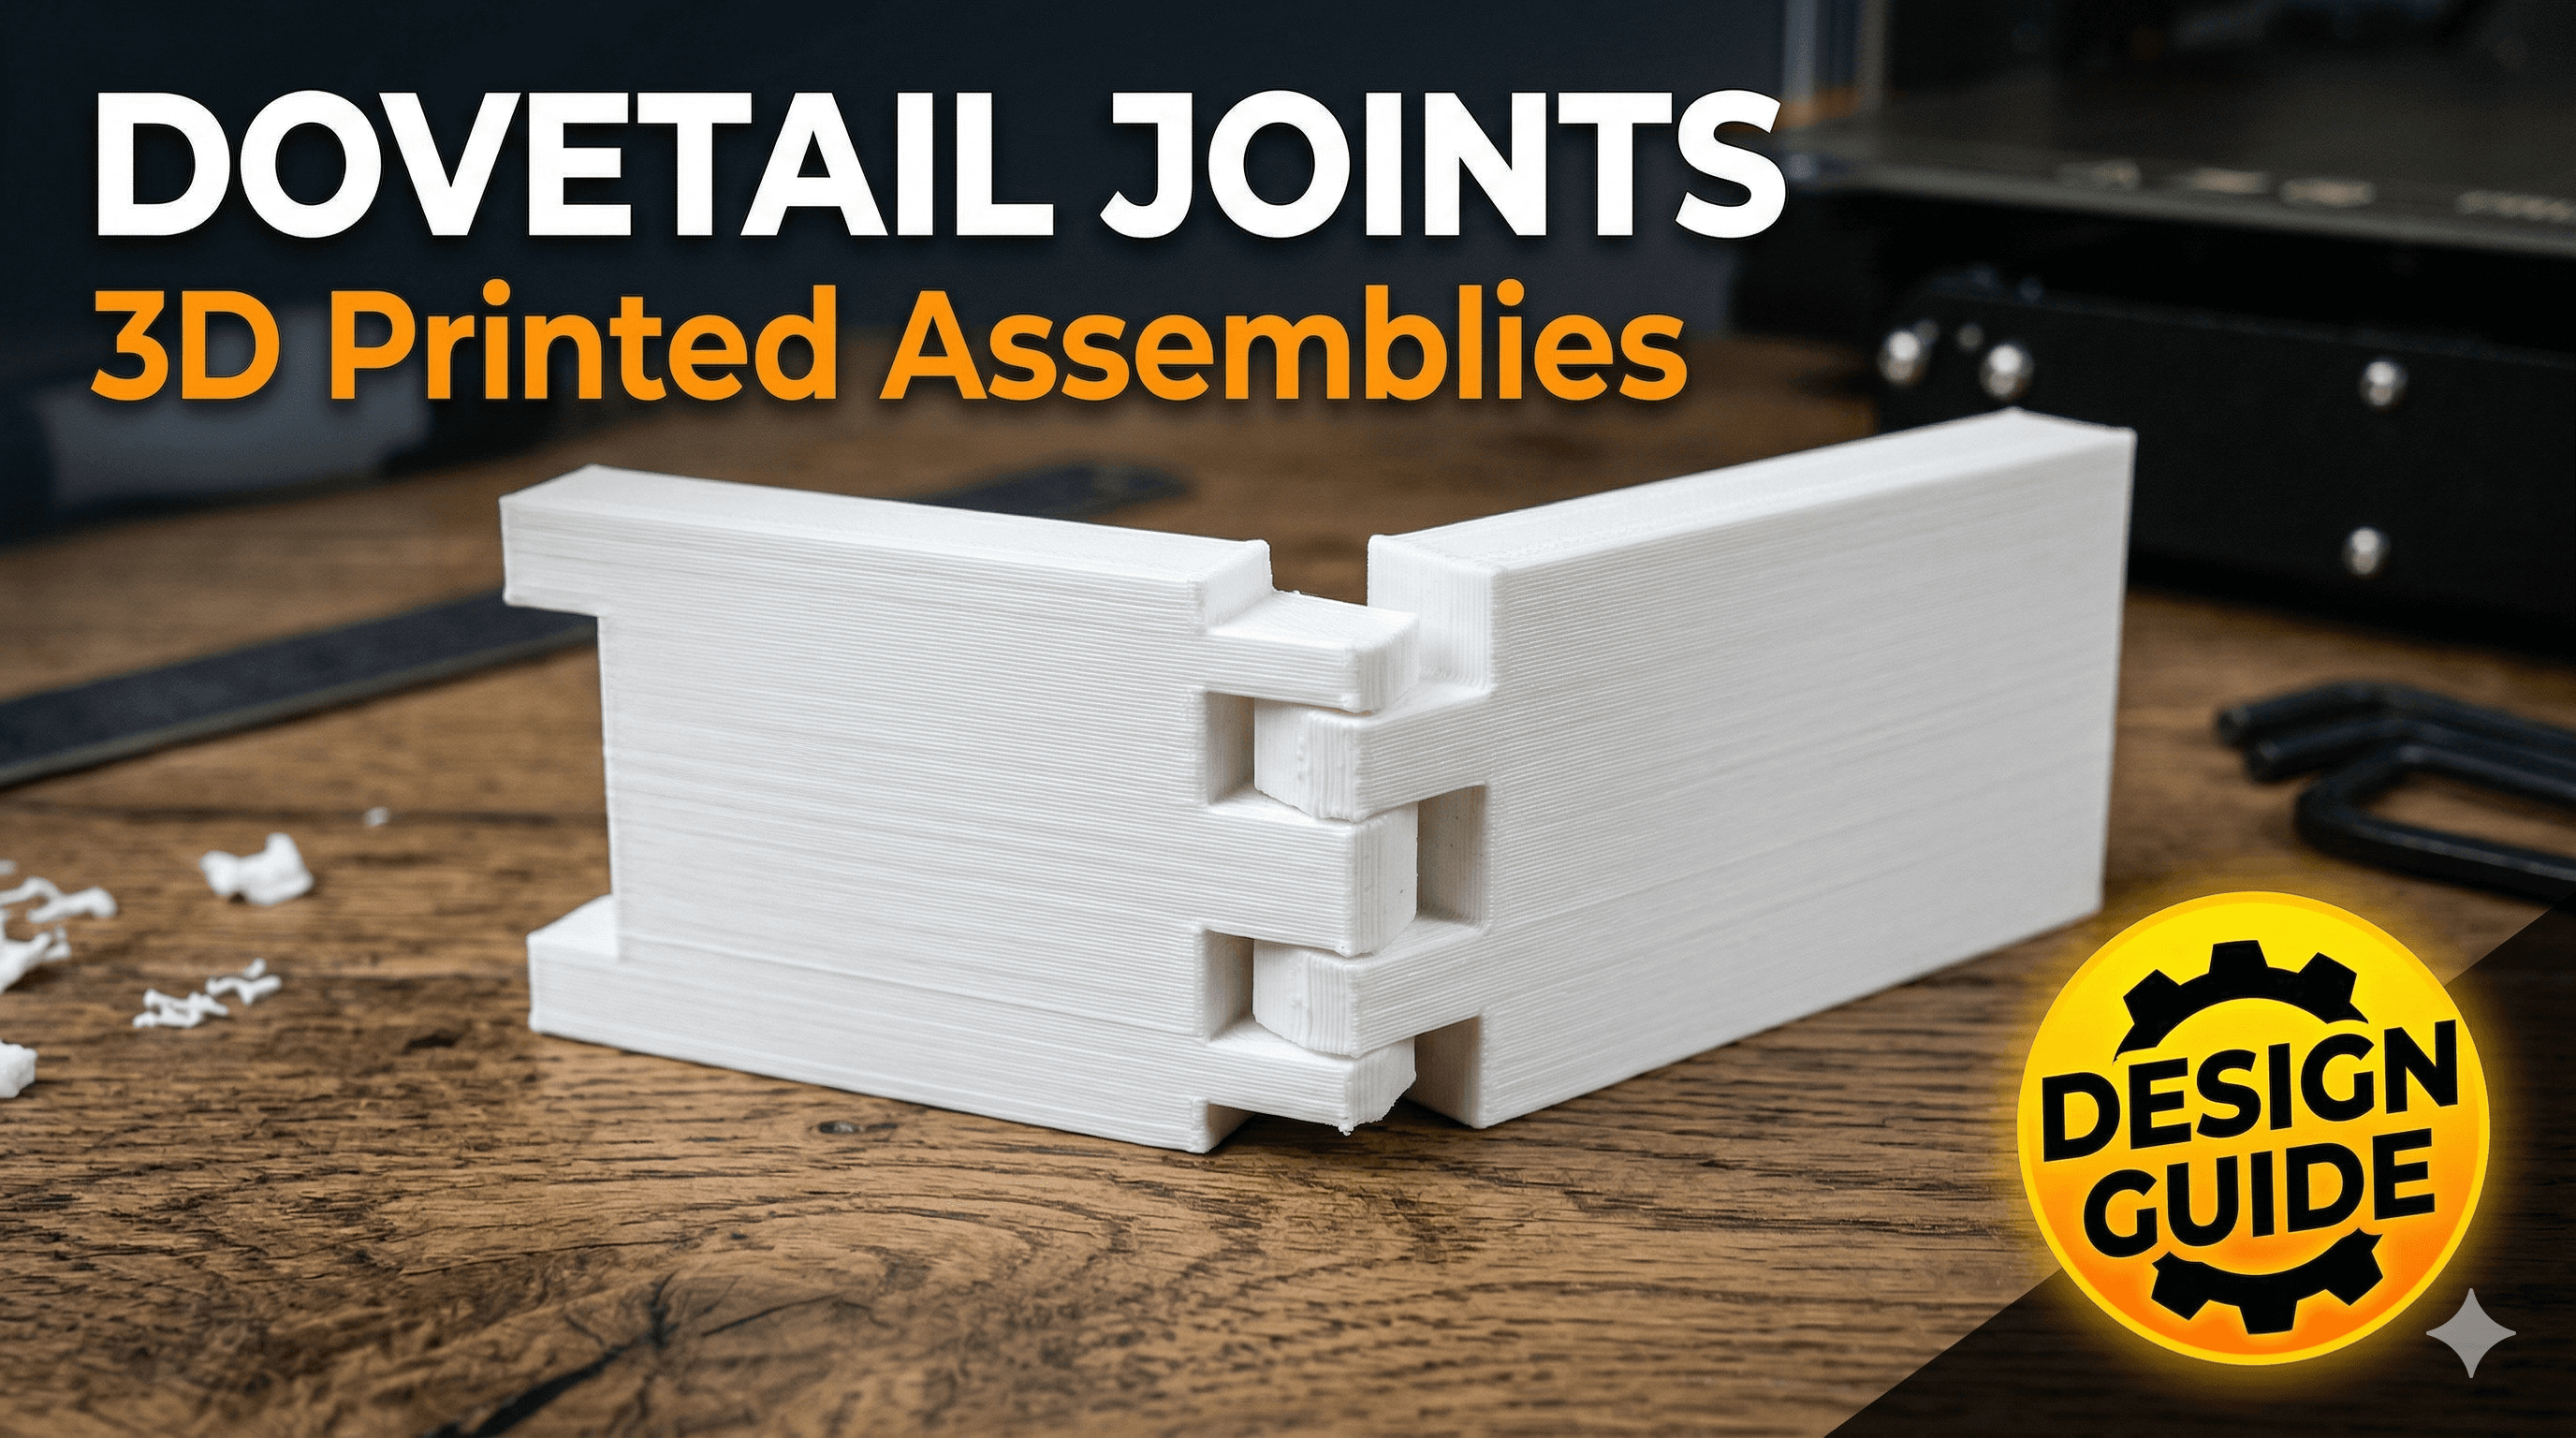
Here's the deal: A dovetail joint basically consists of a 'tail' piece and a 'pin' piece. The tail is wider at its end, shaped like a trapezoid, and the pin is cut to fit snugly into that shape. Once they're pushed together, that wider tail essentially locks the joint in place. It prevents separation in one direction while allowing smooth assembly in another. Think about how strong old wooden furniture is – often held together with these very joints! And we can leverage that same principle in plastic.
In my experience, especially when I'm making things like modular storage units or custom enclosures for electronics (which we do quite a bit of here at Artopia), a well-designed dovetail makes all the difference. It aligns the parts perfectly every single time, giving you a crisp, clean edge. And often, you don't even need glue. How cool is that? Less mess, less fuss, stronger product.
The Nitty-Gritty: Designing Dovetails for Your 3D Printer
Alright, so you're convinced. Dovetails are cool. But how do you actually design them so they work perfectly with the quirks of 3D printing? Because let me tell you, it's not quite the same as designing for woodworking.
1. Master the Art of Tolerance (This is HUGE!)
This is probably the most crucial aspect when designing any interlocking 3D printed part, and especially dovetails. Your 3D printer isn't a magical, infinitely precise machine. It has tolerances. Filaments expand and contract, nozzles extrude slightly more or less material, and even your printer's calibration plays a huge role. If your dovetail is designed with zero clearance, it simply won't fit, or you'll need a hammer to assemble it – and probably break it in the process. Ask me how many times I've learned that lesson the hard way. Too many, yaar. Too many.
- For a snug fit (friction fit, no glue needed): I usually start with a clearance of 0.1mm to 0.15mm on each mating surface. So, if your pin is, say, 10mm wide, the slot it fits into should be 10.1mm to 10.15mm wide. This small gap allows for the slight inaccuracies of the print and the plastic's tendency to swell a tiny bit.
- For a looser fit (might need glue or a separate locking mechanism): Go for 0.2mm or even 0.3mm. This is good if you want parts that slide together easily, perhaps for a jig or a template where exact locking isn't paramount.
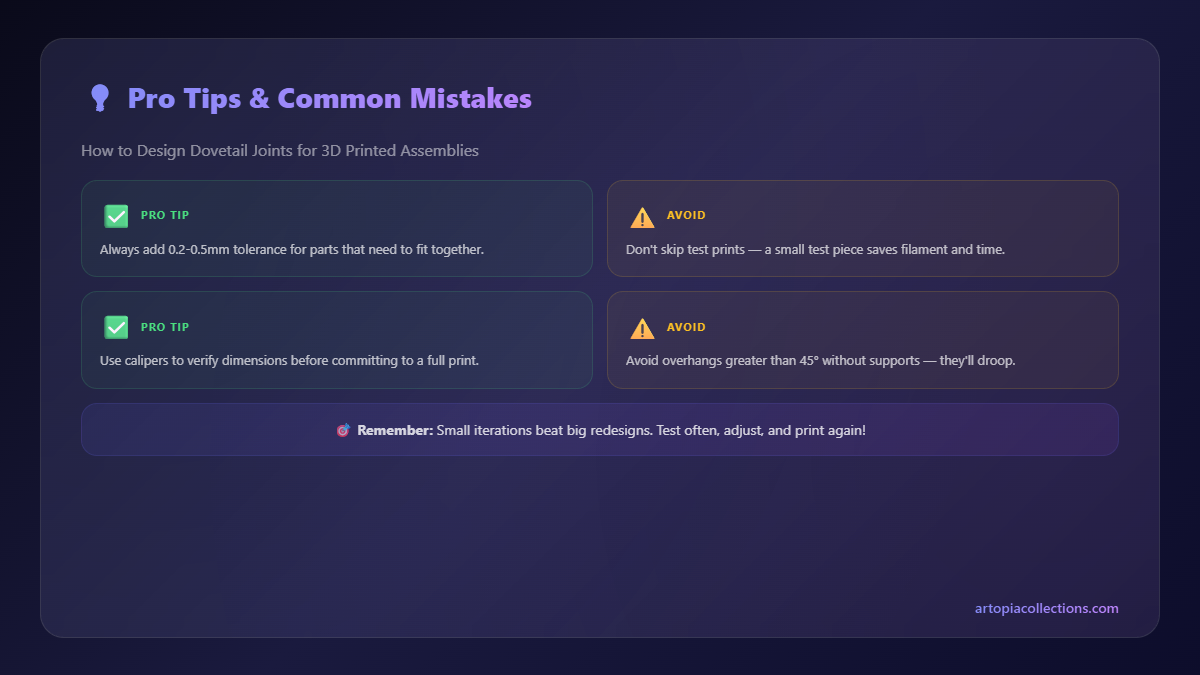
- Testing is key: Seriously, print a small test piece! Make a 20mm x 20mm x 5mm block with a small dovetail pin, and another block with the corresponding slot. Try different tolerances (e.g., 0.05, 0.1, 0.15, 0.2mm) on the same test print. This saves you so much filament and time compared to printing the full part and realizing it doesn't fit. A good spool of PLA, say from eSun or Overture (which will set you back about ₹900-₹1200 for a kg spool), isn't something you want to waste on multiple full-size failures.
2. The Angle of the Dovetail
Traditional woodworking dovetails often use angles between 7 and 14 degrees. For 3D printing, you've got a bit more flexibility, but also some printability considerations.
- Gentle Angles (5-10 degrees): These are usually easier to print without supports, especially if the angle isn't too extreme. They also provide a good balance of strength and ease of assembly. I personally lean towards 7-8 degrees for most applications.
- Steeper Angles (10-15 degrees): These can offer a stronger mechanical lock, but might require more precise printer calibration and potentially supports depending on your printer's bridging capabilities and the orientation of your print.
Remember, the angle impacts how easily the parts slide together and how secure the lock is. Too shallow, and it might not hold well. Too steep, and it might be hard to print cleanly or assemble without a fight.
3. Fillets and Chamfers: Your Best Friends
This is a super important detail often overlooked by beginners. Sharp corners on 3D prints are weak points, both structurally and aesthetically. And when two sharp corners meet, they can create stress concentrations, making assembly harder and increasing the risk of cracking.
- Add Fillets to Internal Corners: A small fillet (a rounded corner) on the internal corners of your pin and tail slots (e.g., 0.5mm to 1mm radius) will significantly strengthen the part and make it less prone to cracking during assembly.
- Add Chamfers to External Corners: A small chamfer (a beveled edge) on the external edges of your pin and the entry points of your tail slot will guide the parts together smoothly. This is especially helpful for initial alignment and prevents ugly "elephant's foot" issues from interfering with the fit.
4. Print Orientation Matters, Big Time!
How you orient your part on the build plate fundamentally affects its strength. For dovetail joints, you want the layer lines to run perpendicular to the direction of the stress. Basically, you want the "clamping" action of the dovetail to be pushing against the layer lines, not along them where they can delaminate.
- Strongest Orientation: If possible, print the dovetail "tails" standing upright, so the layers are stacked vertically along the length of the tail. This makes the dovetail incredibly resistant to pulling apart.
- Avoid Weak Orientation: Don't print the dovetail flat on its side if the primary force will be trying to pull it apart. This will create weak points along the layer lines, and your joint might just snap right off.
5. Material Choice: PLA vs. PETG vs. ABS
The filament you use also impacts your dovetail's performance.
- PLA (Polylactic Acid): Great for rigid, precise fits. It's easy to print, fairly stiff, and generally what I recommend for decorative or light-duty structural items. Just be aware it can be a bit brittle under high stress or impact. A good quality PLA filament is usually my go-to for initial prototyping.
- PETG (Polyethylene Terephthalate Glycol): More flexible and tougher than PLA. If you need a joint that can withstand a bit more flex or impact without snapping, PETG is an excellent choice. It's a bit harder to print (more stringing, needs higher temps), but the mechanical properties are superior.
- ABS (Acrylonitrile Butadiene Styrene): Even stronger and more temperature-resistant than PETG, but significantly harder to print (requires an enclosure to prevent warping, has fumes). I usually reserve ABS for functional parts that need to withstand high temperatures or significant abuse.
For most general-purpose dovetail joints, I'd say start with PLA, and if you need more durability, upgrade to PETG.
6. Adding a Locking Mechanism (Optional but Recommended)
Even with a snug friction fit, sometimes you want extra security. You can add simple locking features:
- Small Tabs/Notches: Design a small tab on one part that fits into a corresponding notch on the other once the dovetail is fully seated. This prevents accidental sliding.
- Screw Holes: For super critical applications, design a small countersunk hole through the joint once assembled. A tiny M2 or M3 screw can then be used to permanently lock it.
- Friction Pins: A small, thin peg inserted through a pre-drilled hole once assembled can also act as a simple locking pin.
My Workflow in CAD (Briefly, I promise!)
I mostly use Fusion 360 for my designs, and it makes designing these joints pretty straightforward. Here's my typical approach:
- Sketch the Profile: Start by sketching a trapezoidal profile for your dovetail pin. Define its height, width, and the angle of the "wings."
- Extrude the Pin: Extrude this profile to the desired length to create your pin body.
- Create the Slot: For the corresponding slot, I usually create a new sketch on the face where the slot will be. Then, I *offset* the pin's profile by the desired tolerance (e.g., 0.15mm outwards).
- Extrude Cut: Use this offset profile to create an extrude cut, making your dovetail slot.
- Add Fillets/Chamfers: Go back and add those crucial fillets and chamfers.
If you're using something like Tinkercad, it's a bit more manual with combining and subtracting shapes, but the same principles apply. You'll just be moving and scaling wedges and blocks instead of sketching and extruding.
Printing and Post-Processing Tips
Once your design is ready, here are a few things to keep in mind for printing:
- Calibrate Your Printer: Seriously, check your E-steps and flow rate. An over-extruding printer will make your tolerances feel tighter than they are, while under-extrusion will make them too loose.
- Layer Height: For dovetails, especially smaller ones, a slightly finer layer height (e.g., 0.16mm or 0.2mm) can result in smoother surfaces and better fit.
- No Supports (if possible): Try to design your dovetails so they don't need supports, especially on the mating surfaces. Supports can leave rough finishes that interfere with a smooth fit. If you absolutely need them, use tree supports and carefully remove them.
- Post-Processing: After printing, a quick clean-up with a deburring tool or a sharp hobby knife can remove any tiny blobs or stringing that might hinder assembly. Sometimes, a bit of sandpaper (200-400 grit) can refine a too-snug fit. I always keep a good 3D printing tool kit handy, with things like digital calipers, pliers, and deburring tools.
And remember that printer you're using. If it's a trusty Creality Ender 3 V2, which you can snag for around ₹20,000 to ₹25,000 these days, or a more premium Prusa i3 MK4 (definitely pricier, but oh so reliable!), the print quality will vary. Know your machine's capabilities!
"Arre Yaar, It's Not Fitting!" – Troubleshooting Common Issues
Don't get discouraged if your first attempt isn't perfect. It's part of the learning curve! Here's what usually goes wrong:
- Too Tight:
- Solution: Increase your tolerance in the CAD model (e.g., from 0.1mm to 0.15mm or 0.2mm).
- Quick Fix: Gently sand down the mating surfaces of the pin. A craft knife can also carefully shave off tiny amounts of material.
- Too Loose:
- Solution: Decrease your tolerance in the CAD model.
- Quick Fix: If it's only slightly loose, a dab of superglue will fix it. For a more robust solution, you might need to redesign with a tighter fit or consider adding a locking pin.
- Won't Slide In:
- Solution: Check for any elephant's foot on your first layer, or if your chamfers aren't sufficient. Redesign with larger chamfers.
- Quick Fix: Use a craft knife to trim the bottom edges of the pin and the top edges of the slot.
The beauty of 3D printing is that iteration is cheap and fast. You can quickly print a revised test piece in under an hour to confirm your design changes.
Wrapping Up: Go Forth and Dovetail!
So, there you have it. Dovetail joints aren't just for fancy woodworking anymore. They're a fantastic, professional, and mechanically strong way to join your 3D printed parts, giving your projects that extra edge and durability. Whether you're making intricate models, functional prototypes, or modular gadgets, understanding and implementing dovetails will elevate your 3D printing game significantly.
I genuinely believe that focusing on robust joint design is what separates a good 3D print from a truly great one. It's an investment in your design skills that pays dividends in stronger, cleaner, and more impressive final products. So, open up your CAD software, sketch a few trapezoids, and start experimenting! You'll thank me later when your next assembly clicks together like a dream. Happy printing, everyone!