How to Fix Bambu Lab AMS Color Mixing and Purge Tower Issues
Bambu Lab AMS users often face frustrating color mixing and inefficient purge tower performance. This guide provides comprehensive solutions to troubleshoot and resolve these common 3D printing problems.
Okay, friends, let's be real for a sec. You shelled out good money, maybe even dipped into your savings a bit, for that shiny new Bambu Lab printer with the AMS unit, right? You dreamt of those gorgeous multi-color prints, finally leaving behind the days of pausing for filament swaps. I know I did! I was super stoked when my P1S (and later, even got an A1 Mini for fun little projects, but the AMS experience is largely the same across the board for these guys) arrived here in India. The first few prints were magical – vibrant, crisp, just like the YouTube videos promised.
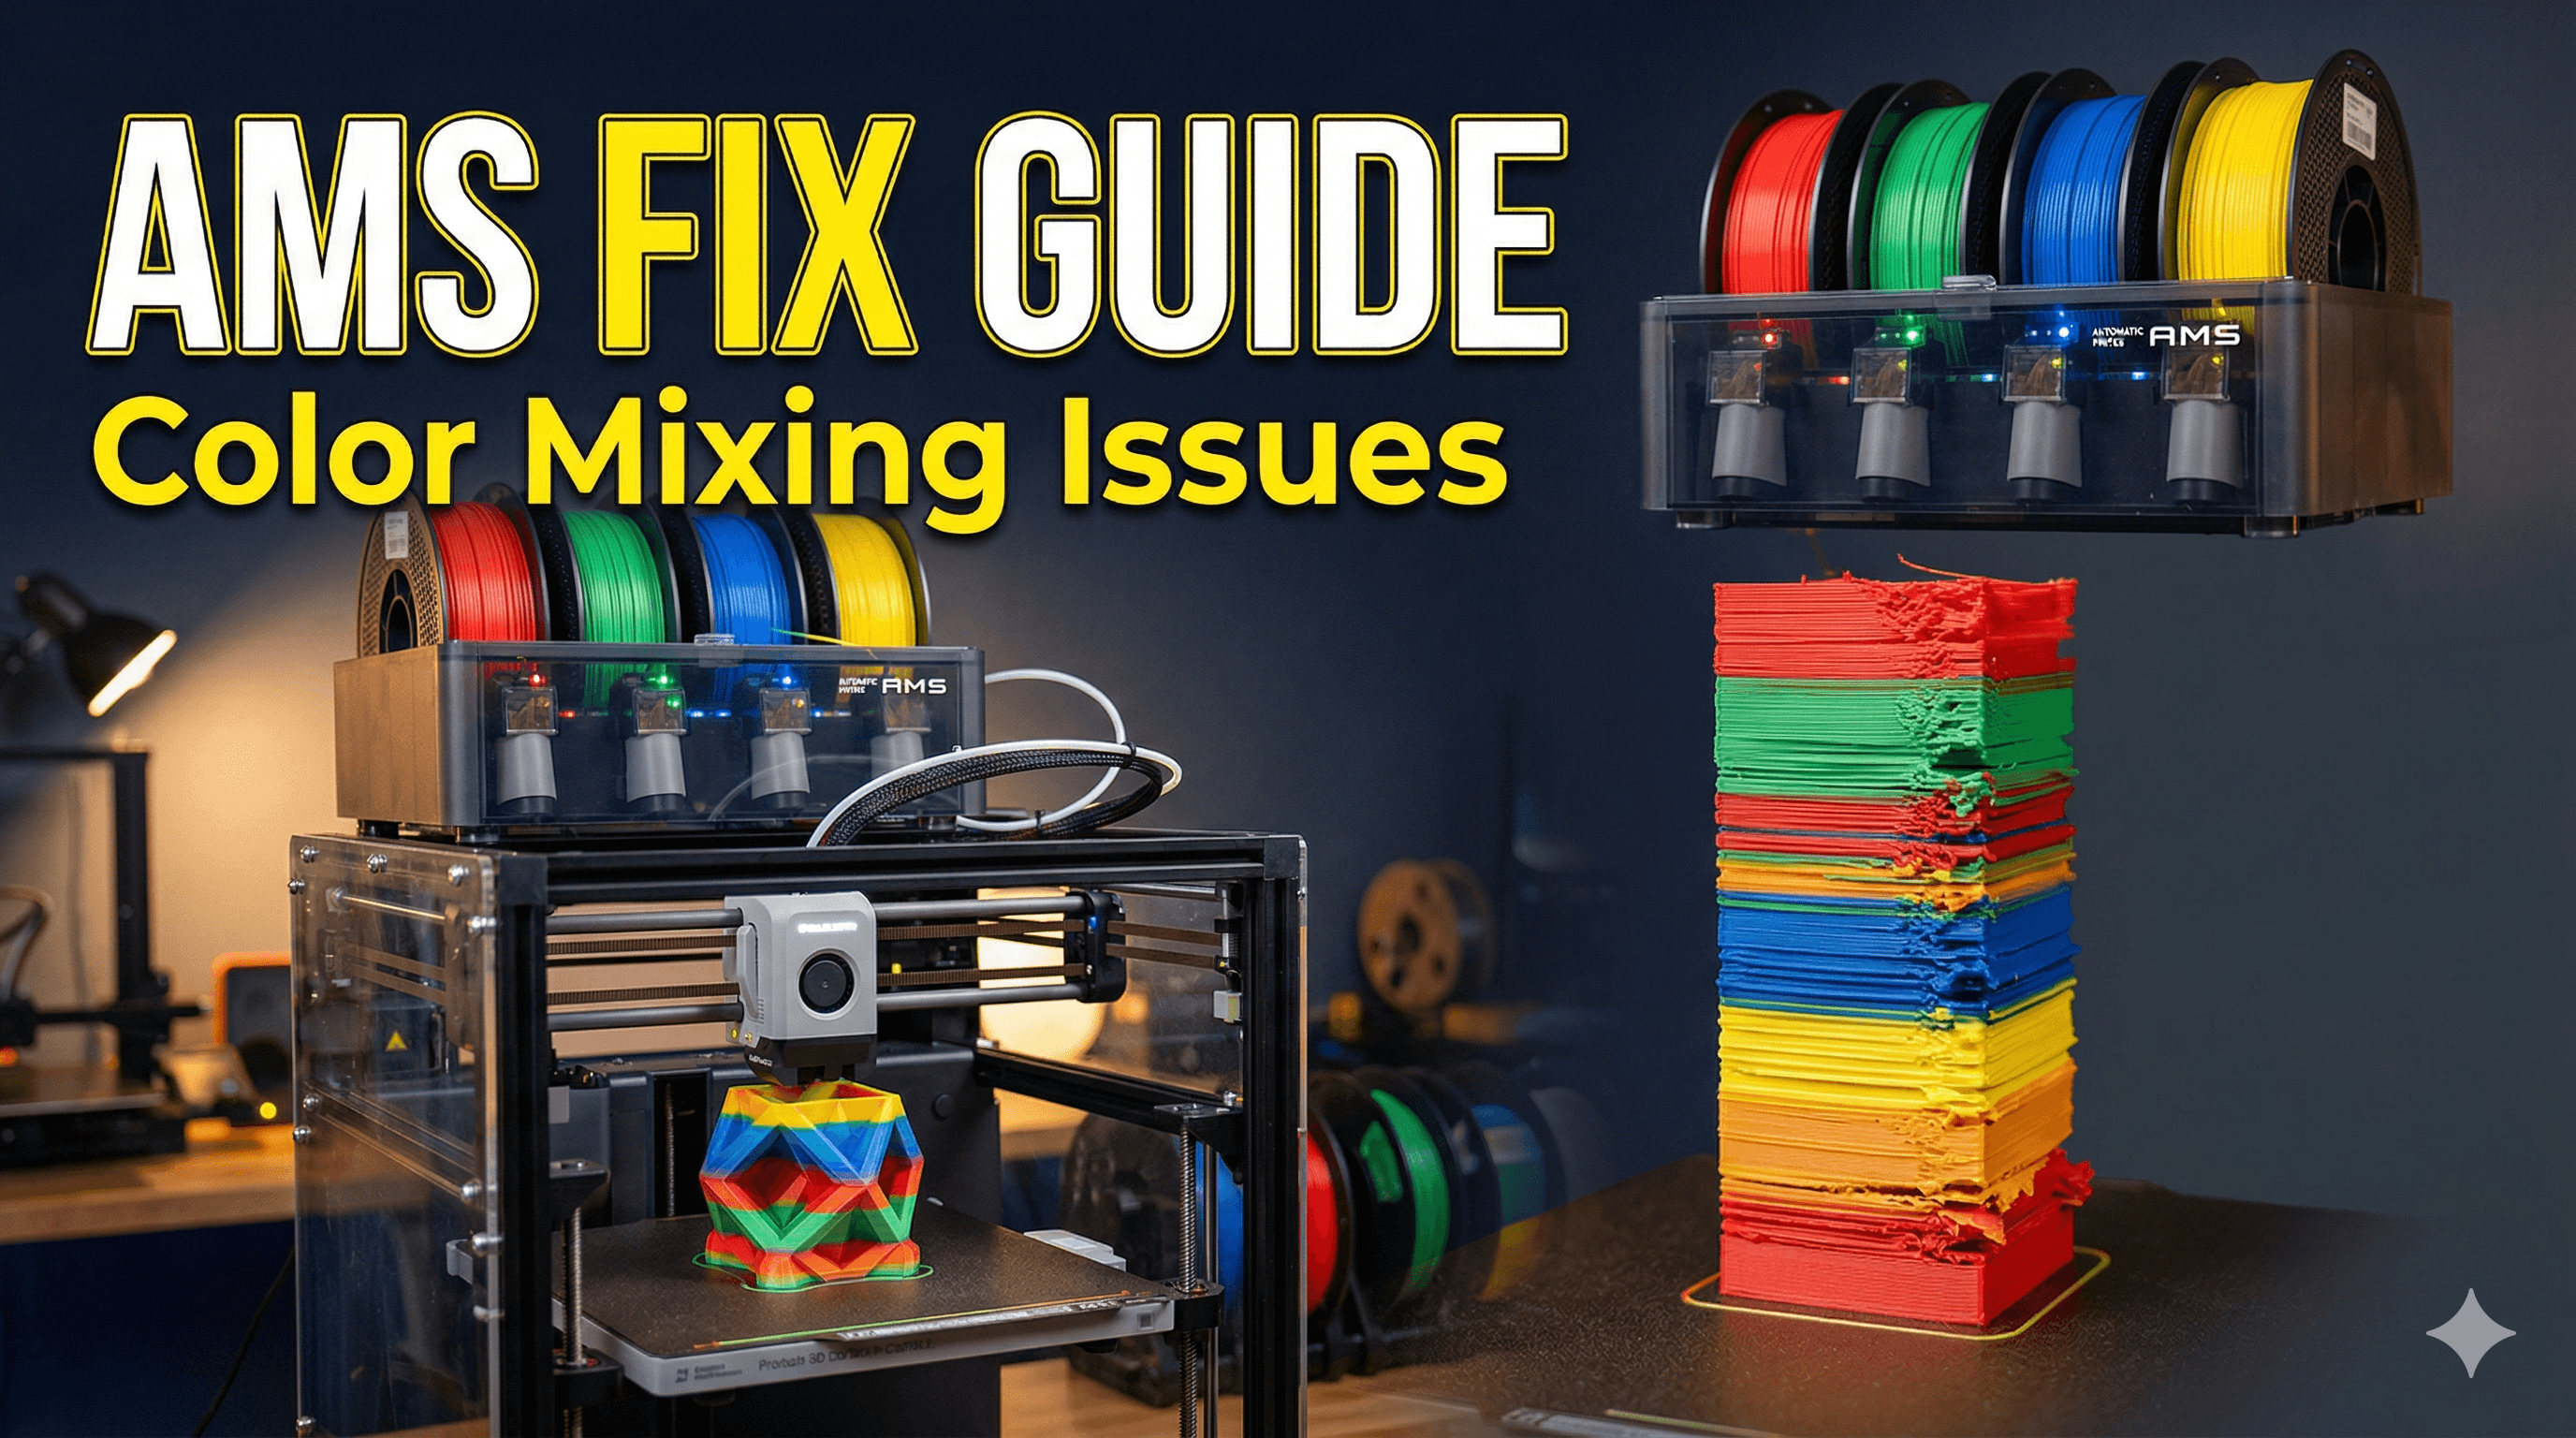
But then, it happened. The dreaded color bleed. Or maybe your purge tower looked like a sad, mashed-up blob instead of a neat little rectangle. Suddenly, that beautiful gradient you planned turned into a murky mess, or your white parts had specks of red from the previous layer. Man, oh man, it's enough to make you pull your hair out, especially when you're on a deadline for a client, right? I've been there, pulling all-nighters, trying to figure out why my AMS was acting like a moody teenager. It's frustrating, honestly, because these machines are so good, but these little quirks can really throw a wrench in your workflow.
The Dream vs. The Reality: My AMS Journey (and why it’s worth it)
Look, when I first saw the Bambu Lab AMS in action, my mind was blown. Four colors (or more, with multiple AMS units, though I'm still saving up for that!). The automatic filament loading and unloading, the ability to print complex designs without manual intervention – it felt like a glimpse into the future of 3D printing. For my small business, Artopia Collections, it meant I could offer way more intricate and visually appealing products. I mean, imagine selling a dual-color keychain that just prints itself, you know?
The initial honeymoon phase was amazing. I printed everything in multi-color: little statues, functional parts, even some prototypes for local businesses. And the speed! These Bambu machines are just rockets compared to what I was using before. But then, as I started pushing the limits, using different brands of filament, or trying to achieve really stark color contrasts, the problems began to surface. My beautiful white prints would have a faint greenish tint after purging from a dark green filament. Or the purge tower would just... well, it wouldn't be enough, leaving a mess on the actual print. And trust me, when you're spending ₹800-₹1200 on a good 1kg spool of eSun PLA+ filament, wasting it on bad purges is not cool.
Despite these headaches, I'm still a huge fan of the AMS. It’s a game-changer when it works right. The thing is, it requires a bit of understanding, some tweaking, and a little bit of that good old Indian jugaad sometimes. It’s not plug-and-play perfect for every single scenario, and that's okay. We just need to know how to tame the beast, right?
Understanding the Enemy: Why Does Color Mixing Happen?
So, why does your gorgeous blue turn into a muddy green? Basically, it boils down to two main culprits: insufficient purging and sometimes, physical issues with your setup. When the AMS swaps filament, the old color is pushed out by the new one. The slicer tells the printer how much of the new filament to extrude into the purge tower (or infill) to completely flush out the old color from the nozzle. If that amount isn't enough, some of the old color remains, mixes with the new one, and boom – color bleed.
Think about it like changing paintbrushes without cleaning them properly. If you go from dark blue to light yellow without rinsing, you're going to get some nasty greenish-yellow, right? Same principle here. And it gets even trickier if you're mixing different types of filaments, like a super opaque PLA with a translucent one, or even worse, PLA and PETG. Those materials just behave differently, and that's where the real fun begins.
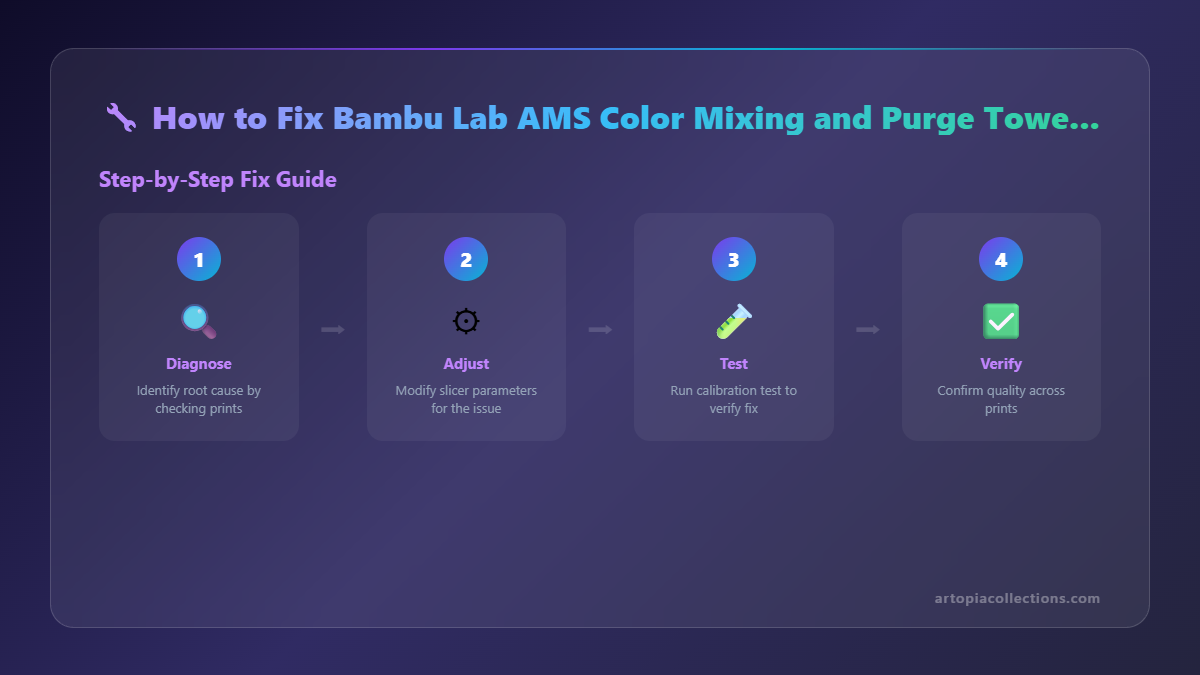
The Indian Jugaad (and Proper Fixes): Step-by-Step Solutions
Alright, let's get down to brass tacks. Here's what I've learned, often through trial and error (and a fair bit of wasted filament, sadly), to get my AMS printing cleanly. This isn't just about throwing money at the problem; it's about smart adjustments.
1. Nozzle Check & Maintenance: Your First Line of Defense
This is often overlooked, but it's super important. A partially clogged or worn-out nozzle can cause all sorts of flow issues, which in turn can lead to poor purging and color mixing. Think about it: if the new filament isn't pushing out the old one efficiently, some will always linger.
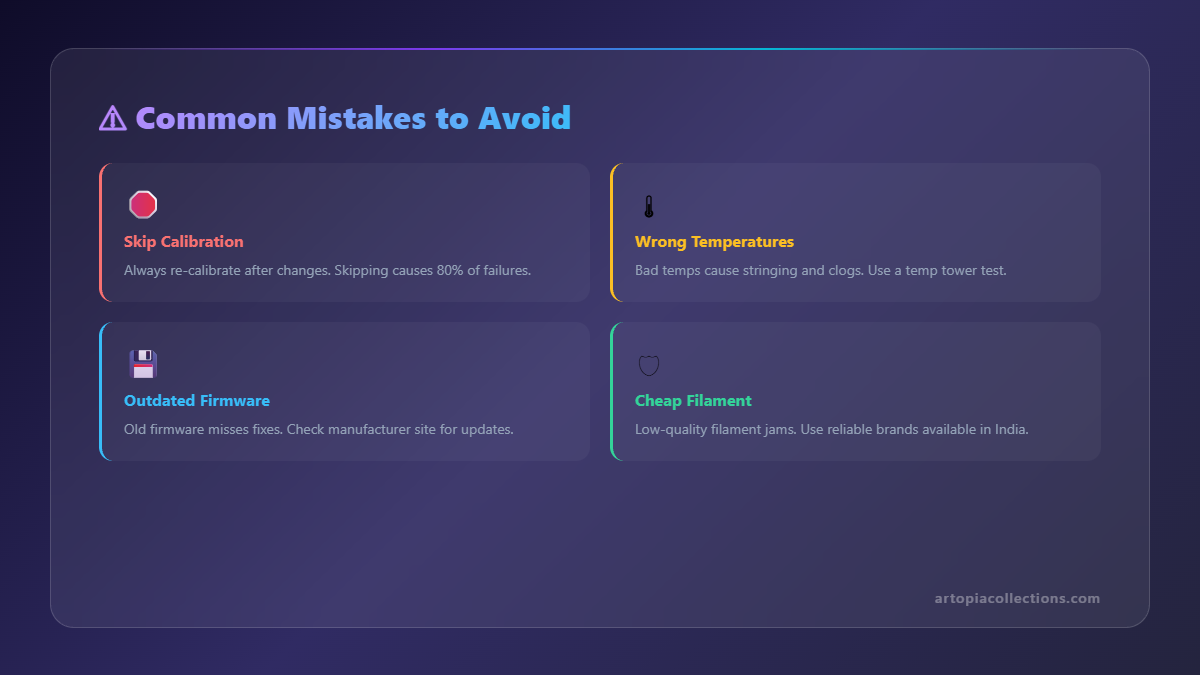
- Clogs: Ever notice stringing, inconsistent extrusion, or just general messiness? A partial clog might be the culprit. I usually do a few cold pulls or use the printer's built-in "unclog" function in Bambu Studio. Sometimes, a quick swap to a fresh nozzle is the easiest way to rule this out.
- Wear and Tear: Brass nozzles are great for standard PLA, but if you're printing abrasive filaments (carbon fiber filled, glow-in-the-dark, or even some glittery ones), they wear down surprisingly fast. A worn nozzle can have a wider opening, leading to less precise extrusion and inefficient purging. For anything even slightly abrasive, a hardened steel nozzle is a must. They cost a bit more, maybe around ₹500-₹800 for a good quality one, but they last ages. I always keep a few Bambu Lab Hardened Steel Nozzles in stock.
- Tightness: A slightly loose nozzle can cause filament to leak around the threads, leading to blobs and inconsistent flow, making purging harder. Always ensure it's properly tightened when hot.
2. Filament Profile Tweaks: The Slicer Magic
This is where most of your color mixing issues will be solved. Bambu Studio is powerful, but you need to know which knobs to turn. This isn't just about printing a bigger purge tower, although that's part of it.
- Purge Volumes (The Big One!): Go to the "Filament" tab in Bambu Studio. You'll see "Flushing volumes." This is your control center.
- Volumetric flushing: This is what you'll adjust. The default values are often a good starting point, but they're not always enough, especially for vibrant colors or stark contrasts (like black to white).
- Light to Dark vs. Dark to Light: It's generally easier to purge dark filament with light filament than the other way around. Going from a very dark color (like black or deep red) to a very light one (white or clear) will always require significantly more purging. I've sometimes had to push the value for dark to light transitions up to 300-400 mm³ if I want absolutely no bleed, especially on a large print where every layer counts. From light to dark, you can often get away with 100-150 mm³. For similar colors, even 50-80 mm³ might be fine.
- Multiplier: There's also a "Flushing volume multiplier" under "Others" in the "Process" tab (or "Global" tab for an A1 Mini). This multiplies *all* flushing volumes. I usually prefer to adjust individual filament flushing volumes instead of a global multiplier, as it gives more granular control. But if you're having issues across the board, a small global bump (e.g., 1.1x) can help.
- Wipe into infill/internal objects: PLEASE use this feature! It's a lifesaver for saving filament. Instead of printing a dedicated purge tower for every color change, the printer will flush the old color into the internal infill or support structures of your print. This drastically reduces the amount of material wasted on the purge tower. You can find this option under the "Quality" tab in your process settings. Just make sure the infill isn't visible on your final print if you're using very contrasting colors. I enable this almost always.
- Temperature: Different filaments like different temperatures. If you're mixing, say, a PLA that prints best at 215°C with another that likes 225°C, you might have issues. Try to keep them within a few degrees of each other. If one is too cold, it won't flow cleanly, and the old color might drag.
- Flow Rate: Calibrating your filament's flow rate can make a subtle difference. If your filament isn't extruding consistently at the correct rate, the purge volumes might not be as effective. Bambu Studio has built-in flow calibration, or you can do manual tests.
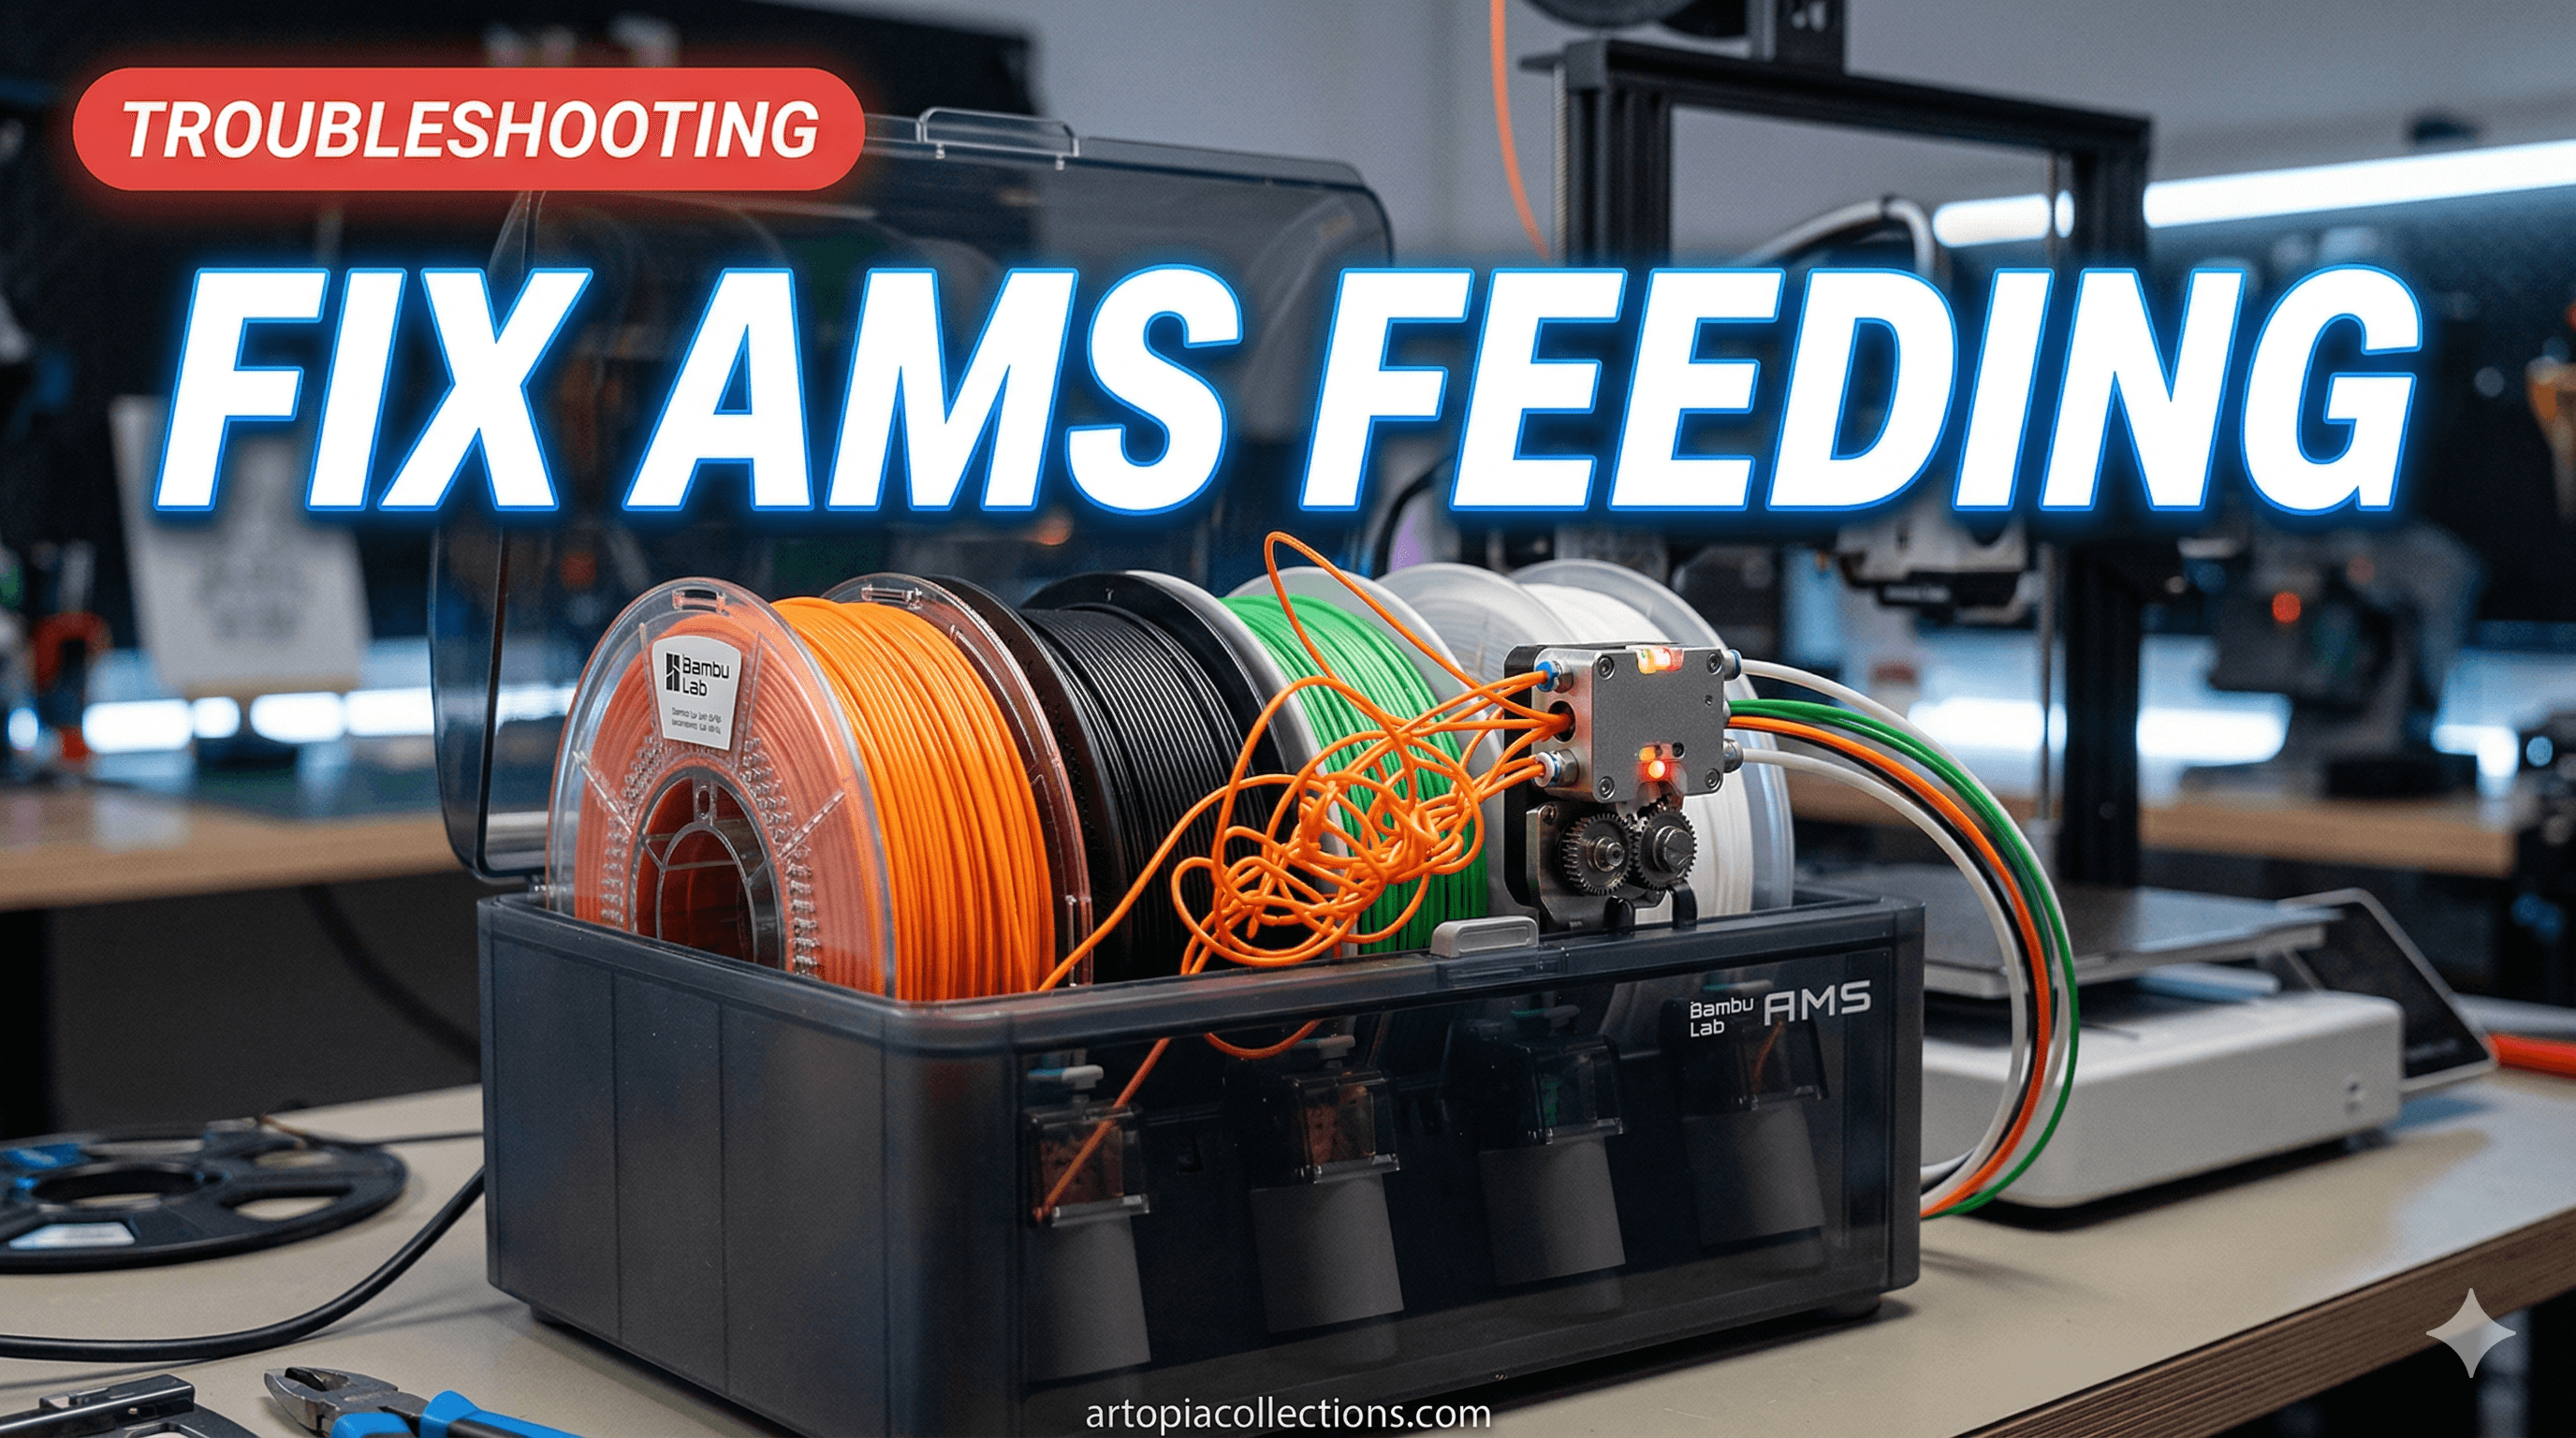
3. Filament Management: Humidity is Your Enemy!
Honestly, living in India, especially during monsoon season, humidity is a beast for 3D printing. Wet filament isn't just about weaker prints or stringing; it can also lead to inconsistent extrusion, which messes with effective purging.
- Dry Your Filaments: I cannot stress this enough. If your filament has been sitting out for a few weeks, especially if it feels a bit brittle, dry it! A dedicated filament dryer (you can get one for ₹3000-₹5000, or even just use a food dehydrator) makes a huge difference. You can also bake it in an oven at very low temperatures (be super careful here, don't melt your spools!). Dry filament flows much more consistently, ensuring cleaner purges.
- Brand Consistency: While Bambu Lab printers are pretty versatile, mixing and matching wildly different brands and types of filament in one print can be asking for trouble. Some PLA brands are more opaque, some are more viscous. Sticking to the same brand (like eSun, Overture, Eryone, or even local Indian brands like 3DMaya or Divide by Zero) for a multi-color print can really help, as their properties tend to be more consistent.
4. AMS Unit Maintenance: Keep it Smooth
Sometimes, the issue isn't even the purging itself, but the AMS or the filament path leading to the nozzle.
- PTFE Tubes: Check all your PTFE tubes – from the AMS to the buffer, and from the buffer to the print head. Are they kinked? Is there a lot of friction? A bent tube can make filament loading/unloading difficult, leading to jams or improper filament swaps that leave remnants. Replacements are cheap, maybe ₹50-₹100 per meter.
- AMS Hubs/Buffers: Make sure the internal mechanisms of your AMS (the feeders, especially) are clean and moving freely. Dust or tiny filament bits can sometimes cause resistance.
- Sensors: Give a quick check to the filament sensors in the AMS and print head. If they're dirty, they might not accurately detect filament presence, leading to issues.
5. The Purge Tower Itself: A Necessary Evil (sometimes)
Even with "wipe into infill" enabled, sometimes you'll still need a purge tower, especially if you're doing very specific, complex color changes or using transparent filaments. Or if your infill is too sparse to take all the purged material.
- Placement: Don't place your purge tower right next to a delicate part of your print. Give it some space.
- Size: While increasing purge volumes is primary, a slightly larger footprint for the purge tower can sometimes help stability if it's getting knocked over. But generally, the height and internal volume are determined by your purge settings.
My Personal Workflow & Tips:
 So, after all this trial and error, here's my usual routine:
- Always dry filament first: This is non-negotiable for me, especially for multi-color prints where consistency is paramount. I put every new spool in the dryer for a few hours before it goes into the AMS.
- Start with Bambu's generic profiles: They are actually quite good. Then, identify the most problematic color transitions (usually dark-to-light) and only adjust *those* specific volumetric flushing values in the filament profile. I rarely touch the light-to-dark.
- Enable "Wipe into infill/internal objects": Seriously, do it. It saves so much filament. Just remember to check your infill density.
- Do a small test print: Before committing to a 20-hour, multi-color masterpiece, I'll often print a tiny version of the critical color change area, or a small purge test block, just to confirm my settings are good. It’s better to waste ₹5 of filament than ₹500!
- Don't cheap out on multi-color filament: For single-color, budget PLA is fine, but for AMS printing, especially with intricate designs, investing in good quality, consistent filament pays off. The headaches saved are worth the extra ₹100-₹200 per spool.
Cost Considerations (Indian context):
Let’s talk about money, because that’s always a factor for us, right? Wasting filament on bad purges isn't just annoying; it costs real money. If you're doing a complex print with 50-100 color changes and each one purges an extra 100mm³ (which is 0.1cm³), that adds up. 100 changes * 0.1cm³ = 10cm³ of filament. A 1kg spool (around 330cm³) could mean you're losing about 3% of your filament just to extra purging for a single print. On a ₹1000 spool, that's ₹30. It doesn't sound like much, but over dozens of prints, it can be significant.
And then there are replacement parts. Nozzles, PTFE tubes, desiccant for the AMS – these are all ongoing costs. But honestly, view them as investments. A ₹600 hardened steel nozzle that lasts for months, preventing ruined prints and saving filament, is a far better deal than constantly battling clogs and color mixing with a cheap brass nozzle. It's about optimizing your workflow and reducing frustration, which for a business owner, is priceless.
If you're looking for some cool multi-color designs, or need a custom print that pushes the AMS to its limits, definitely check out some of my creations over at Artopia Collections products. We've got some pretty interesting stuff that really shows off what multi-color printing can do when it's dialed in!
Conclusion
 So, there you have it, folks. The Bambu Lab AMS is an incredible piece of tech that has genuinely changed the game for many of us here in India and around the world. But like any advanced tool, it needs a bit of understanding and some TLC to perform at its best. Don't get discouraged if you hit a snag with color mixing or purge towers. It's usually something solvable with a few tweaks in Bambu Studio, a little maintenance, and perhaps a good session of drying your filament.
Keep experimenting, keep learning, and don't be afraid to dig into those settings. Your printer will thank you, and your multi-color prints will look absolutely stunning. Happy printing, and may your colors always stay true!