How to Fix Bambu Lab P1S First Layer Adhesion Problems
Is your Bambu Lab P1S printer failing on the first layer? Discover proven techniques and simple adjustments to resolve common adhesion issues and achieve reliable, high-quality prints.
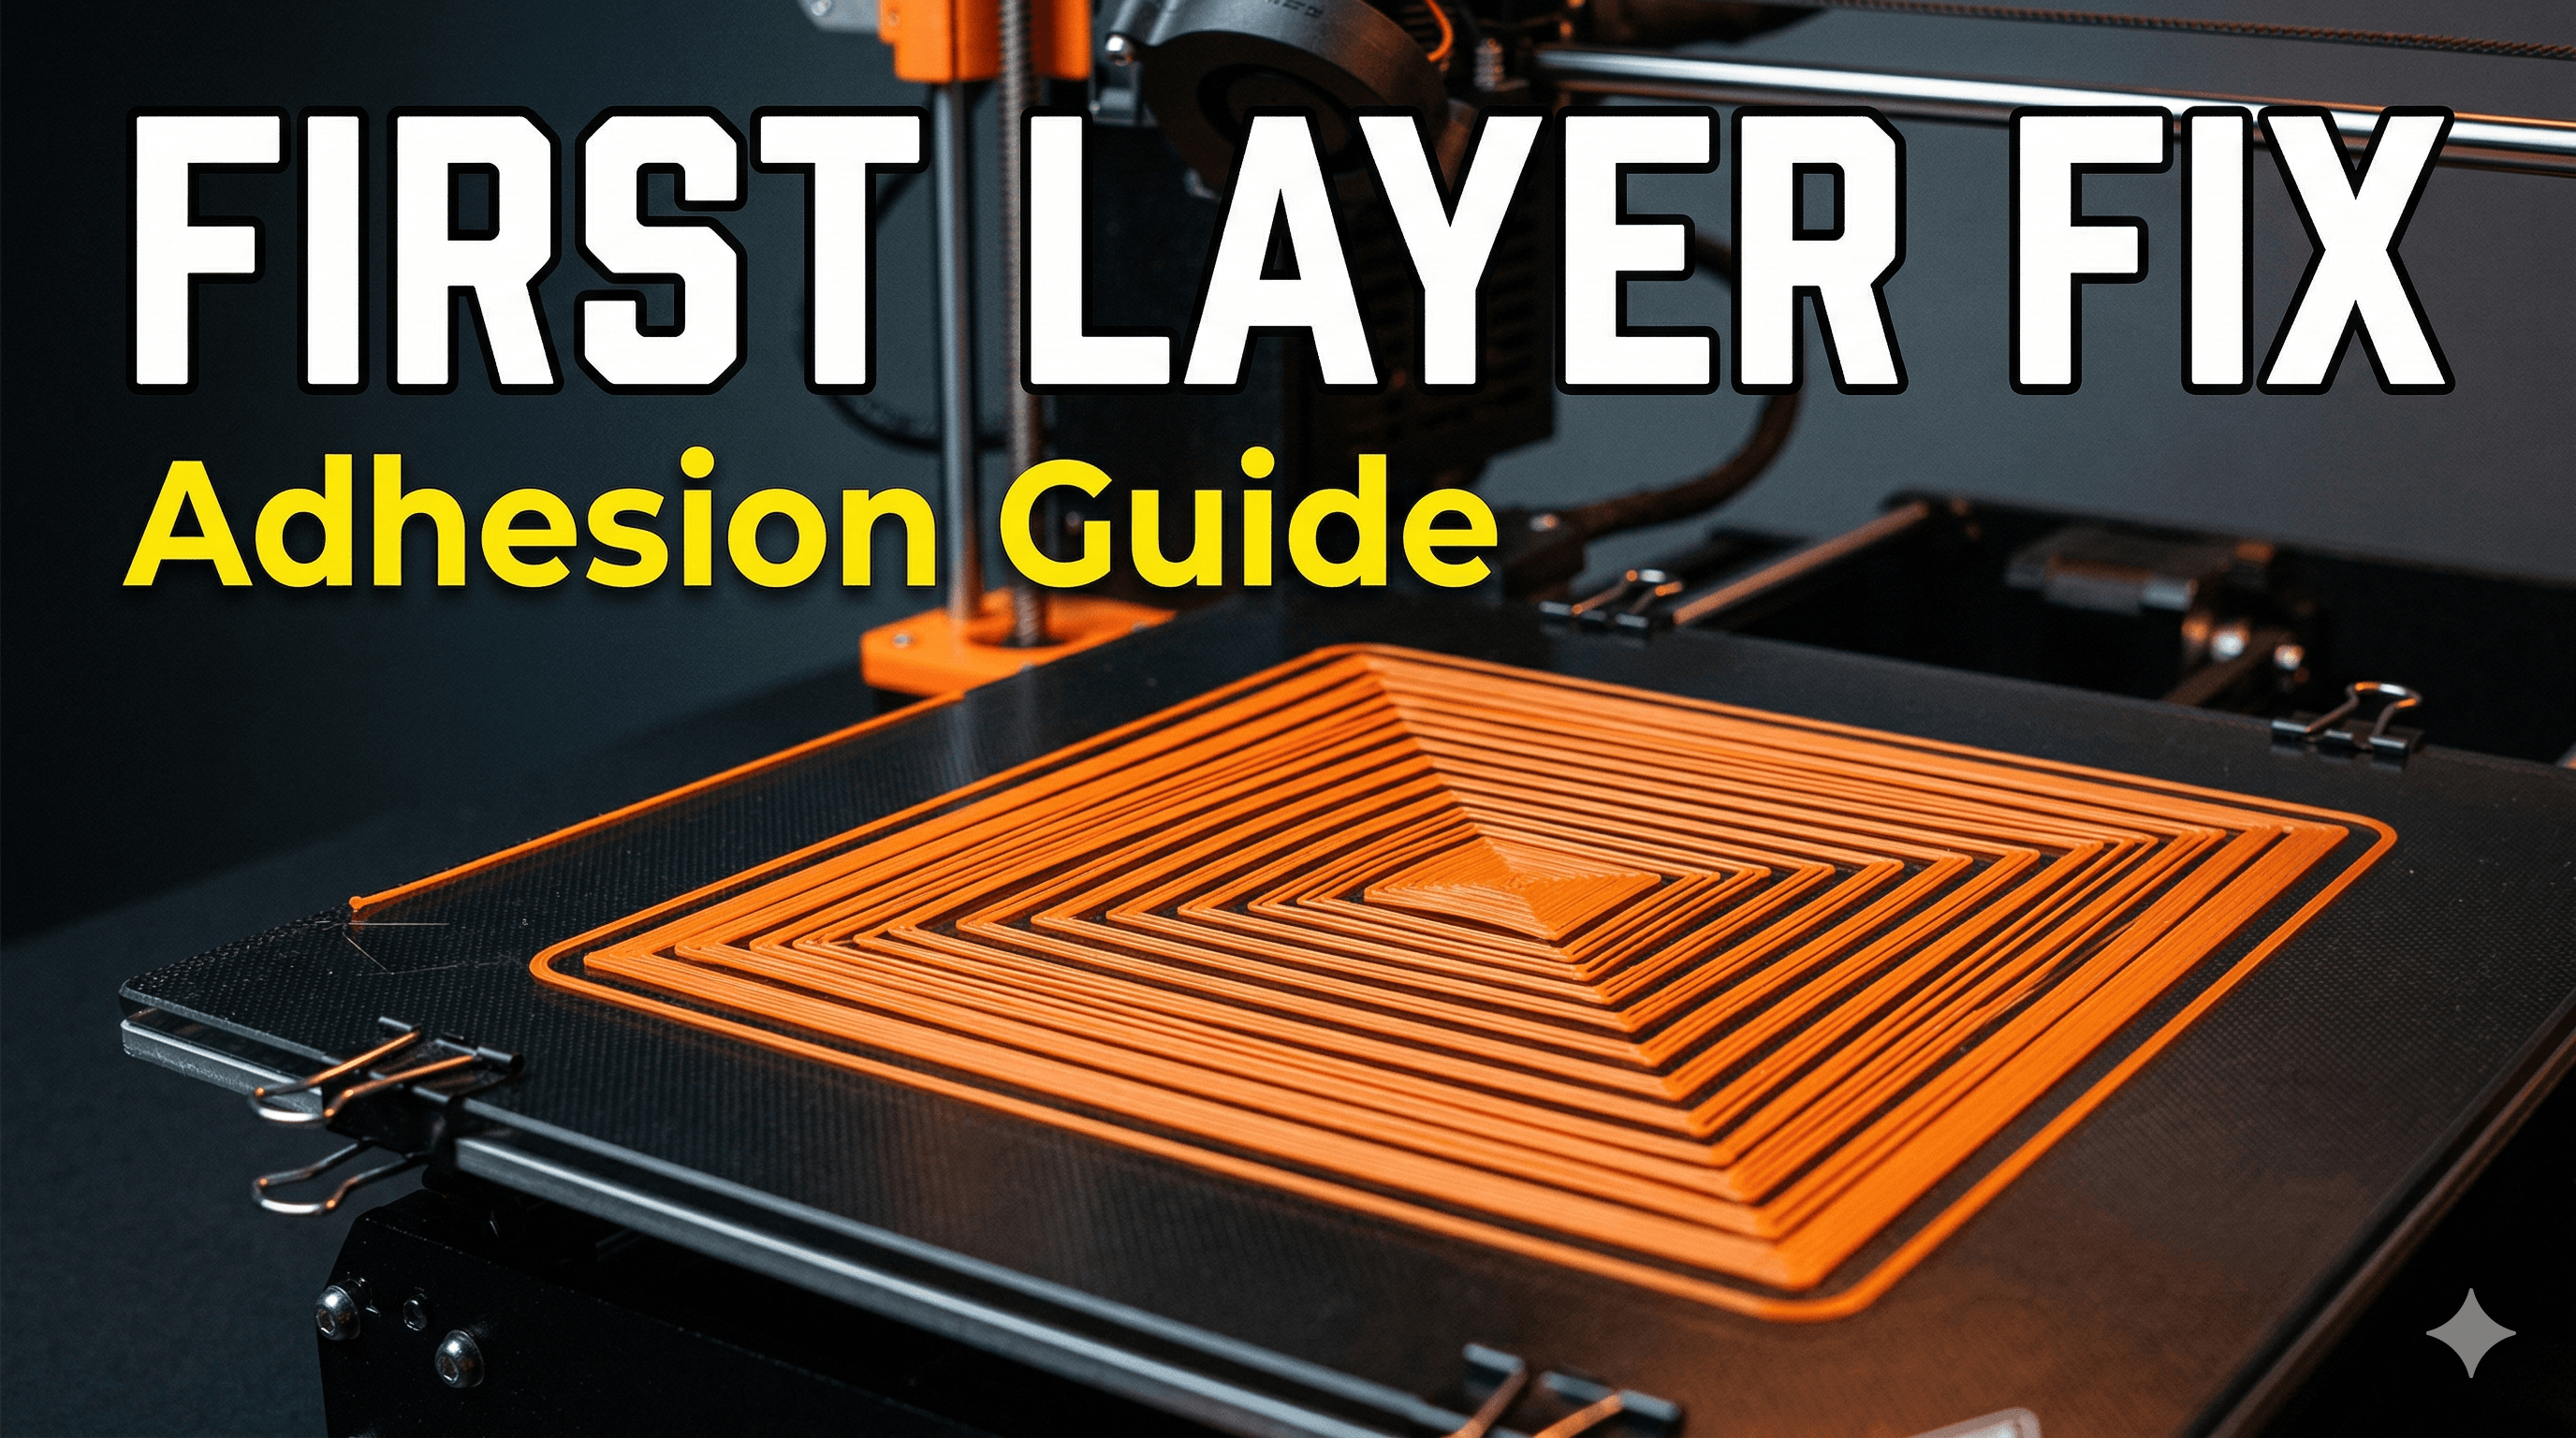
You know that feeling, right? The one where you’ve just hit print on your Bambu Lab P1S, the lights are on, the nozzle is heating up, and you’re already envisioning that perfect, pristine print for your client or your next passion project. Everything feels right. And then… BAM! You walk away for five minutes, come back, and what do you see? A spaghetti monster starting to form, or worse, your first layer – the foundation of EVERYTHING – has lifted, curled, or just plain decided to go on a solo adventure around the build plate. Argh! It's enough to make you pull your hair out, isn't it?
Especially when we talk about a printer like the P1S. This isn't some bargain-basement DIY kit you assembled in your garage. This is Bambu Lab, the guys who basically redefined "plug and play" in 3D printing. We're talking about a machine that's supposed to handle the hard stuff for you, so when it throws a curveball like first-layer adhesion issues, it feels like a personal betrayal. I get it. I’ve been there more times than I care to admit, especially when I’ve got client orders piling up here at ArtOPIA. So, let’s sit down, grab a chai (or whatever your poison), and figure this out together. Because honestly, boss, a perfect first layer isn't just nice; it's non-negotiable for consistent, high-quality prints.
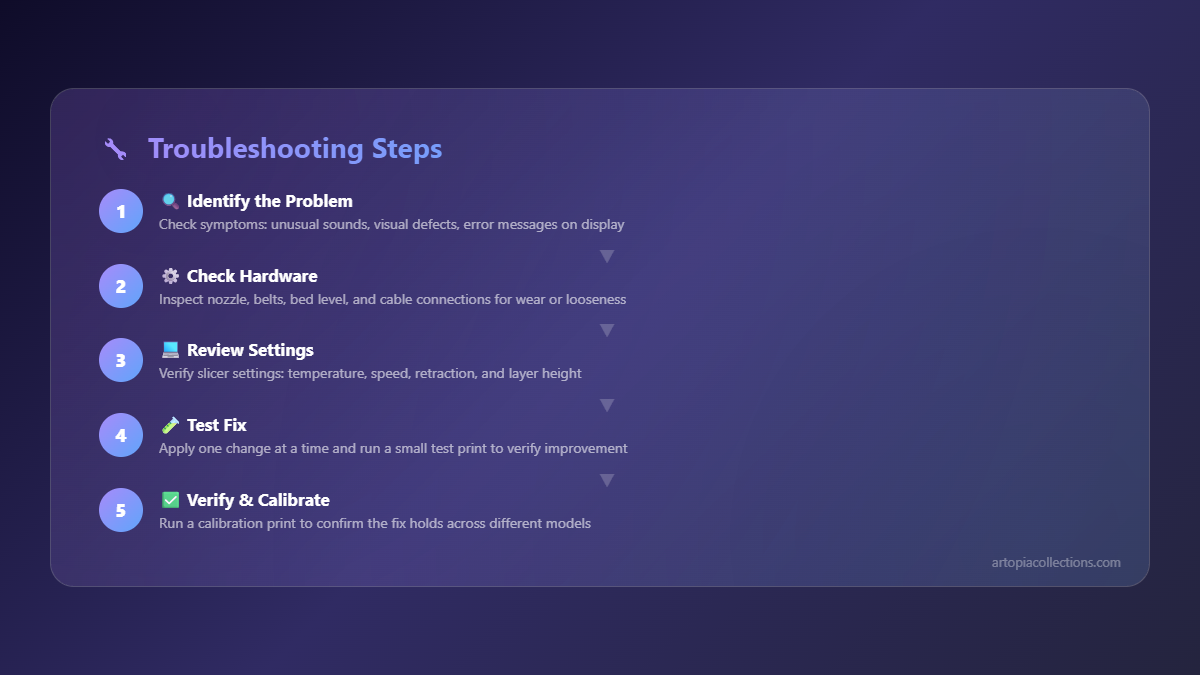
The Usual Suspects: Why Your P1S Might Be Acting Up
First things first, don't panic. The P1S is a phenomenal machine. Most first-layer woes aren't a sign of a faulty printer, but rather a slight miscommunication between the machine, the filament, and the environment. And trust me, these 'miscommunications' are often super easy to fix once you know what you're looking for. It's like finding that one loose screw that's making the whole cupboard rattle, you know?
1. The Build Plate: Your Canvas Needs to Be Pristine
This is, hands down, the most common culprit. And it’s often the simplest fix. Imagine trying to paint on a dusty canvas; your paint isn't going to stick well, is it? The same goes for your build plate. Any oil from your fingerprints, dust particles floating in the air (and we have plenty of that in India, don't we?), or residue from previous prints can absolutely wreck your first layer adhesion.
Solution: Cleanliness is Next to Godliness
- Isopropyl Alcohol (IPA): For quick cleans between prints, a good wipe-down with 99% IPA is your best friend. Just make sure the plate is cool or only slightly warm, spray a bit on a clean microfiber cloth, and wipe it down thoroughly. You want to see no streaks. I usually buy a litre bottle, it lasts ages and costs me maybe ₹200-₹300. You can grab some good quality IPA right off Amazon.in.
- Soap and Water: Every 5-10 prints, or if you're really struggling, take the build plate off and give it a good wash with warm water and dish soap. Scrub it gently with a soft sponge, rinse it thoroughly to remove all soap residue, and let it air dry completely or dry it with a clean, lint-free cloth. This removes oils and other stubborn contaminants that IPA might miss. Trust me, it makes a HUGE difference, especially for those textured PEI plates.
- No Touching! Once it’s clean, try your best not to touch the print surface with your bare hands. Always handle it by the edges.
2. The Right Surface for the Job: Smooth vs. Textured
Bambu Lab provides different build plates, and each has its quirks and best uses. Are you using the right one for your filament?
- Textured PEI Plate: This is my go-to for most PLA, PETG, and even some TPU prints. It's generally very forgiving and doesn't usually need glue for PLA. It gives your prints that lovely matte, textured finish on the bottom. If your PLA isn't sticking here, clean it thoroughly.
- Cool Plate (often with a sticker, sometimes double-sided): This one needs a bit more love. For PLA, it often requires a thin layer of glue stick. Why? Because PLA sticks *too* well sometimes, and you risk damaging the plate when removing prints. The glue acts as a release agent.
- High-Temperature Plate (Smooth PEI): Similar to the cool plate, but designed for higher temps and tougher materials. For PLA, you’ll definitely need a glue stick or liquid adhesive. Otherwise, you’ll be struggling to get your prints off, and might even tear chunks out of the plate.
Solution: Use Glue When Needed & Understand Your Plate
For smooth surfaces (Cool Plate, High-Temp Plate) with PLA, ABS, ASA, etc., a glue stick is your best friend. I swear by the local UHU or Fevicol brand glue sticks, they're cheap (₹50-₹100) and work wonders. Apply a thin, even layer, making sure it’s completely covered. You don’t need a mountain of glue, just a nice, even film. For PETG on smooth surfaces, sometimes a release agent like hairspray (Aquanet is popular, but any basic strong hold works, ₹200-₹400 for a can) can prevent over-adhesion. Just spray it *outside* your printer, let it dry, then place the plate back in.
3. Temperature Tango: Nozzle and Bed
Oh, the temperatures! They play such a crucial role, and it's not just about what the filament manufacturer suggests. Ambient conditions in India can be wildly different, especially across seasons. What works in Bangalore in January might not work in Delhi in May.
- Bed Temperature: This is critical. For PLA, 60°C is usually the sweet spot on a textured PEI. If you're on a smooth plate with glue, sometimes 55°C is enough, or even 50°C for the Cool Plate (as its name suggests). For PETG, I usually bump it up to 70-80°C. If your first layer isn't sticking, try increasing the bed temp by 5°C. Let it soak for 5-10 minutes *after* it reaches temp before starting the print, especially in colder environments. This ensures the entire plate is uniformly heated.
- Nozzle Temperature: While not as common for first layer *adhesion* directly as the bed temp, an incorrect nozzle temp can affect filament flow and, thus, how well it squishes onto the bed. If your filament isn't extruding smoothly or looks too watery/too thick, try adjusting your nozzle temp by +/- 5°C from the recommended. For most PLA, I run between 215-225°C. For PETG, 240-255°C.
Solution: Experiment, But Keep it Consistent
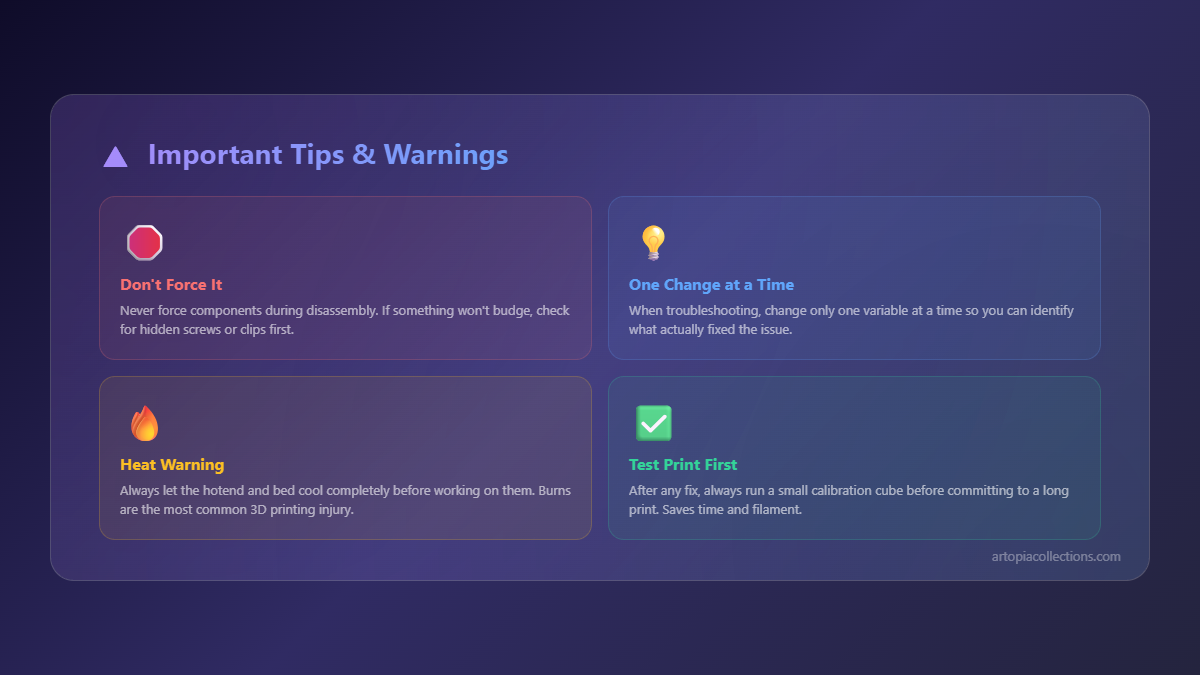
Start with the Bambu Studio defaults for your chosen filament and plate. If you have issues, make small, incremental changes. Don't change five settings at once, or you'll never know what fixed it! Change one, test, then adjust again if needed.
4. Slow and Steady Wins the First Layer Race
The P1S is fast, no doubt. But sometimes, especially for that crucial first layer, a little patience goes a long way.
Solution: Slow Down the First Layer
In Bambu Studio, go to your 'Process' settings, then 'Speed'. You'll see options for "Outer wall speed", "Inner wall speed," and critically, "First layer speed." Bambu's defaults are usually pretty good, but if you're having trouble, try reducing your first layer speed to something like 20-30 mm/s. This gives the molten plastic more time to properly adhere and squish onto the build plate before the nozzle moves on. It’s a minor slowdown in the grand scheme of a long print, but it can be a print saver.
5. Filament Quality and Dryness: A Hidden Menace
You’d be surprised how often a perfectly good printer acts up because of bad or wet filament. Even brand new filament can absorb moisture, especially in our humid Indian climate. Wet filament will cause popping/cracking sounds during printing, poor layer adhesion (not just the first layer!), and generally weak prints.
Solution: Keep Your Filaments Dry
- Storage: Always store your filament in airtight bags or containers with desiccant packets when not in use.
- Drying: If you suspect your filament is wet (and honestly, if you’re having persistent issues, just dry it anyway), pop it into a dedicated filament dryer for a few hours. I personally use an eSUN dryer, and it's been an absolute game-changer, especially for my PETG and TPU. You can find them on Amazon.in, usually costing ₹4000-₹6000, but it pays for itself in saved filament and successful prints. Even a food dehydrator (modified, or low temp) can work in a pinch.
- Quality: Stick to reputable brands if possible. I've had good luck with eSUN, Overture, and even some local Indian brands like Real filament for basic PLA. Don't cheap out too much on filament, especially for client work. It's just not worth the headache.
6. Z-Offset (The Bambu Way) and Bed Leveling
Bambu Lab printers are fantastic because they handle bed leveling and Z-offset automatically using their lidar or force sensors. You don't get direct manual control over Z-offset in the same way you might on a Klipper-based printer, which is both a blessing and a curse. It *should* just work.
Solution: Trust the Process, But Verify
If you're still having issues after cleaning, temperature adjustments, and drying filament, you can try these:
- Recalibrate: In Bambu Studio or on the printer's screen, you can initiate a full calibration (bed leveling, vibration compensation, flow calibration). Do this if you haven’t in a while, or if you've moved the printer.
- Check Nozzle Wear: Over time, nozzles wear down. A worn nozzle can affect extrusion and first layer squish. If you've got thousands of hours on your printer, or you've been printing a lot of abrasive filaments, it might be time for a new nozzle. They're not too expensive to replace.
- Flow Calibration: Bambu Studio has built-in flow calibration features. Make sure you’ve run this, especially for new filament rolls. This ensures the correct amount of plastic is being extruded.
7. Environmental Factors: The Unseen Force
Okay, this one might seem a bit "out there," but it's real. Drafts, open windows, AC vents blowing directly onto your printer – these can cause uneven cooling on your first layer, leading to warping and lifting. Even a slight temperature fluctuation can be enough to pull a perfectly laid first layer off the bed.
Solution: Enclose or Shield
The P1S comes with an enclosure, which is great. But make sure it’s actually sealed and you’re not opening the door constantly during the first layer. If you're printing materials like ABS or ASA, the enclosure is critical for maintaining a warm, stable environment. For PLA, sometimes a little airflow is okay, but direct drafts are bad news. Try to place your printer in a spot where it's not exposed to sudden temperature changes.
My Personal Takeaway and What Works for Me
Honestly, for 90% of my first layer adhesion problems on the P1S (and even my X1C), the fix boils down to one thing: cleaning the build plate. I mean, seriously, a good wash with soap and water every few prints, and IPA in between, is magic. I used to overthink it so much, messing with temperatures and speeds, only to come back to a dirty plate. It's like having a super fast car but forgetting to put air in the tyres; all that power, wasted.
And then there's filament drying. I used to think it was an optional luxury, but now, it’s a core part of my workflow, especially since I live in Mumbai where humidity can be a beast. It's a small investment that saves so many headaches and wasted material. Plus, consistent filament means consistent quality for my ArtOPIA products, which is paramount for client satisfaction.
So, the next time your P1S starts giving you the blues with its first layer, don't throw your hands up in despair. Go through this checklist systematically. Start with the simplest, most common fixes first. You'll often find the solution quicker than you think. And hey, once your prints are sticking perfectly, maybe you'll find some inspiration for your next project on our ArtOPIA Collections page – we've got some cool stuff there, if I do say so myself!
Happy printing, my friend! May your first layers always be flawless.