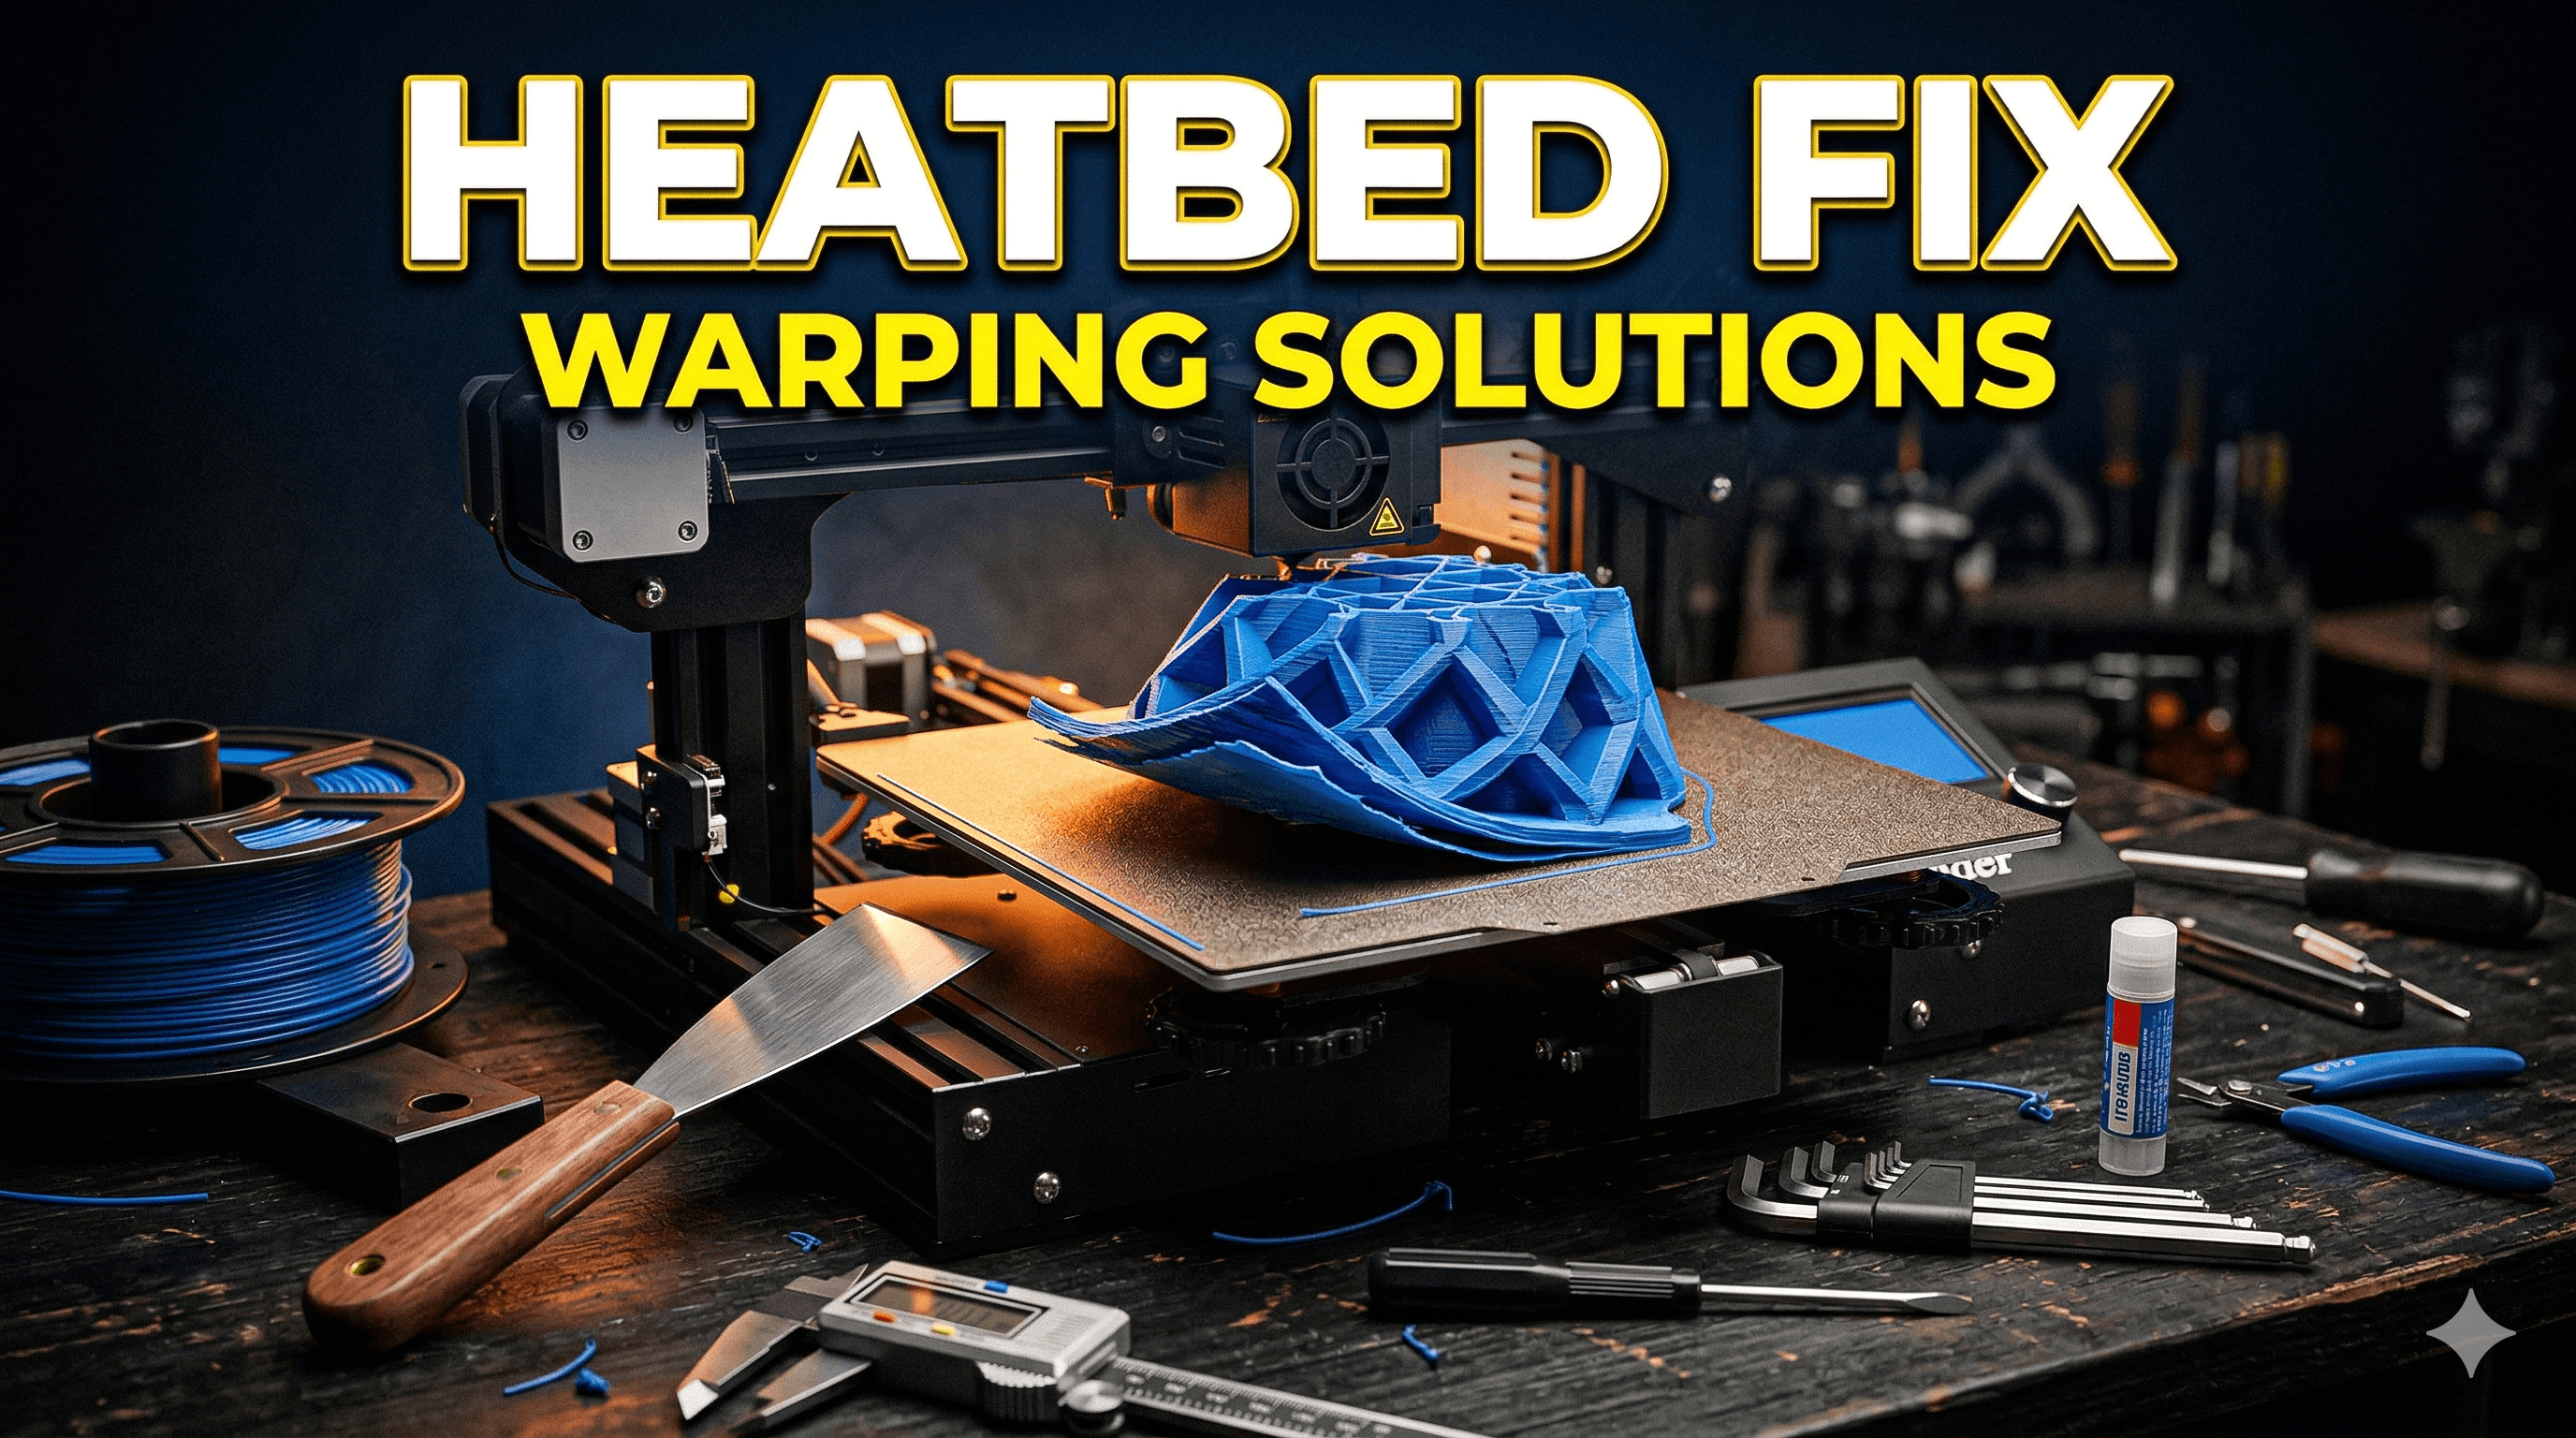
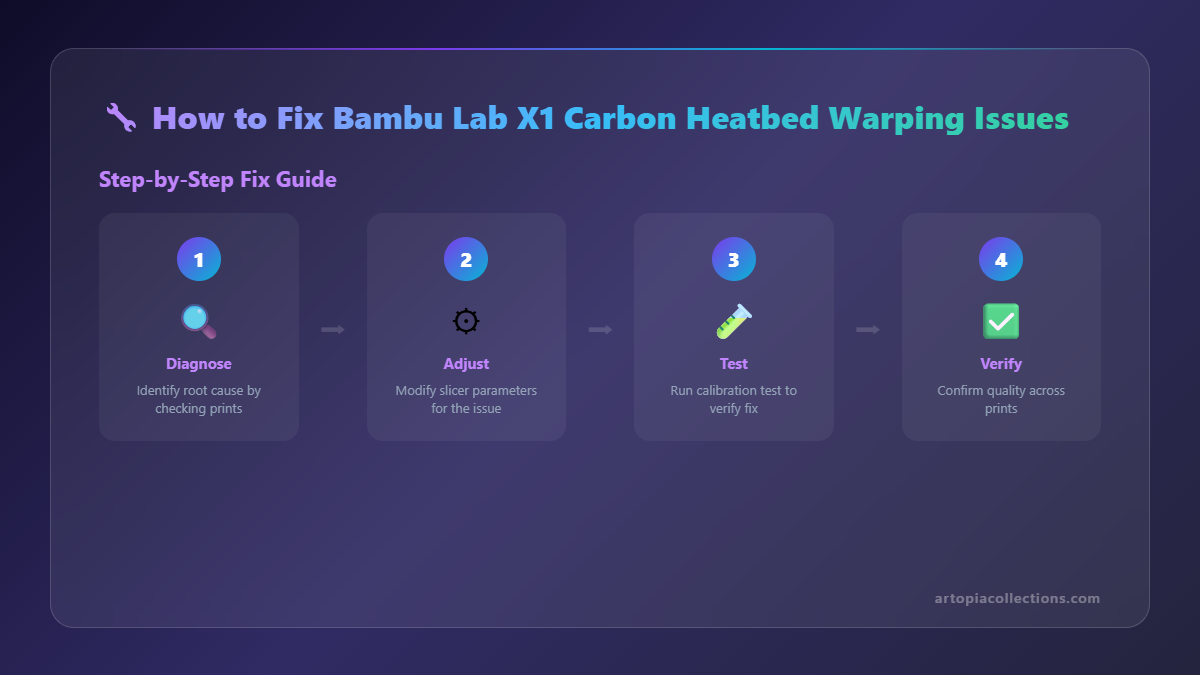
How to Fix Bambu Lab X1 Carbon Heatbed Warping Issues
Heatbed warping on your Bambu Lab X1 Carbon can ruin prints and cause adhesion failures. Discover practical steps and expert tips to effectively fix and prevent this common problem, ensuring perfect first layers every time.
Chalo ji, let’s talk about something that can turn your joy of 3D printing into a head-scratcher faster than a broken nozzle: that pesky heatbed warping on your otherwise magnificent Bambu Lab X1 Carbon. Honestly, when I first got my X1C, I was over the moon. The speed, the multi-color capabilities, the sheer reliability – it felt like a dream come true for my small business, Artopia Collections. I mean, we're talking about a printer that can churn out complex models like our custom miniatures or those intricate architectural pieces we sometimes do for clients, at speeds that would make my old Creality Klipper setup blush. But here’s the thing, even the crème de la crème of printers can have their little quirks, and one that crops up for some X1C users, including yours truly sometimes, is a heatbed that just isn't quite as flat as it ought to be. It’s like, you invest all this money, you expect perfection, and then bam! First layer adhesion issues because one corner of your print bed is playing hide and seek with your nozzle. Ugh!
The Great Heatbed Mystery: Why Does It Even Warp?
So, you’re looking at your beautiful X1C, thinking, “What did I do to deserve this?” And trust me, it’s rarely anything you did wrong. Heatbed warping isn't always obvious; it can be subtle, sometimes just a few hundredths of a millimeter, but that’s enough to mess with your first layer. The Bambu Lab X1 Carbon has an incredible auto-bed leveling (ABL) system, powered by that fancy LIDAR, which is supposed to map your bed and compensate for any unevenness. And it does a fantastic job for most minor variations, honestly. But there's a limit to what software compensation can do. If the physical surface itself has a significant dip or hump, especially after countless heating and cooling cycles, the ABL might struggle to bridge that gap perfectly across the entire print area.
I’ve seen this happen with various printers over the years, not just Bambu Lab. It’s usually a combination of thermal stress – heating to 100°C+ and then cooling down repeatedly – and sometimes, just a slight imperfection in the manufacturing process of the aluminum plate itself. It's a massive piece of aluminum, and getting it perfectly flat, especially when it's going to be exposed to such temperature swings, is tougher than it sounds. Sometimes, the way it's mounted, or the tension on the screws holding it down, can also play a role, introducing stress that causes a slight deformation. It’s a bummer, for sure, especially when you’re trying to print those large, critical parts where even a tiny lift-off can ruin an entire print. You know, like when I’m printing a batch of our specialized Art Deco-inspired architectural miniatures – every millimeter counts there.
Diagnosing the Warped Bed: More Than Just Looking
Okay, so how do you know if your heatbed is actually warped and not just, say, dirty? First off, if you're consistently getting poor first layer adhesion in specific areas, especially corners or edges, while the center is fine, that's a big red flag. The X1C’s ABL system actually generates a mesh bed map, which you can view on the printer's screen or in Bambu Studio. Take a good look at that map. Are there clear high points and low points, perhaps a dip in the middle or a corner that consistently shows up as lower? That's your evidence right there. Also, try printing a large, single-layer calibration square that covers most of your bed. Watch it closely. If some areas look thin or patchy, while others are squished too much, then you’ve got a warping issue.
Another thing I sometimes do, though it requires a bit of an eagle eye, is to just lay a precision straight edge or a metal ruler across the bed in various directions. Hold it up to a light source. If you see light peeking through underneath the ruler in spots, you’ve got gaps, which means your bed isn't flat. It’s not as scientific as the ABL map, but it gives you a quick visual confirmation.
Fixing the Wobbles: My Go-To Strategies
Right, enough talk about the problem, let’s get to the solutions! I’ve tried a few things over time, and these are the methods that have worked best for me to bring my heatbed back into line, or at least help the X1C’s ABL deal with it better.
1. The Unsung Hero: Thorough Bed Cleaning
This sounds basic, almost too basic, but honestly, it solves about 30% of "warping" issues that are actually just adhesion problems. Before you even think about shims or new plates, give your print surface a proper bath. I'm talking warm water and dish soap (the kind you use for utensils, not hand soap!). Scrub it gently with a soft sponge, rinse it thoroughly, and let it air dry or wipe it with a clean microfibre cloth. After that, a quick wipe down with isopropyl alcohol (IPA) before every print is just good practice. Residue from previous prints, oils from your fingers – it all adds up and stops your filament from sticking. Don't underestimate this step, it’s a game-changer for ₹50-₹100 worth of soap.
Sometimes, I use a bit of acetone on my engineering plate (NEVER on textured PEI, it’ll ruin it!) if I've had really stubborn prints or glue residue. Just a tiny bit on a paper towel. But mostly, it’s soap, water, and IPA. Trust me on this one.
2. Adhesion Aids: The Glue Stick & Beyond
 Even with a perfectly clean bed, sometimes you need a little extra help, especially with filaments like ABS or ASA that love to warp themselves. The Bambu Lab glue stick is decent, but frankly, any good washable PVA glue stick works. I often use a readily available UHU glue stick, which you can find for around ₹100-₹150. Just a thin, even layer, and let it dry for a minute or two.
You can grab a pack of UHU glue sticks right here on Amazon if you need one. It creates a sacrificial layer that helps your print stick and also makes removal easier. Plus, it fills in those tiny micro-imperfections on your print surface.
Even with a perfectly clean bed, sometimes you need a little extra help, especially with filaments like ABS or ASA that love to warp themselves. The Bambu Lab glue stick is decent, but frankly, any good washable PVA glue stick works. I often use a readily available UHU glue stick, which you can find for around ₹100-₹150. Just a thin, even layer, and let it dry for a minute or two.
You can grab a pack of UHU glue sticks right here on Amazon if you need one. It creates a sacrificial layer that helps your print stick and also makes removal easier. Plus, it fills in those tiny micro-imperfections on your print surface.
For some tricky filaments, like Nylon or PC, I've even experimented with adhesion sprays like 3DLac or Magigoo, but those are pricier, usually ₹1500-₹2500 a can, and frankly, a good glue stick covers 90% of use cases for my X1C’s textured PEI plate. The textured PEI plate itself is usually excellent for PLA and PETG without any adhesive, but for larger prints or those sensitive materials, glue is your friend.
3. Shimming the Heatbed: The DIY Flatness Solution
Now, this is where we get into physically correcting the warp. If your ABL map shows a consistent low spot in a particular area (often a corner or the center-edge), you can *shim* it. Basically, you're placing thin material under the heatbed at the low spots to raise them up and make the overall surface flatter. This allows the ABL to do its job more effectively because it doesn't have to compensate for such a large physical difference.
What to use for shimming? * Aluminum foil: My go-to. It’s cheap, readily available, and each layer is super thin (around 0.015-0.02mm), allowing for precise adjustments. You can fold it over a few times to get thicker shims. * Kapton tape: Also good, usually around 0.05mm thick per layer. More consistent, but a bit more expensive to buy rolls of it. * Thin painter’s tape: Not ideal for heat, but for very small, temporary adjustments it can work. I generally stick to foil or Kapton.
How to do it (carefully!): 1. Power off and unplug your printer! Safety first, yaar. Let it cool down completely. 2. Remove the print plate. 3. Locate the screws: The X1C heatbed is mounted by several screws from underneath the bed plate. You’ll need to open the side door and potentially lift the print head gantry carefully (or slide it to the back) to get access. I usually use the built-in maintenance positions. 4. Identify the low spots: Refer to your ABL mesh map. If a corner is low, you'll want to shim under that corner of the *actual aluminum heatbed plate*. 5. Loosen the mounting screws: Just a little bit. You don't need to remove them, just enough to slightly lift the heatbed a tiny fraction. 6. Cut your shims: Small squares or strips, about 1-2 cm in size. Start with one or two layers of aluminum foil under the problem area. You can stack them. 7. Place the shims: Carefully slide them under the aluminum heatbed plate, between the plate and the frame mount, at the identified low spots. Make sure they don't interfere with any wiring. 8. Tighten the screws: Gently snug them down. Don't overtighten, you don't want to introduce new stresses. 9. Rerun ABL: Fire up the printer and run the full bed leveling calibration. Check your new mesh map. Is it flatter? You might need to repeat this process a few times, adjusting the shim thickness until you get a much flatter map. It's a bit of trial and error, but it's incredibly effective.
I usually spend about 30-45 minutes doing this, and it makes a world of difference. Your ABL will thank you, and your first layers will be glorious.
4. Glass Plates: The Super Flat (But Heavy) Alternative
 For ultimate flatness, some folks swear by adding a separate glass plate on top of their existing textured PEI or engineering plate. A good borosilicate glass plate, usually around 3-4mm thick, is almost perfectly flat. You can secure it with binder clips. The advantages are obvious: perfect flatness and sometimes a super smooth bottom layer finish if that's what you're after. The downside? Well, glass is heavy, which means more inertia for your fast X1C movements. It also takes longer to heat up, potentially increasing your print times by a few minutes. Adhesion can also be a challenge for some filaments directly on glass, requiring more glue stick or hairspray. I've mostly stuck to the original plates and shimming, but if you're really struggling and don't mind the weight/heat-up time, a custom-cut borosilicate glass plate for the X1C size might cost you anywhere from ₹500 to ₹1500, depending on where you source it.
5. Filament Choice and Storage: An Indirect Fix
Okay, this isn't a direct fix for bed warping, but it’s crucial for overall print success and avoiding *print* warping that looks like *bed* warping. Bad filament, especially if it’s absorbed moisture, is a recipe for disaster. It expands, contracts unevenly, and just won’t stick right. I always recommend using good quality filament from reputable brands. For PLA, eSUN PLA+ is a workhorse, as is Overture, and even some of the local Indian brands like e-filament or PolyLite are getting really good. Make sure your filament is dry! I use a filament dryer for any spools that have been sitting out for a while. You can find high-quality eSUN PLA+ on Amazon, which I use regularly for my prints.
My Final Thoughts on Battling the Warp
Look, the Bambu Lab X1 Carbon is an amazing machine, and its auto-bed leveling is truly impressive. But sometimes, physical reality needs a little human intervention. Don't be afraid to get your hands a little dirty (or at least, carefully loosen some screws) to get that heatbed as flat as possible. The goal is to make the ABL's job easier, not replace it. With a little bit of diagnosis and one of these fixes, you'll be back to churning out perfect first layers in no time.
Remember, patience is key in 3D printing. It’s a journey of learning and tweaking, and every problem solved makes you a better maker. Happy printing, my friends, and may your first layers always be perfect!