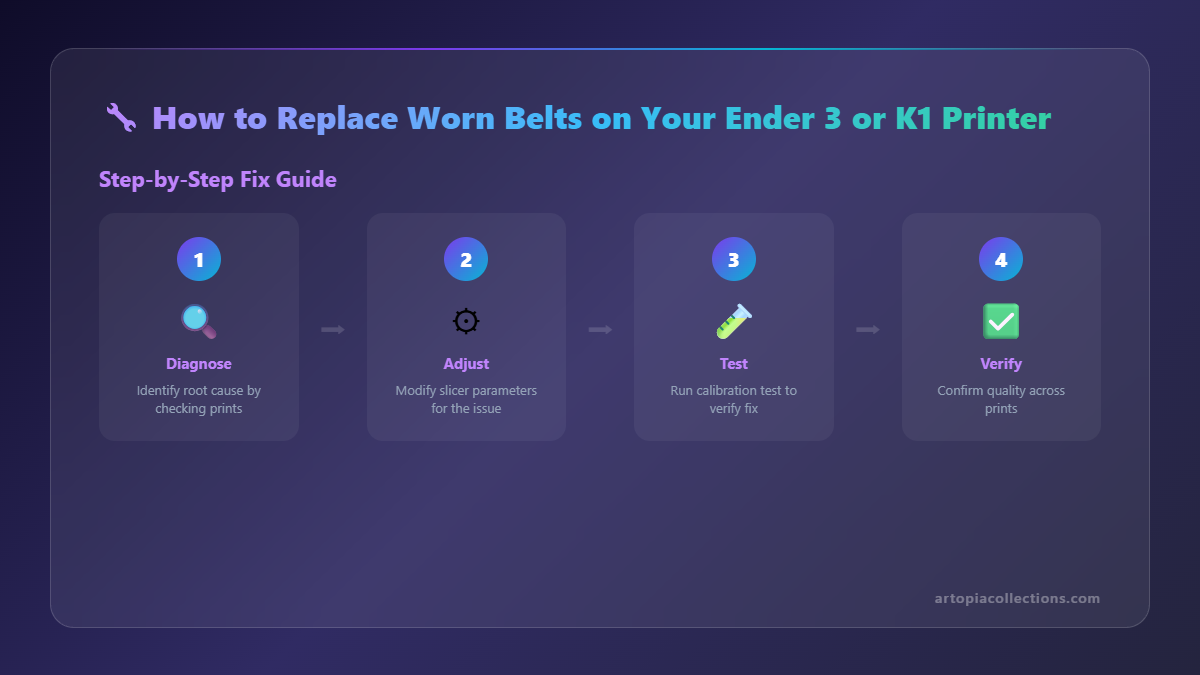
How to Replace Worn Belts on Your Ender 3 or K1 Printer
This step-by-step guide shows you how to replace worn belts on your Ender 3 or K1 3D printer. Learn to restore your printer's precision and achieve flawless prints once more.

Ever had that moment when your trusty 3D printer, the one that’s been churning out amazing prints for months (maybe even years!), suddenly starts acting up? You know the drill: your perfectly sliced model comes out looking like a melted abstract sculpture, or worse, you hear a strange grinding or skipping sound, and your layers are shifting like they’re trying to escape the build plate. It’s frustrating, right? Especially when you’ve got orders piling up or that super cool cosplay prop staring at you, waiting to be printed. Well, my friend, before you start tearing your hair out or eyeing new printers on Amazon, take a deep breath. More often than not, for many of us running Enders or even those zippy K1s, the culprit could be something surprisingly simple, and very fixable: worn-out belts.
Trust me, I’ve been there. Here at ArtOpia Collections, we print A LOT. From custom prototypes for local businesses to those intricate miniatures that require insane precision, our printers are running almost 24/7. And honestly, just like any hard-working machine, parts wear out. The belts on your Ender 3 or your K1 are the unsung heroes, constantly moving the print head and build plate with incredible precision. They’re like the muscles of your printer. And just like muscles, they can get tired, stretched, or even frayed over time. But here’s the deal: replacing them isn't some black magic only master technicians can perform. It’s a totally DIY job, and I’m gonna walk you through it, step-by-step, just like I would if you popped into my workshop here in Chennai.
Why Do Belts Even Wear Out? What Am I Doing Wrong?
Look, you’re probably not doing anything "wrong" per se. It's just the nature of mechanical parts. Think about it: your belts are constantly under tension, bending around pulleys (we call them idlers and motor pulleys), and dealing with micro-abrasions from dust and filament bits. If you've been printing a lot of really fast prints, or if your belts were a bit over-tensioned from the start, they'll wear out faster. Environmental factors play a role too – dust and even humidity can affect the rubber or fiberglass core over time. I personally think cheap, generic belts also contribute to faster wear; investing a little more in quality pays off. I've had belts from certain manufacturers last ages, while others gave up the ghost in a few months. It's all part of the journey, really.
Signs Your Belts Are Begging for Retirement
So, how do you know if your belts are actually the problem? Here are some classic giveaways:
- Ghosting or Ringing: This is probably the most common. You’ll see faint duplicates of features on your print, usually parallel to the direction of motion. It’s like the print head is wobbling a tiny bit as it moves, creating these ghost images.
- Layer Shifts: The print suddenly shifts horizontally, creating a distinct step in your model. This one can be really annoying, especially if it happens late in a long print.
- Rough Surface Finish: If your prints just don’t look as smooth as they used to, even with good settings, worn belts could be contributing to micro-vibrations.
- Visible Fraying or Damage: Sometimes, you can actually see it! Check the teeth of your belts. Are they rounded off? Are there visible cracks or frays? Is there a fine dust accumulating around the pulleys? That's typically worn belt material.
- Strange Noises: A grinding, squeaking, or slipping sound when your axes move is a definite red flag.
- Sagging or Looseness: If you try to pluck your belt (like a guitar string) and it feels unusually loose, even after adjusting the tensioners, it's likely stretched beyond its prime.
If you're seeing any of these, especially on an older, well-used machine, chances are new belts are in your immediate future.
Tools You’ll Need for the Belt Swap
Good news! You don't need a fancy toolkit for this. Most of what you need probably came with your printer or is already lying around your house. Here’s a quick list:
- New GT2 belts: Make sure they are the correct length and width for your printer. We’ll talk more about this.
- Allen key set (Hex keys): For screws on motor mounts, idler pulleys, and tensioners.
- Small screwdriver: Sometimes useful for prying or specific screws.
- Pliers: Needle-nose pliers can be handy for gripping small parts or pulling old belts out.
- Zip ties (optional but recommended for Ender 3): For securing the belt ends, if your printer uses that method.
- Marker: To mark the old belt’s position (especially for CoreXY K1).
- Camera/Smartphone: To take pictures of the belt path, crucial for the K1!
- Ruler or Measuring Tape: For measuring belt lengths if you’re unsure.
- Rubbing alcohol and a cloth: For cleaning pulleys (optional, but good practice).
If you don't have a good hex key set, seriously consider getting one. It's a lifesaver for all sorts of printer maintenance. Check out this kind of general tool kit on Amazon.in – a decent one can set you back maybe ₹300-₹700 and will last ages.
Getting the Right Belts: A Quick Guide for Ender 3 and K1
This is where it gets a *little* specific depending on your machine.
Ender 3 (and its variations like Pro, V2, S1)
Your Ender 3 uses GT2 open-ended timing belts. You’ll need one for the X-axis (print head left-right) and one for the Y-axis (build plate front-back). The standard width is 6mm. You generally buy them by length, often in meters, and then cut them to size. A 5-meter roll of good quality GT2 6mm belt from brands like eSUN or even generic ones that feel robust should cost you anywhere from ₹400 to ₹800 on Amazon.in or from local electronics shops. You'll have plenty left over for future replacements! Sometimes, you can find pre-cut and pre-crimped belt sets specifically for the Ender 3, which is super convenient but usually a bit pricier. Just search for "Ender 3 GT2 belt" on Amazon or your preferred local supplier.
A good quality GT2 6mm timing belt roll is what you're looking for. Make sure it's fiberglass reinforced, not just plain rubber, for better durability and less stretch.
Creality K1 (and K1 Max)
 The K1 is a whole different beast. It's a CoreXY printer, which means its X and Y movements are controlled by two motors working in tandem, using a much more intricate belt path. And crucially, it uses *closed-loop* belts for its main X and Y movements, meaning they form a continuous loop with no cut ends. The K1 also uses GT2 belts, but they are often 9mm wide, not 6mm, for increased rigidity and precision, especially at those insane speeds. The lengths are also very specific. You CANNOT just buy a roll and cut it for the K1. You need to buy specific K1 replacement belt kits. These might be a bit harder to source directly in India sometimes, and you might need to order from international suppliers or find a good reseller. Expect to pay anywhere from ₹1500 to ₹3000 for a quality set of K1 belts. Always check the official Creality store or reputable third-party suppliers for K1-specific belts. Take pictures of your current belt paths before you even think about touching anything!
The Replacement Process: Let’s Get Our Hands Dirty!
Alright, power down your printer and unplug it from the wall. Safety first, always! Clear your workspace. Let’s do this.
For the Ender 3: Simple & Straightforward
The Ender 3 is quite forgiving. We’ll tackle the X-axis first, then the Y.
1. Replacing the X-Axis Belt (Print Head Movement)
- Move the print head: Slide the print head assembly gently to one side, usually to the left, to give you better access to the belt and motor.
- Loosen the tensioner: On most Ender 3s, the X-axis tensioner is at the right end of the X-gantry. It's usually a knob or a screw. Loosen it completely to take all the tension off the belt.
- Remove the old belt: You'll see the belt attached to the print head carriage, often secured by small zip ties or a metal clip. Carefully unclip or cut the zip ties and pull the belt out from the carriage. Then, gently pull the entire belt off the motor pulley and idler. Note how it was routed.
- Cut the new belt: If you bought a roll, hold the old belt next to the new one and cut the new belt to the exact same length. Don't eyeball it; be precise.
- Thread the new belt: This is basically the reverse of removal. Start by feeding one end of the new belt into the print head carriage and securing it (with a new zip tie if that's how it was originally, or slide it into the clip). Then, carefully route the belt around the motor pulley and the idler pulley, making sure the teeth engage properly.
- Secure the other end: Feed the other end of the belt into the print head carriage and secure it, making sure it's taut but not tight yet.
- Tension the belt: Now, use your tensioner. Turn the knob or screw until the belt feels firm but not rock-hard. You want it to have a slight give when you push on it. A good rule of thumb is that it should sound like a low guitar string when plucked – a gentle thrum. Not too loose, not too tight.
- Check movement: Manually slide the print head back and forth. It should move smoothly without binding or excessive resistance.
2. Replacing the Y-Axis Belt (Build Plate Movement)
The Y-axis belt on an Ender 3 is typically under the build plate. This can be a bit trickier because it’s not as easily visible, but the principle is the same.
- Position the build plate: Move the build plate to the front of the printer to access the Y-motor, or to the back to access the idler.
- Loosen the tensioner: The Y-axis tensioner is often at the front of the printer frame, under the build plate. Loosen it.
- Remove the old belt: This might involve tilting the printer or even laying it on its side carefully. Unclip or cut the zip ties securing the belt to the build plate carriage. Guide the old belt off the motor pulley (at the back) and the idler (at the front). Again, note the routing.
- Cut and thread the new belt: Just like with the X-axis, cut the new belt to the exact length of the old one. Then, carefully thread the new belt, securing one end to the build plate carriage, routing it around the motor and idler, and securing the other end. This might require some patience and possibly small pliers to feed the belt.
- Tension the belt: Use the Y-axis tensioner to get that same "low guitar string" feel.
- Check movement: Manually slide the build plate back and forth. It should move freely and smoothly.
For the K1: A CoreXY Challenge (But Totally Doable!)
 Okay, K1 users, listen up. CoreXY printers are brilliant for speed, but their belt system is more complex. You have two motors working together for both X and Y movement, and the belts criss-cross and loop around multiple idlers. This is where those photos you took earlier (you did take them, right?) come in super handy. If you didn’t, find a detailed diagram of the K1 belt path online *before* you start.
1. Preparation is Key
- Unplug and open panels: Unplug the printer. You'll likely need to remove the top cover and possibly side panels to get good access to the internal mechanics.
- Identify components: Locate your X and Y motors (they're usually at the back, top corners), and all the idler pulleys. There will be quite a few.
- Document everything: Seriously, take more photos. Trace the belt path with your finger. Mark the belts if you're replacing one at a time so you don't mix them up.
2. Replacing a Closed-Loop Belt
- Loosen tensioners: The K1 often has tensioners integrated into the idler mounts. You’ll need to loosen the screws holding these idlers in place to relieve belt tension. Don't remove them completely yet.
- Remove the old belt: This can be fiddly. Since it’s a closed-loop belt, you can’t just unclip an end. You’ll need to work it off the pulleys one by one. Start with an idler that has the most slack once the tensioner is loosened. Once it’s off a few pulleys, you can usually pull it free. Pay close attention to how it weaves.
- Install the new belt: This is the reverse. Start by looping the new belt around the motor pulley first, then carefully guide it around each idler, following the exact path of the old belt. This will take patience. It’s a bit like solving a puzzle. Make sure the teeth are properly engaged on all pulleys. It will be tight, so you might need to gently pry it onto the last pulley.
- Rough tensioning: Once the belt is on all pulleys, re-tighten the tensioner screws just enough so the belt doesn't fall off.
- Repeat for other belts: If you're replacing multiple belts (and for the K1, you often should replace both X and Y if one is worn), repeat the process.
A note on K1 belts: Because they’re closed-loop and often wider, they require more force to install. Don’t be afraid to use a little gentle pressure, but never force anything to the point of bending or breaking components. If it feels impossible, re-check your routing. It’s almost always a routing issue.
The Crucial Step: Tensioning Your New Belts
This is SO important. Belts that are too loose will cause ghosting and layer shifts. Belts that are too tight will wear out prematurely, strain your motor bearings, and potentially cause skipped steps. It's a fine balance.
The "guitar string" test is a good starting point. Gently pluck the longest free span of the belt with your finger. It should make a low thrumming sound, not a dull flop (too loose) or a high-pitched twang (too tight). For the Ender 3, try to get both X and Y axes to sound similar. For the K1, aim for consistent tension across all belt sections. There are even apps for your phone that can measure belt frequency (like "Gates Carbon Drive Calculator" or similar), which some pros use, but for most of us, the pluck test works just fine.
Post-Replacement Checks & First Print
Once everything is reassembled and tensioned:
- Manually move axes: With the printer still off, gently move the X, Y (and Z if you touched it) axes by hand. They should glide smoothly without any unusual resistance or grinding.
- Power up and home: Plug your printer back in and power it on. Auto-home the printer. Listen for any strange noises.
- Test prints: Don't jump into that 20-hour print just yet. Print a small calibration cube or a simple test print that includes straight lines and circles. This will quickly reveal if your tension is off or if something isn't quite right. Keep an eye out for ghosting or layer shifts.
Keep Those Belts Happy: Maintenance Tips
To make your new belts last, consider these tips:
- Clean regularly: Dust is the enemy. Use a soft brush or compressed air to clean around your pulleys and belts occasionally.
- Check tension: Periodically, maybe once every few months or after a really long print, do the "pluck test" again. Belts can stretch slightly over time.
- Don't over-tension: Resist the urge to make them super tight thinking it'll improve accuracy. It won't, and it'll shorten their life.
- Lubricate bearings (not belts): Make sure your linear rods (on Ender 3) or linear rails (on K1) are clean and properly lubricated, reducing friction on the print head and build plate, thus easing the load on your belts.
And there you have it! You’ve just performed some open-heart surgery on your 3D printer and brought it back to life. Isn't that a great feeling? It’s these kinds of hands-on fixes that really make you feel connected to your machine and empower you to tackle bigger issues down the line. Plus, you saved yourself a trip to a service center and probably a fair bit of cash. That's a win in my book!
Remember, a well-maintained printer is a happy printer, and happy printers make beautiful things. If you ever need some cool new filaments or accessories to test out your newly tuned machine, don't forget to check out what we've got brewing over at ArtOpia Collections. We're always adding new stuff, from vibrant PLA to durable PETG, perfect for whatever creative project you're tackling next. Happy printing, my friends!