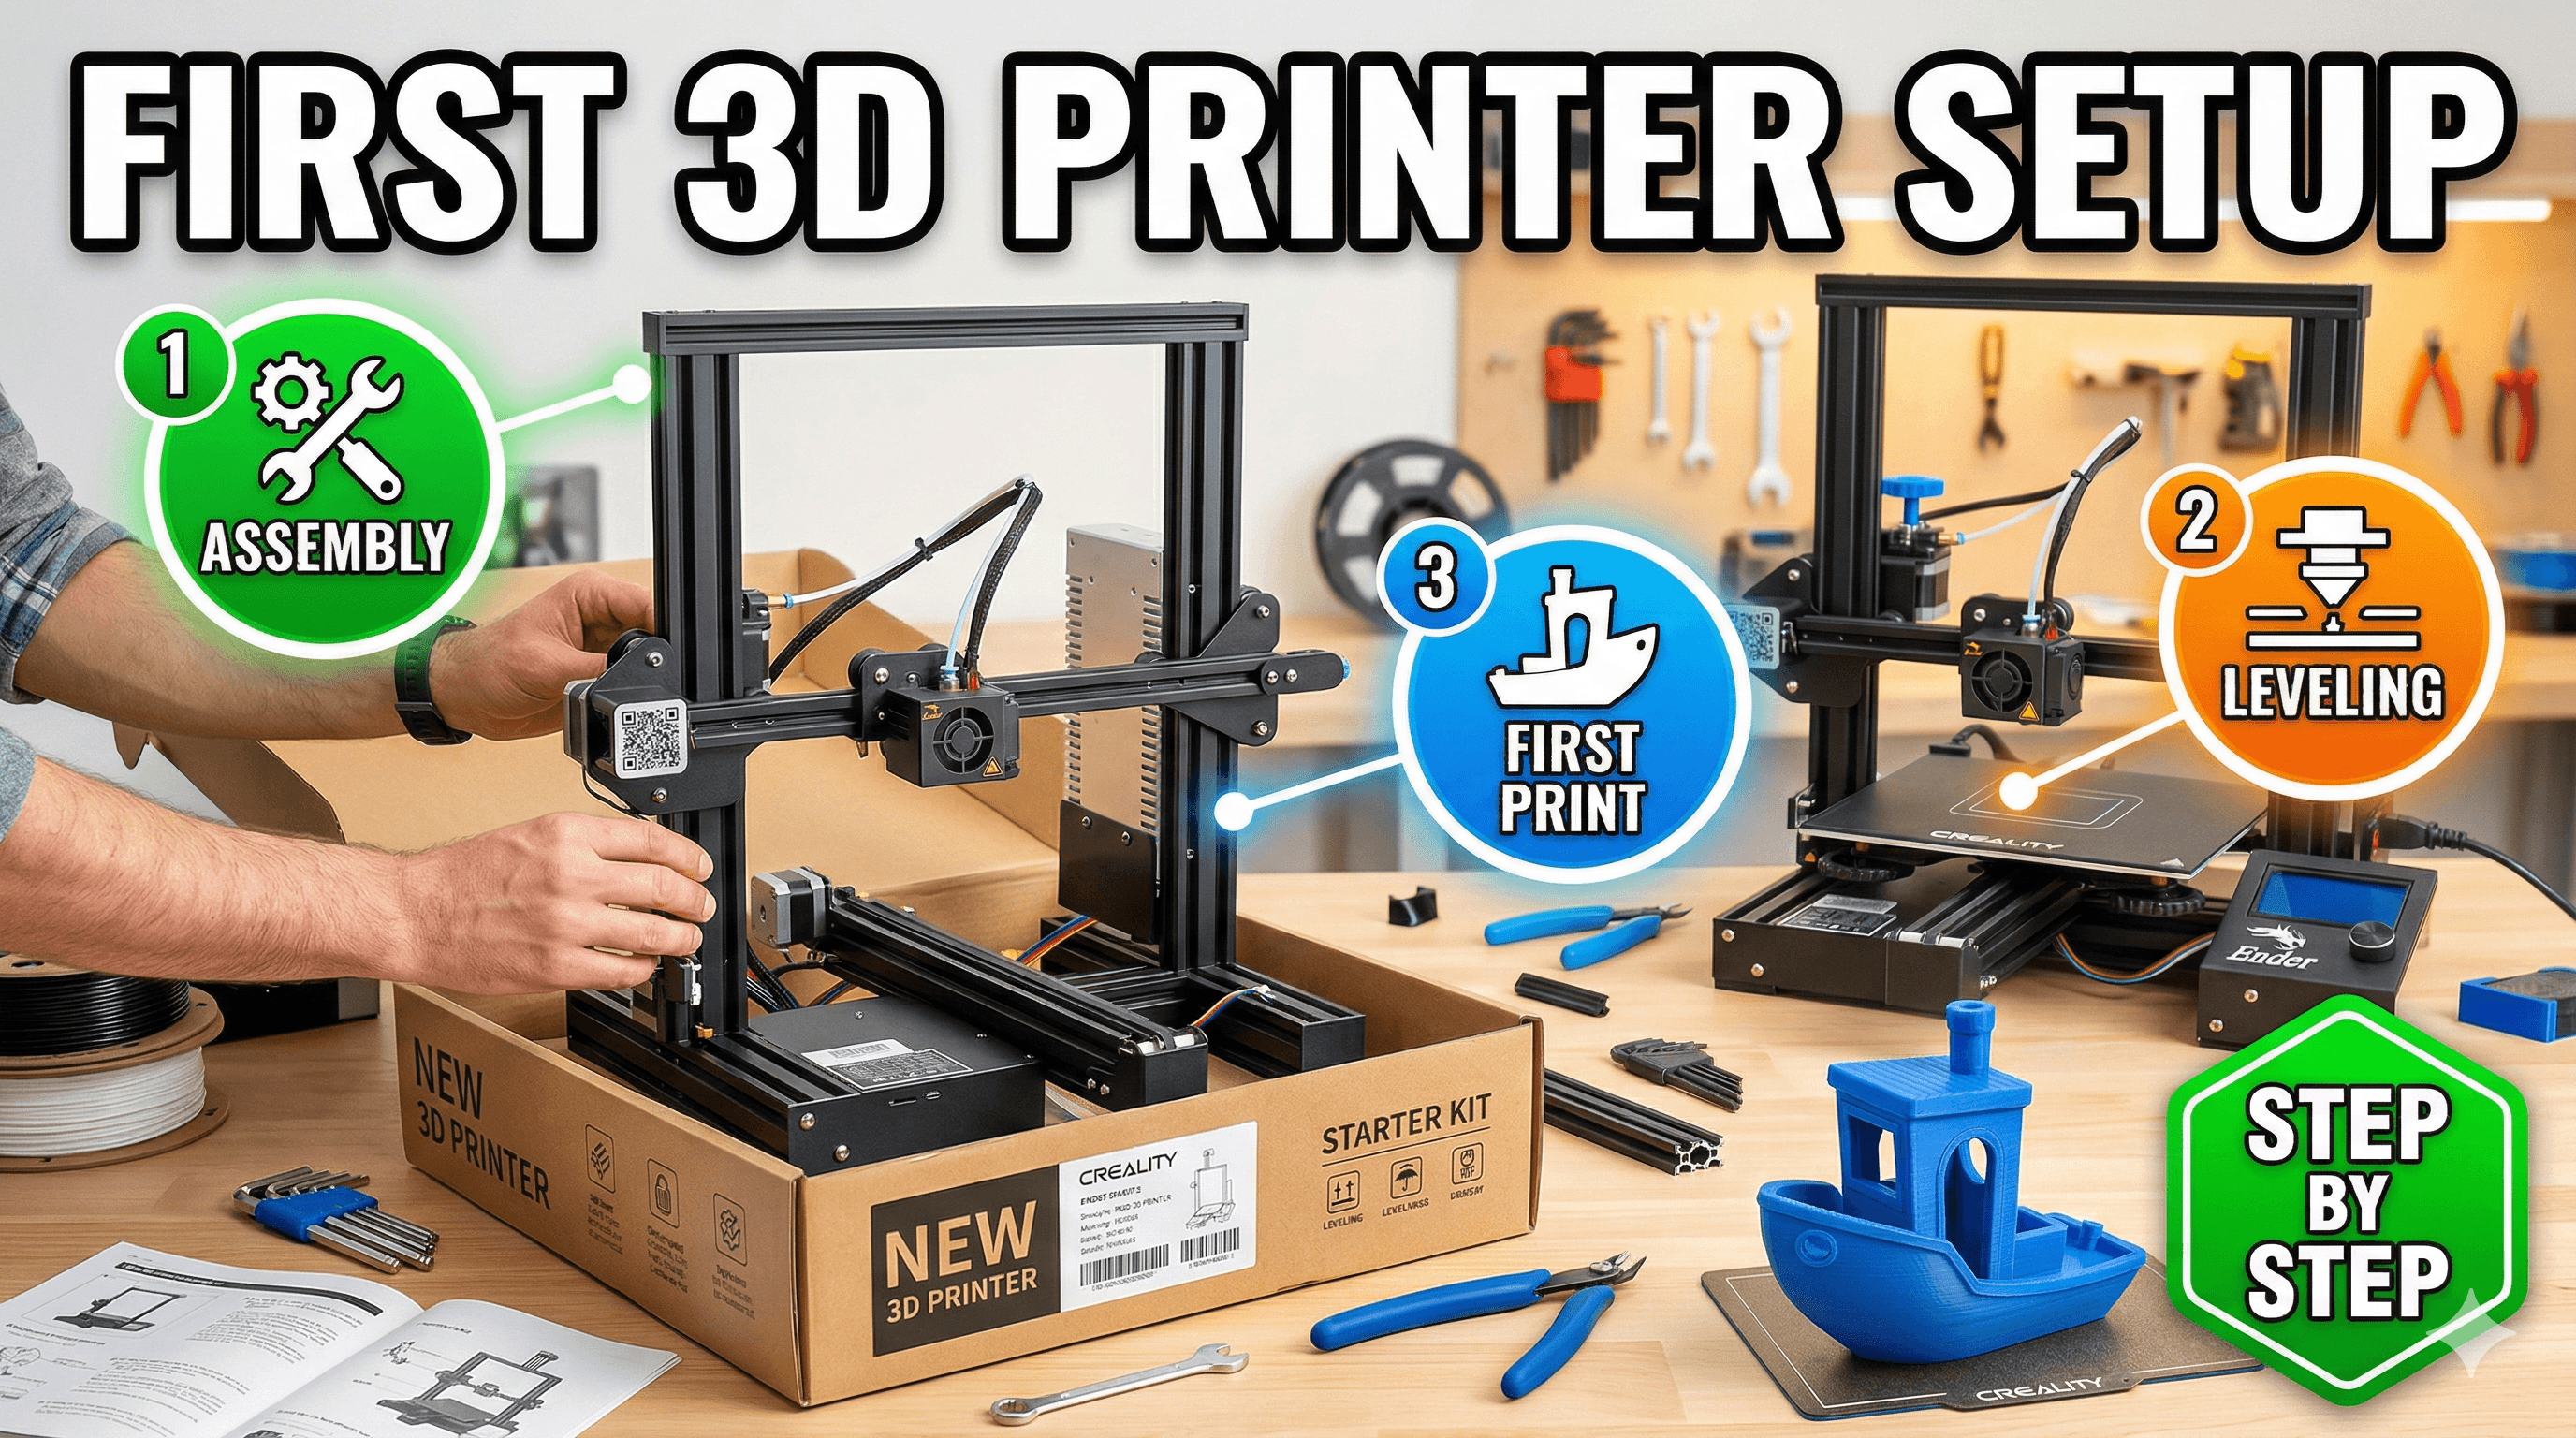
How to Set Up Your First 3D Printer Step by Step
Get your brand new 3D printer ready for action with this comprehensive setup guide. We'll walk you through unboxing, assembly, calibration, and preparing for your very first successful print.
Chalo, mere dost! So, you've finally done it, eh? You've clicked that 'Add to Cart' button, waited impatiently through the delivery tracking updates, and now it's sitting there, this magical box, right in front of you. The box that holds the key to turning your wildest digital dreams into tangible reality. I still remember the first time I got my hands on an Ender 3 â felt like Diwali and Christmas rolled into one! That unmistakable smell of fresh electronics and packaging... trust me, that's the smell of possibilities. If you're like me, your mind's already buzzing with all the cool stuff you're gonna print, from little trinkets for your desk to custom parts that solve real problems. But hold your horses, champ! Before you start imagining a miniature Taj Mahal or a custom phone stand, there's a little setup dance we need to do. And honestly, it's not nearly as intimidating as it might seem. I've been through this dozens of times, both for my personal printers and helping friends get theirs up and running, and I'm here to walk you through it, step-by-step, like we're tinkering in my workshop together.
Unboxing Day: The Ritual Begins!
First things first: patience. This isn't a race. Take a deep breath. Clear a decent-sized workspace â you'll need room to spread out. Trust me, trying to assemble a 3D printer on your coffee table while balancing a chai is a recipe for disaster (ask me how I know!).
What's usually in the box?
Most entry-level FDM printers, like the ever-popular Creality Ender 3 V3 SE or an Anycubic Kobra, come semi-assembled. You're not building it from scratch, thank god! Typically, you'll find:
- The base assembly (with the heated bed, power supply, and control board).
- The gantry assembly (the vertical frame with the Z-axis motor and lead screw).
- The hotend and extruder assembly.
- A small toolkit (Allen keys, spanners, screwdriver, sometimes snips).
- A roll of sample filament (usually PLA, sometimes a tiny 50g roll).
- An SD card (or USB stick) with sample prints and software.
- A power cable and a USB cable.
Go ahead, unbox everything carefully. Lay out all the components and tools. Check the manual â yeah, I know, manuals are boring, but quickly flip through it to get an idea of the parts. ItâÂÂs a good habit, even if youâÂÂre a seasoned pro. Sometimes, a screw or two might be rattling around, or a cable might have come loose in transit. Just keep an eye out.
Assembly Time: Building Your Dream Machine
This is where the magic (and a little bit of elbow grease) happens. Most printers follow a similar assembly logic, especially the Cartesian ones. I'll focus on the common 'Ender 3 style' setup, which covers a huge chunk of beginner printers.
Step 1: Attach the Gantry to the Base
Your printer's gantry is that big H-shaped or inverted U-shaped frame that holds the X and Z axes. The base is, well, the base â it usually has the heated bed and the electronics enclosure. Align the holes on the gantry with the pre-drilled holes on the base. Most times, you'll find four screws (often M5 or M4 size) that go from the bottom of the base up into the gantry's vertical extrusions. Use the provided Allen key. Don't overtighten just yet; get them all started first, then snug them up evenly. You want everything square and stable.
Step 2: Mount the Z-axis Motor & Lead Screw
If it's not already attached, you'll need to connect the Z-axis motor to its bracket and then thread the lead screw through the gantry. Make sure the lead screw coupling is secure. This lead screw is what moves your hotend up and down, so it needs to be free of binding. Give it a gentle spin; it should move smoothly. If it feels stiff, double-check your motor mounting and lead screw alignment.
Step 3: Secure the Extruder & Hotend Assembly
This part usually slides onto the X-axis gantry. There might be a few small screws to secure it, or it might just clip on. This assembly holds your nozzle, heater, fan, and often the part cooling fan. Make sure it's firmly in place and moves freely along the X-axis.
Step 4: Wiring It All Up
Now, this is where it can get a *little* confusing for a newbie, but don't fret. Each wire is usually clearly labeled, or the connectors are keyed so they only fit one way. You'll have wires for:
- X, Y, Z, E (extruder) stepper motors
- Hotend heater and thermistor
- Heated bed heater and thermistor
- X, Y, Z endstops (or limit switches)
- Part cooling fan and hotend cooling fan
Consult your manual carefully for this. The trick here is to be neat. Use the provided zip ties (or your own if you're like me and always carry a stash of them) to bundle cables and keep them from snagging on moving parts. A well-managed cable system isn't just aesthetically pleasing; it actually prevents future headaches. Trust me, I've had prints fail because a cable snagged the print head â not fun!
Step 5: Final Checks & Tooling
Once everything's wired, give the whole printer a once-over. Are all the screws tight? Are the wheels (if it uses V-slot wheels) snug but not too tight? You should be able to spin the wheels with a bit of resistance, but they shouldn't wobble. Sometimes you'll find eccentric nuts on the wheels that you can adjust with a spanner to get the tension just right. Also, before we move on, consider grabbing a few extra tools. A good pair of precision calipers (you can find decent digital ones for around â¹700-â¹1000 on Amazon) is invaluable for measuring filament diameter, checking print dimensions, and more. HereâÂÂs a good starting point: Digital Caliper.
First Power Up: The Moment of Truth!
Alright, moment of truth! Plug in your power cable (make sure your power supply switch is set to the correct voltage for India, which is usually 230V, though most modern PSUs auto-sense). Flip the switch. If you've wired everything correctly, you should hear a satisfying whir of fans and see the screen light up. If nothing happens, or you smell smoke (God forbid!), immediately unplug it and re-check your wiring. But generally, it's pretty straightforward.
Navigate through the menu. You should be able to manually move the X, Y, and Z axes. Test them all. Move the hotend and bed to their home positions (usually a 'Home All' command). Watch them carefully. Do they move smoothly? Do they stop when they hit the endstop switches?
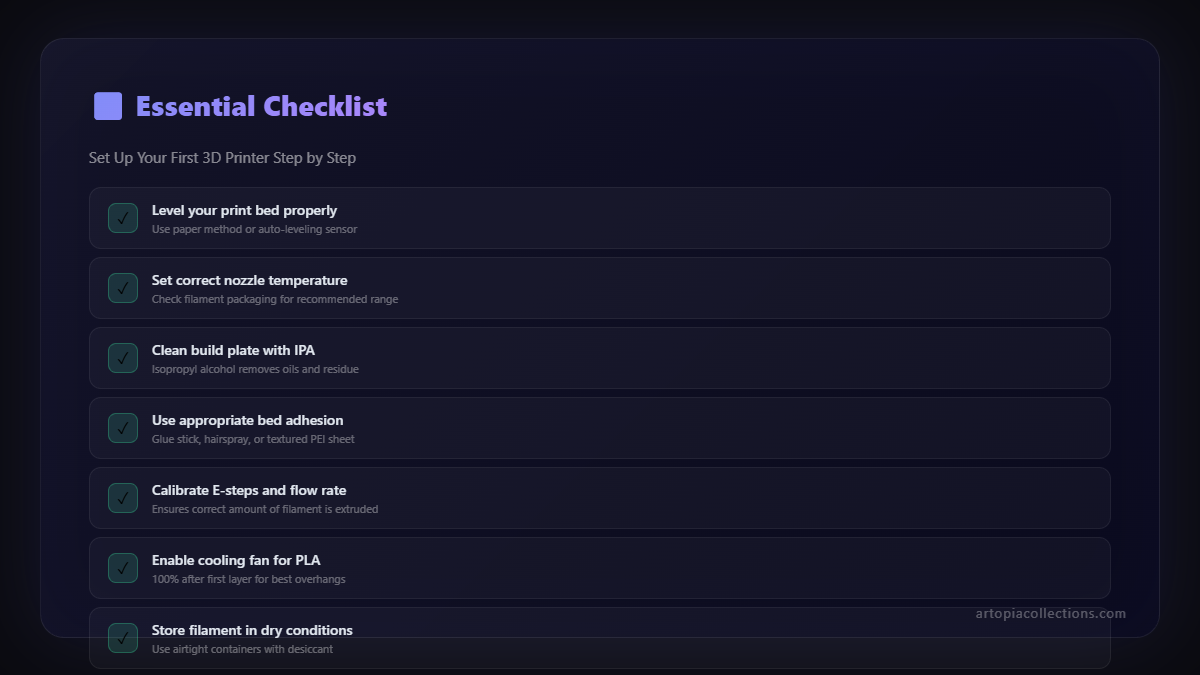
Bed Leveling: Your New Best Friend (or Arch Nemesis)
Honestly, this is probably the single most critical step for successful 3D printing, especially for beginners. A well-leveled bed is the difference between a perfect first layer and a stringy mess of plastic. Don't skip this, don't rush this, and don't assume it's "good enough."
The Paper Method (for manual leveling):
This is the classic and still most reliable method for most entry-level printers.
- Heat Up: Heat your bed to your typical printing temperature (e.g., 60ðC for PLA) and your hotend to a moderate temperature (e.g., 180-200ðC for PLA). This is important because metals expand when hot, and leveling a cold bed can lead to an uneven bed when it heats up.
- Home All Axes: Go to the 'Prepare' or 'Control' menu and select 'Auto Home' or 'Home All Axes'. This will bring your hotend and bed to their starting (zero) positions.
- Disable Steppers: In the same menu, find 'Disable Steppers'. This will allow you to move the hotend and bed freely by hand.
- Position the Nozzle: Place a standard sheet of A4 paper (around 0.1mm thick) under the nozzle. Manually move the nozzle to one of the corners of the bed (say, front-left).
- Adjust the Corner: Gently lower the nozzle using the bed leveling screw for that corner until you feel a slight drag on the paper when you try to pull it out. It should feel like friction, but you should still be able to move the paper. This is key: too tight, and the nozzle will scratch the bed; too loose, and your print won't stick.
- Repeat for All Corners: Move the nozzle to the other three corners (front-right, back-right, back-left) and repeat the adjustment process.
- Check the Center: After all corners are done, check the center of the bed. Sometimes, the center can be higher or lower than the corners. If it's significantly off, you might need to re-adjust all corners slightly.
- Go Around Again (and again): Seriously, do this at least two or three times. Adjusting one corner can affect the others slightly. You'll develop a feel for it.
If you have Auto Bed Leveling (like CR-Touch/BL-Touch):
Even with auto-leveling, you *still* need to do a good manual level first! The auto-leveling system creates a mesh compensation, but it works best when the bed is already reasonably level. After a manual level, run the auto-leveling routine from your printer's menu. Then, you'll likely need to set your Z-offset. This tells the printer the exact distance between your auto-leveling probe's trigger point and the actual nozzle tip. It's usually adjusted by printing a small single-layer test print and tweaking the Z-offset in small increments (+/- 0.02mm) until you get that perfect "squish" on your first layer. YouTube is your best friend for Z-offset calibration videos for your specific printer model.
Loading Filament: Fueling the Machine
Okay, bed leveled? Good! Now, let's get some material into this bad boy.
- Heat Up the Hotend: Go to the 'Prepare' or 'Control' menu and preheat the hotend to the temperature recommended for your filament. For PLA, that's usually around 200-210ðC.
- Prepare Filament: Take your filament spool. Cut the end of the filament at a sharp angle. This makes it easier to guide it into the extruder.
- Load Filament:
- Bowden Extruder (most common on Ender 3s): Squeeze the lever on the extruder (the part with the motor and gears). This releases the tension on the filament. Push the filament through the hole, past the gears, and into the Bowden tube. Keep pushing until you feel it hit resistance at the hotend. Then, push it a little harder until you see molten plastic oozing cleanly from the nozzle.
- Direct Drive Extruder (found on some newer or upgraded printers): Similar process, but the extruder is right on top of the hotend, so the path is much shorter.
- Purge: Let a few centimeters of filament extrude. You want to see a consistent, smooth flow of plastic, free of any old filament colors or air bubbles.
You're probably starting with PLA, which is awesome. It's easy to print, forgiving, and widely available. I personally use eSUN PLA a lot, and also some great Indian brands that are popping up like Art Print Filaments (hey, gotta support local businesses and friends!).
Slicer Software: Translating Your Vision
Your 3D printer speaks a language called G-code. Your 3D models (STLs) don't. That's where a 'slicer' comes in. It takes your 3D model, slices it into thin layers, and generates the G-code instructions for your printer. The two most popular free slicers are Ultimaker Cura and PrusaSlicer. I use Cura for most of my work, but PrusaSlicer is fantastic too, especially if you ever upgrade to a Prusa machine.
- Download and Install: Get the latest version of Cura or PrusaSlicer.
- Add Your Printer: When you first open it, it'll ask you to add a printer. Select your model (e.g., Creality Ender 3 V3 SE). The software will usually set up a default profile for you.
- Basic Settings: For your first print, you don't need to tweak much. Just ensure:
- Layer Height: Start with 0.2mm. It's a good balance of speed and detail.
- Infill: 15-20% is usually fine for most functional or decorative prints.
- Print Speed: Stick to the default (often 50-60mm/s).
- Bed Adhesion: For PLA, a 'skirt' or 'brim' is a good idea to help with initial adhesion and prime the nozzle.
- Save Your G-code: Load a test model (there are usually some on your printer's SD card, or download a simple calibration cube or a benchy from Thingiverse). Slice it, and then save the resulting G-code file to your printer's SD card or USB stick.
First Print! The Real Test
You've done all the prep work. Now for the exciting bit! Insert your SD card/USB into the printer. Navigate the menu to 'Print from SD' (or 'Print from USB') and select your G-code file. Hit print, and then... watch. Seriously, just watch that first layer. This is where you'll see if your bed leveling and Z-offset are spot on. You want that molten plastic to "squish" slightly into the print bed, forming a nice, consistent line. It shouldn't be stringy and barely touching, nor should it be so squished it looks transparent or causes the nozzle to drag.
Common First Layer Issues:
- Not Sticking: Your nozzle is too high. Adjust Z-offset down (negative values) or tighten bed leveling screws slightly.
- Too Squished/Transparent: Your nozzle is too low. Adjust Z-offset up (positive values) or loosen bed leveling screws slightly.
- Warping: Corners lift off the bed. This could be due to drafts, insufficient bed adhesion (try a brim), or uneven bed temperature.
Don't be disheartened if your first print isn't perfect. My first few prints looked like abstract art, not what I intended! It's all part of the learning curve. Tweaking, observing, and learning from failures is how you become a master. You'll soon develop an eye for that perfect first layer.
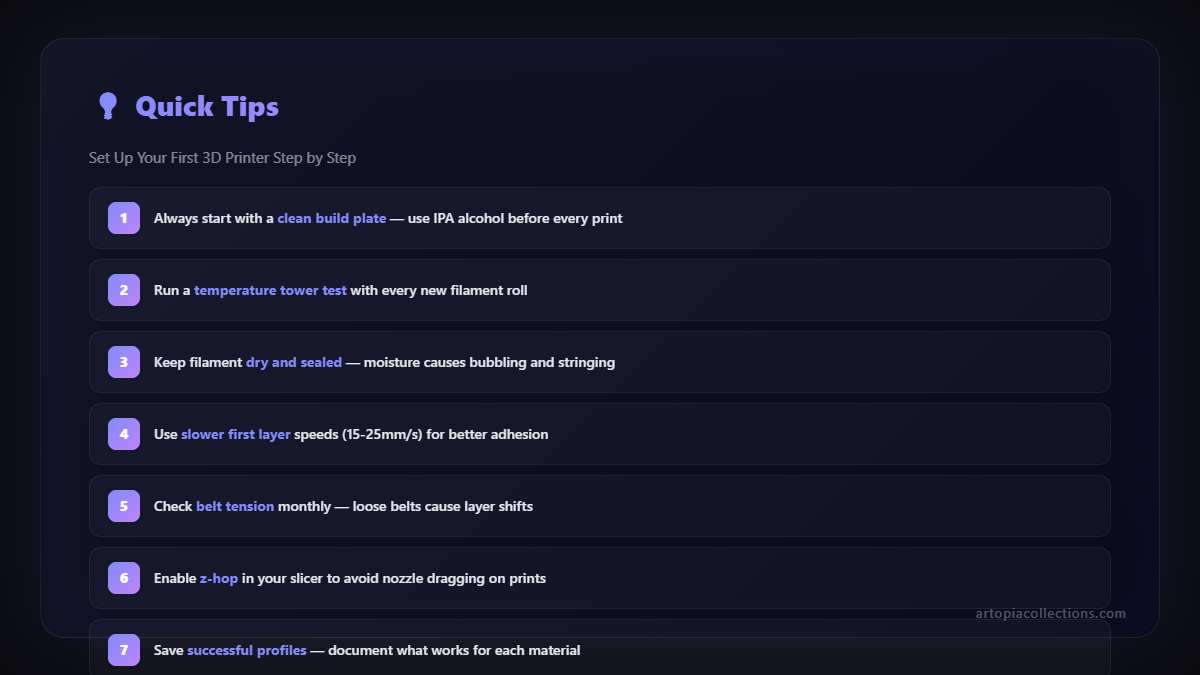
Keeping Your Machine Happy: Basic Maintenance
Just like any machine, your 3D printer needs a little love to keep humming along.
- Keep it Clean: Dust is the enemy. Use a soft brush or compressed air to keep dust off the moving parts, fans, and electronics.
- Tighten Screws: Periodically check all screws and bolts. Vibrations can loosen them over time.
- Lubricate Lead Screws: A tiny bit of white lithium grease or a specialized dry lubricant on your Z-axis lead screws every few months will keep them moving smoothly.
- Check Belts: Make sure your X and Y axis belts are taut, but not overly tight. They should have a slight give.
- Nozzle Swaps: Nozzles wear out, especially if you print with abrasive filaments. They're cheap (a pack of 5 brass nozzles usually costs around â¹300-â¹500), and swapping them out can improve print quality significantly.
Welcome to the Family!
And there you have it, boss! You've assembled your first 3D printer, battled with bed leveling, and (hopefully!) completed your first print. This is just the beginning of an incredible journey. The 3D printing community in India is growing fast, and there are tons of resources online â YouTube channels, forums, Facebook groups â where you can learn, share, and troubleshoot. Don't be afraid to experiment, break things (gently!), and ask for help.
The world of 3D printing is vast and constantly evolving. From printing custom parts for your home to creating intricate prototypes for your business (like some of the cool stuff we make at Art Print Collections), the possibilities are truly endless. So, go forth, print with passion, and welcome to the awesome, additive manufacturing family! I can't wait to see what you create.