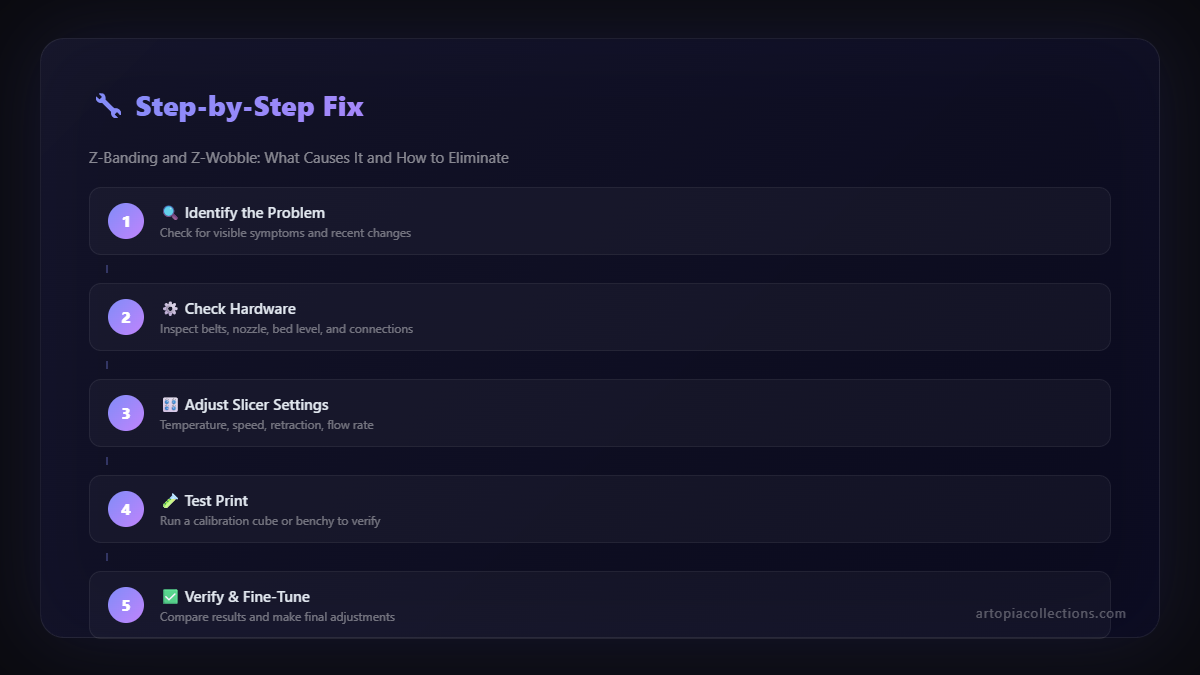
The Z-Frustration: When Your Perfect Print Goes Wonky â Tackling Z-Banding and Z-Wobble Head-On!
You know that feeling, right? Youâve been watching your 3D printer for hours, mesmerized by the layers stacking up, creating something awesome out of thin air. The first few centimeters are flawless. The details are crisp. Youâre already picturing it on your desk, maybe even imagining a customer's happy face if it's for my
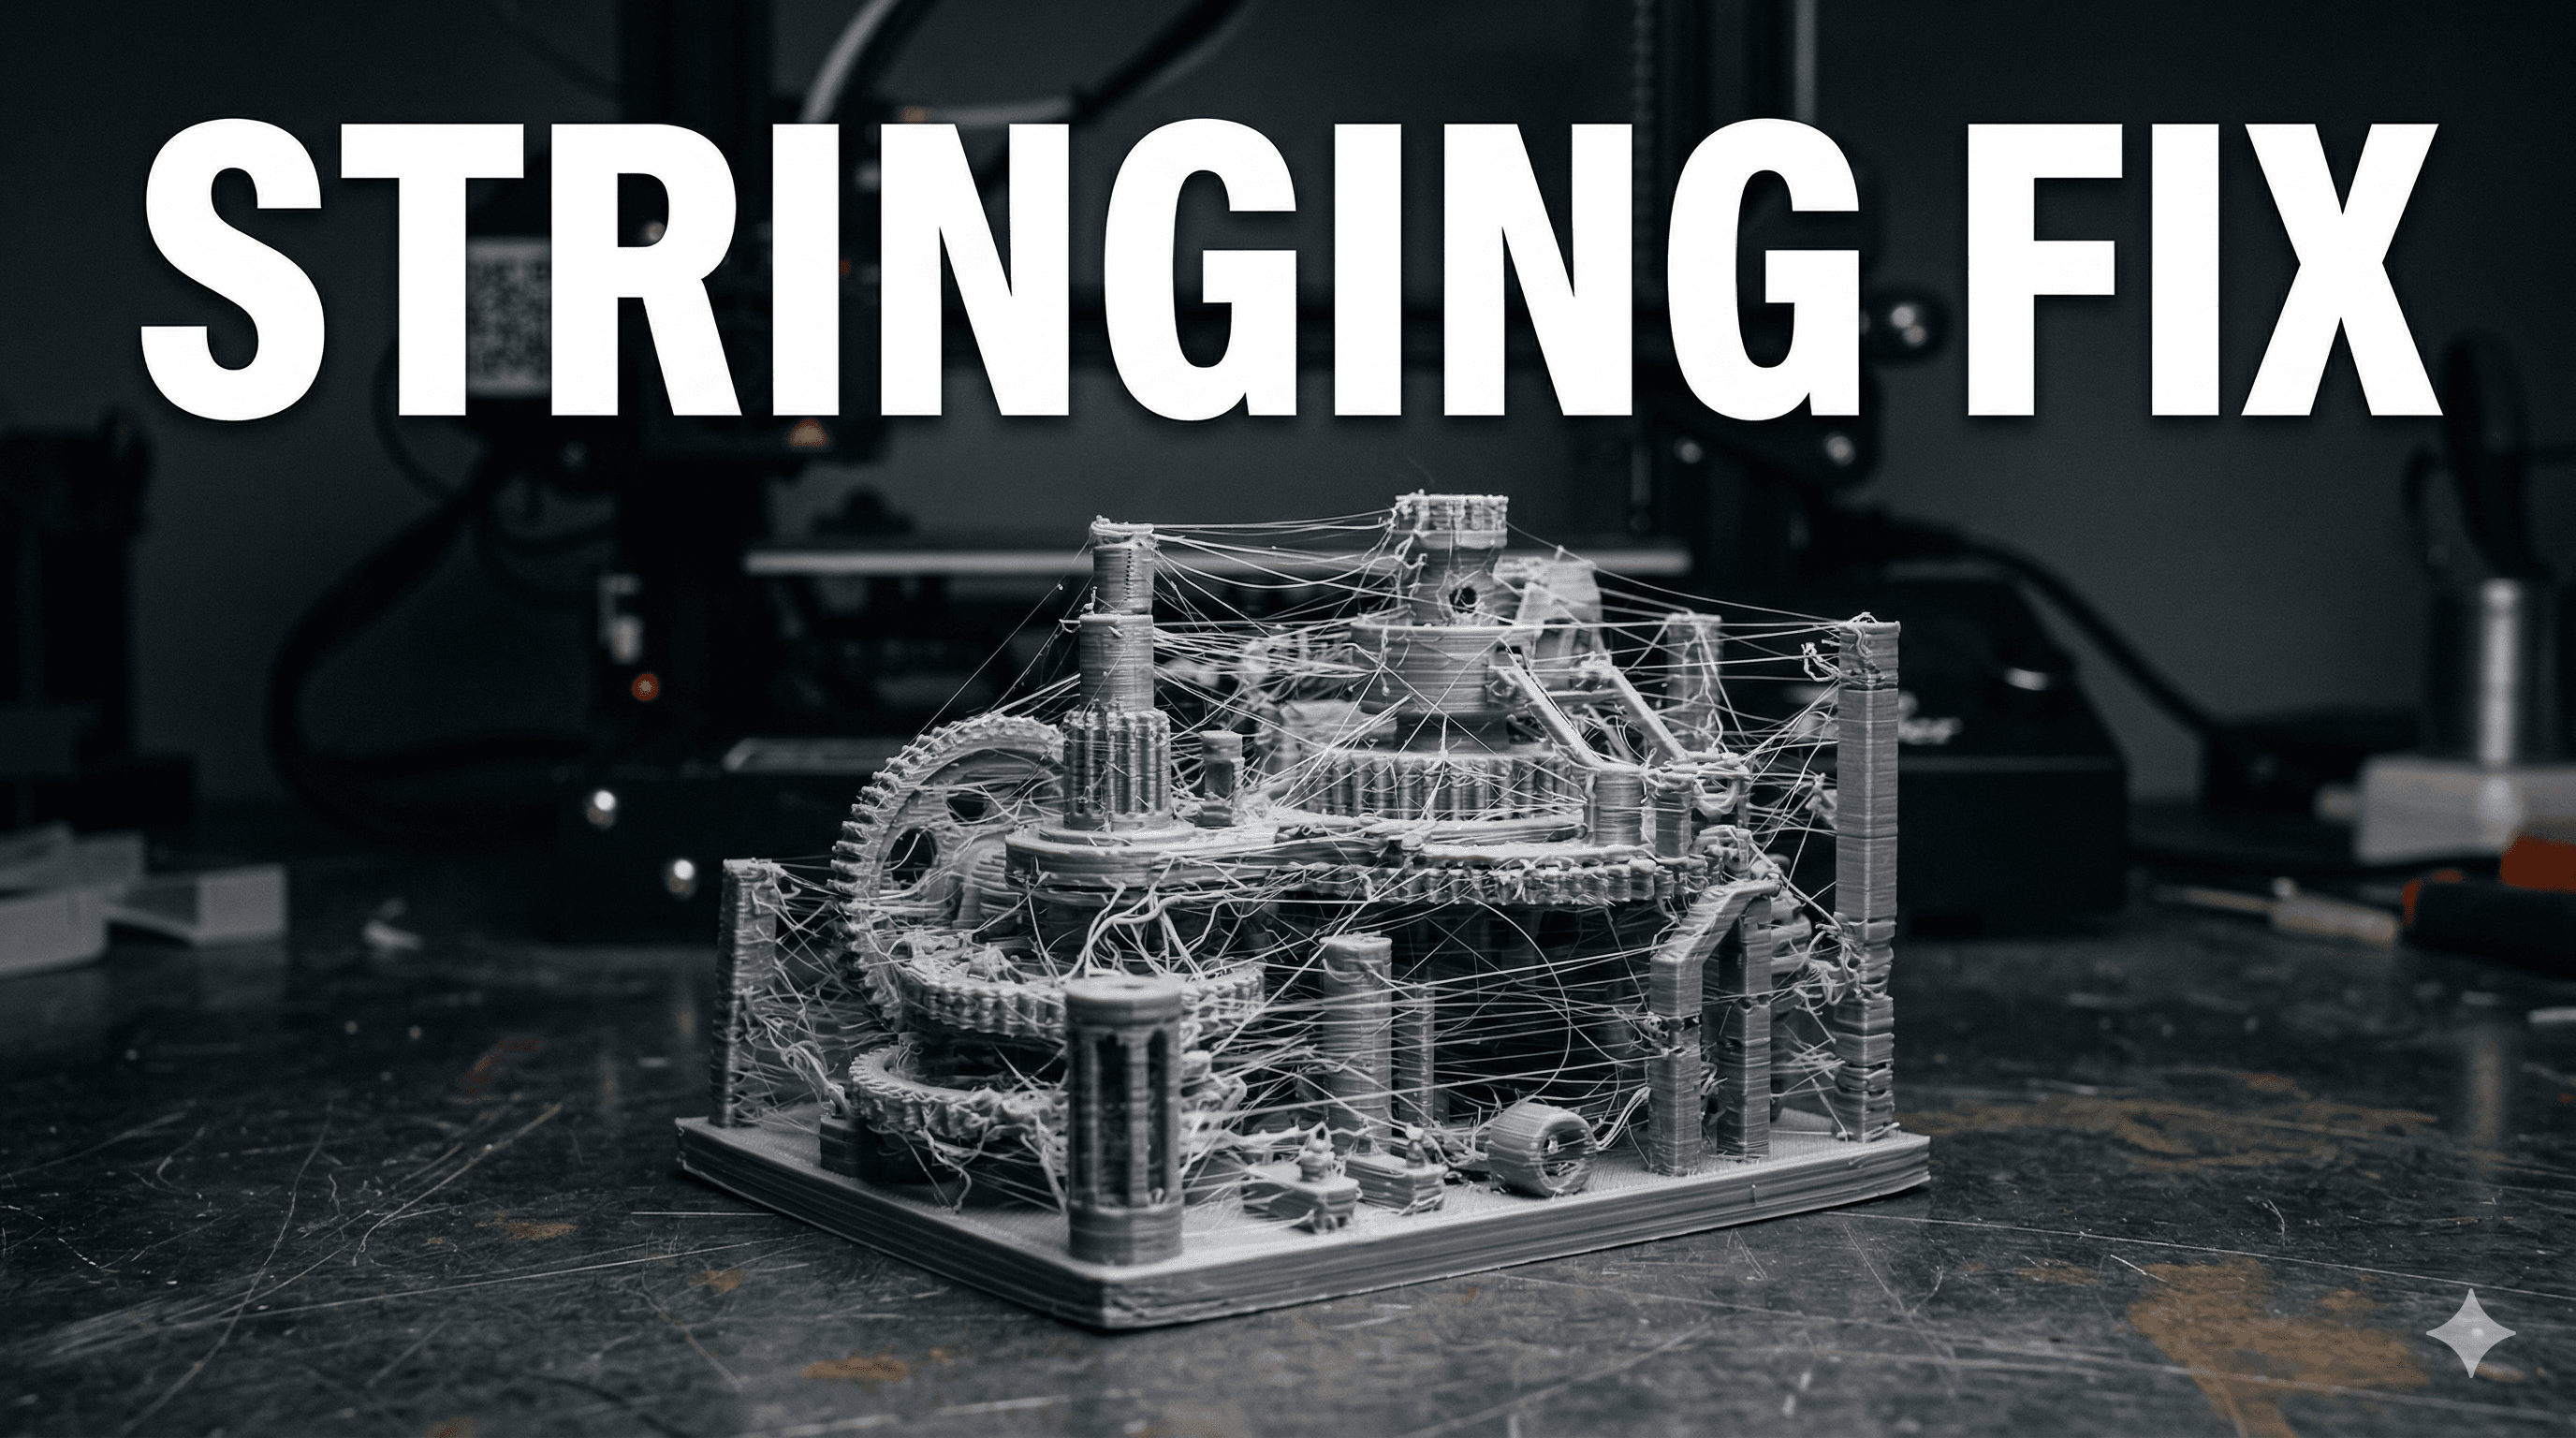
ArtTopia Collections business. And then, BAM! You spot it. Those utterly soul-crushing horizontal lines, inconsistencies, or ridges that suddenly appear, ruining an otherwise beautiful print. Your heart sinks faster than a faulty hot air balloon. That, my friends, is often the handiwork of either Z-banding or Z-wobble, two of the most infuriating culprits in the 3D printing world.
Honestly, as someone who breathes, eats, and sleeps 3D printing â and relies on it to put chai on the table â these issues are not just cosmetic; they can seriously impact my business. Nobody wants to pay good money for a model that looks like it's had a rough night out, full of uneven layers and strange patterns. So, over the years, I've spent countless hours debugging, tweaking, and sometimes, let's be real, screaming internally at my printers (mostly my trusty
Ender 3s and a couple of Prusa clones). Today, I'm going to share everything I've learned about what causes Z-banding and Z-wobble, and more importantly, how you can banish them from your workshop for good. Or at least, mostly for good. This is 3D printing, after all, some gremlins always stay, ha!
Let's Get Our Terms Straight: Z-Wobble vs. Z-Banding â What's the Difference?
Bef
ore we dive into the nitty-gritty, it's crucial to understand that while both Z-banding and Z-wobble manifest as horizontal inconsistencies on your prints, they often have different root causes. Think of them like cousins â they look similar, but their personalities (and problems) are distinct.
Z-Wobble, in my experience, is usually more severe and often creates a very distinct, repeating pattern on your print. It's like a wave or a ripple that travels up the Z-axis, causing layers to shift slightly back and forth. You'll typically see thicker and thinner sections that repeat at a fixed interval, directly related to the pitch of your Z-axis
lead screw. It's often mechanical, a physical issue with how your Z-axis moves up and down.
Z-Banding, on the other hand, can be a bit more subtle, sometimes appearing as faint lines, sometimes as slightly rougher textures at inconsistent intervals. It's less about a repeating wave and more about inconsistent layer height or extrusion volume at random points. This one, my friends, is usually caused by a wider array of factors â often thermal or extrusion-related, though mechanical issues can contribute too. It's a bit of a trickster.
Now that we've got that sorted, let's tackle them one by one.
Battling the Beast: Z-Wobble â The Mechanical Menace
Z-wobble is fundamentally a mechanical issue with your Z-axis, particularly how your print head or bed moves vertically. It's often the easier of the two to diagnose because the pattern is so predictable.
The Usual Suspects Behind Z-Wobble:
1.
 Bent Lead Screw:
 This is probably the number one culprit. If your lead screw (the threaded rod that moves your Z-axis up and down) isn't perfectly straight, itâs going to introduce lateral movement as it rotates. Imagine trying to screw a slightly bent bolt into a nut â it's going to wiggle, right? Same principle here.
2.
Misaligned Lead Screw: Even if your lead screw is perfectly straight, if it's not perfectly aligned with your Z-axis
stepper motor or the gantry, it'll still cause wobble. It's like trying to put a key into a lock at a funny angle.
3.
Poor Couplers: The coupler is the little piece that connects your Z-axis stepper motor shaft to your lead screw. If it's too rigid, or if it's not clamping properly, it can transfer any slight misalignment or wobble from the motor or the lead screw directly into your Z-movement.
4.
Worn or Overtightened Lead Screw Nuts: The brass nut (or POM nut) that travels along the lead screw can also be a source of grief. If itâs worn out, it can introduce play. If itâs overtightened and binding, it can cause the gantry to stick and then jump, leading to inconsistent layer heights.
5.
Z-Axis Gantry Issues: The entire Z-axis assembly, including the upright extrusions and the horizontal gantry that holds your hotend (on a Cartesian printer), needs to be square and stable. Any looseness or racking can cause the hotend to move inconsistently in the Z-direction.
Wobble-Busting Strategies: My Go-To Fixes
Okay, so youâve got wobble. Don't panic! Here's how I usually approach it:
*
Inspect the Lead Screw First: This is step one. Take your lead screw out. Roll it across a perfectly flat surface, like a glass table or a marble slab. Does it roll smoothly, or do you see a gap appearing and disappearing as it turns? If it's bent, you'll see it. Sometimes, you can *gently* try to straighten a slightly bent one by hand, but honestly, replacement is often the best long-term solution. You can find decent quality ones online for â¹500-â¹1000.
*
Lubricate! A dry lead screw can lead to jerky movement. A small amount of white lithium grease or even a dry lubricant like PTFE spray works wonders. Just don't overdo it, and use something meant for mechanical parts, not just any oil.
*
Check Your Couplers: Most entry-level printers come with aluminum couplers. While okay, they can sometimes be too rigid. I personally prefer flexible couplers (spider couplers) that can compensate for slight misalignments. Theyâre relatively inexpensive, usually â¹200-â¹400 for a set. Make sure they are tightened securely to both the motor shaft and the lead screw.
*
Loosen the Lead Screw Nut (A Little Bit): This sounds counter-intuitive, but hear me out. The brass nut that connects your Z-gantry to the lead screw should not be overly tight. It needs a *little* bit of play to allow the gantry to self-align. Sometimes, simply loosening the two screws that hold the nut to the gantry just a hair, letting it float slightly, can work wonders. If you have an
anti-backlash nut, ensure it's properly assembled and not binding.
*
Square Up Your Z-Gantry: This is critical, especially on printers like the
Ender 3 where the gantry is held by V-rollers. Make sure both sides of your gantry are at the exact same height from the printer base. You can use calipers or even a ruler. Adjust the eccentric nuts on the V-rollers so they are snug but not overtightened â the gantry should move smoothly up and down with minimal force, but without any side-to-side slop.
*
Consider a Dual Z-Axis Upgrade: For larger printers, or if you're constantly fighting gantry sag (especially on an Ender 3), a dual Z-axis kit is a game-changer. It adds another lead screw and stepper motor, providing much better stability and reducing sag. These kits usually cost between â¹2000-â¹4000 on Amazon.in, and in my opinion, it's one of the best upgrades for print quality, especially for taller prints. You can check out options like this one here:
Dual Z-axis Upgrade Kits. (Just make sure your mainboard supports two Z-motors or get a splitter cable).
The Sneaky Scoundrel: Z-Banding â When the Details Get Fuzzy
Z-banding is often trickier because it's less about a physical bend and more about inconsistencies in the *process* of laying down plastic. It can be frustratingly intermittent.
The Usual Suspects Behind Z-Banding:
1.
Inconsistent Extrusion: This is a big one. If your hotend isn't pushing out plastic at a consistent rate, youâll get variations in layer thickness. This can be due to a partially clogged nozzle, an inconsistent extruder motor, or even something as simple as your filament.
2.
Temperature Fluctuations (Hotend & Bed): 3D printing is all about thermal consistency. If your hotend temperature swings up and down, the viscosity of the plastic changes, affecting extrusion. Same goes for the bed; inconsistent heating can cause the plastic to cool unevenly.
3.
Inconsistent Filament Diameter: Yes, even the filament itself can be a culprit. Cheaper filament, or sometimes even branded ones, can have variations in diameter along the spool. If the diameter changes from 1.75mm to 1.78mm and then back to 1.73mm, your printer is still trying to push out the same *volume* of plastic based on a fixed diameter, leading to over- or under-extrusion.
4.
Worn Z-Axis Components (Again!): While wobble is often about *gross* movement, banding can arise from minor, sticky points on your Z-axis V-rollers or lead screw nut that cause microscopic jitters in layer height.
5.
Power Supply Issues: Sometimes, especially with fluctuating power grids in India, an unstable power supply can affect your stepper motors, leading to micro-stuttering or inconsistent movement.
6.
Stepper Motor Driver Microstepping: This is a more advanced one. Basic drivers can sometimes be less precise in their microstepping, leading to slight inaccuracies in Z-movement at certain intervals.
Banding-Busting Strategies: My Secret Sauce
Z-banding requires a more holistic approach, often involving a combination of tweaks:
*
PID Tune Your Hotend and Print Bed: This is probably the most impactful thing you can do for thermal consistency. PID (Proportional-Integral-Derivative) tuning tells your printer how to maintain a stable temperature. Most modern firmware has an auto-tune function. For Marlin, itâs usually `M303 E0 S200 C10` for the hotend (E0 for hotend, S200 for 200°C, C10 for 10 cycles), and `M303 E-1 S60 C10` for the bed (E-1 for heated bed, S60 for 60°C). Run it, then save (`M500`). This alone can dramatically smooth things out.
*
Calibrate Your E-Steps (Extruder Steps): Your E-steps tell your extruder motor how many steps it needs to take to push out 100mm of filament. If this isn't calibrated, you'll be over or under-extruding, leading to inconsistent lines. There are plenty of guides online, but basically, you mark 120mm on your filament, tell your printer to extrude 100mm, measure how much is left, and adjust your E-steps accordingly. It's a quick, free fix that makes a massive difference.
*
Invest in Good Quality Filament: This one is huge. While itâs tempting to save a few rupees, really cheap filament often has inconsistent diameter and poor tolerances. I've had great success with brands like eSun,
Overture, and Eryone available here in India, even Prusa's own filament is fantastic if you can get it. They might cost â¹1200-â¹1800 per kg instead of â¹900, but the consistency is worth it for the reduction in headaches and failed prints. Check out some good quality PLA options here:
Quality PLA Filament on Amazon.in.
*
Check Your Z-Axis Components (Again!): Even for banding, those V-rollers on your gantry need to be just right â not too tight, not too loose. Spin them; do they feel smooth? Clean them regularly with IPA.
*
Ensure Stable Ambient Temperature: Drastic temperature changes in your print room can affect print quality. If you're printing ABS or
PETG, consider an enclosure. Even for PLA, avoiding drafts can help. Here in India, AC on and off, or even just ceiling fans, can cause issues.
*
Upgrade Stepper Motor Drivers: This is a more advanced fix but can be incredibly effective, especially for quieter operation and smoother motion. Drivers like the TMC2208 or TMC2209 offer much finer microstepping and less noise. They can iron out very subtle banding issues that stock drivers might cause. A set of 4-5 TMC2209 drivers usually costs around â¹1500-â¹2500. Theyâre a bit more involved to install, but for a noticeable improvement in print quality and noise, theyâre definitely worth it. You can find them here:
TMC2209 Stepper Drivers.
General Tips & My Personal Philosophy
Beyond these specific fixes, here are a few general principles I live by in my workshop:
*
Keep it Clean: Dust and filament debris can accumulate on lead screws, rollers, and belts. Regular cleaning is a must.
*
Tighten Your Belts (X & Y): While not directly Z-axis related, loose X and Y belts can lead to ringing and ghosting, which can sometimes be confused with Z-banding, or simply add to the overall lack of crispness. They should be taut, but not so tight that they strain the motors.
*
Calibrate Flow/Extrusion Multiplier: After calibrating E-steps, print a single-wall cube and measure the wall thickness. Adjust your flow rate in your slicer to match your nozzle diameter. This fine-tunes the amount of plastic actually laid down.
*
Slicer Settings Matter: Sometimes, even optimal hardware won't save you from poorly chosen slicer settings. Experiment with different layer heights (sometimes a non-standard layer height can cause issues due to microstep resolution on the Z-axis, though modern drivers mitigate this), print speeds, and acceleration settings. I personally find that going a little slower, especially for critical layers, can work wonders.
*
Routine Maintenance is Your Friend: Seriously, just like servicing your scooter, your printer needs love. Check screws, lubricate moving parts, clean nozzles, inspect belts. A little bit of prevention goes a long way.
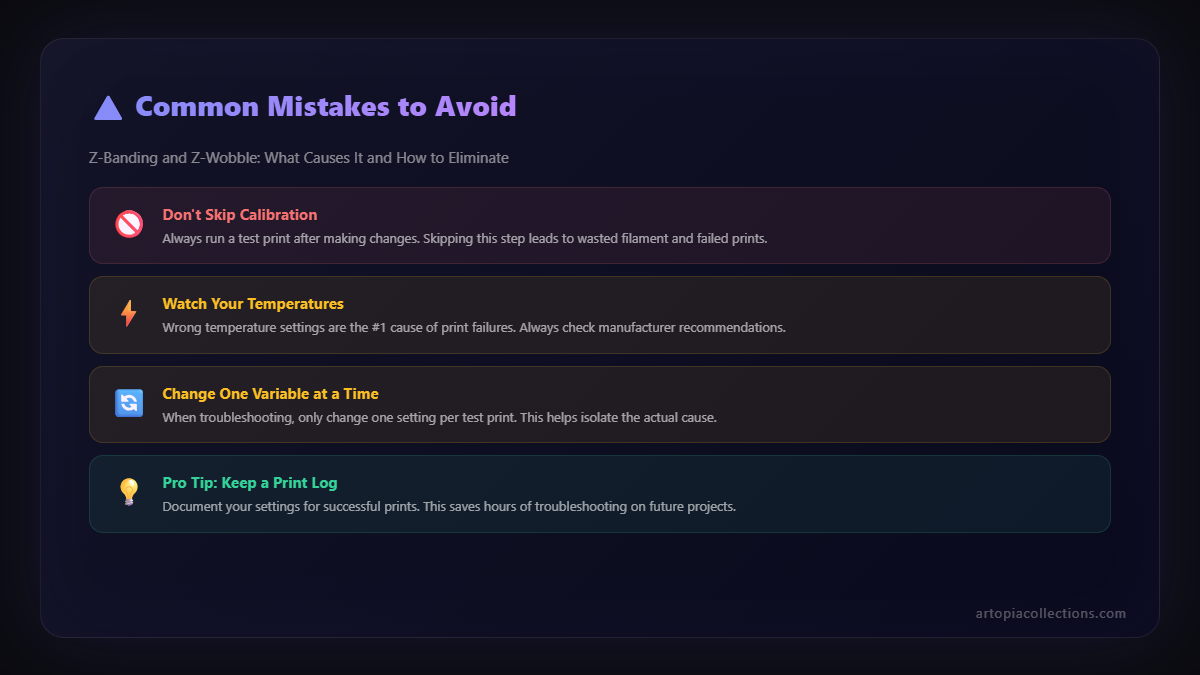
Look, tackling Z-banding and Z-wobble can feel like a detective mission, sometimes frustratingly so. It often requires patience, a bit of trial and error, and a systematic approach. But when you finally nail it, and your prints come out looking smooth as a baby's bottom, that feeling of satisfaction is unmatched. For my business, ArtTopia Collections, quality is everything. These little nuisances can be the difference between a happy customer and a lost sale. So, trust me, itâs worth the effort.
Don't let these issues deter you. Every problem is just an opportunity to learn and make your prints, and your skills, even better. If youâve got any questions or your own tips, drop them in the comments below! Happy printing, folks! And hey, if you want to see what kind of smooth, wobble-free prints we're producing now, check out some of our designs over at
ArtTopia Collections!